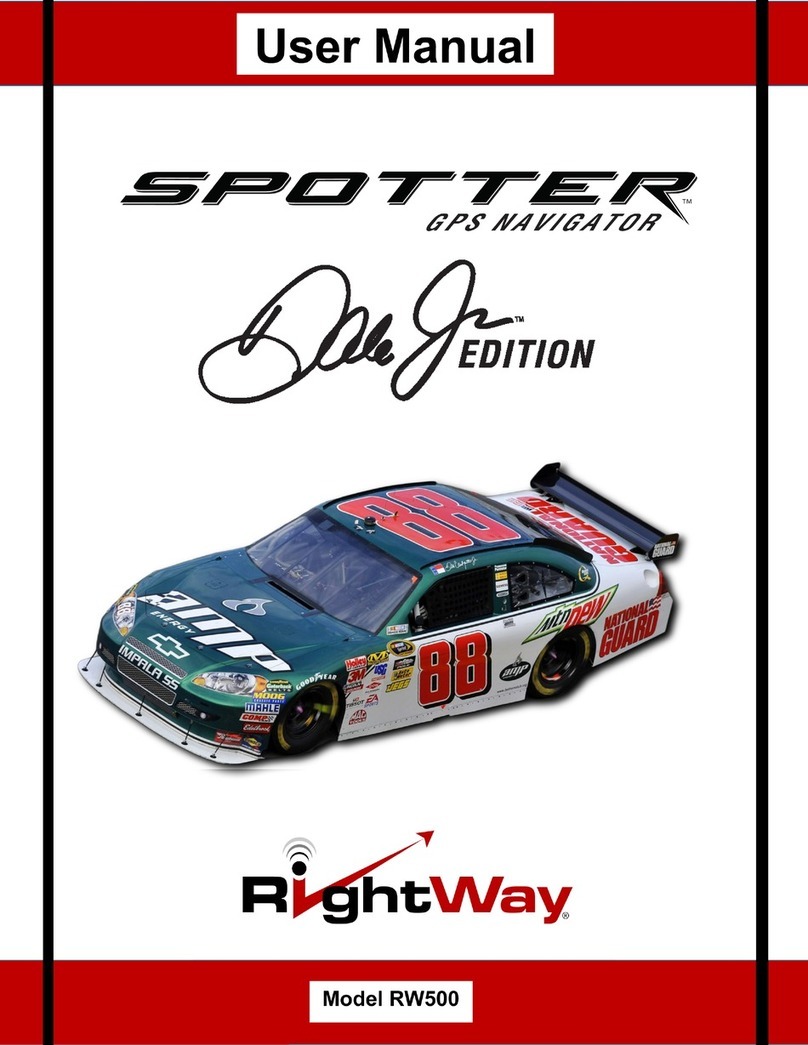
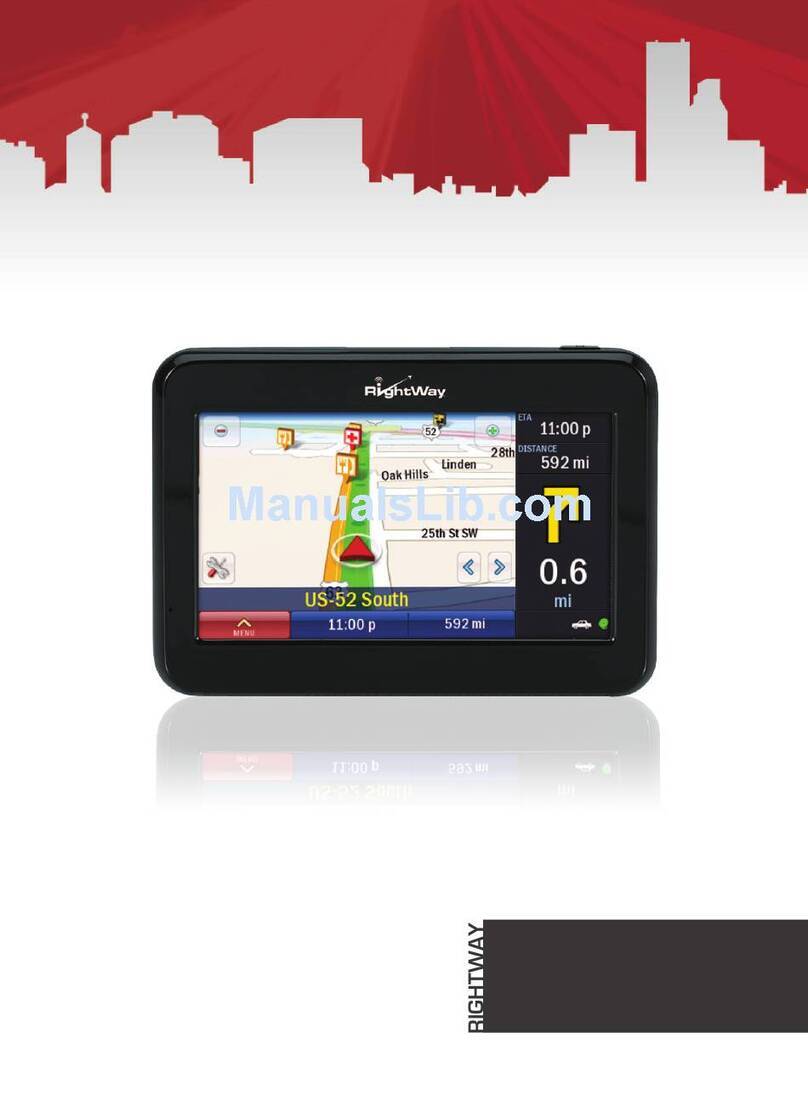
RightWay Tony Stewart SPOTTER User manual


23
Congratulations and thank you for choosing the Spotter GPS Navigator. We hope you
enjoy using this exciting product and trust that it will make your driving experience more
comfortable, stress-free, and entertaining.
This guide will tell you everything you need to know about using your
Spotter GPS Navigator. It will explain the basics, share some tips for operation and
show you how to customize your Navigator. The following symbols refer to specic
passages you should be aware:
The caution symbol highlights items related to your safety and well-being.
Please read and pay close attention to these warnings.
The exclamation point highlights helpful hints and tips for operation.
WELCOMEWELCOME Your Spotter GPS Navigator comes with the following accessories:
• Spotter GPS Navigator, Tony Stewart Edition
• Car charger
• Spotter mounting system
• Quick Start Guide
• User Manual
• Mini USB Cable
If your box is incomplete, please contact [email protected] within 14 days
of purchase.
Car Charger
Quick Start Guide
and User Manual
Mini USB
Cable
Windshield
Mount

45
MOUNTING YOUR SPOTTER
Your Spotter GPS Navigator can be easily secured to either the windshield or
the dash for optimal viewing while driving. The mounting system consists of
the following pieces:
• Adjustable arm with suction cup
• Navigator cradle
• Dash disk with adhesive backing
TO ATTACH THE MOUNT
Select a location for the mount on the windshield or dashboard that does not
obstruct the driver’s view or interfere with the operation of the vehicle.
1. Attach clip to mount
2. Select a location for the mount on the windshield or dashboard that
does not obstruct the driver’s view or interfere with the operation of the
vehicle.
3. Clean and dry this area to remove any grease and dirt.
If mounting the Spotter GPS Navigator on the dashboard, remove the
protective backing from the dash disc, exposing the adhesive. Adhere
the disc to the dashboard in the desired location.
The adhesive is permanent.
Adjustable arm with suction cup
4. Place the suction cup on the desired location on the
windshield or dash disc; push the locking lever towards
the base of the mount. The mount should stick to the
surface.
If your mount does not stick, make sure the area is
clean and dry, then try again.
5. Align the tabs on the holder with the slots on the Navigator cradle. Slide
together until the parts are rmly seated.
6. Adjust the holder to the best viewing angle by:
a. Loosening the adjustor dials
b. Moving the corresponding part to the desired position
c. Tightening the adjustor dials.
7. Align the grooves on the bottom of your unit with the tabs on the bottom of
the navigator cradle; gently push the unit into the cradle until the unit clicks
into place.
8. To remove the Spotter GPS Navigator from the mount, gently push back the
tab on the top of the cradle until you hear a click releasing the unit.
TO DETACH THE MOUNT
1. Pull the locking lever away from the base of the mount.
2. Grasp the pull tab of the suction cup and gently pull away from the wind-
shield or dash to break the suction.
Caution!
It is illegal in Minnesota to attach anything to the windshield.
When using navigation aids in a vehicle, it is your sole responsibility to
place, secure and use these aids in a manner that will not cause accidents,
personal injury, property damage, or in any manner to obstruct your view.
You, the user of this product, are solely responsible for observing safe
driving practices.
Dash disk with
adhesive backing
Navigator Cradle
MOUNTING YOUR SPOTTER

67
GETTING STARTEDGETTING STARTED
TO ATTACH THE CAR CHARGER
1. Connect USB end of charger to the USB port on the Spotter GPS Navigator
2. Connect opposite end into car power port
PREPARING SPOTTER
The CoPilot GPS Navigation software with street-level maps of United States comes
pre-installed on your Spotter GPS device. No additional installation necessary.
SWITCHING ON AND OFF
• Switch on the Spotter GPS Navigator by holding down the power button for
3 seconds
• Switch off the Spotter GPS Navigator by holding down the power button until
unit displays ‘Powering Off’.
GPS STARTUP
The Spotter GPS Navigator has an integrated GPS receiver. The rst time you
use the Spotter GPS Navigator, the GPS receiver will take up to 10 minutes to
determine your position.
To ensure ETA to your destination is accurate, select the correct time zone on
your device.
• Select Toolbox (settings menu) > Date/Time
• Select the time zone of your current location.
PREPARING SPOTTER
To begin navigation, tap the #14 Tony Stewart Car- ‘Navigation’ button.
SELECT LANGUAGE AND VOICE
• Tap the desired language on-screen text.
• Tap Frank to have street names read aloud and tap Continue.
(See page 31 for additional language and voice options)
SET UNITS OF MEASURE
• Choose desired units of measure by tapping between English and Metric.
(See page 32 for additional units of measure options)
SET TIME ZONE
• Choose desired time zone by scrolling through the list. Tap OK.
END USER LICENSE AGREEMENT
• Read the agreement for the Spotter GPS Navigator, Powered by CoPilot
Software. Tap Accept or Decline after reading. (See page 47-52 for EULA)

89
TIPS AND TRICKS
Spotter GPS Navigator is full of great features. To help you get to know them,
we have included Tips and Tricks when you launch your Spotter GPS
Navigator the rst time.
HOW TO SCROLL
• Read how to scroll and tap
WARNING
Read warning and tap Accept.
GPS Signals
GPS signals are limited inside buildings, tunnels, and parking lots. To work
most effectively, mount the Spotter GPS Navigator on the windshield for clear
line of sight to the sky.
You are now ready for your rst trip!
ON SCREEN INFORMATION
Spotter GPS Navigator will guide you to your destination with clear on-screen
and spoken instructions. Whenever you are approaching your next turn, Spotter
GPS Navigator will speak to you to alert you to the upcoming direction change
By default your current location is displayed at the bottom of the map. You can
choose what useful information is displayed at the base of your screen when
you are driving, see Guidance Section on page 38.
ETA Approaching Turn
Distance to Destination Current Position
Next Turn Direction Driving View Short Cut
Distance to Next Turn Route Ahead Highlight
Information Options Demo

10 11
DESTINATION
Spotter GPS Navigator uses GPS Satellites to calculate your exact
position so you don’t have to enter your starting point. Simply enter
your destination and Spotter GPS Navigator will take you there,
providing detailed voice guided instructions.
ENTER ADDRESS
• Tap Menu > Destination > Address.
• Enter the city/town name or zip code of your destination.
• Scroll through the list by gently pressing the stylus to the list
and do not remove pressure. Then move the stylus up and
down to scroll the list. You will get the best results and
smoother scrolling by using the stylus, although you can use
your nger as well.
• Tap the correct city or area when it appears in the list below the city eld.
• Enter the rst three or four
letters of the street name
(Do not enter house/building
number, you will enter this on
the next step). Autolled
addresses will appear below.
Select the correct street name
when it appears.
• Enter the house/building number and tap GO.
DESTINATION LOCATE POINTS OF INTEREST
Spotter GPS Navigator not only guides you to your destination, but also knows
all the useful places you might need on your journey.
• Tap Menu > Destination > Points of Interest
• Select the desired search location: Nearby, In different city, or on my route:
NEARBY
• Tap desired category. (If category of choice does not appear, tap more
categories on the lower right screen to display more options. Or, search by POI
name by tapping the lower left search by name tab).
For example tap Gas Station> desired gas stations from list
• Scroll through the list and tap the POI to select it.
• A details page will be displayed with POI address and map. Tap GO.
• Conrm destination by Tapping GO.
IN DIFFERENT CITY
• Enter the city/town name or zip code of your destination
• Tap the correct city or area when it appears in the list below the city eld.
• Tap desired category
• Once you have found the desired POI, tap the POI to select it
• A details page will be displayed with POI address and map Tap GO.
• Conrm destination by Tapping GO.

12 13
ON MY ROUTE
• Tap desired category. (If category of choice does not appear, tap more
categories on the lower right screen to display more options or search by POI
name by tapping the lower left search by name tab).
For example tap Gas Stations> desired Gas Station from list.
• Scroll through the list and tap the POI to select it.
• A details page will be displayed with POI address and map. Tap GO.
• Conrm destination by Tapping GO.
PICK ON MAP
You can also select a destination from the map.
• Tap on Menu > Destination > Pick on Map.
A map of the area around your current location will be displayed. Drag the
screen to move around the map and tap your desired destination when
you nd it.
• Conrm destination by tapping GO.
INTERSECTION
• Tap on Menu > Destination > Intersection.
• Scroll through the list and tap the correct city or area when it appears in the list
below the city eld.
• Enter the rst three or four letters of the rst street name Autolled addresses
will appear below. Select the correct street name when it appears.
• After selecting the rst street, you will be given a list of intersecting streets.
Select the desired street out of this list.
• Conrm destination by Tapping GO.
COORDINATES
If you know the latitude and longitude of your destination
you can enter them directly.
• Select Menu > Destination > Coordinates.
• Choose to set the latitude and longitude in either Degrees Minutes
Seconds, Decimal Degrees or Decimal Minutes.
• Enter a latitude and longitude in the previous format. Tap
Spotter GPS Navigator will
take a few moments to nd
the point. When the point
has been located, a map will
appear with the location
pinpointed by a red ag.
• Conrm destination by
Tapping GO.

14 15
MY PLACES
Save your home, work, recent and favorite addresses so you
don’t have to enter them every time.
HOME
• Tap on Menu > My Places > Home.
• Enter the city/town name or zip code of your home location.
• Scroll through the list and tap the City to select it.
• Enter the rst three or four letters of the street name (Do not enter house/
building number, you will enter this on the next step). Autolled addresses
will appear below. Select the correct street name when it appears.
• Enter the house/building number and autolled house/building numbers will
appear below.
• Conrm destination by Tapping GO.
WORK
• Tap on Menu > My Places > Work.
• Enter the city/town name or zip code of your work location.
• Scroll through the list and tap the City to select it.
• Enter the rst three or four letters of the street name (Do not enter house/
building number, you will enter this on the next step). Autolled addresses
will appear below. Select the correct street name when it appears.
MY PLACES • Enter the house/building number and autolled house/building numbers will
appear below.
• Conrm destination by Tapping GO.
QUICK STOP
Quick stop helps you locate a truck service, gas station, restaurant,
or hotel near you, quickly and easily.
For example, when travelling on a long journey, you can use the
Quick Stop feature to help you search for a local hotel and call them
using your phone.
QUICK STOP
• Tap Menu > Quick Stop
• Tap desired category from Quick Stop list (i.e. Gas Station, Restaurant, Hotel,
or Vehicle Repair).
• Scroll through the list
and tap the desired
Quick Stop when it
appears in the list.
• Alternately, tap Show
Map to display all
nearby facilities on a
map. To return to the
facilities list, select
Show List.
QUICK STOP

16 17
• Or Search by Name to type the name of
a facility and select the one you want when it appears in the list. For example,
to look for a specic hotel, begin to type ‘Hil’ then select ‘Hilton’ to add this
hotel as a destination.
• Tap Cancel to stop searching for facilities.
DETOURS
You can program Spotter GPS Navigator to make a detour a part of
the calculated route.
AVOID ROADS
• Tap Menu > Detour > Avoid Roads.
An itinerary of your trip will appear. Tap on the road you would like to avoid.
Spotter GPS Navigator will take a few moments to plan an alternative to the
selected road. It will display any change in distance and/or time the new route
and display a map of the new route.
DETOURS
• Tap Accept and
Spotter will begin
directing you
according to the
new route.
• If you decide not to
use the new route,
tap Clear and try
another route or tap
Cancel and Spotter GPS Navigator will then return to your original route.
CLEAR AVOIDED ROADS
Spotter GPS Navigator will save the details of roads you wish
to avoid. To clear the memory:
• Tap Menu > Detour > Clear Avoid Roads.
ALTERNATE ROADS
If you are unhappy with the whole route Spotter GPS Navigator
has planned for you:
• Tap Menu > Detour > Alternate Route.
Spotter GPS Navigator will compile a different route if a sensible alternative
exists. A map of proposed detour will be displayed. Tap Accept to agree or
Decline to return to the previous route.
END DETOUR
If you are on a detour route and would like to return to the
original trip:
• Tap Menu > Detour > End Detour.

18 19
PLAN OR EDIT TRIP
ENTERING MULTIPLE DESTINATIONS
Spotter GPS Navigator allows you to plan a trip with up to 50 destinations in
one itinerary.
• Tap Menu > Plan or Edit Trip.
• Tap Add Stop then tap desired category listed, for example Address.
• Add the rst
address in the
same way as
detailed above;
see Enter
Address on
page 10.
• Tap the address and
a pop-up menu will
appear containing a list of options. Tap Set as Stop.
• Repeat these steps to add additional destinations.
If you select Show on Map from the pop-up
menu, a map of the area around the selected stop
will be displayed. Tap to return to the trip list.
Show on Map
PLAN OR EDIT TRIP CUSTOMIZE YOUR TRIP
When you have entered all your destinations you can change the order they
appear in.
• Tap the address you wish to move. A Pop-up menu will appear containing a
list of options: Set As Stop, Show on Map, Add to Favorites, Sent this
Location and the following icons:
Move to Top Move to Bottom
Move Up Delete
Move Down
• Tap the desired option.
The selected stop will
move to its new
position in the trip list.
SETTING WAYPOINTS
Spotter GPS Navigator can route you through a certain point without
considering it as a stop. By setting Waypoints you can adjust Spotter GPS
Navigator’s route, to calculate a detour via the waypoint.
• Tap Menu > Plan or Edit Trip.
Enter the waypoint address or place in the same way detailed in
Enter Address on page 10.

20 21
• The address will appear on the trip list as a stop, with a ag icon
next to it.
• Tap the address and a
pop-up menu will
appear containing a list
of options. Tap
Set as Waypoint
The address will now be listed as a Waypoint, with an arrow icon rather
than a stop to indicate that it is a Waypoint.
SAVE TRIP
When you have nished entering all your destinations, you can save your trip
to access at a later date, rather than start driving right away.
• Tap Options > Save
• Enter a name for the trip you are saving. Tap OK and your trip will be saved.
LOADING A SAVED TIP
• Tap Options > Load
• Tap the trip that you would like to load from the list then tap Open > Go.
To change a Waypoint back to a Stop, tap the address and
select Set as Stop from the pop-up menu.
Make a Waypoint a Stop
DELETE A PLANNED TRIP
To delete current planned trip:
• Tap Options > Clear
You will be asked to conrm this selection. To continue with deleting the trip
select Yes in the Warning - Are you sure? menu.
To delete previously saved planned trip:
• Tap Options > Load
• Tap the trip that you would like to delete from the list then tap Delete.
NOTE: You will NOT be asked to conrm this selection.
RETURN TRIP
Once you have completed your journey, use Spotter GPS Navigator to guide
you for your return.
• Menu > Plan or Edit Trip > Add Stop > > Return Trip
• Select Routing Type by tapping Quickest or Shortest and select Toll road
preferences by using the up and down arrows and tap OK.
NOTE: If you do not want to choose routing type each time, tap check box next
to Don’t show this message again.
• A route preview will be displayed. Tap Go.

22 23
OPTIMIZING STOPS
Spotter GPS Navigator has an Optimize stops function, which will
automatically rearrange the stops within a trip to create the most efcient
order. When you have planned a trip with more than 3 stops:
• Tap Options >
Optimize Stops
Spotter GPS Navigator
will take a few seconds
to reorder your stops
for the most efcient
journey.
ESTIMATED FUEL COSTS
The Spotter GPS Navigator will estimate fuel costs for a trip.
• Tap Options > Fuel Costs > Show Estimated Fuel Costs
• Enter the average miles per gallon (average MPG) for your car.
• Set currency and enter average cost per gallon.
TAKE BREAKS
Set Spotter GPS Navigator to alert you to take a break at regular time intervals
for dened durations of time, for a trip.
• Tap Options > Take Breaks During Trips
Break Every: Select a time interval which you would like to take a break.
Break For: Choose how long you would like to take a break for each break.
Your start point and nal destination will not be altered. However, if you
want the nal destination to be included in the optimization, select Options >
Take Breaks > Optimize Final Destination.
DRIVING VIEWS
Spotter GPS Navigator can be customized to meet your individual
needs and style. You can choose from six different screen driving
views. To access
• Tap Menu > > Driving Views or tap the (driving views shortcut
button) to quickly access one of the four views.
3D VIEW
This model shows your current position, next turn and sur-
surrounding road using a birds eye view.
2D VIEW
DRIVING VIEWS

24 25
DRIVER SAFETY
We recommend you choose Driver Safety, which displays a simple
turn instruction arrow with concise next turn instructions in large
type. In driver safety mode, a map is only displayed as you approach a turn or
are traveling below 10 mph.
ITINERARY
This view shows each direction and turn in a written list, in-
including distances.
2D NEXT TURN
Displays your current location and auto zooms into the next turn
on a 2D map.
2D DESTINATION
This view shows your route from your current positionto your
destination.
DAY MAP/NIGHT MAP
Displays map with a dark background that reduces
glare for easier night-time viewing.

26 27
SETTINGS
Spotter GPS Navigator can be customized to meet your indi-
vidual needs and style.
ROUTING
You can set up your routing preferences to best suit you.
• Tap Menu > > Settings > Routing
• Tap the one of the New Routing Prole Options: Automobile,
Motorcycle, Bicycle, Walking or RV
When option is selected tap
• Tap personalized routing options such as Avoid Ferries, Scenic route, Avoid
Propane-Restricted Tunnels, or International Borders Open then tap
• Select personalized routing preferences such as Quickest, Shortest, Avoid
Expressways, and Economic then tap
• Save prole - This step is OPTIONAL - To save prole enter a prole
name and tap . Or, skip step and tap to continue.
MAP STYLES
Spotter GPS Navigator offers a range of map styles.
• Tap Menu > > Settings > Map Styles
To set a map style for the daytime use the Day map style by toggling the up
and down arrows.
To set a map style for the night-time, use the Night map style by toggling the
up and down arrows.
Spotter GPS Navigator will automatically switch between the day and night
map styles you have selected when it starts to get light or dark outside.
MAP DISPLAY
To adjust the map display of the Spotter GPS Navigator
• Tap Menu > > Settings > Map Display
• Tap the 2D Map Rotation:
Heading Up: always be travelling upwards on the screen
North Up: hold the map static as you travel along your route.
Show Turn Restrictions: choose whether to display turn restrictions by
checking or unchecking the box
• Tap OK to apply the settings and return to the Settings menu.
SETTINGS

28 29
SELECT GPS POINTER
Choose from the Ofce Depot Car, Old Spice Car or Arrow to personalize the
Spotter GPS Navigator pointer. ** Ofce Depot Car is default.
• Tap Menu > > Settings > GPS Pointer
• Tap Ofce Depot Car, Old Spice Car or Arrow
• Tap OK to apply the settings and return to the Settings menu.
GPS STATUS
To check the GPS Status
• Tap Menu > > Settings > GPS
The GPS Status screen shows detailed information regarding the GPS x and
signal strength which your Spotter GPS Navigator uses for guidance. From this
screen you can see your current latitude or longitude position, the UTC time
and date, your speed and your elevation (feet above sea level).
NOTE: Your GPS signal will
be limited when the receiver
is inside buildings, tunnels
or garages. To work
effectively the GPS receiver
needs to have a clear line of
sight to the sky.
TO CHECK THE GPS SATELLITES
• Tap Menu > > Settings > GPS > Satellites
The GPS satellites screen shows a 3D display of the GPS x acquired.
NOTE: Spotter GPS Navigator is ready out of the box and does not require
GPS setup. DO NOT USE the GPS Setup menu without direction form
Technical Support. Changing options in GPS Setup without direction from
Technical Support may compromise the Spotter GPS Navigator’s ability to
receive GPS signals.

30 31
POI DISPLAY
You can choose to have POIs shown on-screen and the distance at
which you are notied by adjusting the POI settings.
• Tap Menu > > Settings > > POIs.
• Tap box to choose to show POIs Always, Never, or When Stopped.
• To see or change which POI categories should be shown on the map, select
Currently Displayed POIs > select specic POI categories to display by
checking the boxes then tap OK.
• Tap OK to apply the settings and return to the Settings menu.
TURN WARNINGS
Spotter GPS Navigator will warn you when you are approaching a
turn either at 2 miles. 1 mile. 3/10 of a mile or at turn.
• Tap Menu > > Settings > > Turn Warnings
• Tap box to choose to when you want the spoken warning.
• You can also choose how long in seconds before a turn you want to be
warned. Adjust seconds by tapping
• Tap OK to apply the settings and return to the Settings menu.
CLEAR TURN
Spotter GPS Navigator can provide real sign post information displayed on
your screen as an additional visual aid while on the road.
CoPilot Clear Turn™ provides a virtual view at complex junctions and motor-
way exits. The real sign post information and visual instructions displayed on
the road highlight the turn and lane you need. Clear Turn is only available in
3D driving views.
• Tap Menu > > Settings > > ClearTurn
• Tap box to choose to when you to display ClearTurn Near exits.
• You can also choose how long in seconds before a turn you want to be warned
and when you would like the warning to be hidden. Toggle seconds by tapping
LANGUAGE & VOICE
You can change the language used for all buttons, information and
instructions displayed on-screen and spoken.
• Tap Menu > > Settings > > Language & Voice
• Tap the desired language on-screen text
• Tap OK to apply the settings
• Tap Frank to have street names read aloud then tap OK.
• Tap OK to apply the settings and return to the Settings menu.
DAY/NIGHT MODE
Set your Spotter GPS Navigator to use different map styles for Day
and Night, or choose Automatic to switch between the day and
night map styles you have selected.
• Tap Menu > > Settings > > Day/Night Mode

32 33
UNITS OF MEASURE
To set your preferences for the type of units used in maps and instructions:
• Tap Menu > > Settings > > > Units of Measure
• Tap English or Metric
• Tap OK to apply the settings and return to the Settings menu.
BACKLIGHT
Adjust your mobile device’s backlight settings to save battery power.
• Tap Menu > > Settings > > > Backlight
• Tap On with GPS, Always On, On Near Turn, or Use Device’s
Settings
• Tap OK to apply the settings and return to the Settings menu.
INFO BAR
Once you’ve planned a journey and selected GO, Spotter GPS Navigator will
display a driving view with useful information about your journey in the Info
Bar at the base of the screen.
You can decide how the information bar should be displayed and select what
information is shown.
• Tap Menu > > Settings > > > Info Bar
To decide how the information bar is displayed, choose from the following:
• Single Display - To show only one of the information options, for example
your estimated time of arrival at a destination.
• Dual Display - Lets you select two information options, for example your
estimated time of arrival and distance remaining to destination.
• Loop Single Display - Shows all information about your journey by
displaying one option then rotating to another.
To decide what information is displayed, choose from the following:
• Destination • Current Road
• Nearest Crossroad • Nearest Town
• Estimated Time of Arrival • Speed
• Estimated Travel Time • Distance Remaining
• Altitude • Latitude/Longitude
• Latitude/Longitude
Tap OK to apply the settings and return to the Settings menu.
In display mode you can also display the info bar
by tapping on it.

34 35
SOUND
To adjust the sound of the Spotter GPS Navigator
• Tap Menu > > Settings > > > Sound
• Increase and decrease the volume using the < and > arrows, select box to
Mute sound, Unselect Button Click Sounds to turn off click sound when
you touch screen
• You will hear a Welcome to CoPilot Live greeting when you launch you
Spotter GPS Navigator. Unselect Say Welcome to CoPilot Live to stop
greeting.
• Tap OK to apply the settings and return to the Settings menu.
PLAY DEMO
You can watch a demonstration to see how Spotter GPS Navigator
can guide you on your journey.
• Tap Menu > > Settings > > > Play Demo
Tap the icon on the map to open a panel of buttons that let you con-
trol the demo or track playback.
• Speed up by tapping the Faster button or slow down by tapping the Slower
button.
• Tap to go back to the beginning of the demo or track.
• Tap to go back to the most recent turn.
• Tap to pause.
• Tap to forward to the next upcoming turn.
• Tap to close the demo or track.
• Tap GPS Tracks to play back a previously completed trip. Select the trip
from the Track Playback list.
• Tap Play to start playback.
• Tap Slower or Faster to control the speed or to close
the track.
ABOUT COPILOT
To access the version and data number of your CoPilot Truck software,
• Tap Menu > > Settings > > > > About CoPilot
SHOW MORE SETTINGS
The rst time you start Spotter GPS Navigator, the settings for some
of the more advanced features might be hidden. To view the hidden settings:
• Tap Menu > > Settings > > > > Show More Settings

36 37
POI ALERTS
This option is only visible when Show More Settings is selected from
the Settings menu. You can choose which POI categories should be
displayed on screen and set the distance ahead to report for these by
adjusting the POI Alerts.
• Tap Menu > > Settings > > POI Alerts
• To display POI alerts, tick the box to SHOW POI Alerts
• You can set the distance ahead to report for POIs using the arrow
buttons
• Select whether to show POIs that are On Route or Near Route
You can choose which POI categories to display.
• Tap Select POIs to Alert
• Select specic POI categories to display by tapping the boxes
• Tap OK to apply the settings and return to the POI Alerts
• Tap OK to apply the settings and return to the Settings menu
MANAGE POIS
This option is only visible when Show More Settings is selected from
the Settings menu. You can add or remove additional POIs to/from your
Spotter GPS Navigator, for example your favorite places, restaurants or
other locations.
You can add your own POIs to existing POI categories or create your own
personal categories.
• Tap Menu > > Settings > > Manage POIs
Choose either Edit POIs or POI Sets
Edit POIs
• Tap Add button.
• Choose to add an address, contact, intersection, map location, coordinates or a
photo location to your POI database
• Select a POI category in which to place you new POI by tapping on it
and tap
• Select a Type or create New Type and tap
• Enter a name for the category you are saving and tap Continue
To Create a New Category
• Tap New Category button.
• Enter a name for the category you are saving and tap
• Tap image you would like your new category to be displayed as
and tap
• Enter a name for the Place you are saving and tap Continue
To Create a New Type
• Tap New Type button.
• Follow steps for creating new category above.

38 39
Edit POI Sets
This feature allows you to manage and edit POI data sets either
created by yourself or purchased and downloaded to CoPilot Live
through CoPilot Central
• Select the data list that you want to adapt and press the Edit button. You can
edit a specic record or add another record following the same steps outlined
in Edit POIs.
GUIDANCE
This option is only visible when Show More Settings is selected
from the Settings menu. You can adjust the way Spotter GPS Navigator
guides you.
• Tap Menu > > Settings > > Guidance
To decide the adjustments, choose from the following:
• Turn Guidance - Your Spotter GPS Navigator shows the turn you should
take after the next approaching turn. From the selection of distances, adjust
the distance at which you would like to see the turn following the next turn to
be displayed.
• Walking Mode - When you are using CoPilot Live while walking, select
Display Breadcrumb to show a dotted line between your start and end
destinations to help you navigate.
• Turn Warnings - Select the distance(s) before a turn, you would like to hear
Spotter GPS Navigator warn you when you are approaching a turn. The
options available are: 2 miles, 1 mile, 3/10s of a mile. You can also choose
how long in seconds before a turn you want to be warned.
• Tap OK to apply the settings and return to the Settings menu.
SPEECH
This option is only visible when Show More Settings is selected
from the Settings menu. Spotter GPS Navigator provides help by
speakingprompts such as “enter city or zip code. Text-to-Speech help is
enabled by default. To remove the Text-to-Speech help function
• Tap Menu > > Settings > > Speech
ROUTING PROFILES
This option is only visible when Show More Settings is selected
from the Settings menu. Use routing proles to choose how Spotter
GPS Navigator routes you on your journey.
• Tap Menu > > Settings > > > > Routing Proles
• Select a routing prole from the select Routing Prole list or create new
routing prole. See page 26 to for instructions on creating a new routing
prole.
GPS TRACK PLAYBACK
This option is only visible when Show More Settings is selected
from the Settings menu. Spotter GPS Navigator automatically records
your journeys as GPS Track les. You can playback a previously
completed journey.
• Tap Menu > > Settings > > > >
> GPS Track Playback
• Select a track from the list by tapping on it then tap PLAY. See page 34-35 to
demo playback instructions.
Table of contents
Other RightWay GPS manuals

RightWay
RightWay 550 User manual

RightWay
RightWay Mini-S3 User manual

RightWay
RightWay Trine XL Version 1.0 User manual

RightWay
RightWay GPS Navigator RW 355 User manual

RightWay
RightWay RW400 User manual

RightWay
RightWay RW550 User manual

RightWay
RightWay Trine XL User manual

RightWay
RightWay 210 User manual

RightWay
RightWay GPS Navigator RW 200 User manual

RightWay
RightWay SPOTTER DALE JR. EDITION User manual