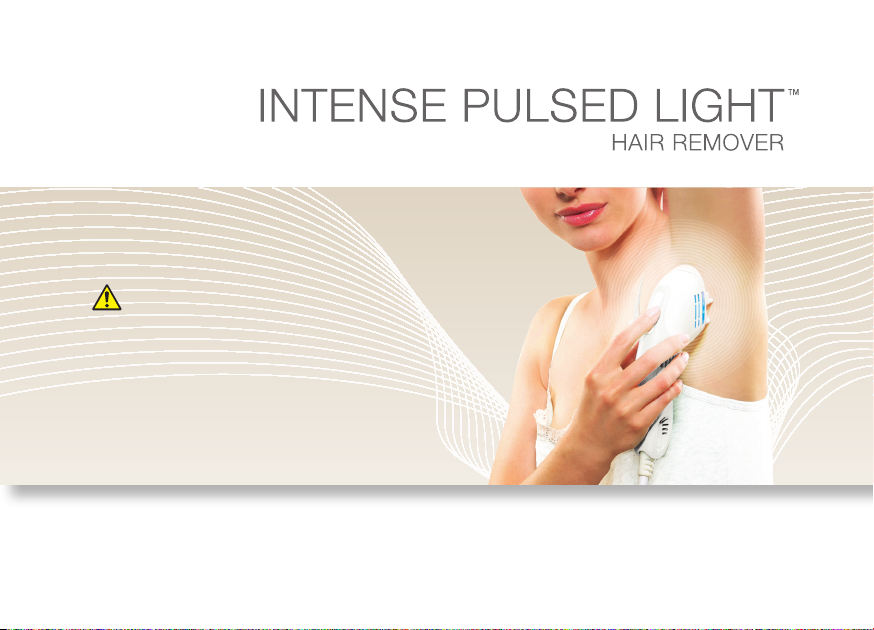
Rio Intense Pulsed Light User manual

This product MUST be
used responsibly
Read all instructions
thoroughly before use and
retain for future reference
user guide


1
WARNINGS
•Readallinstructionsthoroughlyandretainforfuture
reference.
•This appliance can be used by children aged 8 years and
above and persons with reduced physical, sensory or mental
capabilities or lack of experience and knowledge if they have
been given supervision or instruction concerning the use of the
appliance in a safe way and understand the hazards involved.
Children shall not play with the appliance. Cleaning and
maintenance shall not be made by children without supervision.
• Never aim the wand at or near eyes.

2
WARNINGS
• Reection Hazard: Please remove all jewellery in the vicinity
of the treatment area before use.
• Do NOT use near ammable materials.
• Do NOT use this appliance in wet surroundings (near a bath
or shower).
• Do NOT use if water enters the unit.
• Do NOT immerse in water.
Unsuitableskintonesandhairtypes:
• IPL is not suitable for dark skin tones, for example, those of
Afro-Caribbean, Black African, Indian or Pakistani descent.

3
WARNINGS
See “Suitable Skin Types” and always carry out Patch Test.
• IPL is not suitable for the removal of red, light blonde, grey
or white hair.
Areasnottotreat:
• Do NOT treat over tattoos, permanent make-up, pimples,
acne, warts, hair on black spots or moles, dark freckles,
skin disease, birth marks, burns, nipples, genital or anal
areas, varicose veins, eczema, cold sores, psoriasis, open
wounds, on abnormal skin pigmentation such as albinism
and vitiligo or on broken skin.

4
Donotuseif:
• You are pregnant or breast feeding, you have a history
of epilepsy or are taking medication known to increase
photosensitivity. If you have any history of epileptic seizures
we do NOT recommend using IPL. Common medications
can cause photosensitivity so if you are on any medication
you should check for photosensitivity warnings and if in
any doubt consult your doctor. Common medications
which can cause photosensitivity include some diuretics,
some antibiotics, tricyclic antidepressants and medications
prescribed for thyroid conditions, lupus and arthritis.
WARNINGS

5
• Do NOT use if you have a history of skin cancer.
• Do NOT use if you have diabetes, kidney disease, heart
disease or thyroid problems.
• Do NOT treat the same area repeatedly in any one session.
Possiblereactions:
• Most people feel a heating sensation during treatment.
Some people experience a slight reddening of the skin. In
most cases this will disappear within 24 hours, but on rare
occasions it may take up to 72 hours.
WARNINGS

6
• The following effects will require discontinuing treatment.
In each case, cool the area - we recommend an aloe vera
cooling gel. If symptoms continue after 48 hours, seek
medical advice.
• Pain in the area treated
• Itching in the area treated
• Redness
If blistering or burning occurs, seek medical advice
immediately.
WARNINGS

7
INTRODUCTION
The Intense Pulsed Light Hair Remover™ uses the latest Intense Pulsed Light (IPL)
technology. Placed gently against the skin, pulses of intense light are delivered
directly to the hair follicle with enough energy to disable the root without affecting
the surrounding area. IPL delivers quick and efficient long term hair removal. IPL is
suitable for larger areas such as legs, arms, underarms, bikini line, back and chest
as well as certain areas of the face.

8
1Keyswitch
2Power level decrease
button (-)
3Power level increase
button (+)
4Power level indicators
5Bulb life indicator
6Enable button
7Mains power socket
(on the back)
8Wand cable
9Wand
1 6 7
2
3
4
5 8
9

9
0IPL treatment button
!Blue ‘ready’ light (x2)
@Treatment cartridge
£Indentation mark
$Orange ‘safety’ light (x2)
%Orange IPL aperture
^Skin sensors (x4)
&Bulb
*Razor
(Mains power lead
)Keys
^
£
&
@
%
0
!
$
(
*
)

10
SUITABLE SKIN TYPES
Your IPL hair remover is suitable for fair coloured skin through to olive and tanned skin types.
For treatment to be effective the hair needs to be darker than the surrounding skin. Best results
are on pale skin with dark hair. You may find that different power levels are required on different
areas. Each area should be tested for the appropriate maximum power level.
Use the skin tone chart together with the chart (page 13) to accurately identify your skin tone/type.
SKIN TONE CHART
Suitable for
IPL treatment
NOT Suitable
for IPL treatment

11
TREATMENT SUMMARY
Read all
warnings
before you
begin
Establish
skin tone
using the
chart
Carry out
a patch test
Wait
24 hours
Did your
skin react
to the
patch test?
See
‘possible
reactions’
under
‘warnings’
See
‘possible
reactions’
under
‘warnings’
TREATMENT
YES YES
NO
NO
Do NOT
use the
EVOLUTION
unit unless
the problem
is resolved
Did your
skin react
to the
treatment?

12
PATCH TEST
24 hours before treatment check for any reaction by testing a small area.
The patch test will confirm the maximum power level for your skin type.
Treat an area on each power level (e.g. arm, leg) up to the maximum power level for your skin type
(see Skin Chart). Use the (+) button to increase the power level by a single step each time and
work your way along the area with the wand on a different part of the skin each time.
If you feel any discomfort the previous power level is the maximum power level you should use.
A slight redness may occur, but not always, within an hour of treatment. However, if any redness
remains after 24 hours this would indicate the power level selected was too high for your skin
type.
IMPORTANT: Because skin colour varies on different areas of the body, you may find that you need
different power level settings for different areas. Each area should be tested for the appropriate
maximum power level.

13
SKIN CHART
Skin Type Skin Colour
Tanning History
Maximum Power Level
IVery fair,
“transparent”Always burns, never tans
Subject to patch test
all 5 power levels
can be used
II Fair Always burns
III Fair to light olive Burns mildly
Subject to patch test
power levels 1, 2
and 3 can be used
IV Olive/Tanned Rarely burns, tans with ease
VDark brown Very rarely burns
NOT suitable
for IPL treatment
VI Black Never burns
12345
123
12345
123

14
BEFORE YOU START
Please ensure you read and understand the ‘Warnings’ section before proceeding.
• Donotuseanyhairremovalmethodthatplucksthehairfromthefollicle,asthisrenders
IPL ineffective.
• Removealljewelleryinthevicinityofthetreatmentarea.
• Ensureyouhavepatchtestedtheareatobetreated24hourspriortotreatmentandare
aware of your maximum power level.
• Your first treatment will always be on power level 1 and can only be increased by one
level after a treatment is performed.
INCREASING THE POWER LEVEL
Each time you use your IPL you will need to do a treatment flash on each power level
before you can increase the power to the next level. This is a safety feature to ensure
you are aware of the treatment intensity at each level.
A self-check lasting a few seconds is performed whenever the power level is increased.
Duringthistime,thepowerlevelswillilluminateupanddown.

15
STEP 1
Shave the area to be
treated. This ensures
that the light energy goes
directly to the hair root
and avoids hair burning
on the surface.
STEP 2
Connect mains power
lead into the power
socket on the back of
the unit and plug into the
mains.
STEP 3
Turn the key clockwise
to the ON position to
unlock. The light around
the keyswitch will flash
green. Power level 1 will
illuminate and the fan will
startup.
IMPORTANT
Place on a hard surface
and ensure cooling vents
on the underside are not
obstructed e.g. duvet or
soft carpet.
INSTRUCTIONS FOR USE
13
2

16
INSTRUCTIONS FOR USE
STEP 4
Enter the security code by pressing the buttons (highlighted in black) in the following order:
The unit will emit 2 beeps and the keyswitch will stop flashing and illuminate
green. A series of self-checks will be performed. During this time, the power
levels will illuminate up and down. When completed, the lowest power level
will illuminate and the enable button will flash blue ready for selection.
Note: The unit will power off if the code is incorrectly entered (the keyswitch will change from
flashing green to flashing orange and the unit will emit two low beeps). Turn the key off, wait a
few seconds and then turn the key back on and enter the correct security code.
4

17
STEP 5
Press the enable button
once. The enable button
will stop flashing.
The orange lights on the
wand will illuminate.
Note: Each time the
power setting is adjusted,
you will need to press
the enable button to
continue.
STEP 6
Place the wand over the
area you wish to treat.
Ensure all 4 skin sensors
are in contact with the
skin (you may need to
apply gentle pressure).
The blue ‘ready’ lights will
illuminate.
STEP 7
Press and HOLD the
treatment button on the
wand. This initiates the
treatment flash. You may
feel a slight warming
of the area. During the
treatment, the flash will
emit a sound similar to a
camera shutter.
Notes:
• DoNOTmovethewandduringtreatment.
• Thewandmaybecomewarmduringuse
which is quite normal.
• Ifcontactislostbetweentheskinsensors
and skin during treatment, the wand’s
blue lights will go off. Return to step 6.
INSTRUCTIONS FOR USE
5
6
7

18
STEP 8
The blue lights will go out
after the treatment flash.
The unit will also self-
check after each flash.
This takes five seconds, during this time the
power level lights will illuminate up and down.
When moving the wand to the next area, the
skin sensors must be lifted off the skin.
If you are increasing power
for the next treatment,
press the (+) button and
return to step 5.
Important: Do NOT exceed
the maximum power level
for your skin type.
AFTER USE
Turn the key anticlockwise
to the OFF position to
lock. Remove and store
the key in a safe place
away from children.
INSTRUCTIONS FOR USE
INCREASING THE POWER LEVEL
Each time you use your IPL you will
need to do a treatment flash on each
power level before you can increase
the power to the next level. This is a
safety feature to ensure you are aware
of the treatment intensity at each level.
A self-check lasting a few seconds is
performed whenever the power level is
increased.Duringthistime,thepower
levels will illuminate up and down.
8
This manual suits for next models
1
Table of contents
Other Rio Hair Removal System manuals