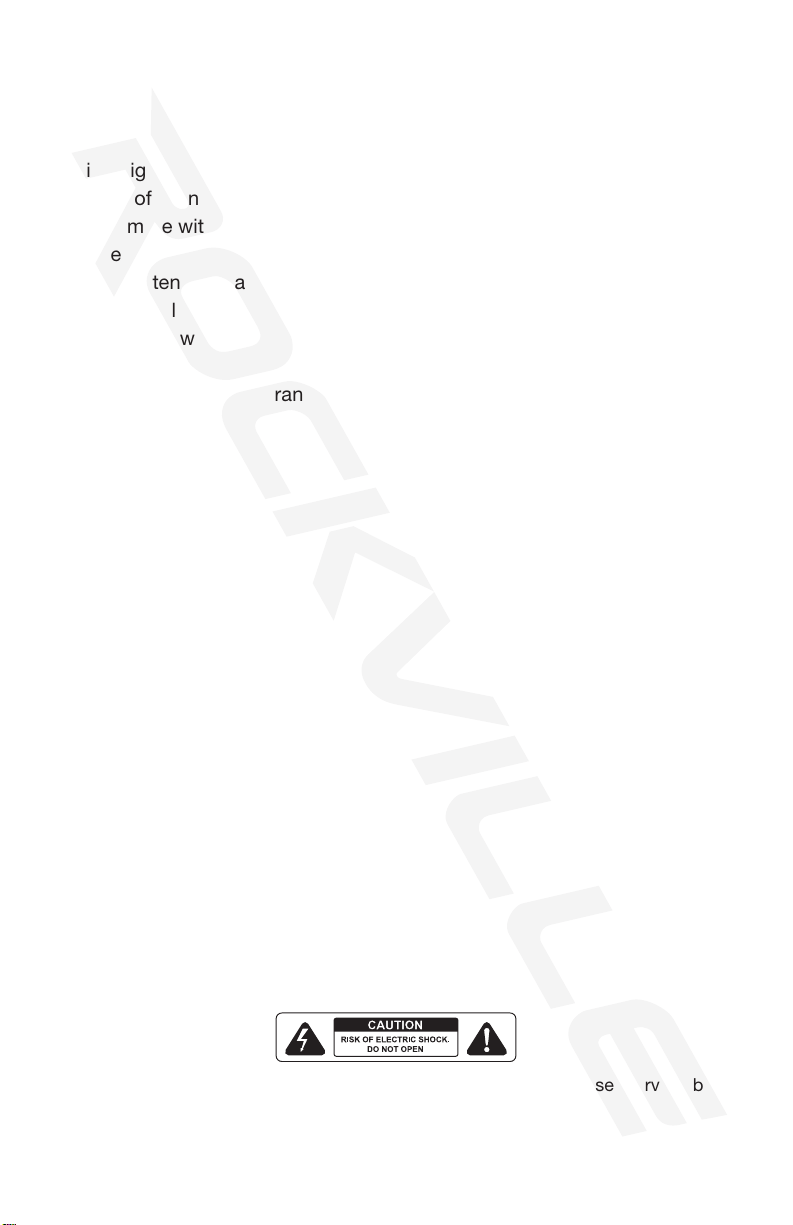
10
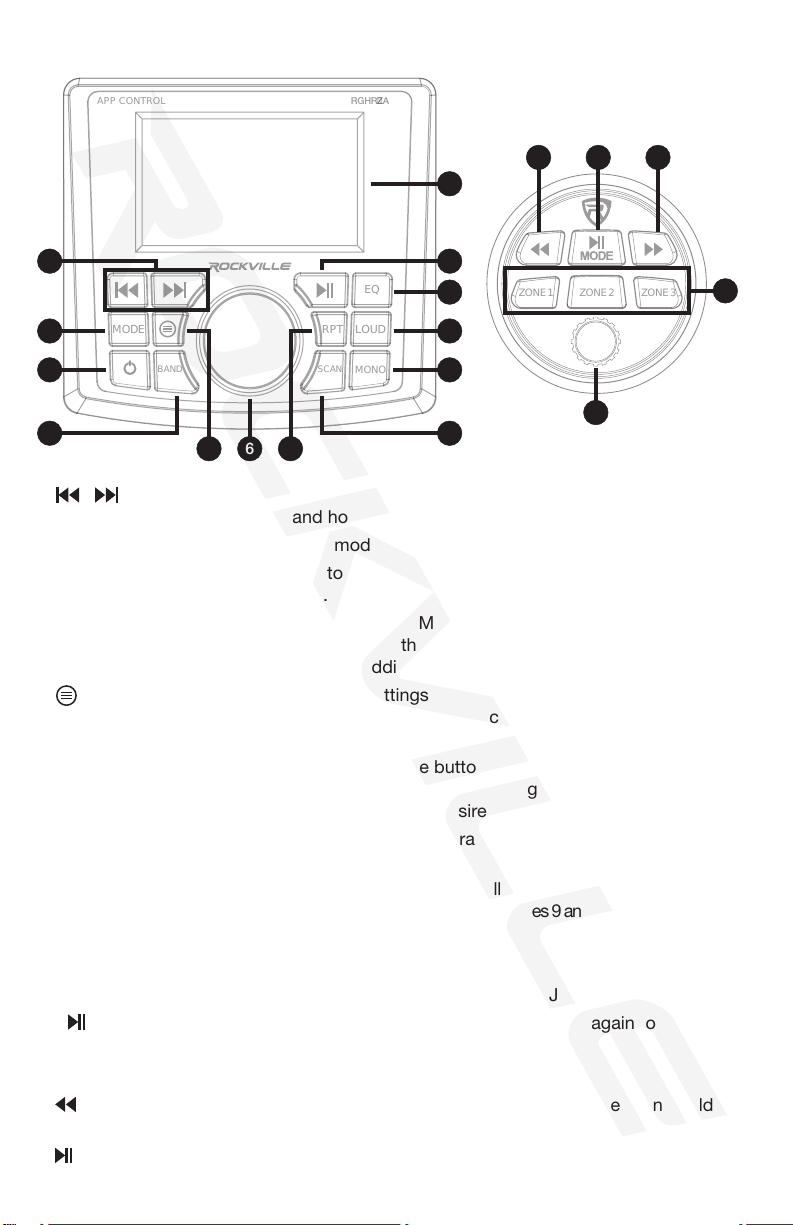
SPEAKER ZONES
RGHR-ZA Mobile App
SETTINGS
This marine receiver has 3 zones, each with independent volume control. There are 1 zone
for full-range and 2 zones for line level output. Here is how it works: Zone 1 is the powerful
built-in 4-channel amplier to which you connect your main speakers. Zones 2 and 3 allow
you to connect up to 4 additional channels (2 channels per zone) using one or more exter-
nal ampliers. You can then control the volume for each of the zones from the unit as well
as from the included wired remote.
To RGHR-ZA includes an app available for iPhone and Android phones which allows your
phone to act as a wireless remote. Through the app you can adjust the main volume, zone
volumes, general sound settings, control playback in USB and BT modes, change the in-
AUDIO SETTINGS:
1. Click the main unit’s Multifunction knob to enter the audio settings menu.
2. Turn the Multifunction knob to cycle through the audio settings options.
3. To adjust the settings, click the Multifunction knob to select the desired setting, turn
the knob to make adjustments, then click the knob to exit.
4. Adjustable settings are: ZONE1 VOL, ZONE 2 VOL, ZONE 3 VOL, SUB VOL, Bass,
Treble, EQ, Loudness, Sub lter crossover, Beep, radio mono mode and location.
GENERAL SETTINGS:
1. Press the (MENU) button to enter the general settings menu.
2. Turn the Multifunction knob to cycle through the audio settings options.
3. To adjust the settings, click the Multifunction knob to select the desired setting, turn
the knob to make adjustments, then click the knob to exit.
FUNCTIONS (CONTINUED)
scan through all frequencies and save available stations to the presets. Now the unit will go
into a preview scan mode which will play 5 seconds of each preset station. Optionally, you
can press and hold the Previous or Next button for 1 second. The display screen will show
the word “AUTO” on the right, just above the radio icon. Press either button again and the
unit will scan through all frequencies and save available stations to the presets. Short press
the SCAN button to search for stations. The unit will scan through all frequencies and stop
at each available station for a few seconds. When you reach a station you like, press the
SCAN button again to stop searching.
MANUAL TUNING
To navigate frequencies in single increments, press and hold the Previous or Next button
for 1 second. The display screen will show the word “AUTO” on the right, just above
the radio icon. Press hold either button again for 1 second and the word “AUTO” will
change to “MANUAL.” Now you can use the Previous or Next button navigate the stations
incrementally.
PRESETS
To save manually tuned stations to the presets, navigate to the desired station using the
manual tuning procedure stated above. Once you’ve reached the station, wait until the word
“MANUAL” disappears. Press and hold the BAND button until the screen shows “Save to
preset 1.” Use the Previous/Next buttons to select the preset bank to which you wish to
save the station. Press and hold the BAND button to save the station. Upon successfully
saving the station, the words “Save to preset” will disappear and the corresponding preset
slot on the left-hand side of the screen will be highlighted and show the station’s frequency.
To mute the radio, press the power button.