Routline SUPERFLY MANTAS 28 Quick start guide

RIGGING MANUAL
SUPERFLY
MANTAS 28

OUTLINE S.R.L.
Via Leonardo da Vinci, 56
25020 Flero (Brescia) Italy
Tel.: +39 030.3581341
Fax +39 030.3580431
www.outline.it
2
Superfly Mantas 28 Rigging Manual
Version: 2.0
Release date: 2022/10/07
© Outline 2022. All rights reserved.
Refer all servicing to qualified personnel, through your Outline dealer.

OUTLINE S.R.L.
Via Leonardo da Vinci, 56
25020 Flero (Brescia) Italy
Tel.: +39 030.3581341
Fax +39 030.3580431
www.outline.it
3
CONTENTS
1. SAFETY REGULATIONS..................................................................................................4
1.1. DISPOSAL OF WASTE MATERIALS....................................................................................................... 4
1.2. CONFORMITY AND WARRANTY ........................................................................................................... 4
2. COMPONENTS OVERVIEW .............................................................................................5
2.1. LOAD CAPACITY.................................................................................................................................... 5
2.2. FRAME BAR SPECIFICATIONS............................................................................................................. 6
2.3. INTEGRATED HARDWARE OF LINE ARRAY ELEMENTS ..................................................................... 8
2.4. LOCKING PINS...................................................................................................................................... 9
2.5. HARDWARE INSPECTION..................................................................................................................... 10
3. OPEN ARRAY 2 - PRE-RIGGING .....................................................................................11
4. RIGGING PROCEDURE ................................................................................................... 14
4.1. PREPARATION...................................................................................................................................... 14
4.1.1. SPLAY ANGLES.............................................................................................................................................. 14
4.1.2. PREPARATION OF THE FRAME BAR............................................................................................................. 16
4.2. ASSEMBLING........................................................................................................................................ 18
4.3. INTERMEDIATE PHASE ........................................................................................................................ 20
4.3.1. RIGGING THE CABLES................................................................................................................................... 20
4.4. FINAL PHASE........................................................................................................................................ 21
4.5. DERIGGING ........................................................................................................................................... 22
4.6. GROUND STACK CONFIGURATION...................................................................................................... 23
5. TRANSPORT AND STORAGE ..........................................................................................25
6. NOTES............................................................................................................................ 26

OUTLINE S.R.L.
Via Leonardo da Vinci, 56
25020 Flero (Brescia) Italy
Tel.: +39 030.3581341
Fax +39 030.3580431
www.outline.it
4
1. SAFETY REGULATIONS
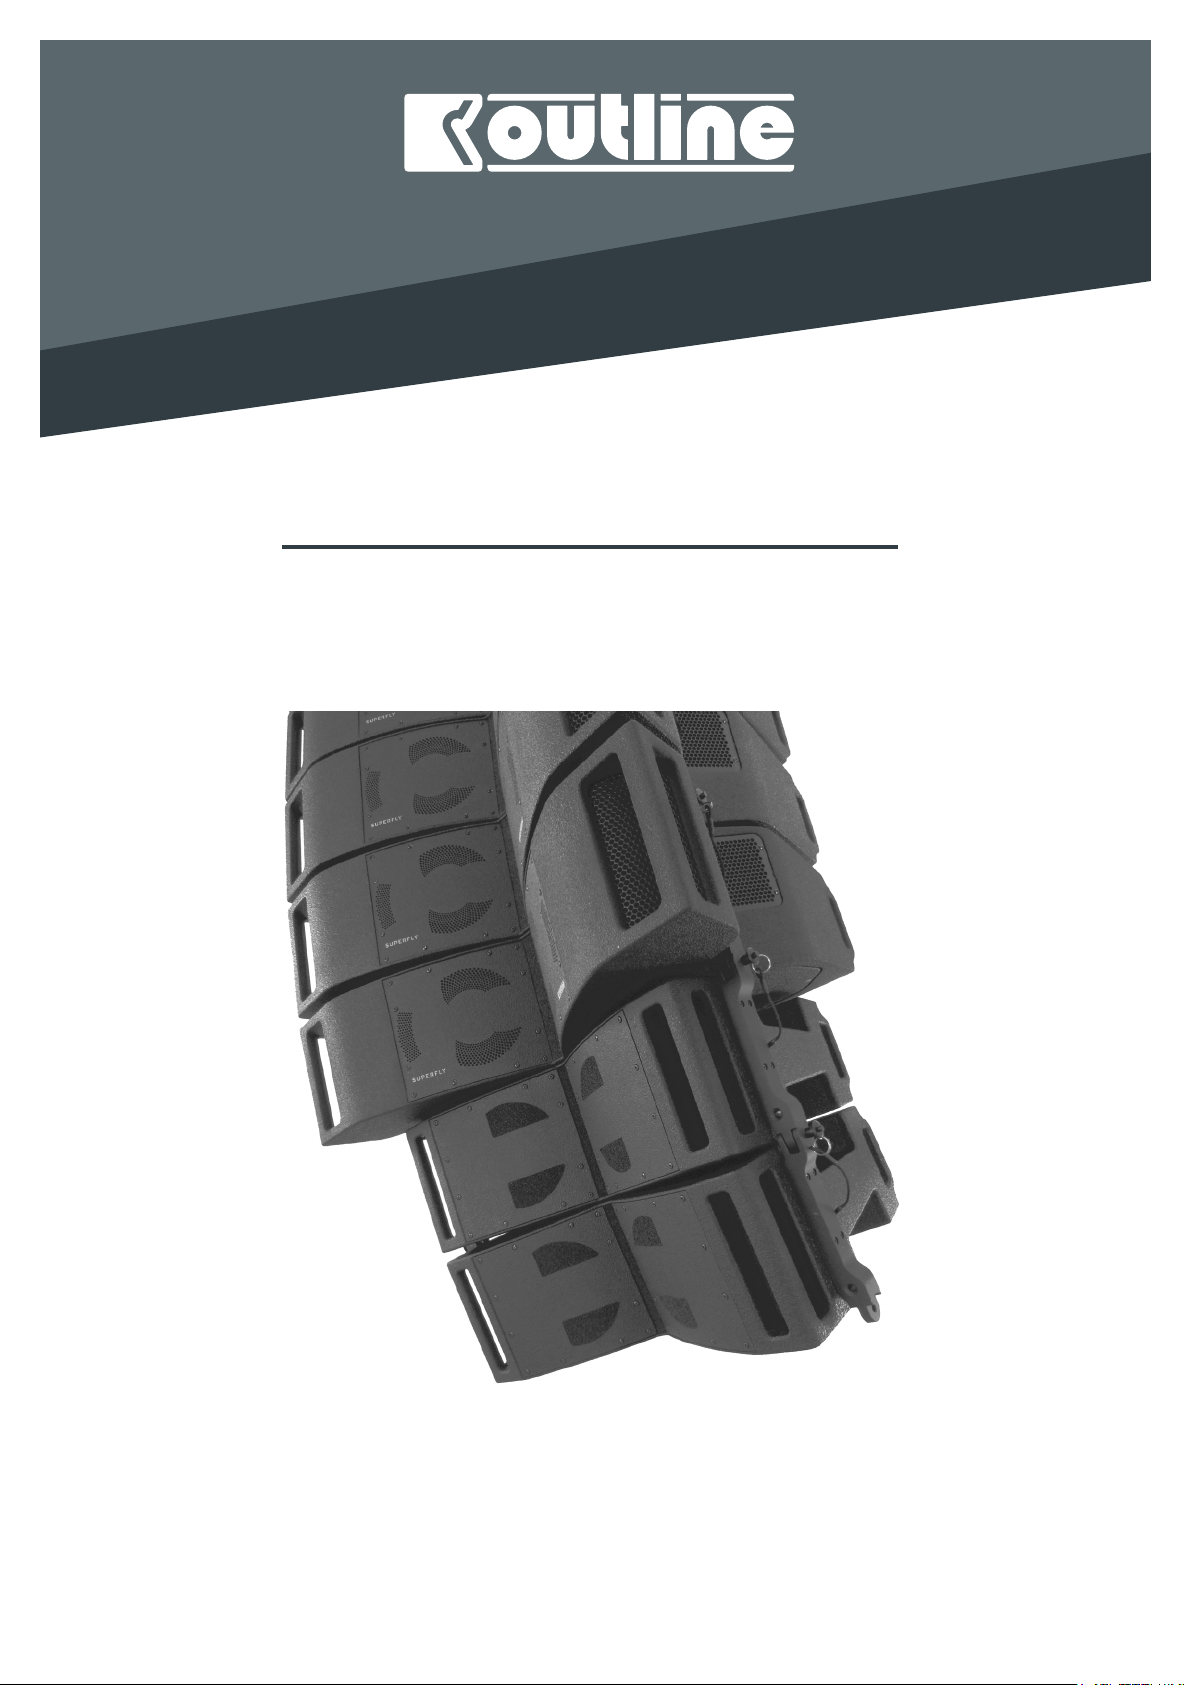
Welcome to the Outline World!
We suggest you take your time to reading this
manual in order get to know this product in depth
and ensure you make the most of its use to guarantee
the correct mounting/dismantling of the system (as
a temporary or as a fixed installation).
Each rigging or derigging phase must be executed
by qualified staff in compliance with the general
safety and prevention rules of your country and there
should be at least two operators, equipped with all
necessary personal protective equipment (PPE) and
valid occupational safety certificates in compliance
with local laws.
The staff must make sure that the following rules
are observed:
• any configuration of an Outline line array
system must necessarly be designed and
verified with OpenArray2 simulation software;
• all the necessary steps described in this
manual are performed;
• for installation, the staff involved must know
and be familiar with the safety procedures to
follow in these situations;
• the integrity of the whole system must be
maintained and any defective component
that could compromise the safety must be
discarded and replaced;
• nobody stays under the system, especially
when moving the clusters;
• respect the limits set for the mechanical parts
imposed by Outline OpenArray2 software as
described in this manual;
• regular check up of the conditions and correct
operation of the mechanical parts.
Outline declines any and all responsibility for
damage or faulty operation caused by using the
system in a different way from that expressly
foreseen and specified.
1.1. DISPOSAL OF WASTE MATERIALS
The product is designed and manufactured
with high quality materials and components,
which can be recycled and reused. When this
symbol of the crossed “wheelie” bin is attached
to a product, it means that the product is covered by
the European Directive 2012/19/EU and successive
amendments. This means that the product must NOT
be disposed of with other household-type waste.
Users are responsible for the disposal of their
electric and electronic equipment, consigning
it to an approved disposal facility. For further
information on where it is possible to send
equipment for recycling, contact your local
distributor. Correct disposal of the old product will
help to prevent potential negative consequences for
the environment and people’s health
1.2. CONFORMITY AND WARRANTY
All Outline electro-acoustic and electronic
devices are in conformity with the provisions
of EC/EU directives (as stated in our CE
declaration of conformity).
The CE declaration of conformity is attached to the
product warranty certificate and is shipped with the
product.

OUTLINE S.R.L.
Via Leonardo da Vinci, 56
25020 Flero (Brescia) Italy
Tel.: +39 030.3581341
Fax +39 030.3580431
www.outline.it
5
2. COMPONENTS OVERVIEW
2.1. LOAD CAPACITY
The whole structure (rigging frame, single
hardware elements, locking pins etc.) for hanging the
array of
Superfly
/
Mantas 28
enclosures is approved
to support a maximum load that is determined by the
calculations made with OpenArray2. It can be of help
to remember the following maximum load capacity
values:
• 24 x
Mantas 28
………………. 576 kg (1270 lb)
• 20 x
Superfly
………………….. 760 kg (1676 lb)
- NOTICE - FRAME LIMITATIONS- NOTICE - FRAME LIMITATIONS
Standard flying operations allow a maximum of 16
Superfly cabinets, or 24 Mantas28, to be hung via the
whole range of hanging holes (#1 thru #20).
Alternatively, a maximum of 20 Superfly cabinets
can be deployed only via hanging holes #5 thru #16.
Do not ever hang more than 16 Superfly cabinets
using holes other than the range of #5 thru #16, as
highlighted in the safety markings depicted below.
Installation can only be carried out if positively
sanctioned by OpenMechanics module within
OpenArray2.
Please, note that Outline declines any and all
responsibility for damage caused by using the system
in a different way from that expressly specified.
DO NOT ABSOLUTELY exceed the limits imposed
by
OpenArray2
(chapter 3).
To perform all the rigging steps correctly, it is
essential to know the components that make
part of the sound reinforcement system and their
characteristics. These, in addition to the data provided
by
OpenArray2
projects, will ensure compliance with
all the established and certified parameters to always
guarantee public safety during the executive phases
carried out by the authorized personnel.
The weight distribution has
been studied to be the safest
possible while respecting the
load in relation to the array’s
center of gravity.
The above mentioned values
refer to the total absence
of lateral forces (i.e. strong
wind). In case these forces are
present, it is mandatory to avoid
any overload of the structure
that could affect its safety.
It is highly recommended to
use special support means
to keep the system still. In
case of potentially dangerous
situations it is advisable to
contact engineers and experts
specialized in suspended loads.

OUTLINE S.R.L.
Via Leonardo da Vinci, 56
25020 Flero (Brescia) Italy
Tel.: +39 030.3581341
Fax +39 030.3580431
www.outline.it
6
2.2. FRAME BAR SPECIFICATIONS
FRM1-AL630
Superfly
/
Mantas28
is a rigging
frame bar approved and certified for these two line
array elements that share the same integrated
hardware. Below you will find the specifications of
the frame bar:
• Weight…………………………….……………….... 21.5 kg
• Material.…………..... Ultra-resistant aluminium
• Width.......………………………………..………. 790 mm
• Length.....………………………………...……… 917 mm
• Height………………………………………..……. 110 mm
790
917
110
790
917
110
The maximum declared load of the rigging frame
is 630 kg to be hung via the whole range of hanging
holes (#1 thru #20).
Deploying the system only via hanging holes #5
thru #16 allows you to hang up to 20 Superfly cabinets.
It is mandatory in any case to respect the limits
imposed by OpenArray2 in the design phase.

OUTLINE S.R.L.
Via Leonardo da Vinci, 56
25020 Flero (Brescia) Italy
Tel.: +39 030.3581341
Fax +39 030.3580431
www.outline.it
7
The shackle should be fastened to the hanging
holes indicated by the software.
In case common chain hoists are used, it could
be of help to use a wire rope sling with thimbles to
avoid that the bag containing the chain leans upon
the cluster causing chain lock or unwanted vertical
displacement of the array.
It should be the authorized staff’s care to verify and
ensure the integrity and suitability of all additional
rigging tools.
Outline, besides providing advice, assumes
no responsibility for the choice of these tools.
Furthermore, Outline considers itself unrelated to
any unauthorized modification of the mechanical
parts of the frame. Considering the high weights
involved, we remind you that these instruments must
guarantee maximum safety under any circumstances
(whith their appropriate use as a necessary
prerequisite).
FRM1-AL630
is equipped with four brackets (two
front and two rear ones), easy to mount and fasten to
the line array elements. Its load beam has 20 hanging
holes for fastening the hoist(s), as calculated by
OpenArray2.

OUTLINE S.R.L.
Via Leonardo da Vinci, 56
25020 Flero (Brescia) Italy
Tel.: +39 030.3581341
Fax +39 030.3580431
www.outline.it
8
2.3. INTEGRATED HARDWARE OF LINE ARRAY ELEMENTS
Similar to the rigging frame hardware, the
Superfly/Mantas28
elements also have a simple but
very efficient hardware structure. These hardware
elements are made of ultra-light aluminium and
are designed, approved and certified to support the
established loads.
The link bars, inserted in the rails on the back of
the cabinets, are easy to adjust and allow a vertical
inclination from 0° to 7.5° with 0.5° steps (with the
addition of the 0.25° angle) between the elements.
In the lower part (fig. 1) of each rail there are 4
holes for locking pins corresponding to the “groups”
of splay angles illustrated next to the rail.
This allows a very precise pointing choice which
addresses any type of need. Further details on their
use in chapter 4.
In the upper part (figure 2), each rail receives the
link bar of the previous element or of the rigging
frame, featuring a hole (“Default”) dedicated to all
the selectable degrees with the exception of the 0.25°
angle, for which the dedicated hole (called “0.25°
ONLY”) should be used. For the connection to the
rigging frame the “Default” hole is used.
figure 1
figure 2

OUTLINE S.R.L.
Via Leonardo da Vinci, 56
25020 Flero (Brescia) Italy
Tel.: +39 030.3581341
Fax +39 030.3580431
www.outline.it
9
2.4. LOCKING PINS
The locking pins on the back and front of the
cabinets are practical and convenient to use, ensuring
maximum safety.
They are made of ultra-resistant steel and once
inserted into the lock point the whole body of the
line array element remains stable mantaining the
chosen pointing angle. The pins chosen for
Superfly
and
Mantas 28
are of two types and differ only in
their length: the longer ones (
BLC6BA14S
) have been
chosen for the rear hardware parts, while the shorter
ones (
BLC6BA12S
) have been chosen for the front
hardware parts.
All the pins are fixed to the cabinet by means of a
lanyard, to avoid their loss.
The specifications of the locking pins:
The front of the cabinet (figure 3) has non-adjustable
brackets on both sides, complementary to the rear
ones.
The example in Figure 3 shows a first element
fastened to the rigging frame and a second element
ready to be fastened. Learn more about the various
steps in Chapter 4.
figure 3
item nr. BLC6BA14S
item nr. BLC6BA12S
• Weight………………….....………….……………… 30 / 40 g
• Material.....………….............. Ultra-resistant steel
• Diameter (body)...……………………………...... 9.5 mm
• Depth (body).........……………….………..... 30 / 36 mm
36
9.5
9.5
30
36
9.5
9.5
30
36
9.5
9.5
30

OUTLINE S.R.L.
Via Leonardo da Vinci, 56
25020 Flero (Brescia) Italy
Tel.: +39 030.3581341
Fax +39 030.3580431
www.outline.it
10
2.5. HARDWARE INSPECTION
It is of utmost importance to periodically check the
integrity of the entire structure of the hardware, both
of the line array elements and of the rigging frame.
Despite the excellent quality of the materials, they
can suffer long-term damage.
Here below you will find some precautions to follow:
1. Make sure there is no rust in the hardware
or locking pins. In case of rust, use suitable and
certified products for its removal. The rust could be
deposited by other oxidized elements or due to the
oxidation of the element itself. In the first case, the
integrity of the component must be checked after
removing the rust; in the second case, if the rust is
only superficial, it can be removed; if you notice that
it goes in depth you have to replace the element;
2. Checkthatthelinkbarof therearhardwarepart
remains in its rail (not above the “Rest point” upwards
and not more than at 0.25° downwards). Otherwise
the hardware part is to be considered dangerous
for any type of use and, therefore, is to be replaced;
3. Check that the locking pins close correctly,
which means that the two steel balls come out
completely outside the locking pin body. It is important
to ensure the stillness of the pins in the locking points;
4. Free the mechanical parts and the holes of
the hardware from any dust or other residues. This
will allow the correct insertion of the pins and the
right positioning of the hardware.
The inscriptions indicating the degrees of inclination
are engraved in the hardware. This prevents any
cancellation, but in case of excessive corrosion
for other reasons, Outline can provide, if deemed
appropriate, a replacement part and assistance.
All the hardware components are designed in
compliance with the safety regulations in force
following in-depth studies of the Outline R&D
department and subsequent certification by
specialized engineers, in compliance with the laws
based on the EEC / EU directives (chap. 1.2).

OUTLINE S.R.L.
Via Leonardo da Vinci, 56
25020 Flero (Brescia) Italy
Tel.: +39 030.3581341
Fax +39 030.3580431
www.outline.it
11
3. OPEN ARRAY 2 - PRE-RIGGING
OpenArray2
is proprietary Outline software for 3D
simulation of electro-acoustic events.
This tool is able to guide system engineers through
correct set-up procedure from an acoustic and
mechanical point of view while fully respecting safety
norms. It provides all the mechanical data necessary
for installing the line array systems, showing the
impossibility of installation in the event of the load-
bearing limits of the mechanical components being
exceeded, and other data necessary for the installation
of the system designed.
It is possible to decide whether to use one (figure 4)
or two motors (figure 5) if the frame allows it.
Logically, the use of two motors guarantees greater
maneuverability (during the rigging phases) and
stability of the array.
The splay angles selected for each element will
be visible in correspondence with the link bars in the
relative box on the OpenArray2 mechanic paper.
It is advisable to print and always carry this
mechanic paper.
figure 4 figure 5

OUTLINE S.R.L.
Via Leonardo da Vinci, 56
25020 Flero (Brescia) Italy
Tel.: +39 030.3581341
Fax +39 030.3580431
www.outline.it
12
Warning! The installation will only be possible if the
mechanical check with “Open Mechanics” has given a
positive result.
If the word ‘Out of range!’ appears, the necessary
changes must be made in order to bring the
mechanical stress values within the permitted limits
(they could be: reassess the overall inclination of the
array in case the center of gravity is out of range, as in
figure 6, or remove some elements due to exceeding
the limit weight, as depicted in figure 7).
These cases can also occur with ground stack
configurations (figure 8).
figure 6
figure 7
figure 8

OUTLINE S.R.L.
Via Leonardo da Vinci, 56
25020 Flero (Brescia) Italy
Tel.: +39 030.3581341
Fax +39 030.3580431
www.outline.it
13
Based on what stated in chap. 2.1,
as depicted in figure 9, when setting 20
Superfly elements only hanging holes
#5 thru #16 are available as the Notice
statement.
The final weight of the array (array
mass) will be different from the
declared 760 kg (20 x Superfly cabinets,
38 kg each). This happens because the
software sums to the array mass also
the weight of the rigging frame.
Once all these points have been
cleared, we can proceed to the rigging
execution phase.
figure 9

OUTLINE S.R.L.
Via Leonardo da Vinci, 56
25020 Flero (Brescia) Italy
Tel.: +39 030.3581341
Fax +39 030.3580431
www.outline.it
14
4. RIGGING PROCEDURE
4.1. PREPARATION
4.1.1. SPLAY ANGLES
Once the necessary motors have been arranged
according to the project and the elements are out of
their flightcases, it is possible to proceed with the
rigging.
However, we suggest you follow the steps described
below to do everything with ease.
Pre-set the splay angles between the array
elements in pairs, according to OpenArray2 project
instructions, while still positioned on their trolleys:
1. unlock the link bars (figure 11);
figure 10
figure 11
figure 12 figure 13
2. position the link bars aligning the chosen
degree point with the marker (white line) on the
rails containing them (figures 12 - 13);

OUTLINE S.R.L.
Via Leonardo da Vinci, 56
25020 Flero (Brescia) Italy
Tel.: +39 030.3581341
Fax +39 030.3580431
www.outline.it
15
figure 14
figure 15
3. lock the bars with the locking pins using one
of the corresponding holes, according to the
chosen degree (figure 14);
4. align the link bars with the rails of the next
array element and fasten them with the locking
pin in the “Default” position if you’ve chosen
the degree value between 0° and 7.5°, or in
the “0.25° ONLY” position if the 0.25° value has
been chosen (figures 2 and 15);
5. once the angles for each couple of line array
elements are ready to be flown, proceed with
the installation of the rigging frame.

OUTLINE S.R.L.
Via Leonardo da Vinci, 56
25020 Flero (Brescia) Italy
Tel.: +39 030.3581341
Fax +39 030.3580431
www.outline.it
16
4.1.2. PREPARATION OF THE FRAME BAR
It is advisable to prepare the rigging frame
immediately to be flown together with the first two
elements of the array, to make the job easier for the
staff:
1. free the rear brackets of the frame by simply
lifting the movable bracket that will be triggered,
remaining stationary thanks to the automatic
locking system (figure 16);
2. remove the safety pins from the front locking
points and free the bracket that will come out
rotating by itself (figure 17);
3. reinsert the locking pin and its forelock to keep
the bracket in place (figure 18);
figure 16
figure 18figure 17
figure 19

OUTLINE S.R.L.
Via Leonardo da Vinci, 56
25020 Flero (Brescia) Italy
Tel.: +39 030.3581341
Fax +39 030.3580431
www.outline.it
17
4. align the rear brackets of the rigging frame
with the rails of the fist line array element and
lock with the pins in the “Default” position. To
simplify the procedure it could be of help to
lift the rigging frame with one hand, keeping it
steady with a foot, and insert the pin with the
other hand (figure 20).
5. perform the same procedure for the front
brackets of the frame, helping yourself with one
hand to align the parts (figures 21 and 22);
6. fix the shackles to the hanging holes as
calculated by
OpenArray2
(figure 23);
figure 20
figure 21
figure 22 figure 23

OUTLINE S.R.L.
Via Leonardo da Vinci, 56
25020 Flero (Brescia) Italy
Tel.: +39 030.3581341
Fax +39 030.3580431
www.outline.it
18
4.2. ASSEMBLING
Once the preparation phases have been completed,
the array can be lifted starting with the first two
elements and then adding the remaining pairs,
integrating any supplementary accessories (spansets,
cables, safety locks etc. - chap. 4.3):
1. lift the first two elements already fastened to
the rigging frame and the hoist, keeping the
front brackets of the second element free (this
will make the following step easier - figure 24);
2. align (figures 25 and 26) and fasten (figure 27)
the rear brackets of the last hanging element
to those of the first element of the following
couple, holding the element by its handles to
keep the array in place;
figure 24
figure 25
figure 26 figure 27
All these procedures shall be performed in the
presence of at least two persons.

OUTLINE S.R.L.
Via Leonardo da Vinci, 56
25020 Flero (Brescia) Italy
Tel.: +39 030.3581341
Fax +39 030.3580431
www.outline.it
19
3. using the hoist(s), lift the array from the trolley
at a suitable height to simplify the following
procedure (figure 29);
4. at this point, fasten the front brackets of the
first three elements that are now flown. Help
yourself with both hands to lift the element
as shown in figure 30, to be able to insert the
locking pin in the hole (figure 31). Leave out the
front brackets of the last element (figure 32).
figure 28
figure 29
figure 30
figure 31

OUTLINE S.R.L.
Via Leonardo da Vinci, 56
25020 Flero (Brescia) Italy
Tel.: +39 030.3581341
Fax +39 030.3580431
www.outline.it
20
4.3. INTERMEDIATE PHASE
4.3.1. RIGGING THE CABLES
When the first four elements are flown, before
continuing it could be necessary to add the following
accessories:
1. a spanset for rigging the cables (with a shackle
or simply knotting to the frame. Please, note that
attacching the spanset to the frame causes a different
inclination of the array) (figure 33);
2. a security rope attached with a shackle,
keeping some distance from the hoist coupling
shackle (figure 33);
3. if used, an inclinometer to be applied to the
front part of the frame, centered respect to the array’s
axis and fixed steadily;
figure 32
figure 34
figure 33
After having attached the spanset as described
above, depending on the quantity of the line array
elements, arrange the cables as follows:
1. pass the first cable through the spanset knot
and plug it into the first element (figure 34);
2. plug the three link cables;
3. prepare the other cables to pass them through
the spanset at the length approximately equal to the
distance from the fifth (and ninth) element
4. pass through the spanset, the remaining
cables of the chain hoist(s), inclinometer and others
5. moderately tighten the knot of the spanset to
keep everything in place
Attention: it is advisable to leave the right length
of the cables to prevent them from being tightened
excessively.
In case only one chain hoist is used, the cables
influence the array’s inclination depending on their
overall weight (and consequently on their height from
the ground). It is advisable to consider these variables
and compensate them.
Table of contents
Other Routline Speakers manuals