
10
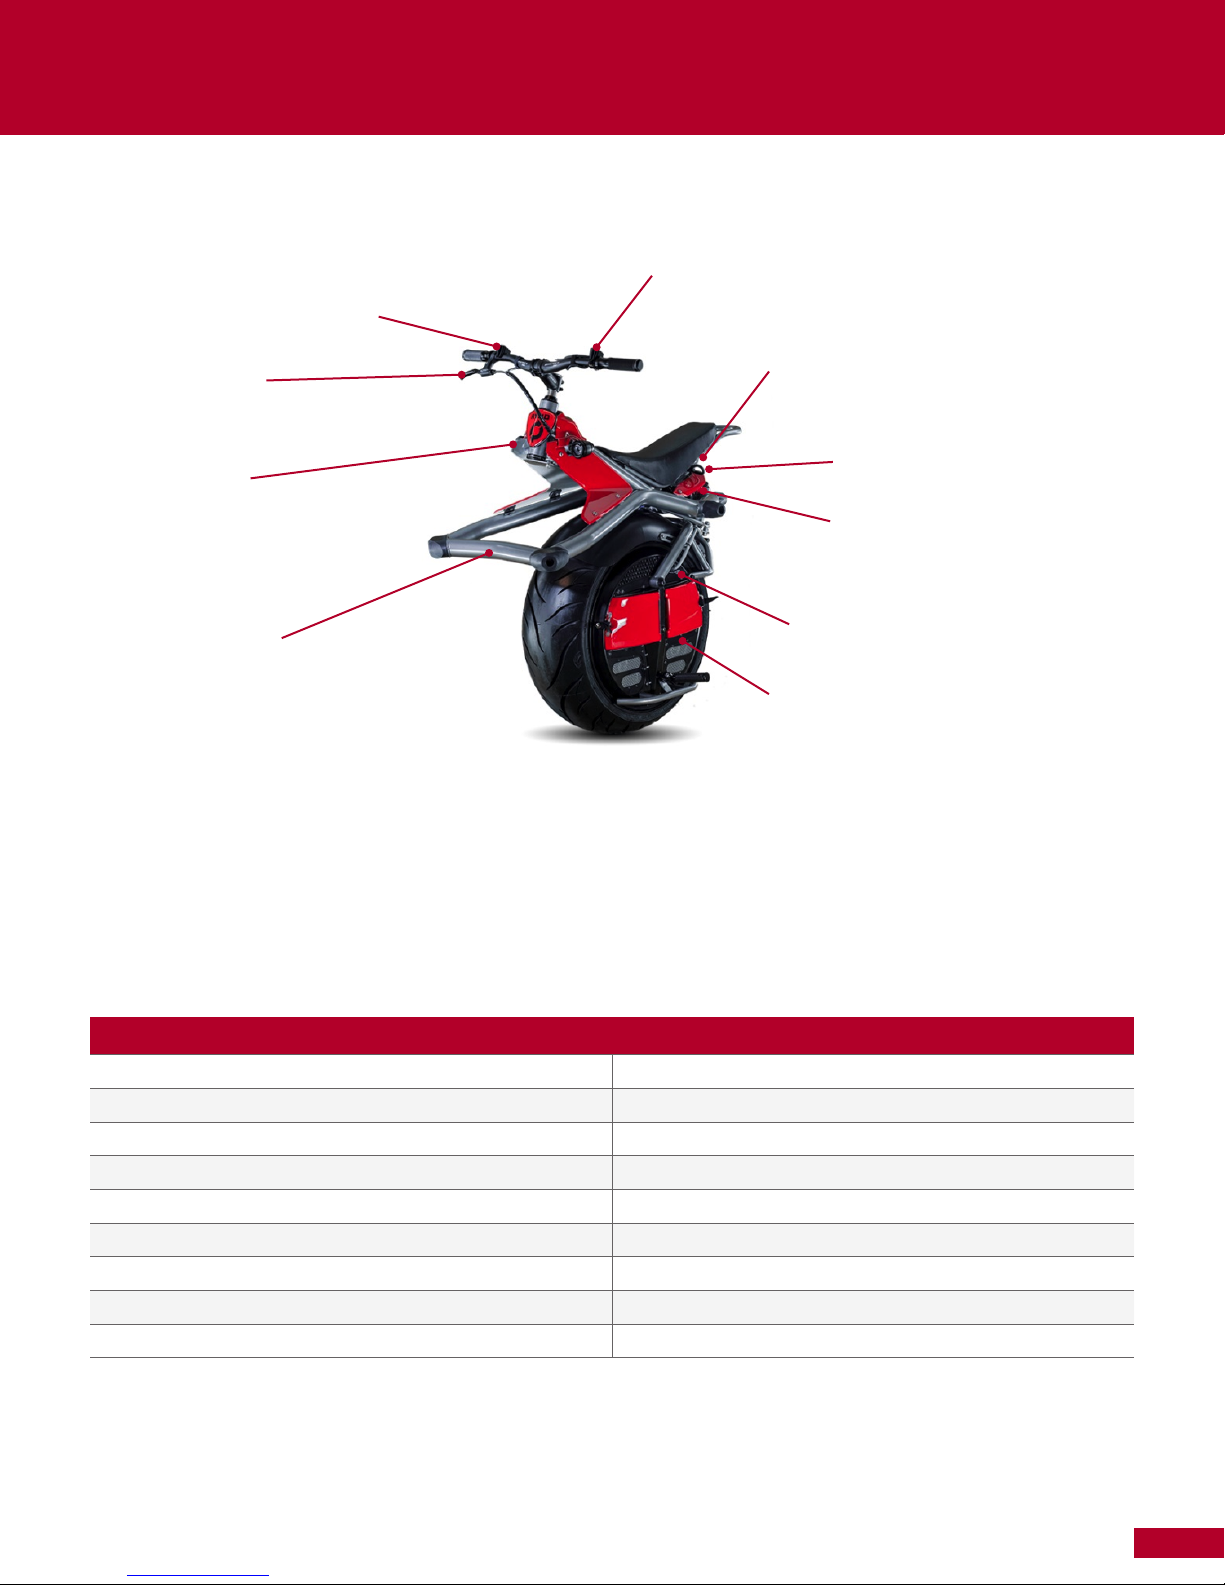
Before You Ride
Unsafe Riding Behaviors
• Do not ride fast over big bumps or curbs. Slow down and lean back a bit as you approach even minor bumps. If you need to transition over
larger bumps do it at walking speed and extend one foot forward to stabilize yourself by placing your foot on the bump as you walk over it.
Make sure you have heavy shoes on.
• Do not ride on slippery, icy, wet, or slick surfaces; grass; hills with loose sand or gravel, steep slopes; debris such as litter, branches, and
stones; or off-road. Walk your Micro-Cycle over unsafe surfaces or terrain.
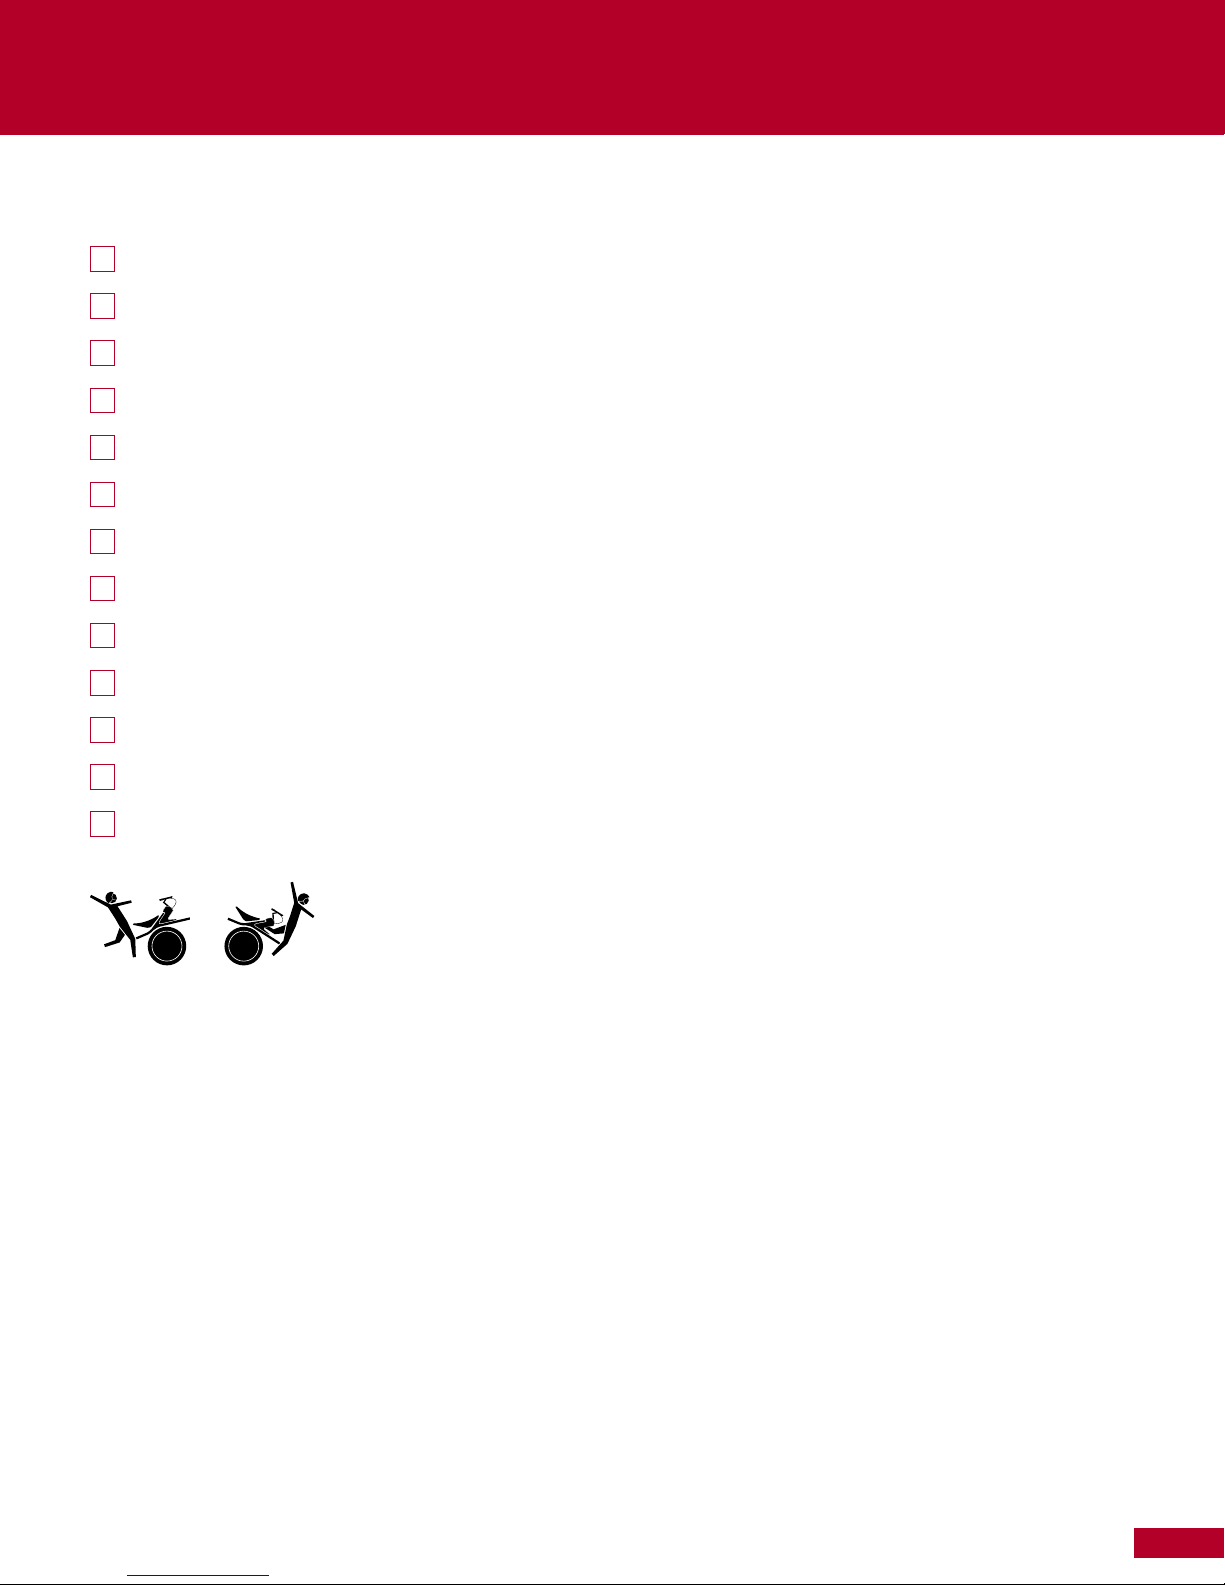
• One wheel, one rider. The Micro-Cycle is a one-person vehicle. Riding with a passenger—human or animal—is very dangerous.
• Do not lean sideways more than 45°. Leaning too far left or right drops the Micro-Cycle out of balance and stops the wheel from turning. If
the Micro-Cycle shuts off under these conditions, return the bike to an upright position, then press the silver balance-enable button on the
right of the handlebars. Rock the bike forward and back slowly while holding the balance button to feel it snap into balance.
• Do not put heavy, unevenly distributed weight on the optional cargo rack. Heavy, unevenly distributed cargo shifts the balance too far
forward and throws off the steering geometry. The bike may roll back uncontrollably.
• Avoid catching or jamming the wheel against a wall or under a car bumper. This will put the Micro-Cycle outside of its balance window,
and it will try to right itself, causing unpredictable behavior. If it gets stuck, turn off the Micro-Cycle or lay it on its side so it will shut itself
off. It may also shut itself off. If so, return the bike to an upright position and rock the bike forward and back slowly while holding the
balance button to feel it snap into balance.
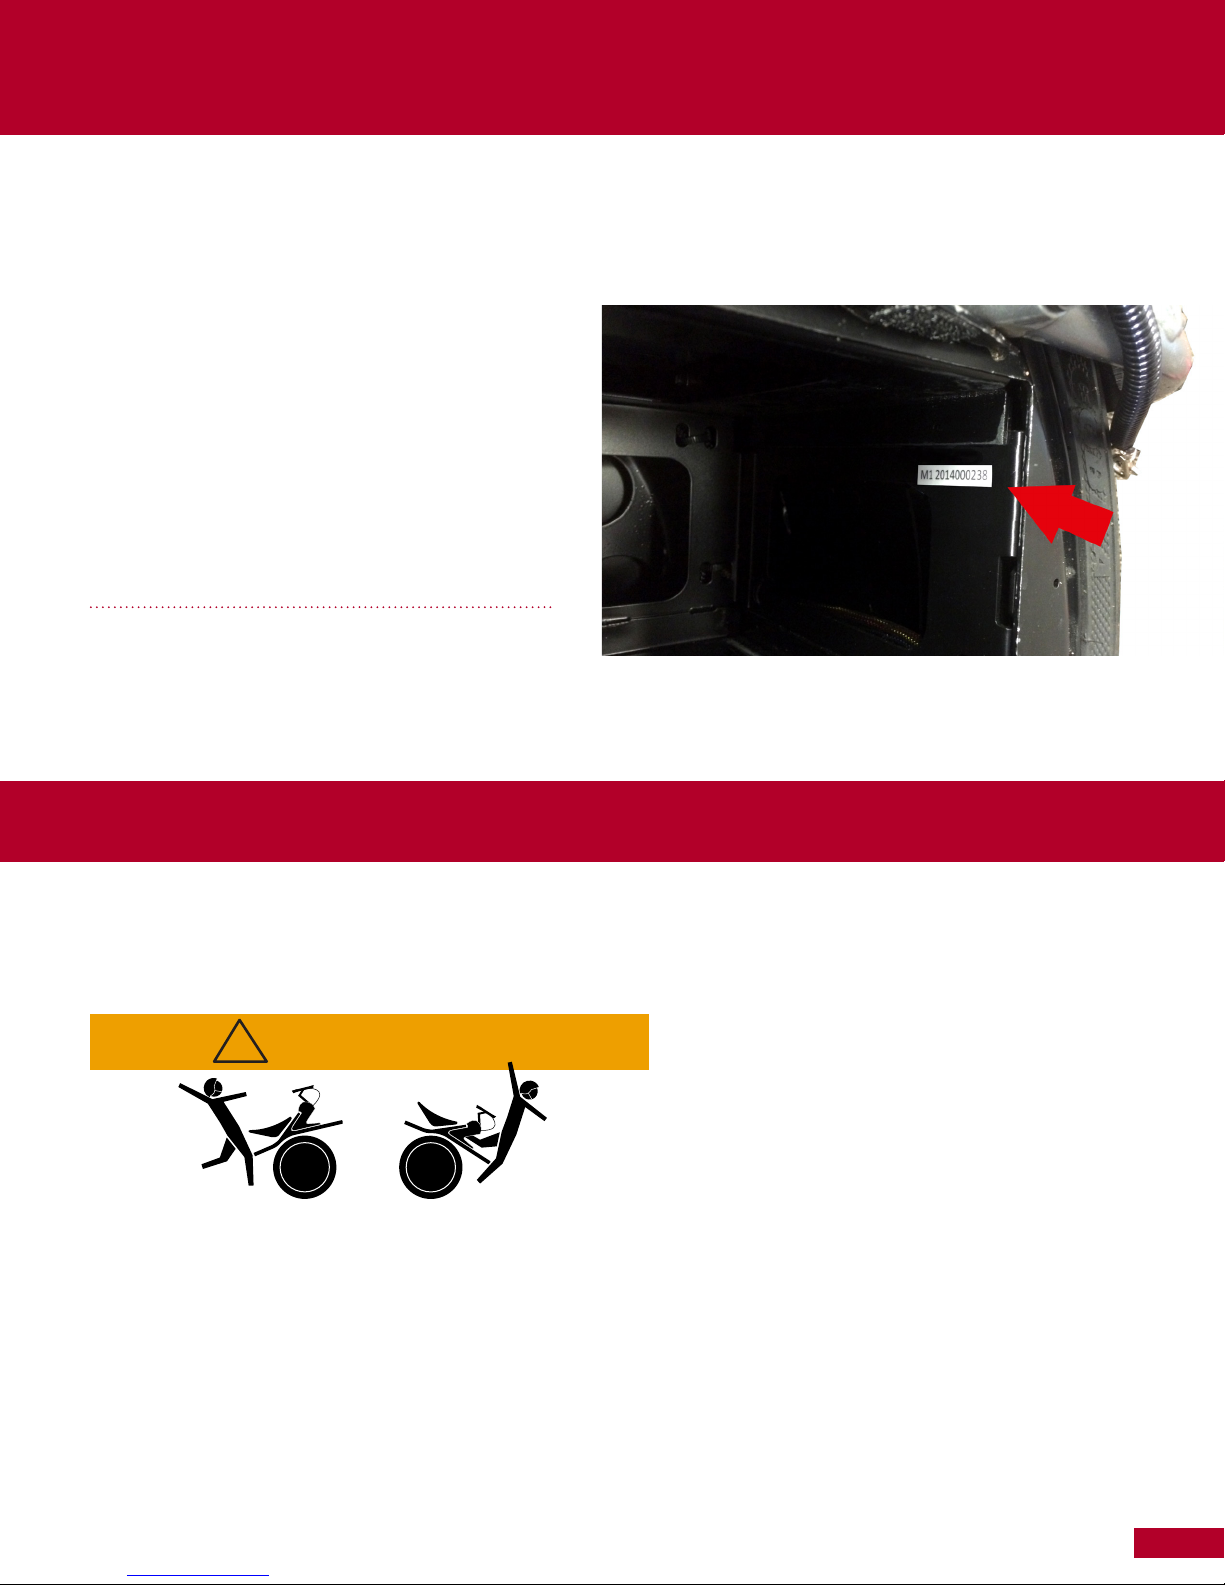
WARNING
When stopped on a steep hill, turn the Micro-Cycle 90 degrees to the direction of the slope. Do not sit stationary on the Micro-Cycle facing
uphill or downhill for longer than 5 seconds or the bike will shut off. The controller is designed to sense that the wheel is jammed and sitting
on a steep hill looks to the controller like the wheel is stuck.
• Do not ride while impaired by alcohol, drugs, or prescription medications.
• Do not ride up or down a curb or stairs while sitting on the Micro-Cycle. If you must go up a curb or stairs, dismount and walk next to the
Micro-Cycle.
• Do not ride the Micro-Cycle with low batteries or only one battery. Sub-optimum battery conditions can weaken the balance window of
the Micro-Cycle, increasing your risk of falling while riding.


 Supplementary service manual")


