9
Mowing
Mowing Tips
Make sure to clear the area of stones, sticks,
branches, wire and other debris that the blade
could hit.
Never deliberately mow over any object. Avoid
striking solid objects with the blade.
If the machine strikes an object or starts to
vibrate, immediately stop the engine,
disconnect the wire from the spark plug, and
examine the machine for damage.
For best performance, install a new blade
before the cutting season begins.
Replace the blade when necessary with a Saber
Edge replacement blade.
Cutting Grass Tips:
Cut only about a third of the grass blade at a
time. Do not cut below the 4th setting (1- 7/8th
inch) unless the grass is sparse or it is late fall
when grass growth begins to slow down.
Refer to Adjusting the Cutting Height.
When cutting grass over 6 inches tall, mow
at the highest cutting height setting and walk
slower; then mow again at a lower setting for
the best lawn appearance. If the grass is too
long, the machine may plug and cause the
engine to stall. Mow only dry grass or leaves.
Wet grass and leaves tend to clump on the yard
and can cause the machine to plug or the
engine to stall. Cut the grass more frequently.
Overlap cutting swaths instead of cutting a full
swath with each pass.
For extremely heavy cutting, reduce the width
of cut by overlapping previously cut path and
mow slowly.
with dirt and dust with use and catchers will
collect less grass. To prevent this, regularly
hose catcher off with water and let dry before
using.
Keep top of engine around starter clear and
clean of grass clipping and chaff. This will help
Mulching the Clippings
If the grass catcher is on the machine, remove it before
mulching the clippings and install the mulching plug.
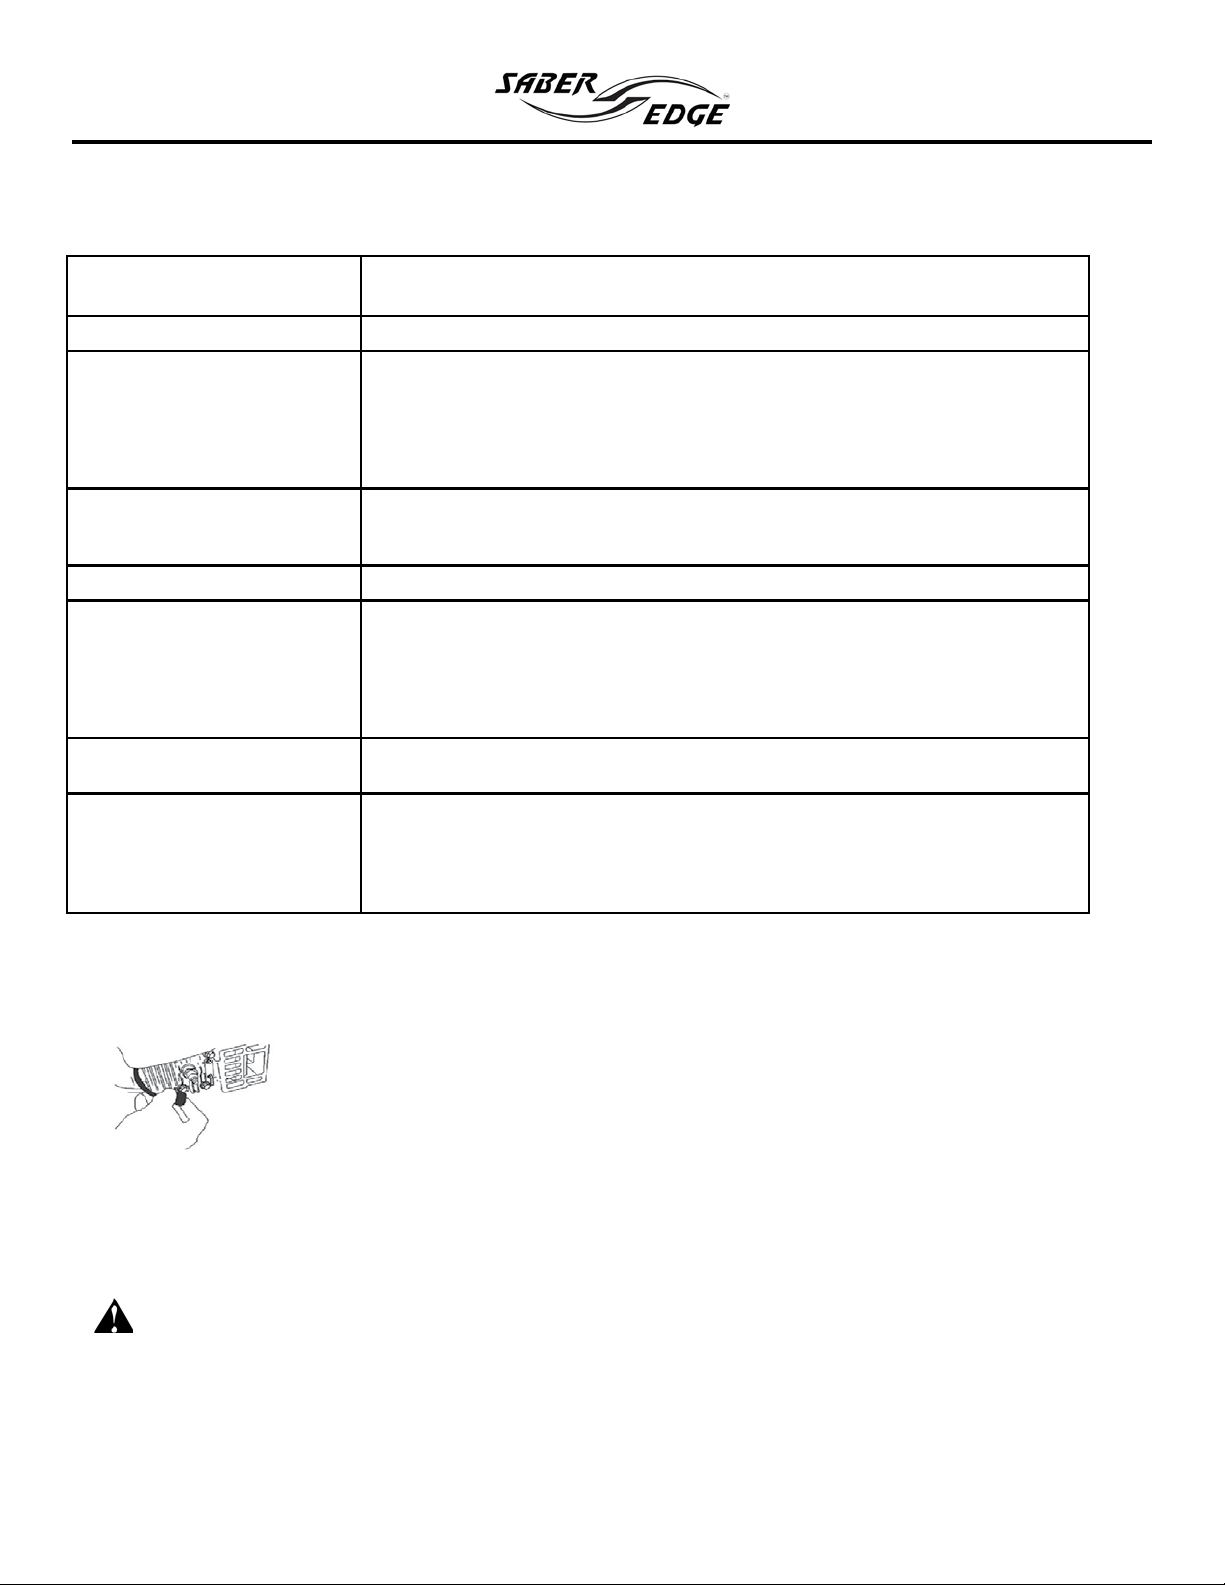
Installing the Mulching Plug
1.
2. Insert in the mulching plug into the discharge
3.
Mulching tips:
Avoid cutting your lawn when it is wet. Wet grass
tends to form clumps and interferes with the mulching
action. The best time to mow your lawn is the early
afternoon. At this time the grass has dried, yet the
newly cut area will not be exposed to direct sunlight.
For best results, adjust the lawn mower cutting height
so that the lawn mower cuts off only the top one-third
of the grass blades. If the lawn is over-grown it will be
necessary to raise the height of cut to reduce pushing
effort and to keep from overloading the engine and
leaving clumps of mulched grass. For extremely heavy
mulching, reduce your width of cut by overlapping
previously cut path and mow slowly.
Certain types of grass and grass conditions may
require that an area be mulched a second time to
completely hide the clippings. When doing a second
Change your cutting pattern from week to week. Mow
north to south one week then change to east to west
the next week. This creates a criss cross affect helping
prevent matting of the lawn.
Bagging the Clippings
Use the grass bag when you want to collect grass
and leaf clippings from the lawn. Make sure
mulching plug has been removed from the mower
deck before installing grass catcher ( see installing
grass catcher page).
Warning: A worn grass bag could allow
small stones and other similar debris to be
thrown in the operator’s or bystander’s
direction and result in serious personal injury
or death to the operator or bystanders.
Check the grass bag frequently. If it is
damaged, install a new Saber Edge
replacement bag.