SAMCOM FWCN30A User manual

Instruction Manual
22-Channel Handheld Two-Way-Radio (Walkie Talkie)
SAMCOM FWCN30A
Main Features
●Frequency:462.5500~467.7125MHz
●High/LowTXPower(2W/0.5W)Selectable
●22channels
●154codes(50CTCSS&104CDCSS)
●5kmoptimalrange
●Groupfunction(Dual-ChannelWatch)
●3VOXlevels
●10Calltones
●Monitor
●Scan
●Keylockfunction
●Built-in1250mAhLiPolymerBattery
● Flashlight Facebook SANCON INC.
●NOAA&WheatherAlert

Overview
12 1. LCDdisplay
2. Earphone&ChargerJack
6 3. Push-To-Talk(PTT)key
4. Up/Monitorkey
5. Down/Scankey
1 2 6. Power/VolumeKnob
3 7. Group/Okkey
8 8. Menu/WXkey
14 4 9. CallTone/Key-Lockkey
10. Microphone
9 5 11. Speaker
10 12. Antenna
13.FlashlightLED
11 14.Flashlightkey
● GROUP Button – A broadcasting function (one-to-all) to communicate with all other radios that are
programmed to monitor the same group channel (default group = CH 8). Great for home/office wide announcements or
check ins.
LCD Display Icons 1 RX :Receivingstatus
2 TX :Transmittingstatus
3 :Main(Foreground)Channel
4 Group :Group(Background)Channel
5 :VOX(Voice-activiatedTX)
6 WX :WeatherReceiver
7 : BatteryLevel
8 :ChannelNumber
9 :CTCSS/CDCSSCodeNumber
10 Hi :HighTXPower
11 Low :LowTXPower
12 :KeyLock
13 :KeyBeep
14 :ChannelScan
13

PresstheMENUkey,enterintothemenuselectingmode Press▲keychoicethemenuandmonitorfunction,
andWXmode. Press▼keychoicethemenuandscanfunction.
Keeppress3secondsthekeytolock, PresstheGROUP keytospeaktoallchannel,
pressthekeycallfunctionwillopened

GENERAL OPERATIONS
Install / Removing Belt Clip
Installing Belt Clip
● SlidetheBeltclipintotheslot
A“click”indicatestheBeltClipislockedintoposition.
Removing Belt Clip
● Pullthebeltcliplatchforward
● Whilepullingthebeltcliplatch,pushupthebeltclip
BatteryonFirstUse
Sincebatteriesleavefactorywithoutafullycharging,pleasechargethenewbatteriesbeforeusing.Undernormal
circumstances,the
batteryonfirstuseneeds5hoursofcharging.Thefirstthreetimesoffullycharginganddischargingprovidesbatteriesthebest
capacity.
Whenyoufindoutthebatteryislow,itisrequiredtochargeorreplaceit.
Safety Precautions
1.Donotdisposethebatteriesinthefire.
2.Donotdisposethebatteriesashouseholdwastes,anditmustbecollectedandtreatedproperly.
3.Donotripofftheshellfromthebatterywithoutpermission.

Notes:
1. When charging, the temperature should be between 5
℃
~40
℃
,otherwise it may cause the leakage or even damage the
battery.
2. Please shut down the transceiver with battery loaded before charging it. The use of the transceiver while charging is ongoing
will affect the normal battery charging.
3. Do not put back and charge the battery that is already full, for it will significantly reduce the cycle life.
4. Since continuous charging will shorten the life of the battery, it is unwise to place the transceiver or battery on the charger, or
take
the charger as a placement seat for the transceiver.
5. Do not charge the battery when it is wet. You should dry it first in order to avoid any danger.
6. If the battery’s usage time is very short even when it has been charged in completely correct way, it can be concluded that
the
battery life is due and should be replaced by a new one.
ExtensionofBatterylife
1.Theperformanceofthebatterywillbereducedwhenthetemperaturedropsbelow0℃.Incoldweather,itisadvisedto
spareanotherbatteryforemergency.Pleasedonotdisposethecoldbatteriesthatcannotworkatlowtemperaturebutmaybe
usableatroomtemperature.
2.Itmayaffectthenormaluseorchargeofthebattery,ifitiscoveredwithdust.Pleasecleanthebatterywithdryclothbefore
loadingorchargingit.
KnowledgeaboutBatteryStorage
1.Sincethebatterywillself-discharge,pleasedochargeitfullybeforeputtingitasidesoastopreventdamagescausedby
overdischarge.
2.Pleasetakeoutthebatteryafterstorageforsometimetofillit,inordertoavoidthereductionofthebatterycapacityresulting
from
overdischarge.Itisproposedforlithium-ion/lithium-polymerbatteriestobefilledinevery6monthsofstorage.
3.Pleasepayattentiontothehumidityofthebatterystorageenvironment.Batteriesaresupposedtobestoredinthe
environmentofroomtemperature,coolanddryair,toreducetheself-discharge.

CHARGING BATTERIES
Whenthe“Batteryleveliconislow,youneedtochargethebatterywiththeenclosedAC/DCadaptor.
Charging with AC/DC adaptor
●Plugtheadaptorintothewallsocketand
the
otherendintothemicroUSBsocketonthe
rightside
oftheradio.
●TheLCD“Battery”Iconwillflash.
●Eachadaptorcanconnect2setsofradiofor
charging.
●Tochargefullyfromemptyrequireabout5
hours.
●Aftercharged,unplugtheadaptorfromthesocket
WARNING
●Toavoiddamagetotheradiouseonlyoriginalaccessories.
●Theradiowillbeslightlywarmduringcharging.

GENERAL OPERATIONS
1. TRANSMITTING RANGE
●Thetalkrangedependsontheenvironmentalandterrain.Itwillbereach(uptoabout5km)inwideopenspaces,
withoutobstructionssuchashillsorbuildings.Don’ttrytousetwounitswhicharelessthan1.5m(5feet)apart.
Ifyoudo,youmayhaveexperienceinterference.
2. POWER ON/OFF
●RotatethePWR/VOLcontrolknobclockwiseuntila"ka-ka"soundisheardtoturnonthepower.
Whenyoureceivecalls,theknobprovidesyoutheabilitytochangethevolumeforyourlistening
habits.Whenshuttingdownthetransceeiver,youneedtorotateitcounterclockwisea"ka-ka"
soundisheard.
3. MAKING COMMUNICATIONS
Theradiohas22mainfrequenciesand154CTCSS/CDCSScodes
Youcancommunicatewithanyotheruserwhoisusingthesamecombinations,providingtheyarewithinrange.
4. SPEAK TO OTHER RADIO
●Press&holdthePTTkey,LCDTXiconindicatingtheradioistransmitting.
●Holdtheradioinaverticalpositionwiththemicrophone3-5cmfromyourmouthandthenspeak.
●Whenyoufinishspeaking,releasethePTTkey.
5. LISTEN TO OTHER RADIO
●Theradiowillautomaticallysoundreceivedsignalfromtheotherradiowiththesamechannelandcode,and
meanwhileLCDshowstheicon RX
●WhenyoupressthePTTkey,youcan’tlistentootherradios.MakesureyoudonotpressPTTkeyforlistening.
●Adjustvolumecontrolifnecessary.
6. TALK TIME-OUT FUNCTION
●Time-outfunctioncanavoidtransmittingbychanceandprolongthebatterylife.
●TheradiowillstoptransmittingandsoundawarningtonewhenPTTisheldover3minutes.Youthenneedto
releasePTTandpressagainforfurthertransmission.
●InVOXmode,theunitwillstoptransmittingandsoundawarningtoneaftercontinuoustalkfor3minutes.
Youcanre-activateVOXafterthetime-out.(PleaserefertoVOXfunctionfordetailedVOXoperation).
7. GROUP FUNCTION ( Dual-Channel Watch)

Theunithasdual-channelwatchfunction.Itcanmonitortwochannelsatthesametime,whicharetheMain(foreground)
andGroup(Background)channels,i.e.,itcandetectsignaloneitherchannel.
WhentheunitdetectsasignalontheGroupchannel,itwillautomaticallysoundthereceivedsignalwithLCDshowing
"Group"icon,Groupchannelnumberandassociatedcodenumber.
WhenyouwanttotalktoagroupofpeoplethathavetheirradiossettheGroupChannelnumbertobethesameasyours,
justdothefollowing.
●Press&holdtheGROUPkey,LCDdisplaysTXicon,indicatingtheradioistransmittingontheGroupchannel.
●Holdtheradioinaverticalpositionwiththemicrophone3-5cmfromyourmouthandthenspeak.
●Whenyoufinishspeaking,releasetheGROUPkey.
8. SENDING CALL TONE
Youcanuse1of10different“CallTones”togetattentionofotheruseronthesamechannelwithsamecode.
●PresstheCALL keyandthetonewillsound,LCDwilldisplaythetransmit
icon
TX andyourcalltonewillbesent.
9. SCANNING CHANNELS
●PresstheSCANkeyonceandLCDwilldisplay andradiowillstartscanning.
●LCDdisplayshowsthescanningchannelonebyone.
●Itwillstopatthosechannelswithsignalforawhile.
10. MONITOR Function
●PressandholdtheMONITOR keytohavetheunitsoundsignalornoise,whicheveroccursonthemainchannel.
●ReleasetheMONITORkeytoturnoffthefunction.
Thefunctionisusefultocheckforactivityonthemainchannelbeforeyoutalk.Whenyoufindthemainchannelbusy
,youcanchangethemainchannelnumbertoaclearone.Moreover,italsocanbehandyfortheusertoverifythe
volumeleveloftheradiowhentheradioisnotreceiving.Youcanadjustthevolume,ifnecessary.
11. LOCK KEYS
●Pressandhold keyfor3seconds,LCDdisplay icon.
●AllkeysarelockedexceptPTTandGROUP/OKkeys
●Tounlock,pressandhold keyfor3secondsagain.
12. MICROPHONE / EARPHONE JACK
Theunitisequippedwithamicrophone/Earphonejacklocatedattherightside.Youcanuseanoptionalearphone
(notincluded)forhandsfreefunction.
13. High / low TX Power Selection
TheradiohasdefauthighTXpoweroptionforChannels1to7and15to22.Whenyouknowyourpartyiscloseby,you

cansetthechannelstolowTXpoweroptiontoconservetheenergyoftheradio'sbattery.
●WhenLCDshowsthemainscreen,pressandholdthekeyfor3secondstochangetheTXpoweroption
betweenHighandLow.
WhentheradioissettoHighTXpower,theLCDdisplaystheicon .WhentheradioissettoLowTXpower,
theLCDdisplaystheicon
Note:thechannels8to14haveandonlyhavelowTXpoweroption,asperFCCregualtions.
14. Flashlight FUNCTION
Tousetheflashlightfunction
●Whentheflashlightisnotillumining,presstheFlashlightkeyoncetoturnandkeepiton.
●Whentheflashlightisillumining,presstheFlashlightkeytoturnitoff.
Menu Operation
PressMenukeyoncetofirstlyentermainchannelselectionfromthemainscreen,pressagainfornextfunctionselectionetc.
Themenuoperationflowchartisasfollows.
Main Screen → Main Channel → CTCSS/CDCSS → GROUP (Dual-Channel Watch) → VOX → Call Tone →
Key Beep → Roger Beep → Main Screen
9. SELECT CHANNEL
Toselectthemainchannel
●PresstheMENUkeyonce,Mainchannelnumberwillflash.
●Press or toselectnewMainchannel
●PresstheGROUP/OKorPTTkeytoconfirmandrevertbacktothemainscreen,ortheMENUkeytoconfirm
andcontinuenextfunctionsetting.
Youhave10secondstodecidebeforeauto-revertingbacktothemainscreen
10. CTCSS/CODE FUNCTION
Thisfunctioncanhelpyouselectyourgroup(121CTCSS/CDCSScodes)ofusersonthesamechannel.
OnlytheuserswiththesameCTCSS/CDCSScodecanlistenandtalktoeachother.Pleasenotethatselecting
aCTCSS/CDCSScodedoesnotassuretotalprivacy.
●PresstheMENU key twice, CTCSS/CDCSS code will flash.
●Press or toselectnewCTCSSorCDCSScode
●PresstheGROUP/OKorPTTkeytoconfirmandrevertbacktothemainscreen,ortheMENUkeytoconfirm
andcontinuenextfunctionsetting.
11. GROUP CHANNEL SETTING
Bydefault,allradioshaveadefaultGROUPnumberchannelsettingof“8”.Thisisthechannelthatallradios
willreceiveonwhensomeoneinyourgrouppressesthe“Group”buttontosendamessagetoeveryone.

NOTE:ThereisnoneedtochangethedefaultGROUPnumberunlessyoueither:
●Areexperiencinginterferenceorcrosstalkfromotherradiosorintercomsintheareaonthecurrentgroupchannel,or
●Desireadvancedfunctionallybyorganizingyourradiosintogroupsthatcallallreceiveseparategroup
communications.Forexample,ifyouwantthreedifferentbuildings,eachwithitsowngroupnumber.
Thiswouldbeamoreadvancedconfigurationandisnotneededforyouraveragehomeorsmalloffice.
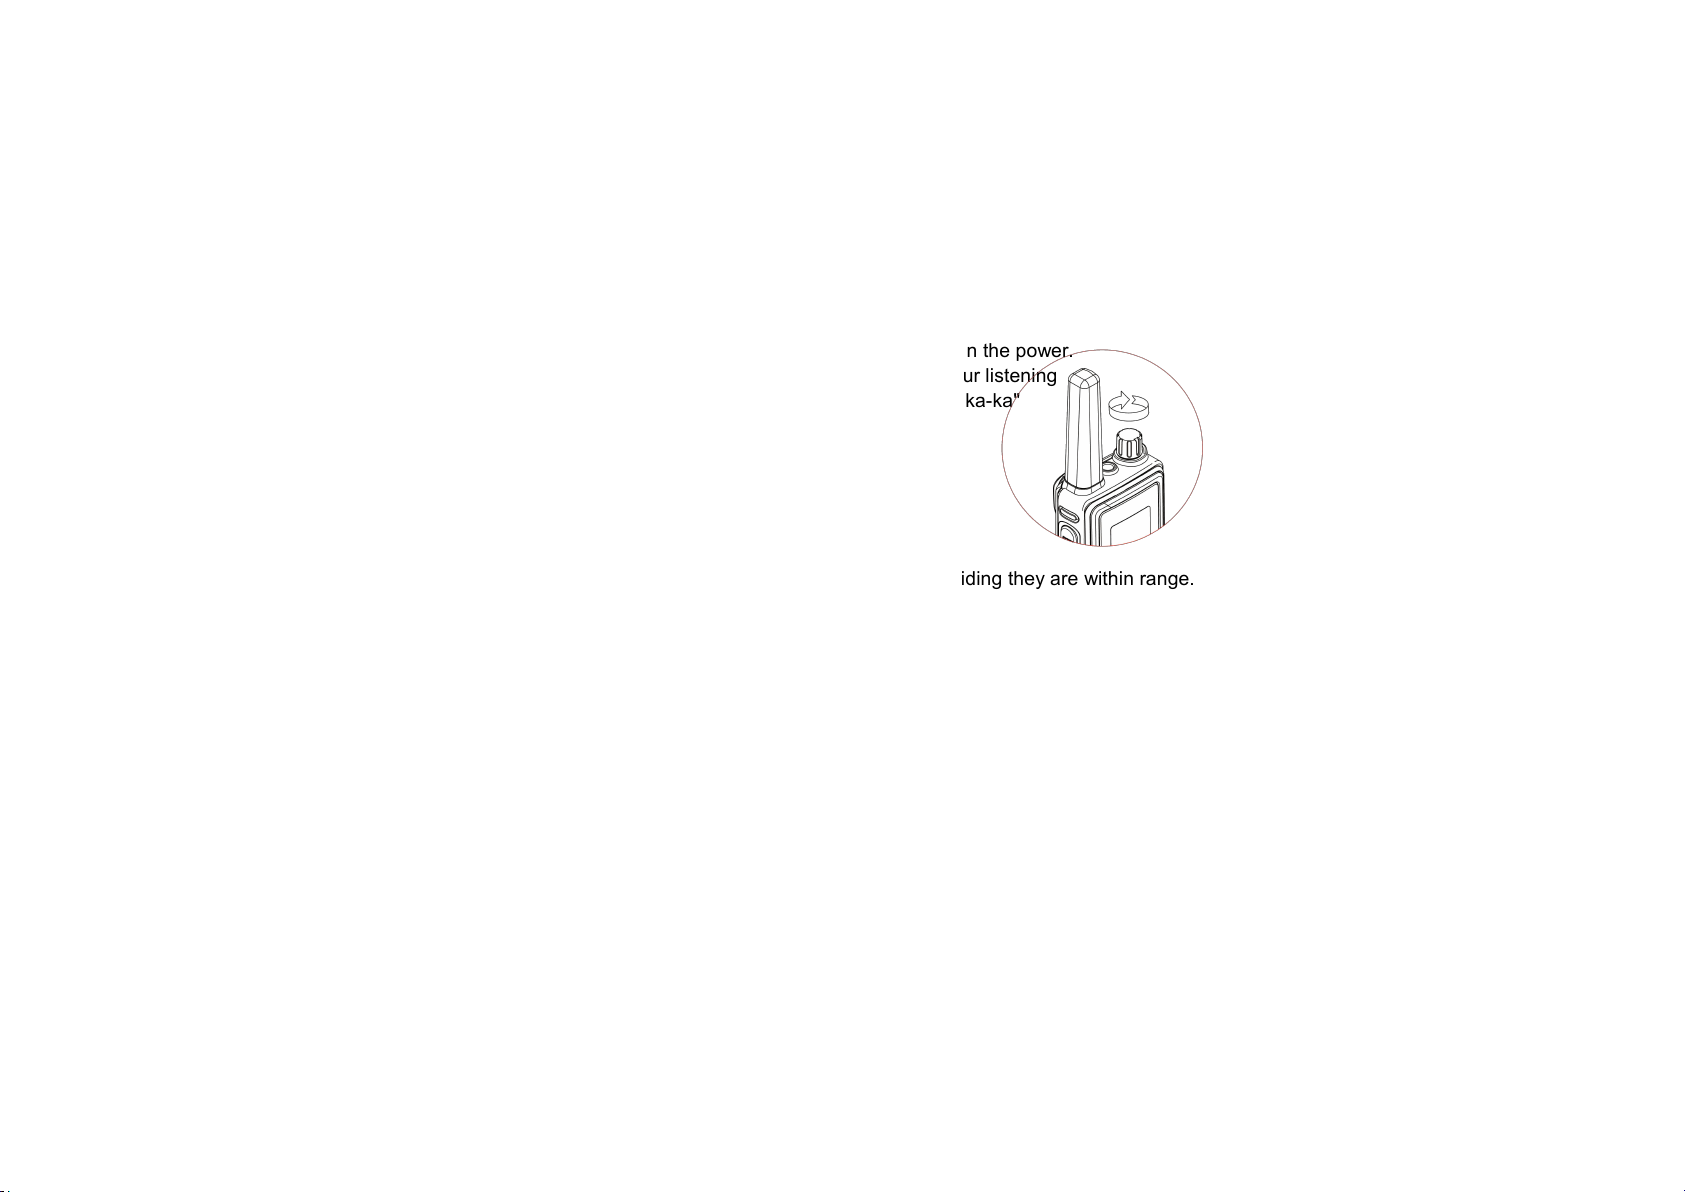
To change the GROUP Number
●PresstheMENUkey3times,GROUPwithgroupchannelnumberwillflash.
●Press or toselectnewGroupChannel
●PresstheGROUP/OKorPTTkeytoconfirmandrevertbacktothemainscreen,ortheMENUkeytoconfirm
andcontinuenextfunctionsetting.
12. VOX (Hands-Free Function)
Theunithasabuilt-inVoiceActivatedCircuit(VOX)function.YoucanenjoytalkingandlisteningwithoutpressingPTT
key.Tohavebetterperformance,youcanusethisfunctionwiththeexternalearphone(optionalaccessories).
●PresstheMENU key 4 times, LCD displays iconandVOXsensitivitydigitwillflash.
●Press or
keytoselectsensitivitylevelfrom“,1,2,3”for“OFF,Low,MediumandHighrespectively.
AfterturningontheVOXfunction,LCDwilldisplay icon.PresstheGROUP/OKorPTTkeytoconfirm
andrevertbacktothemainscreen,ortheMENUkeytoconfirmandcontinuenextfunctionsetting.
PleasespeakclosetothemicinordertoactivateVOXfunction.
14. SELECTING CALL TONE
●PresstheMENUkey5times,LCDwilldisplay iconandcalltonenumberwillflash.
●Press or toscrollbetween1to10and toselectacalltoneorturnofftheCALLfunction.
●PresstheGROUP/OKorPTTkeytoconfirmandrevertbacktothemainscreen,ortheMENUkeytoconfirm
andcontinuenextfunctionsetting.
15 KEY BEEP ON/OFF
Theunithasthefunctiontoturnthekeybeeponoroff.
●PresstheMENU key6times,LCDdisplaystheicon.
●Press or toturnthekeybeeponoroff
●PresstheGROUP/OKorPTTkeytoconfirmandrevertbacktothemainscreen,ortheMENUkeytoconfirm
andcontinuenextfunctionsetting.
16. ROGER BEEP
TherogerbeepfunctionenablesashorttonesignalwhichistransmittedafterreleasingthePTTbutton.
●PresstheMENU key7times,LCDdisplaystheicon.
●Press or toturntheRogerbeeponoroff

●PresstheGROUP/OKorPTTkeytoconfirmandrevertbacktothemainscreen,ortheMENUkeytoconfirm
andcontinuenextfunctionsetting.
WEATHER RECEIVER (WX) FUCNTION
TheradiohasthecapabilitytotuneintobroadcastsbytheUnitedStatesNationalOceanicandAtmosphericAdministration
(NOAA)WeatherRadioandEnvironmentCanadaWeatherRadio.Youcanlistentoaweatherchannelorsetyourradioto
alertyoutoemergencyweatherbroadcaststhatinterruptroutinebroadcasts.Whenyoulistentoaweatherchannel,
youcannotuseyourradioinscanmodeorfortwo-waycommunications.
Entering the WX Mode
●Intwo-wayradiomodewiththemainscreendisplay,pressandholdthekey for3secondstoenterWXmode
,theLCDwilldisplaytheiconsand andtheunitsoundsanoise.
Setting the WX Channel
●InWXmode,press key1timeunitlWXchannelnumberflashes.
●Press or toselecttheappropriatechannelwithgoodreceptioninyourarea.
●Pressthe keytoconfirmandcontinuesettingWX.
Setting the WX Alert
TheradiocanbesettorespondtoNOAAWeatherRadionemergencymeassages.Aspecialalarmtonesoundsanalert
andturnsontheWXtogiveyouimmediateweatherandemergencyinformation.
●InWXmode,press 2timesunitltheiconor flashes
●Press or toturntheWXalertfunctionOnorOFF.
●Press keytoconfirmandexitsettingWX.
Exiting the WX Mode
●InWXsetmode,pressandholdthekey for3secondstoexitWXmodeandreturntotwo-wayradiomode.
●AftertheWXmodeisactiviatedeithermanuallyorbyreceivinganalert,ifnokeysarepressedfor5minutes,
theWXmodewillautomaticallyrevertbacktotwo-wayradiomode.
IfyouturnontheWXalertfunctionandreturntotwo-wayradiomode,theLCDwilldisplaytheicon onthe
mainscreenintwo-wayradiomode,whichmeanstheWXalertfunctionhasbeenactiviatedandtheradiocandetect
theweatherchannelsignalandtwo-wayradiochannelsignalatthesametime.
FRS Channel Configuration Chart
FRS
Channel
Frequency
(MHz)
Default Associated
Code
TX Power Option FRS
Channel
Frequency
(MHz)
Default Associated
Code
TX Power Option
1462.5500 154 Hi/Low Optional 12 462.6375 146 Hi/Low Optional

2462.5750 134 Hi/Low Optional 13 462.6625 139 Hi/Low Optional
3462.6000 82 Hi/Low Optional 14 462.6875 75 Hi/Low Optional
4462.6250 145 Hi/Low Optional 15 462.7125 142 Hi/Low Optional
5462.6500 81 Hi/Low Optional 16 467.5625 141 Fixed to Low
6462.6750 80 Hi/Low Optional 17 467.5875 74 Fixed to Low
7462.7000 79 Hi/Low Optional 18 467.6125 140 Fixed to Low
8 (as
Group)
462.7250 144 Hi/Low Optional 19 467.6375 73 Fixed to Low
9462.5625 78 Hi/Low Optional 20 467.6625 72 Fixed to Low
10 462.5875 143 Hi/Low Optional 21 467.6875 71 Fixed to Low
11 462.6125 77 Hi/Low Optional 22 467.7125 70 Fixed to Low
NOAA Weather (WX) Channel Frequency Chart
Weather Channel Frequency (MHz) Weather Channel Frequency (MHz) Weather Channel Frequency (MHz) Weather Channel Frequency (MHz)
WX1 162.550 WX4 162.425 WX7 162.525 WX10 161.750
WX2 162.400 WX5 162.450 WX8 161.650 WX11 162.000
WX3 162.475 WX6 162.500 WX9 161.775
CTCSS Code Frequency Chart
Code
No.
Freq.
(Hz)
Code
No.
Freq.
(Hz)
Code
No.
Freq.
(Hz)
Code
No.
Freq.
(Hz)
Code
No.
Freq.
(Hz)
Code
No.
Freq.
(Hz)
Code
No.
Freq.
(Hz)
Code
No.
Freq.
(Hz)
167.0 888.5 15 110.9 22 141.3 29 179.9 36 233.6 125 171.3 132 229.1
271.9 991.5 16 114.8 23 146.2 30 186.2 37 241.8 126 177.3 133 254.1
374.4 10 94.8 17 118.8 24 151.4 31 192.8 38 250.3 127 183.5
477.0 11 97.4 18 123.0 25 156.7 32 203.5 128 189.9
579.7 12 100.0 19 127.3 26 162.2 33 210.7 122 69.3 129 196.6
682.5 13 103.5 20 131.8 27 167.9 34 218.1 123 159.8 130 199.5
785.4 14 107.2 21 136.5 28 173.8 35 225.7 124 165.5 131 206.5
CDCSS Octal Code Chart
Code
No.
OCT
Code
Code
No.
OCT
Code
Code
No.
OCT
Code
Code
No.
OCT
Code
Code
No.
OCT
Code
Code
No.
OCT
Code
Code
No.
OCT
Code
Code
No.
OCT
Code
39 023 52 074 65 165 78 271 91 413 104 565 117 731 142 255
40 025 53 114 66 172 79 306 92 423 105 606 118 732 143 266
41 026 54 115 67 174 80 311 93 431 106 612 119 734 144 274
42 031 55 116 68 205 81 315 94 432 107 624 120 743 145 325
43 032 56 125 69 223 82 331 95 445 108 627 121 754 146 332
44 043 57 131 70 226 83 343 96 464 109 631 134 036 147 356
45 047 58 132 71 243 84 346 97 465 110 632 135 053 148 446

46 051 59 134 72 244 85 351 98 466 111 654 136 122 149 452
47 054 60 143 73 245 86 364 99 503 112 662 137 145 150 454
48 065 61 152 74 251 87 365 100 506 113 664 138 212 151 455
49 071 62 155 75 261 88 371 101 516 114 703 139 225 152 462
50 072 63 156 76 263 89 411 102 532 115 712 140 246 153 523
51 073 64 162 77 265 90 412 103 546 116 723 141 252 154 526
SAFETY TRAINING INFORMATION
Your SANCON radio generates RF electromagnetic en-ergy during transmit mode. This radio is designed for and
classified as "Occupational Use Only". Meaning it must be used only during the course of employment by
individuals aware of the hazards,
Warning and the ways to minimize such hazards. This radio is not intended for use by the " General Population" in
an uncontrolled environment.
ThisradiohasbeentestedandcomplieswiththeFCCRFexposurelimitsfor"OccupationalUseOnly."Inaddition,your
QuanshengradiocomplieswiththefollowingStandardsandGuidelineswithregardtoRFenergyandelectromagnetic
energylevelsandevaluationofsuchlevelsforexposuretohumans:
KDB865664D01SARMeasurement100MHzto6GHzv01ro3,EvaluatingCompliancewithFccGuidelinesforHuman
ExposuretoRadioFrequencyElectromagneticFields.
●AmericanNationalStandardsInstitute(C95.1-1992),IEEEStandardforsafetylevelswithRespecttoHumanExposure
toRadioFrequencyElectromagneticFields,3kHzto300GHz
●AmericanNationalStandardsInstitute(C95.3-1992),IEEERecommendedPracticefortheMeasurementofPotentially
HazardousElectromagneticFields-RFandMicrowave.

To ensure that your exposure to RF electromagnetic energy is within the FCC allowable limits for occupational use,
always adhere to the following
CAUTION guidelines:
● DO NOT operatetheradiowithoutaproperantennaattached,asthismaydamagetheradioandmayalsocause
youtoexceedFCCRFexposurelimits.Aproperantennaistheantennasuppliedwith
thisradiobythemanufactureoranantennaspecificallyauthorizedbythemanufacturerforusewiththisradio.
● DO NOT transmitformorethan50%oftotalradiousetime("50%dutycycle").
Transmittingmorethan50%ofthetimecancauseFCCRFexposurecompliancerequirementstobeexceeded.Theradio
istransmittingwhenthe"TXindicator"lightsred.Youcancausetheradiototransmitbypressingthe"PTT"switch.
● ALWAYS useSANCONauthorizedaccessories(antennas,batteries,beltclips,speaker/mics,etc).Useofunauthorized
accessoriescancausetheFCCRFexposurecompliancerequirementstobeexceeded.Body-wornoperationsarerestricted
tobelt-clips,holstersorsimilaraccessoriesthathavenometalliccomponentintheassemblyandthatprovideatleast
1.5cmseparationbetweenthedevice,includingitsantenna,andtheuser'sbody.Toprovidetherecipientsofyour
transmissionthebestsoundquality,holdtheantennaatleast5cm(2inches)frommouth,andslightlyofftooneside.
TheinformationlistedaboveprovidestheuserwiththeinformationneededtomakehimorherawareofRFexposure,and
whattodotoassurethatthisradiooperateswithintheFCCRFexposurelimitsofthisradio.
Electromagnetic Interference/Compatibility
Duringtransmissions,yourSANCONradiogeneratesRFenergythatcanpossiblycauseinferencewithotherdevicesor
systems.Toavoidsuchinterference.TurnofftheradioinAreswheresignsarepostedtodoso.DONOToperatethe
transmitterinareasthataresensitivetoelectromagneticradiationsuchashospitals,aircraft,andblastingsites.
ThisdevicecomplieswithPart95oftheFCCrules.Operationissubjecttothefollowingtwoconditions:
(1)Thisdevicemaynotcauseharmfulinterference,and
(2)Thisdevicemustexceptanyinterferencereceived,includinginterferencethatmaycauseundesiredoperation

说明书
SAMCOMFWAN10A
10通道手持对讲机(可直接与FTAN10T对讲)
注意事项
● 使用前请详细阅读此说明书
● 避免阳光直接照晒或放在很热的地方
● 不可用于油站,煤矿等易燃易爆的环境中
● 不可用于高浓度粉尘等易爆的环境中
● 用干净的布清理机上的污迹,不可用酒精
或其他化学品擦拭或将其他液体流入机内部
● 不要敲击和摔打避免损坏液晶显示屏
注意:
处理废旧电池(NOBATTERYINCLUDE
在包)根据指令。
10-信道手持式对讲机的特点
● 这是一款与INTERCOM FTAN10A 相对应的手持机。
它的频道与FTAN10A 一致,户外或移动状态时可
可使用该手持机方便与台式机对讲
● 该对讲系统可以一对一讲,也可使用群呼号码一对多讲
主要特性
●472MHz公众使用免费频道
10个信道,3组号码
●VOX
●RogerBeeOn/Off
●AudoPowerOff(APO)
●10CallTones

Overview
LCD Display
67
8
1
2
39
4

5
Install Battery
●Insertacointothebatterydoorgap.
●Turnthecoinwithsomeforcetoopenthe
batterydoorasshownonphotoA
●Followthepolardirectionsandinsert3xAAA
sizebatteries.
●ClosethebatterydoorasshowonphotoB
1.Insertthebatterydoor
2.Then,Pressdownthebatterydoortoclose
ittight.
操作说明
1开机/关机
要开机,按MENU键2秒钟,直到听到嘟嘟声,LCD显示器开启
要关机。按MEUN键2秒钟,直到LCD显示屏关闭。
2通话信道
该机有10个频道共3组号码,有效距离范围内有33个通道共选择,
3讲话给其他机
按下并按住PTT键LCDTX图标指示无线电信号传递
与麦克风距离3-5厘米,然后讲话。
讲话结束后,松开PTT键。
4听其他机讲话
号码相同的机讲话过来时,自动发声无需操作任何按键
当您按下PTT键。你听不到其他机的声音。确保你不要按PTT键收听。
5调整扬声器音量(8级)
按向上键+增大音量
按向上键-降低音量

6LCD背光开启/关闭
需要时按LAMP键开启LCD背光亮。
再次按下LAMP键LCD背光关闭
备注。
一般对讲无需打开LCD背光,长期点亮背光费电。
7.MENU菜单流程图
按下MENU菜单键进入信道选择,再按一次进入功能选择
信道选择 ABC组选择 VOX声控对讲 CallTone
MainScreen
8.选择号码
选择号码
按MENU键一次,LCD显示闪烁的是号码。
按“+”或“-”键选择您所需的号码。
按PTT键确认并退出或按MENU键继续下一个功能设定。
13秒后,自动回复到初始屏幕。
9. ABC 档位切换
按下MENU键2次,1,2,3会显示和闪烁
按+或-键可选择1,2,3A=1B=2C=3
按下PTT键确认并退出,或按MENU键继续以下设置。
10.VOX(不用手完成对讲功能)
该装置具有一个内置的语音激活回路分析(VOX)功能。您可以享受聊天,听不按PTT键
按MENU键3次。LCD显示VOX图标,VOX灵敏度从OFF1,2,3为OFF低中高
开启VOX功能。LCD显示VOX图标。按下PTT确认并退出激活VOX功能。
11.发送呼叫声音CALLTONE
您可以使用10的不同的“呼叫音”来获得其他用户的注意,同一个通道不同的呼叫音代表不同的人。
按下按键,你会听到不同的音乐。LCD会显示发射图标,你的来电铃声已被设定。
12选择呼叫声音SELECTINGCALLTONE
按MENU键4次,LCD显示器1CR图标,来电铃声号闪烁
按+或-从01到08键来选择您想要的来电铃声
按继续下一个功能设置。
13自动关机(APO)
按MENU键5次,LCD显示器APO图标。
按+或-键,从0〜4小时选择自动关机时间

按下PTT键确认并退出或按MENU键返回主屏幕。
开启该功能。LCD会显示APO图标,并自动关闭在指定的时间。
14按键声音的开关KEYTONEON/OFF
按MENU键6次,LCD显示屏上的显示ON为(按键音开)或OF(按键音关)
按+或-键切换键调整或关闭
显示屏显示 图标表示按键声音开启。此图标消失,表示按键音关闭。
按下PTT确认并退出或按MENU键继续下一个功能设置。
15ROGERBEEP蜂鸣器的声音
蜂鸣器功能,按PTT发射或放开PTT会发出短暂的蜂鸣器声音提醒。
按MENU键7次显示ONor显示蜂鸣器的声音开启,OFor显示蜂鸣器的声音关闭
按+或-键切换蜂鸣器开启或关闭。
按下PTT确认并退出或按MENU键继续下一个功能设置。
FCC合规性声明
该设备FWAN10A符合FCC要求

10-信道手持式对讲机的特点
● 这是一款与INTERCOM FTAN10A 相对应的手持机。
它的频道与FTAN10A 一致,户外或移动状态时可
可使用该手持机方便与台式机对讲
● 该对讲系统可以一对一讲,也可使用群呼号码一对多讲
●472MHz公众使用免费频道
Table of contents
Other SAMCOM Two-way Radio manuals
Popular Two-way Radio manuals by other brands

Advanced Wireless Communications
Advanced Wireless Communications AWR Advantage Series quick start guide

Regal Group
Regal Group RG-150ST instruction manual

Motorola
Motorola APX Series manual

Retevis
Retevis RT76P user manual

Motorola
Motorola APX 4500 O2 CH manual

Motorola
Motorola Talkabout MH Series user manual