manuals.online logo
Brands
  1. Home
  2. •
  3. Brands
  4. •
  5. Samsung
  6. •
  7. Camcorder
  8. •
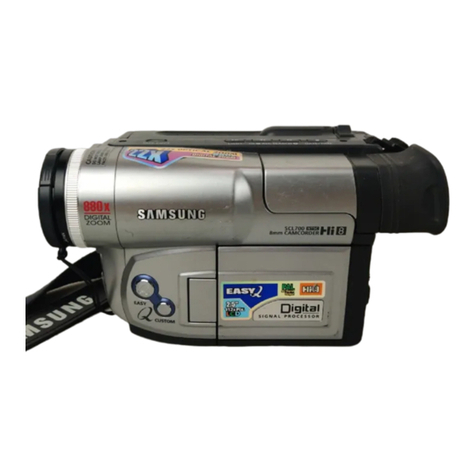
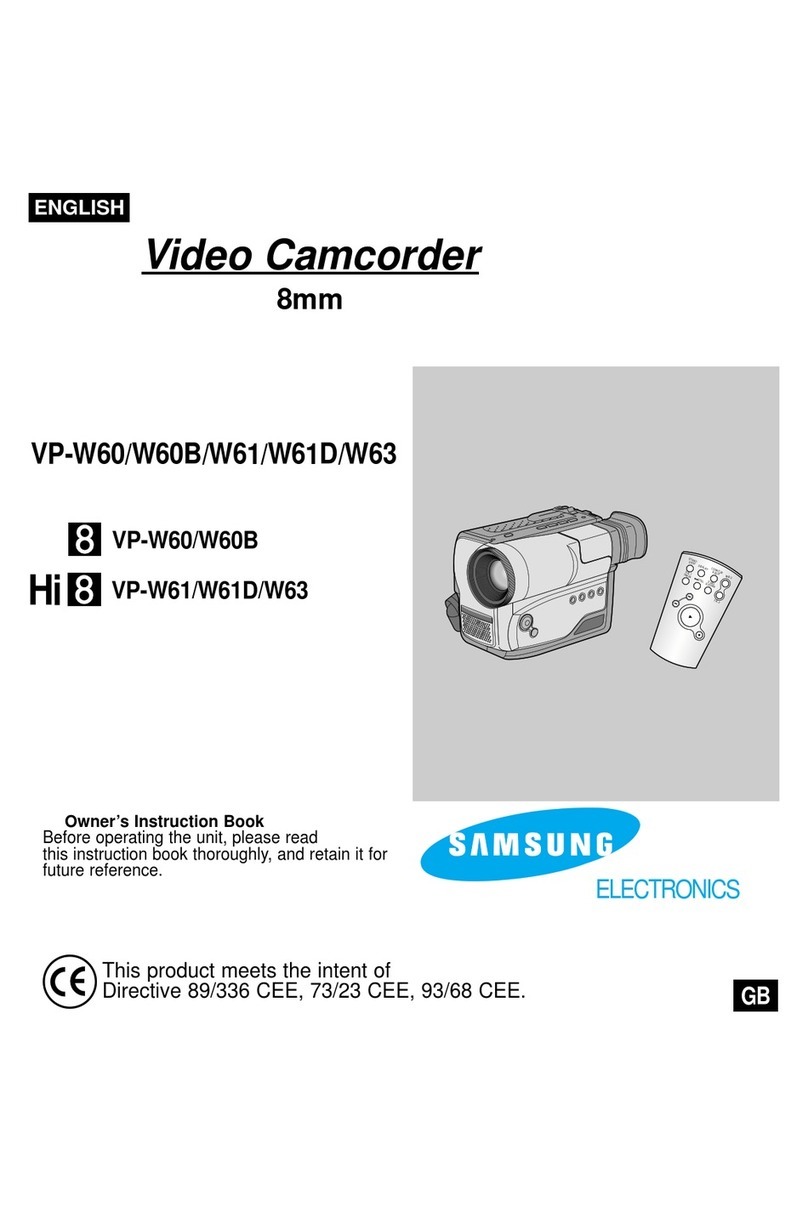
  9. Samsung Hi8 SCL860 Owner's manual

Samsung Hi8 SCL860 Owner's manual

This manual suits for next models

2

Other Samsung Camcorder manuals

Samsung SC-X210L Owner's manual

Samsung

Samsung SC-X210L Owner's manual

Samsung SC-MM10S Owner's manual

Samsung

Samsung SC-MM10S Owner's manual

Samsung VP-D26 Owner's manual

Samsung

Samsung VP-D26 Owner's manual

Samsung SC-M2050S Owner's manual

Samsung

Samsung SC-M2050S Owner's manual

Samsung VP-D391i User manual

Samsung

Samsung VP-D391i User manual

Samsung SCL540 Setup guide

Samsung

Samsung SCL540 Setup guide

Samsung SC-D93 Owner's manual

Samsung

Samsung SC-D93 Owner's manual

Samsung HMX-E10BP User manual

Samsung

Samsung HMX-E10BP User manual

Samsung VP-D907 Owner's manual

Samsung

Samsung VP-D907 Owner's manual

Samsung SC-D371 Owner's manual

Samsung

Samsung SC-D371 Owner's manual

Samsung SC-D371 Owner's manual

Samsung

Samsung SC-D371 Owner's manual

Samsung SC-DX200 User manual

Samsung

Samsung SC-DX200 User manual

Samsung SCW71 Owner's manual

Samsung

Samsung SCW71 Owner's manual

Samsung VP-D85I Owner's manual

Samsung

Samsung VP-D85I Owner's manual

Samsung VP-M2050S Setup guide

Samsung

Samsung VP-M2050S Setup guide

Samsung SC-D963 Owner's manual

Samsung

Samsung SC-D963 Owner's manual

Samsung H  MX-H220RP User manual

Samsung

Samsung H MX-H220RP User manual

Samsung VP-D97I Owner's manual

Samsung

Samsung VP-D97I Owner's manual

Samsung DC173(U) Owner's manual

Samsung

Samsung DC173(U) Owner's manual

Samsung SC-D457 Owner's manual

Samsung

Samsung SC-D457 Owner's manual

Samsung VP-W70 Setup guide

Samsung

Samsung VP-W70 Setup guide

Samsung VP-D107 Owner's manual

Samsung

Samsung VP-D107 Owner's manual

Samsung D327(i) Owner's manual

Samsung

Samsung D327(i) Owner's manual

Samsung VP-DC171I Owner's manual

Samsung

Samsung VP-DC171I Owner's manual

Popular Camcorder manuals by other brands

Vivitar DVR 830XHD owner's manual

Vivitar

Vivitar DVR 830XHD owner's manual

Panasonic HX-WA20PP Service manual

Panasonic

Panasonic HX-WA20PP Service manual

Sony HDR-AS10 operating guide

Sony

Sony HDR-AS10 operating guide

Canon FS1 instruction manual

Canon

Canon FS1 instruction manual

Sharp VL-H400S Operation manual

Sharp

Sharp VL-H400S Operation manual

Panasonic AJ-D900WAP operating instructions

Panasonic

Panasonic AJ-D900WAP operating instructions

Sony Handycam HDR-FX1E operating instructions

Sony

Sony Handycam HDR-FX1E operating instructions

Sony Handycam HDR-FX1000 Specifications

Sony

Sony Handycam HDR-FX1000 Specifications

Naxa NDC-402 instruction manual

Naxa

Naxa NDC-402 instruction manual

LG L320-BN owner's manual

LG

LG L320-BN owner's manual

Vivitar DVR 865HD user manual

Vivitar

Vivitar DVR 865HD user manual

Toshiba CAMILEO Z100 user guide

Toshiba

Toshiba CAMILEO Z100 user guide

Panasonic NV-VS40B operating instructions

Panasonic

Panasonic NV-VS40B operating instructions

Canon RC 260 instructions

Canon

Canon RC 260 instructions

Sony Handycam DCR-DVD7E operating guide

Sony

Sony Handycam DCR-DVD7E operating guide

Brinno TimeLapse TLC200 user manual

Brinno

Brinno TimeLapse TLC200 user manual

JVC GR-SXM68AC Schematic diagram

JVC

JVC GR-SXM68AC Schematic diagram

MYDLINK DCS-6100LH Quick installation guide

MYDLINK

MYDLINK DCS-6100LH Quick installation guide

manuals.online logo
manuals.online logoBrands
  • About & Mission
  • Contact us
  • Privacy Policy
  • Terms and Conditions

Copyright 2025 Manuals.Online. All Rights Reserved.

[ENGLISHI Video Camcorder
8ram
COLOR LCD
SCL810/L860/L870
Hi[] SCL810/L860/L870
Owner's Instruction Book
Before operating the unit, please read
this instruction book thoroughly, and retain it for
future reference. El
All manuals and user guides at all-guides.com
all-guides.com
IENGLISHI
Contents
Features ......................................................................................................................................................................................... 12
Descdptions
• Front View/Side View/Rear View .............................................................................................................................. 13, 14, 15
• OSD (On Screen Display._................................................................................................................................................... 16
Accessories Supplied with the _.amcorder..................................................................................................................................... 18
Remote Control (S_CL860/L870only) ............................................................................................................................................. 19
• Sett Timer Recording ........................................................................................................................................................... 19
Adiustin£ the Hand Strap and Shoulder Strap............................................................................................................................... 20
Lithium #attery Installation ............................................................................................................................................................. 21
Connecting the Power Source........................................................................................................................................................ 22
• To use the AC PowerAdapter .............................................................................................................................................. 22
• To use the Battery Pack....................................................................................................................................................... 23
Using the Battery Pack................................................................................................................................................................... 24
• Continuous Recording time table ......................................................................................................................................... 24
• Battery Level Display ........................................................................................................................................................... 25
Inserting andEjecting a Cassette ................................................................................................................................................. 26
Makin_ YourFirst Recording .......................................................................................................................................................... 27
Hints TorStable Image Recording ................................................................................................................................................. 29
• Recording wit_ LCD Mooi[or ................................................................................................................................................ 29
• Recording with Viewfinder .................................................................................................................................................... 29
Adustingajthe LCD .......................................................................................................................................................................... 30
Adjustin_ Focus of the VIEWFINDER ............................................................................................................................................ 31
Playingr_ack a tape on the LCD..................................................................................................................................................... 32
•-Adustingthe LCD daring PLAY........................................................................................................................................... 33
• Controlling the Sound from the Speaker ............................................................................................................................. 33
• Viewing a Still Picture .......................................................................................................................................................... 33
• Picture Search ..................................................................................................................................................................... 33
Zooming In and Oat ....................................................................................................................................................................... 34
Digital Zoom ................................................................................................................................................................................... 35
EASY mode for beginners ........................................................................................................................................................... 37
CUSTOM-Creatingyour own customized recording settings......................................................................................................... 38
DIS (Digital Image Stabilizer, SCL860/L870 only) ......................................................................................................................... 39
MFIAF (ManualFocuslAuto Focus) ................................................................................................................................................ 40
BLC................................................................................................................................................................................................. 41
,A
All manuals and user guides at all-guides.com
[ENGLISH 1
Contents (continued)
Program AE (Automatic Exposure) ................................................................................................................................................ 42
DSE (Digital Special Effects)in CAMERA mode ........................................................................................................................... 44
Setting and Recording DATE/TIME................................................................................................................................................ 46
Selecting and Recording a Title ..................................................................................................................................................... 48
Fade In and Out ............................................................................................................................................................................. 50
PIP (SCL860/L870 only)................................................................................................................................................................. 51
Snap Shot (SCL860/L870 only) ..................................................................................................................................................... 52
While Balance ................................................................................................................................................................................ 53
Demonstration ................................................................................................................................................................................ 54
Setting the Date/Tgle color ............................................................................................................................................................. 55
Lighting Techniques ........................................................................................................................................................................ 56
To watch with LCD ........................................................................................................................................................................ 57
To watch with TV monitor ............................................................................................................................................................... 57
Various Functions in PLAYER mode .............................................................................................................................................. 59
Adjusting the LCD .......................................................................................................................................................................... 60
Setting the Speaker ON/OFF ......................................................................................................................................................... 60
DSE in PLAYER mode ................................................................................................................................................................... 60
Multi Playback (Using the PAL60System) ..................................................................................................................................... 61
Installing USB Media 2.0 Program................................................................................................................................................. 63
Cleaning and Takingcare of the Camcorder.................................................................................................................................. 66
• Cleaning theViewfinder ...................................................................................................................................................... 66
• Cleaning the LCD Panel....................................................................................................................................................... 66
• Cleaning theVideo Heads .................................................................................................................................................. 66
• Storing the Camcorder ......................................................................................................................................................... 66
Self Diagnosis Display ................................................................................................................................................................... 68
Checking......................................................................................................................................................................................... 69
Moisture Condensation .................................................................................................................................................................. 71
A
All manuals and user guides at all-guides.com
[ENGLISH 1
Notices and Safety Instructions
Pleaserotatethe LCDscreen carefullyas illustrated.
Unintendedrotationmay cause damageto the insideof the
hingethat connectsthe LCD screentothe Camcorder.
1) LCDscreenclosed.
2) Standardrecordingbyusing the LCDscreen.
3) Makinga recordingbylooking atthe LCDscreenfrom the top.
4) Makinga recordingbylooking atthe LCDscreenfrom the front.
5) Makinga recordingwith the LCD screenclosed.
1)
2)
4)
96 °
5)
•t, Donot let the LENSpoint towardthe sun.
Directsunlightcan damagethe CCD
(ChargeCoupledDevice).
A
All manuals and user guides at all-guides.com
Notices and Safety Instructions [ENGLISH 1
1) Do not placethe camcorderso thatthe
viewfinderis pointingtowardsthe sun.
Directsunlightcandamagethe insideofthe
viewflnder,Be carefulwhen placingthe
camcorderunder sunlightor by a window.
2) Do not pick upthe camcorderby the viewfinder,
3) Unintendedrotationmay causedamageto the
viewflnder,
XX
1) A sudden rise in atmospheric temperature may cause condensation to
form inside the camcorder,
for example:
• When you take the camcorder from cold temperature outside to
warm temperature inside during the winter.
• When you take the camcorder from cool temperature inside to
hot temperature outside during the summer.
2) Ifthe "DEW" protectionfeatureis activated,leavethe camcorderin a
dry,warm roomwith the cassettecompartmentopenedand the battery
removed.
3) If the "DEW" protection feature is activated unexpectedly,
and you want to override it, detach, then reinstall the battery pack
and lithium battery.
Please make sure that the condensation has disappeared
completely. (see page 71)
[
_'_ DEW
A
All manuals and user guides at all-guides.com
[ENGLISH 1
Notices and Safety Instructions
÷ Makesurethat the batterypackis charged beforerecordingoutdoors,
4" Topreserve battery power,keepyourcamcorderturnedoff when you arenot operatingit.
÷ Whenyourcamcorderis in CAMERAmode, if it is leftin STANDBYfor more than5 minuteswithoutoperation,
it will automaticallyturn offto protectagainstunexpectedbattery discharge.
÷ It isa good ideato usethe viewrinderinsteadof the LCDwhen recordingfor a longtime becausethe LCD uses
more batterypower.
÷ Makesurethat the batterypackis fitted firmly into place.
Droppingthe batterypack mightdamageit.
÷ Whenthe battery reachesthe end of its life, pleasecontactyour localdealer.
The batterieshave to bedealt with as chemicalwaste.
Warning:.'Keepthe LITHIUMBATTERYout ofthe reachof children.Should the batterybe swallowed,
consulta doctorimmediately.
•t, The lithiumbatterymaintainsthe dock function,TITLE, CUSTOMfunctionand presetcontentsmemory;
evenif the batterypackor AC poweradapteris removed,
•t, The lithiumbatteryfor thecamcorderlastsabout 8~10 monthsunder normaloperationfrom timeof installation.
•t, Whenthe lithiumbatterybecomesweakor dead, the date/timeindicatorflashes about5 secondswhen
you setthe powerswitchto CAMERA.In thiscase, replacethe lithiumbatterywith type CR2025.(seepage21)
WARNING:
LITHIUM BATTERY MUST BE
RECYCLED OR DISPOSED
OF PROPERLY.
A
All manuals and user guides at all-guides.com
all-guides.com
Notices and Safety Instructions [ENGLISH 1
1) The LCDmonitoris manufacturedbyusing highprecisiontechnology.
However,there maybe sometiny specks(red, blueor green in color)
thatappearon the LCD monitor.These specksarenormaland do not
affectthe recorded picturein any way,
2) Whenusing the LCD monitoroutdoorsin direct sunlight,
it may bedifficultto view.If this occurs,usethe viewfinder.
3) The LCDmonitor'sOSDis turnedoff when the LCD isplacedin the
forwarddirection,
÷ It isvery importantto adjustthe handstrap forbetter recording.
(seepage 20)
÷ Do not insert your handin the handstrapforcibly,
the bucklemay bedamaged,
÷ Toensure normalrecordingand clearpicture,clean the video heads.Whenplayingbackthe pictures,
if they arenoisyor hardlyvisible, the video headsmaybe dirty, Ifthishappens,cleanthe video headswith adry
type cassettecleaner.
÷ Do not use a wettype cassettecleaner.It maydamagethe videoheads.(see page66)
÷ Toprotectagainsttapeandhead-drumwear,yourcamcorderwill automaticallyturnoff if it is leftin STANDBY
modewithout operationfor more than5 minutes. ,A
All manuals and user guides at all-guides.com
IENGLISHI
Notices and Safety Instructions
CAUTION:
TO REDUCE THE RiSK OF ELECTRIC
SHOCK, DO NOT REMOVE COVER(OR
BACK) NO USER SERVICEABLE PARTS
iNSIDE, REFER SERVICING TO
QUALIFIED SERVICE PERSONNEL
To prevent electric shock, match wide
blade of plug to wide slot and fully
insert.
,_ This symbol is intended to alert the user to the presence of uninselated
dangerous voltage within the product's enclosure that may he of sufficient
magnitude to constitute a risk of fire or electric shock.
,_ This symbol is intended to alert the user to the presence of important
operating and maintenance instructions in the literature accompanying
this product.
1.READ INSTRUCTIONS:
All the safety and operating instructions should be read
before the CAMCORDER is operated.
2. RETAIN INSTRUCTIONS:
The safety and operating instructions should be retained
for future reference.
3.HEED WARNINGS:
AII warnings on the CAMCORDER and in the operating
instructions should be adhered to.
4. FOLLOW INSTRUCTIONS:
All operating and maintenance instructions should
be followed.
5.CLEANING:
Unplug this CAMCORDER from the wall outlet before
cleaning. Do not use liquid or aerosol cleaners.
Use a dry cloth used for dusting cabinets.
6. ATTACHMENTS:
Do not use attachments not recommended by the
CAMCORDER productmanufacturer as they may be
hazardous.
A
7.WATER AND MOISTURE:
Do not use this CAMCORDER near water;
forexample,near a bathtub,wash bowl, kitchensink, laundry
tub,in awet basement, neara swimming poolor lake.
8. ACCESSORIES:
DOnot pfacathis CAMCORDER on an unstable cart, stand,
tripod, bracket or table.
The CAMCORDER may fall,causing serious injuryto a child
or adag, and serious damage tothe unit.
Use only with a cart, stand, tripod, bracket, or table
recommended by the manufacturer or sold with the
CAMCORDER. Any mounting of the unit should follow the
manufacturer's instructions and should use a mounting
accessory recommended by the manufacturer.
A.An appliance and cart combination
should be moved with care.
Quick stops, excessive force and uneven surfaces may
cause the appiianca and cart combination to overturn.
PORTABLE CART WARNING
(Symbol provided by RETAC)
All manuals and user guides at all-guides.com
[ENGLISH 1
Notices and Safety Instructions
9.VENTILATION:
Slots and openings in the cabinet are provided for
ventilation to ensure reliable operation of
the CAMCORDER and to protect it from overheating.
These openings must not be biockod or covered,
Never place your CAMCORDER on a bed, sofa, rug, or
other similar surface: on or near a radiator or heat
register.
This CAMCORDER should not be placed in a built-in
installation such as a bookcase or rack unless
properventilation is providedor the manufacturer's
instructions have been adhered to.
10. POWER SOURCES:
The CAMCORDER should be operated only from the type
of power source indicatedon the label
If you are not sure of the type of power supply at your
home, consult your appliance dealer or local power
company.
A CAMCORDER is intendedto be operated from battery
power,or other sources, refer to the operating instructions,
1I.GROUNDING OR POLARIZATION:
This CAMCORDER may beequipped with either a
polarized2-wire AC line plug(a plughaving one blade
wider than the other) or a 3-wire grounding type plug,
aplughaving a third (grounding) pin,
If you are unable to insert the plug fully into the outlet,
try reversing the plug.If the plug still fails to fit,
contact your electrician to replace your outlet.
Do not defeat the safety purpose of the polarizedplug.
12.POWER-CORD PROTECTION:
Power-supplycords should be routed so that they are not
likelyto be walked on or pinchedby items placed upon or
against them, paying particularattention to cords or plugs,
convenient receptacles, and the point where they exit from
the unit.
13. OUTDOOR ANTENNA GROUNDING:
Ifan outsideantenna or cable system is connected to the
CAMCORDER, be sure the antenna or cable system is
grounded to provide some protection against voltage
surges and built-up static charges, Section 810 of the
National Electrical Code, ANSI/NFPA No, 70-1984,
providesinformation with respect to proper grounding of
the mast and supporting structure, grounding of the
lead-in wire and supporting structure, grounding of the
mast and supporting structure, grounding of the leaddn
wire to an antenna discharge unit, size of grounding to
conductors, location of antenna-discharge unit, connection
to grounding electrodes and requirements for the
grounding electrode,
See figure below,
A
All manuals and user guides at all-guides.com
[ENGLISH 1
Notices and Safety Instructions
14. LIGHTNING:
For added protection of this CAMCORDER during a
lightning storm or when it is left unattended and unused
for long periods of time, unplug it from the wall outlet and
disconnect the antenna or cable system.
This will prevent damage to the CAMCORDER due to
lightning and power-line surges.
15.POWER LINES:
An outside antenna system should not be located in the
vicinity of overhead power linesor other electric light or
power circuits where it can fall into such power lines or
circuits,
When installing an outside antenna system, extreme care
should betaken to keep h_m touching such power lines
or circuits as contact with them might be fatal,
16. OVERLOADING:
Do not overload wall outlets and extension cords as this
can result in a risk of fire or electric shock.
17. OBJECTS AND LIQUIDS:
Never push objects of any kind into this CAMCORDER
through openings as they may touch dangerous voltage
points or short out a part that could result in a fire or
electric shock.
Never spill liquids of any kind onto the CAMCORDER,
Should spillage occur, unplug uni and have it checked by
a technician before use.
18.SERVICING:
Do not attempt to service this CAMCORDER yourself.
Opening or removing covers may expose you to
dangerous voltage or other hazards.
Refer all servicing to qualified service personnel,
19.DAMAGE REQUIRING SERVICE:
Unplug this CAMCORDER from the wail outlet and
refer servicingto qualified service personne{ under the
following conditions:
a.When the power-supply cord or plug is damaged,
b, Ifany liquidhas been spilled onto, or objects have
fallen intothe CAMCORDER.
c. If the CAMCORDER has been exposed to rainor water,
d. Ifthe CAMCORDER does not operate normally by
following the operating instructions, adjust only these
controls that are covered by the operating instructions,
improperadjustment of other controls may result in
damage and will often require extensive work by a
qualified technician to restore the CAMCORDER to its
normal operation,
e,If the CAMCORDER has been dropped or the cabinet
has been damaged.
fi When the CAMCORDER exhibits a distinct change in
performance,this indicatesa need for service,
20. REPLACEMENT PARTS:
When replacement parts are required, be sure the service
technician has used replacement parts specified by the
manufacturer and having the same characteristics as the
original part.
Unauthorized substitutions may result in fire,
e{ectricshock or other hazards.
21. SAFETY CHECK:
Upon completion of any service or repairs to this
CAMCORDER, ask the service technician to perform
safety checks to determine that the CAMCORDER is
in safe operating order,
A
All manuals and user guides at all-guides.com