manuals.online logo
Brands
  1. Home
  2. •
  3. Brands
  4. •
  5. Sanyo
  6. •
  7. Camcorder
  8. •
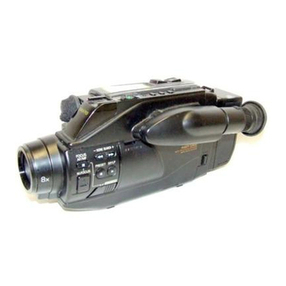
  9. Sanyo VM-D6P User manual

Sanyo VM-D6P User manual

Other manuals for VM-D6P

1

Other Sanyo Camcorder manuals

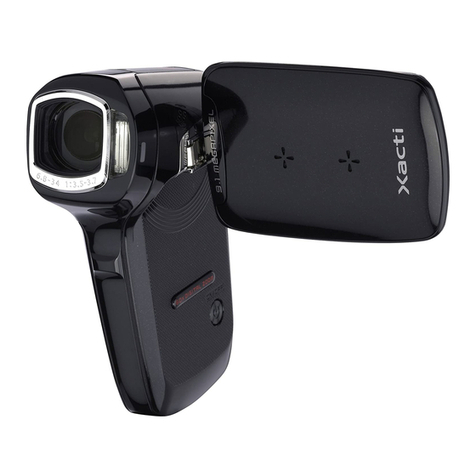
Sanyo Xacti VPC-HD2000 Series User manual

Sanyo

Sanyo Xacti VPC-HD2000 Series User manual

Sanyo Xacti VPC-CA6EX User manual

Sanyo

Sanyo Xacti VPC-CA6EX User manual

Sanyo XACTI VPC-SH1GX Assembly instructions

Sanyo

Sanyo XACTI VPC-SH1GX Assembly instructions

Sanyo XACTI VPC-TH1 User manual

Sanyo

Sanyo XACTI VPC-TH1 User manual

Sanyo Xacti VPC-HD2 User manual

Sanyo

Sanyo Xacti VPC-HD2 User manual

Sanyo Xacti VPC-FH1 Series User manual

Sanyo

Sanyo Xacti VPC-FH1 Series User manual

Sanyo VPC-HD1000EX User manual

Sanyo

Sanyo VPC-HD1000EX User manual

Sanyo Xacti VPC-HD2000 Series User manual

Sanyo

Sanyo Xacti VPC-HD2000 Series User manual

Sanyo Xacti VPC-C1EX User manual

Sanyo

Sanyo Xacti VPC-C1EX User manual

Sanyo Xacti VPC-E2 User manual

Sanyo

Sanyo Xacti VPC-E2 User manual

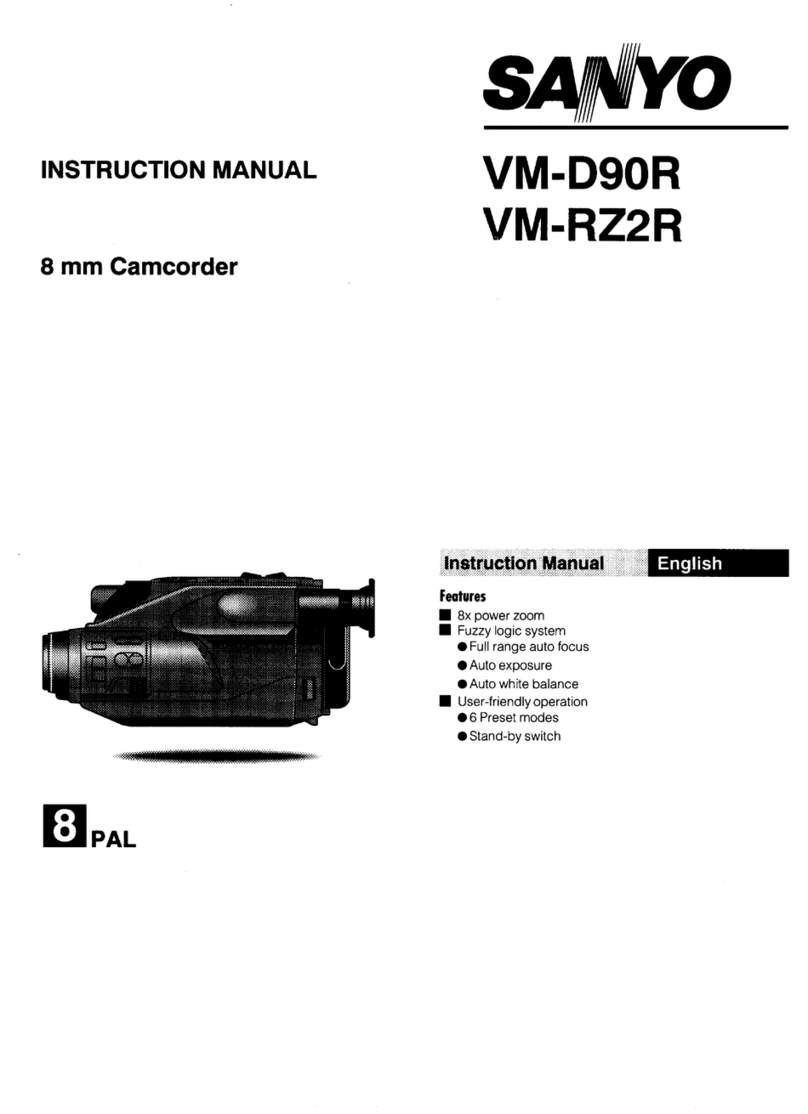
Sanyo VM-D90R User manual

Sanyo

Sanyo VM-D90R User manual

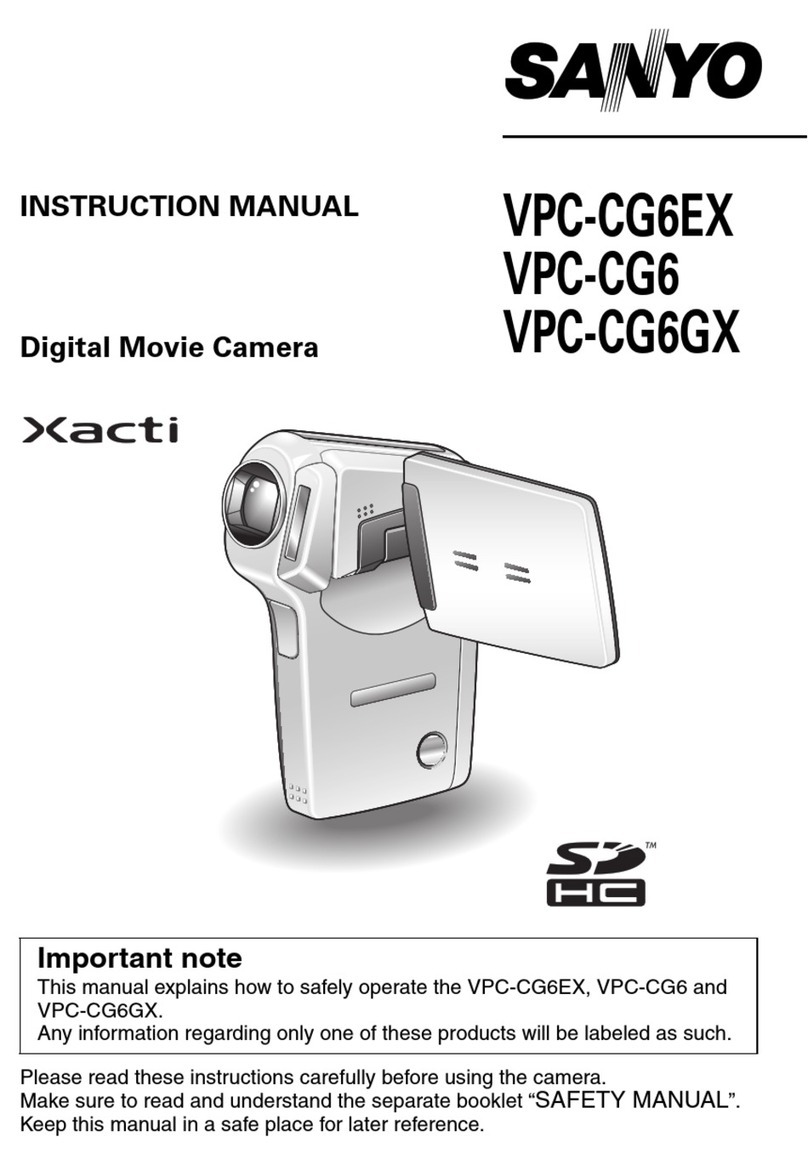
Sanyo Xacti VPC-CG6GX User manual

Sanyo

Sanyo Xacti VPC-CG6GX User manual

Sanyo VPC-FH1ABK User manual

Sanyo

Sanyo VPC-FH1ABK User manual

Sanyo VPC-HD2000BK User manual

Sanyo

Sanyo VPC-HD2000BK User manual

Sanyo Xacti VPC-HD2000 Series User manual

Sanyo

Sanyo Xacti VPC-HD2000 Series User manual

Sanyo VM-RZ1P Installation guide

Sanyo

Sanyo VM-RZ1P Installation guide
Sanyo VPCHD2EX - Xacti 7.1MP MPEG4 High Definition... User manual

Sanyo

Sanyo VPCHD2EX - Xacti 7.1MP MPEG4 High Definition... User manual

Sanyo VM-D90R User manual

Sanyo

Sanyo VM-D90R User manual

Sanyo VPC-FH1BK - Xacti Camcorder - 1080p User manual

Sanyo

Sanyo VPC-FH1BK - Xacti Camcorder - 1080p User manual

Sanyo Xacti VPC-HD2000A User manual

Sanyo

Sanyo Xacti VPC-HD2000A User manual

Sanyo VPC-CG21EX Assembly instructions

Sanyo

Sanyo VPC-CG21EX Assembly instructions

Sanyo VEM-S1P User manual

Sanyo

Sanyo VEM-S1P User manual

Sanyo VM-EX70P Guide

Sanyo

Sanyo VM-EX70P Guide

Sanyo VPC-E1W User manual

Sanyo

Sanyo VPC-E1W User manual

Popular Camcorder manuals by other brands

Vivitar DVR 830XHD owner's manual

Vivitar

Vivitar DVR 830XHD owner's manual

Panasonic HX-WA20PP Service manual

Panasonic

Panasonic HX-WA20PP Service manual

Sony HDR-AS10 operating guide

Sony

Sony HDR-AS10 operating guide

Canon FS1 instruction manual

Canon

Canon FS1 instruction manual

Sharp VL-H400S Operation manual

Sharp

Sharp VL-H400S Operation manual

Panasonic AJ-D900WAP operating instructions

Panasonic

Panasonic AJ-D900WAP operating instructions

Samsung VP-D6550 Owner's instruction book

Samsung

Samsung VP-D6550 Owner's instruction book

Sony Handycam HDR-FX1E operating instructions

Sony

Sony Handycam HDR-FX1E operating instructions

Sony Handycam HDR-FX1000 Specifications

Sony

Sony Handycam HDR-FX1000 Specifications

Naxa NDC-402 instruction manual

Naxa

Naxa NDC-402 instruction manual

LG L320-BN owner's manual

LG

LG L320-BN owner's manual

Vivitar DVR 865HD user manual

Vivitar

Vivitar DVR 865HD user manual

Toshiba CAMILEO Z100 user guide

Toshiba

Toshiba CAMILEO Z100 user guide

Panasonic NV-VS40B operating instructions

Panasonic

Panasonic NV-VS40B operating instructions

Canon RC 260 instructions

Canon

Canon RC 260 instructions

Sony Handycam DCR-DVD7E operating guide

Sony

Sony Handycam DCR-DVD7E operating guide

Brinno TimeLapse TLC200 user manual

Brinno

Brinno TimeLapse TLC200 user manual

JVC GR-SXM68AC Schematic diagram

JVC

JVC GR-SXM68AC Schematic diagram

manuals.online logo
manuals.online logoBrands
  • About & Mission
  • Contact us
  • Privacy Policy
  • Terms and Conditions

Copyright 2025 Manuals.Online. All Rights Reserved.

SANYO
Instruction
8
mm
VM-D6P
Manual
Camcorder
CONTENTS
|
FEATURES
-
HÀI]
eek
ee
ed
ese
ee
Re
rennes
1
ACCESSORIES
«HH
Hehe
1
PART
NAMES
HÀ
HH
Henne
2
PREPARATIONS
«HMM
MH
4
LINEAR
TAPE
COUNTER
sesse
ee
esse
se ee
ek ee
ee
ee
ee
ee
ee
ee
ee
ee
10
HOLDING
THE
CAMCORDER
Heese
esse
ee
eek
ese
ese
ese
eene
ese
11
CAMERA
RECORDING
eH
IH
12
PLAYBACK
se]
MH]
HH]
Hn)
ne
nennen
enne
13
SMOOTH
RECORDING/INSERT
EDIT
«eH
15
RECORDING
REVIEW
-
HI
ee
ede
gee
eg
ee
ee
ge
ee
ee
ee
ee
ee
16
ZOOM
HH]
HH]
HI
meer
16
MACRO
(CLOSE-UP)
FOCUSING
Heese
ees
ees
ee
ee
ee
ees
ees
17
HIGH
SPEED
SHUTTER
MH
18
AUTO
WHITE
BALANCE
HMM
19
TITLE
INSERT
«Án
20
AUTO
FOCUSING
«HMM
HH
I
21
AUTO
IRIS
«eH
HH
mH
Re
RR
ew
ee
ee
23
DATE/TIME
IMPRINT
-«eeHHRHMIMMIIIMIHH
24
TAPE
COPY
MÀ
HII
ene
25
CONNECTION
9H
HH
Hn
26
IMPORTANT
NOTES
eH
27
BASIC
SHOTS
HMM]
HH
28
PANNING/TILTING
|
eee
30
ZOOMING
e
HH]
Henne
nhe
eee
hehe
31
LIGHTING
CONDITIONS
AND
LIGHT
«eem
31
THE
PERSONAL
TOUGH
I
bee
eke
ee
see
ee
ee
ee
ee
dee
ee
ee
ee
33
BEFORE
REQUESTING
SERVICE
«m
HI
34
SPECIFICATIONS
HÀI
36
FEATURES
e
Integrated
camera/8mm
video
cassette
recorder
€
Automatic
focus
e
High
speed
shutter
e
Title
insert
(superimpose)
e
Scene
search
e
Date/time
imprint
e
Macro
(close-up)
recording
eFight-power
zoom-in/zoom-out-powered
or
manual
operation
e
Electronic
viewfinder
for
immediate
playback
e
Recording
review
for
checking
the
last
part
of
a
recording
@
Still
frame/picture
search
eLinear
time
tape
counter(Real
time
counter)
e
Maximum
recording
time
:
180
minutes
ei
P/SP
e
Insert
Edit
(D
VAR-30B
or
VAR-30C
AC
adaptor
«eee
1
@)
NP-55
Battery
pack
cem
1
3
Shoulder
belt
«HMM
1
@)
Lithium
battery
(CR2025)
«eem
1
6)
Power
connection
cord
—
«eH
1
(6)
VRF-300
RF
adaptor
«seems
1
(D
Coaxial
cable
eee
1
(&
Soft
cage
eee
nemen
1
|
OPTIONAL
ACCESSORIES
|
NP-55
Battery
(45min
approx)
NP-77
Battery
(90min
approx)
VCL-80
Standard
Filter
kit
VCL-85
Creative
Filter
Kit
VCL-T20
Teleconversion
Lense
VCL-W7
Wide
Angle
Lense
VBF-85
Car
Battery
Pack
VBF-90
Car
Battery
Chager
VP-90
Ultra
Microphone
VDL-20
Video
Light
VDC-80
Cleaning
Kit
VCW-82
AV
cord
VCE-212
AV
scart
adaptor
PART
NAMES
0
@
o
eococosdsoi
à
d$
dy
(5
G5
(99
C9
69
Q9
3
©
(6
No.
Name
No.
Name
(D
|
Lens
cap
W
|
FF
button
@
|
Microphone
(9$
|
STOP
button
@
|
TITLE
ON/OFF
button
d9
|
STILL
button
(4
|
Accessory
shoe
d2
|
PLAY
button
(5)
HTLE
MEMO
button
q9
SCENE
SEARCH
button
6)
|
Power
zoom
button
19
|
WHITE
BALANCE
switch
G
TITLE
COLOR
button
20
|
FOCUS
switch
(9
|
HIGH
SPEED
SHUTTER
button
21
IRIS
switch
@
|
Cassette
holder
22
FOCUS
REV
button
q9
|
E£yesighi
compansauon
lever
23
MACRO
SET
button
a
|
Shouider
belt
hook
24
Zoom
lever
(2
|
REC
button
|
25
Focus
ring
ap
REW
button
y
|
|
5
1
5
$55
4
269
—
QD
|
Ob
Q9
G0
81)
(2
Q3
@5
84)
et
QL
Cree
49
(4
43)
42
4D
40
G9
88
GD
GO
No.
Name
No.
Name
Qà
|
Viewfinder
66
|
Battery
eject
lever
Q)
|
Battery
holder
$2
|
AUDIO
-
VIDEO
terminal
@
|
REC
START/STOP
button
@
|
MEMORY
button
@
|
Lens
cap
snap
DATE/TIME
ADJ
button
@9
|
EARPHONE
jack
DATE/TIME
button
@)
|
EJECT
switch
EXT.
MIC
jack
@2
|
POWER
switch
and
lamp
@
|
Grip
belt
69)
REC/PAUSE
lamp
43
|
Tripod
screw
mount
@
|
RESET
button
Lithium
battery
cover
$9
|
REC
MODE/EDIT
switch
@
|
Shouder
belt
hook
PREPARATIONS
POWER
SOURCE
Outdoor
Use
:
For
outdoor
recording,
use
supplied
battery
pack
NP-55.
Attaching
the
Battery
Pack
1.
Align
the
iine
on
the
battery
pack
with
the
unit.
2.
Gently
press
the
battery
pack
toward
the
unit,
then
slide
it
to
the
right,
until
it
"clicks"
into
place
(arrow
6).
Removing
the
Battery
Pack
1.
Press
and
hold
down
the
battery
eject
lever
(arrow
G9).
2.
Slide
the
battery
pack
to
the
left
(arrow
6).
Indoor
Use
:
For
indoor
recording,
use
supplied
AC
adaptor
VAR-30B
or
VAR-30C.
a)
Attach
(or
remove)
the
power
connection
cord
using
the
procedures
in
steps
1
and
2
above
"Attaching
the
Battery
Pack"
(or
"Removing
the
battery
pack").
b)
Connect
the
AC
adaptor's
plug
to
an
AC
outlet.
The
green
IMPORTANT
power
lamp
will
light.
The
wires
in
this
mains
lead
are
coloured
in
c)
When
finished
recording
or
playback,
disconnect
the
AC
accordance
with
the
following
code:
adaptor's
plug
from
the
wall
outlet.
The
AC
adaptor
can
be
used
in
countries
with
line
voltages
Blue:
—
Neutral
between
100
V
AC
and
240
V
AC.
EE
Lee
As
the
colours
of
the
wires
in
the
mains
lead
of
tnis
apparatus
may
not
correspond
with
the
coloured
markings
identifying
the
terminals
in
your
plug
proceed
as
follows.
The
wire
which
is
coloured
blue
must
be
connected
to
the
terminal
which
is
marked
with
the
letter
N
or
coloured
blue
or
black.
The
wire
which
is
coloured
brown
must
be
connected
to
the
terminal
which
is
marked
with
the
letter
L
or
coloured
brown
or
red.
To
DC
OUT
terminal
Power
connection
cord
Notes
:
.
@
The
battery
pack
supplied
with
this
unit
has
not
been
charged.
Charge
it
before
initial
use.
(See
page
5)
eDo
not
use
VAR-30B
or
VAR-30C
AC
adaptor
to
supply
power
for
other
than
VM-D6P
8mm
camcorder.
€
When
removing
the
battery
pack
or
power
connection
cord,
power
should
be
switched
OFF.
CHARGING
Use
the
VAR-30B
or
VAR-30C
AC
adaptor
to
charge
the
battery
pack.
1.
Plug
the
AC
adaptor
into
an
AC
outlet.
The
green
power
lamp
will
light.
2.
Attach
the
battery
pack.
a)
Align
the
line
marks.
b)
Gently
press
down
on
the
battery
pack.
Slide
it
into
place
as
shown
by
the
arrow.
The
charge
lamp
will
light
and
charging
will
begin.
When
the
battery
pack
has
been
fully
charged,
the
charge
lamp
will
change
to
yellow.
The
NP-55
battery
pack
can
be
charged
in
about
one
hour.
(The
optional
NP-77
battery
pack
takes
about
2
hours.)
3.
Slide
the
battery
pack
in
the
opposite
direction.
4.
Disconnect
the
AC
adaptor
plug
from
the
AC
outlet.
After
charging
:
Slide
the
mask
on
the
battery
pack
as
shown
to
cover
the
red
circle.
When
the
battery
pack
is
exhauxted
:
Slide
the
mask
on
the
battery
pack
as
shown
to
reveal
the
red
circle.
Notes
:
P
:
@At
normal
temperatures,
a
fully
charged
battery
pack
will
provide
enough
power
to
record
for
about
45
minutes.
H
will
provide
much
less
recording
time
in.
cold
locations...
*Do
not
use
VAR-30B
or
VAR-30C
AC
adaptor
for
purposes
other
than
charging
NP-55
or
NP-77
battery
packs.
e
Do
not
continue
charging
a
fully
charged
battery
pack,
because
doing
so
will
adversely
affect
its
performance.
e
Although
charging
is
possible
within
a
temperature
range
of
5
—
35%,
for
best
results,
a
temperature
range
of
10C
=
30°
is
suggested.
:
8mm
CASSETTE
TAPE
Only
8mm
video
cassettes
can
be
used
in
this
unit.
Loading
Cassette
1.
Switch
the
power
on.
The
POWER
lamp
will
light.
2.
Slide
the
EJECT
switch.
The
cassette
holder
will
open.
3.
Insert
a
cassette.
Gently
press
the
cassette
holder
(‘PUSH"
indicator
section).
Ejecting
Cassette
Slide
the
EJECT
switch.
Video
tape
recording/playback
time
Hecording
time
Recording
-
mode
P5-30
P5-60
P5-90
30
min
60
min
90
min
60
min
120
min
180
min
ERASURE-PREVENTION
switch
To
prevent
accidental
erasure
of
recorded
material,
set
the
switch
on
the
spine
of
the
cassette
to
the
red
position.
Recording
then
cannot
be
made
on
that
cassette.
To
record
on
it
later,
return
the
switch
to
the
original
position.
SP
mode:
tape
speed
approx.
20.051
mm/sec.
LP
mode.
tape
speed
approx
10.025
mm/sec.
ERASURE-PREVENTION
switch
Notes
:
€
Never
carry
this
unit
by
grasping
the
cassette
holder.
@
Do
not
cover
the
holes
on
the
bottom
of
the
cassette.
These
holes
are
used
to
determine
the
type
and
length
of
tape
and
whether
or
not
recording
is
possible.
e
Store
each
video
tape
cassette
in
its
case,
standing
upright
(vertical).
This
will
prevent
the
entrance
of
dust
and
uneven
tape
winding.
y
55
0
5
4
LITHIUM
BATTERY
The
date/time
imprint
function
of
this
unit
requires
a
lithium
battery
to
prevent
the
loss
of
the
date/time
memory
when
the
power
is
switched
off.
The
lithium
battery
has
a
life
of
approximately
1
year
when
used
normally.
Installing
the
Lithium
Battery
Use
the
same
procedure
to
replace
a
worn
out
battery.
(Lithium
Battery
:
CR2025
[3V]
)
1.
Open
the
lithium
battery
cover.
2.
Lithium
battery
insertion.
a)
Wipe
the
battery
clean
with
a
dry
cloth
to
prevent
faulty
contact.
b)
Insert
the
battery
properly
with
the
+
side
up.
c)
Close
the
lithium
battery
cover.
3.
To
eject
the
lithium
battery,
press
it
down
and
then
slide
out
of
the
housing
in
diagonally
upward
direction.
@
After
replacing
the
battery,
adjust
the
DATE/TIME.
(See
SETTING
THE
DATE/TIME.)
Notes
:
.
€
Keep
the
lithium
battery
out
of
the
reach
of
children.
@
Do
not
grasp
the
battery
with
metallic
tweezers,
etc.
as
this
is
liable
to
cause
a
short
circuit.
€
Do
not
disassemble,
subject
to
heat,
or
place
the
battery
in
water
due
to
the
danger
of
explosion.
When
discarding,
-
-
treat
the
battery
as
non-burnable
waste.
i
@
WHEN
REPLACING
THE
BATTERY
USE
ONLY
THE
SAME
TYPE:
FW.
|
||
|.
|
A3.
4
EYESIGHT
COMPENSATION
a)
Switch
on
the
power.
b)
Look
through
the
viewfinder
and
observe
the
visible
indications
(see
page
9).
C)
Turn
the
adjustment
lever
(see
arrow)
left
or
right
to
Obtain
the
clearest
possible
image
of
the
indications.
d)
The
subjects
image
can
now
be
focused
accurately
with
the
camcorder's
focusing
controls.
MICROPHONE
The
built-in
omnidirectional
microphone
is
more
or
less
evenly
receptive
to
sound
coming
at
it
from
all
directions,
making
the
recorded
sound
heard
natural
when
played
back.
The
wide
pickup
pattern
of
the
omnidirectional
mount
would
mean,
however
that,
you
may
need
an
external
microphone
to
get
better
result
if
you
want
to
pick
up
a
weaker
sound
at
a
distance
or
if
you
are
in
a
place
quiet
enough
to
hear
the
motor
running
inside
the
unit.
@
RECORDING
IN
A
HIGH
WIND
€
RECORDING
DISTANT
OBJECT
Popping
sound
will
be
produced.
Use
a
handkerchief
and
Place
an
external
microphone
close
to
the
subject
to
get
wrap
the
microphone
head
with
it
to
shield
it
from
the
wind.
a
clear
sound.
Wrap
the
microphone
head
Screen
the
microphone
with
a
handkerchief.
«
off
wind
with
your
body.
‘Note:
@
The
built-in
microphone
will
not
function
while
an
external
microphone
is
connected.
y
o0
o
4
INSIDE
THE
VIEWFINDER
This
indication
appears
during
the
recording
pause
mode.
REC
This
indication
appears
during
the
recording
mode.
This
indication
appears
about
5
minutes
before
the
tape
reaches
its
end.
This
indication
will
appear
and
flash
when
dew
has
condensed
inside
the
unit.
This
indication
will
appear
and
flash
when
the
battery
becomes
weak.
BATTERY
-
-
If
one
or
more
of
the
following
conditions
exist,
this
indication
wil!
flash
when
the
recording
mode
is
selected
:
No
cassette
has
been
loaded
into
the
camcorder
If
the
cassette
has
been
set
for
erase
prevention
The
tape
has
been
wound
to
its
end
If
there
is
moisture
on
the
tape
The
unit
cannot
record
normally
oO
RON-
Heal
time
tape
counter
and
memory
(M)
indications
(see
page
10).
Shutter
speed
indication
(see
page
18).
DATE/TIME
indication
(see
page
FOCUS
indication
(see
page
21).
|
24).
Color
indication
of
the
title
insert
function
(see
page
20).