manuals.online logo
Brands
  1. Home
  2. •
  3. Brands
  4. •
  5. Saxby Lighting
  6. •
  7. Dj Equipment
  8. •
  9. Saxby Lighting SMART IKON User manual

Saxby Lighting SMART IKON User manual

www.saxbylighting.com
Instruction manual
91961
SMART IKON
Saxby Lighting. BH17 7BY
V2 16/03/2020
We recommend cleaning with a soft dry cloth. Do not use solvents or abrasive cleaners as these could damage the finish.
To prolong the life and keep your outdoor lighting in good condition, it is recommended that periodically it is cleaned using a
soft cloth followed by the application of a light coating of oil, such as WD40.
For your safety, always switch off the power supply before cleaning.
Do not clean the units with a pressure washer.
Care and Cleaning
Live Voltages may be present in the transformer even when turned off or when completely disconnected.
For your safety, always switch off the supply before maintaining the system.
The LED module of this luminaire is not replaceable, when the LED module reaches its end of life the whole
luminaire shall be replaced
Safety information
Technical data
240 V~, 50 Hz
Supply
Voltage:
12V DC 15W Max. Constant voltage
Output:
Bulb
Type: 10 x 0.75 LED, RGB
Conformity with all relevant EC Directive requirements.
The power supply is Double Insulated and does not require connection to an Earth circuit.
Waste electrical products should not be disposed of with household waste. Please recycle where facilities
exist. Check with your Local Authority or local store for recycling advice.
This product is rated at IP67
IP
67
If not using the supplied plug then the product must be wired to a IP67 rated terminal block.
Having correctly identified the wiring from your existing light fitting, connect to the approved outdoor rated external terminal
block in the following way:
Wiring
You have to correctly identified the wires.
The connections are tight.
No loose strands have been left out of the connection block.
Check that...
NEUTRAL
SWITCHED LIVE
BLUE (N)
BROWN (L)
SUPPLY LIGHT FITTING
Accessory
92019 10m cable
Warning
The LED units are Safety Extra Low Voltage and must not be earthed.
Please read these instructions carefully before commencing any work.
This unit must be fitted by a competent and qualified electrician.
Check the pack and make sure you have all the parts listed.
Install in accordance with the IEE Wiring regulations and current Building Regulations.
This system operates at Safety Extra Low Voltage (12V), via an LED driver. Never connect the light fittings directly to the mains
without using the supplied driver.
The mains plug must be situated indoors (e.g. house, garage, shed) in order to protect it from the elements.
Do not exceed the driver load. the supplied driver can operate up to a maximum of 20 LED heads.
Always disconnect the plug from the mains when installing or maintaining this system.
This system contains non-replaceable parts and cannot be serviced. If damage occurs the part should be scrapped.
The LED heads and driver are rated at IP67. They are suitable for installation in very wet areas, but must not be
permanently submerged.
The driver must not be installed directly in the soil.
Rated maximum surface temperature is 80ºC.
Waste electrical products should not be disposed of with household waste. Please recycle where facilities exist. Check with
your local authority or retailer for recycling advice.
Thank you for purchasing this light fitting. Please read the instructions carefully before use to ensure safe and satisfactory
operation of this product. Please retain these instructions for future reference.
Layout
Plan the desired layout of these fittings carefully, ensuring the cables will reach the distances between the mains plug, the
LED driver and each light fitting.
Avoid locating any cables in positions that would cause a hazard. Position cables and driver away from areas where they may
be at risk from being cut, trapped or damaged.
The mains plug must be situated indoors. The kit can be wired into a IP67 external terminal block. This must be carried out by
a competent and qualified electrician.
Avoid locating any cables in positions that would cause a trip hazard. Position cables and driver away.
The driver and LED head units are rated at IP67 and can be positioned outdoors.
These fittings should not installed/mounted in concrete and should only be mounted in vertical surfaces
(only horizontally mounted).
Installation
This power supply is double insulated and does
not require connection to an Earth circuit.
1. Position the plug next to the indoor mains outlet socket that the system will connect to. Do not plug-in at this stage.
2. After deciding the layout of the light fittings, ensure the cables are long enough to connect to the desired positions.
The maximum distance between heads is 1.5m.
3. Drill the mounting holes for the light units taking care not to damage any pipes or mains cables beneath the mounting
surface. Cutter hole size is 25mm, Minimum hole depth is 80mm. (A)
4. From underneath the decking, feed the head unit and cable up through each installation hole. (B)
5. Fit the protective cap onto the head unit-to prevent the unit from dropping back through the holes and to keep debris out.
Once the decking has been fully assembled and the lights are ready to be installed, remove the protective cap and push the
LED unit onto the head unit observing the correct polarity (align the flat part of the connector to ensure correct connection). (C)
6. Fit the assembled head units into the holes by pushing into the hole. The springs on the side of the head will secure the
head units in place. (D)
7. Connect all looms together and connect directly to the driver output cable, or the extension cable.
8. Ensure any unused heads and cable ends are fitted with the end plug and protective cap to prevent the ingress of moisture.
9. Plug the mains plug into the socket and switch on to test.
Kit Layout Diagram
Kit includes:
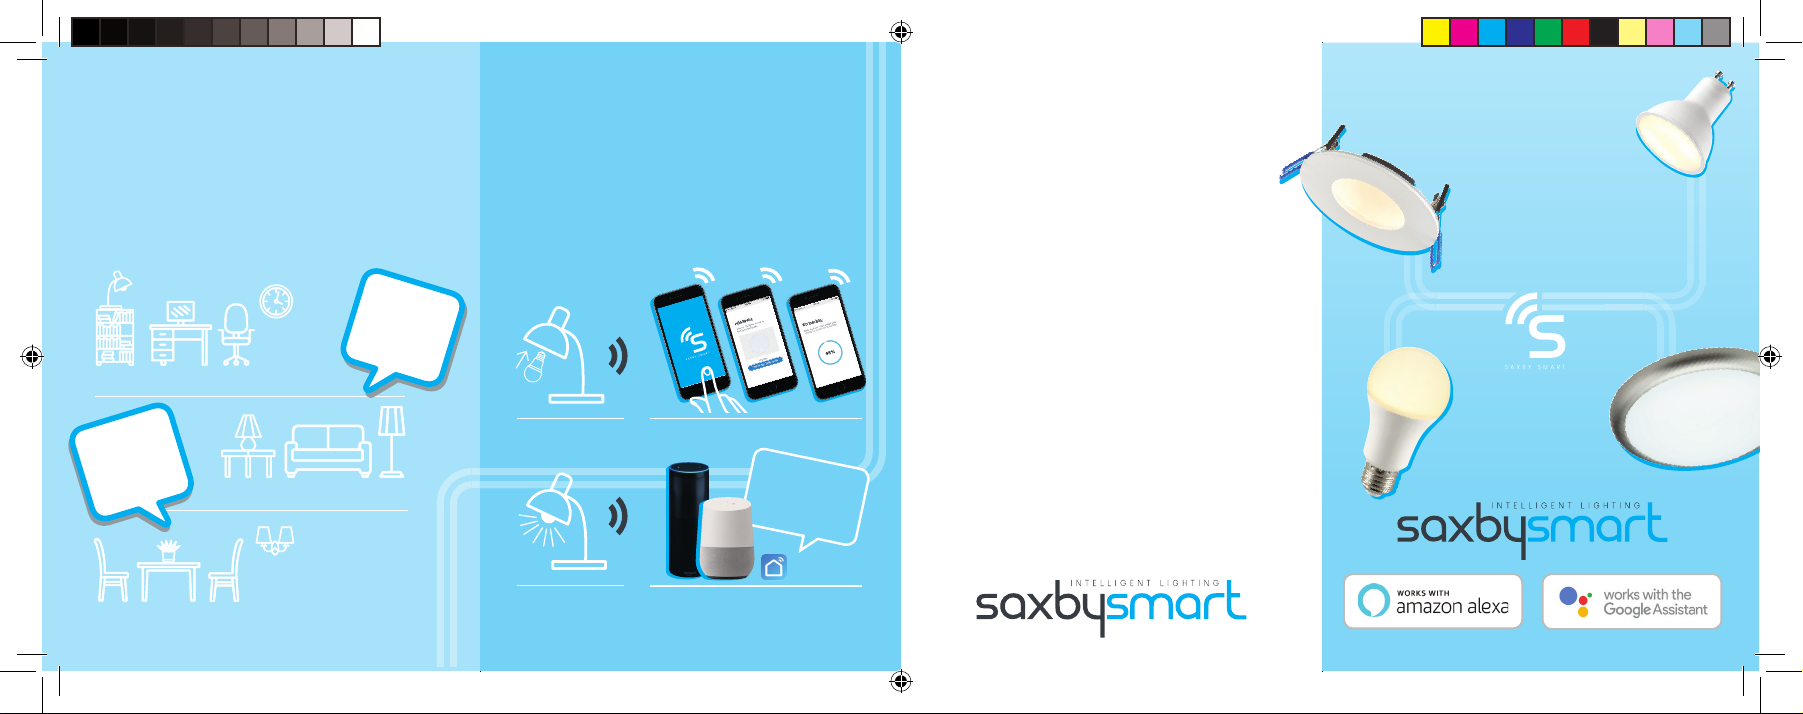
This product is suitable for dimming with ‘SaxbySmart’ app, Google Home or Amazon Alexa. Please refer to the
‘SaxbySmart’ manual for specific operations.
We recommend putting the wifi receiver within 20-25 meters of your WI-FI Hub. This will vary depending on the
strength of your WI-FI coverage.
We recommend testing the position before full installation.
Existing fittings must be completely removed before installation of a new product. Before removing the existing fitting, carefully
note the position of each set of wires.
The Ikon Pro LED kit has been specifically designed for use in decking and combines some innovative features to make
installation easier. 2x prewired looms each with 5 LED heads plus a 5m extension cable allow longer runs to be achieved.
Wiring loom can be fitted into the deck during construction. Heads are interchangeable allowing different sizes and colours to
be operated from one power source.
A
B
C
D
10 x 0.75W LED HEADS
2 x 7.5m wiring looms,
1 x 5m extension cable,
1 x Inline LED driver with UK mains
plug & 3m of mains cable
USER MANUAL
ENJOY YOUR
SAXBY SMART LIGHT!
No HUB required
or complex installations
Saxby Smart fittings come fully equipped with a built in chip
that connects to your Wi-Fi router. Simply download the
Saxby Smart app to your smartphone, register and add your
lighting devices. You’re good to go - create a personalised
lighting experience.
Educate or program your voice control device to suit you.
Control multiple devices in a single room or building by
creating scenes within the Saxby Smart app or through
Amazon Alexa or Google Assistant.
Register your account & add devices
Connect to your Amazon Alexa or Google
Assistant using ‘Smart Life’
Your Saxby Smart
app is working
Hey Google, turn
the lights off in the
kid’s bedroom
Install fitting
‘Smart Life’
Create scenes
to suit your way of living or working
Alexa,
I’m working
Hey Google,
movie time
Office lights come on, cool white & 80% brightness
Living room lights dim to 40% brightness
Lights dim as the mood changes for evening dinner
#7040 Saxby Smart User Manual.indd 1 12/03/2020 14:08
Adding a device Connecting your devices
Controlling your Saxby
Smart fitting
Connecting to Amazon Alexa Connecting to Google Home
Download the ‘Saxby Smart’ app
• Please scan the QR code or search ‘Saxby Smart’ to
download on your App Store or Google Play.
• Click ‘Add device’.
• Turn you device on and leave for 10 seconds.
• Turn off and on repeatedly three times.
• Your light will start to blink, click ‘Confirm light blink rapidly’.
• Enter your Wi-Fi details and click ‘Confirm’.
• Rename your device and click ‘Completed’.
• Click ‘White mode’ to adjust the colour temperature
and brightness.
• Click ‘Schedule’ to set up a day to day planner for
your lights.
• Click the triple dot icon at in the top right corner to
create scenes.
• Open your Alexa app.
• Click Skills and Games.
• Search ‘Smart Life’ and click ‘Enable to use’.
• Enter the same log in details used for your Saxby Smart app.
• Alexa will now discover and connect your devices.
• Your light is now set up. Try a voice command like ‘Alexa,
turn off the light’.
• Open your Google Home app.
• Click Home Control and the + button to add device.
• Search ‘Smart Life’.
• Enter the same log in details used for your Saxby
Smart app.
• Assign your light to a room.
• Your light is now set up. Try a voice command like
‘Hey Google, turn off the light’.
• Enter your email or mobile phone number to register.
• A verification code will be sent via email or text
message, enter this when prompted.
• Set your password.
This Saxby Smart product will support 2.4G WIFI
bands only
Registration & log in
Google PlayApp Store
#7040 Saxby Smart User Manual.indd 2 12/03/2020 14:08

This manual suits for next models

1

Popular Dj Equipment manuals by other brands

Marq Gesture Spot 100 user guide

Marq

Marq Gesture Spot 100 user guide

Pioneer DVJ-1000 Service manual

Pioneer

Pioneer DVJ-1000 Service manual

Numark Mixtrack Pro 3 user guide

Numark

Numark Mixtrack Pro 3 user guide

Techni-Lux UltraLUX Series manual

Techni-Lux

Techni-Lux UltraLUX Series manual

Jin Ming Yuan LED300W instruction manual

Jin Ming Yuan

Jin Ming Yuan LED300W instruction manual

Traktor MK3 EXTENDED user guide

Traktor

Traktor MK3 EXTENDED user guide

SGM G-4 RGBAM WASH user manual

SGM

SGM G-4 RGBAM WASH user manual

UltraMixer UltraMixer Midi specifications

UltraMixer

UltraMixer UltraMixer Midi specifications

Chauvet Professional COLORado Zoom CW Tour Quick reference guide

Chauvet Professional

Chauvet Professional COLORado Zoom CW Tour Quick reference guide

Ehrgeiz baby zoom 4 user manual

Ehrgeiz

Ehrgeiz baby zoom 4 user manual

Jolly X-1000 Spot user manual

Jolly

Jolly X-1000 Spot user manual

Beyond Lighting F720 user manual

Beyond Lighting

Beyond Lighting F720 user manual

Chauvet DJ COLORband H9 user manual

Chauvet DJ

Chauvet DJ COLORband H9 user manual

ADJ ENCORE LP12Z IP user manual

ADJ

ADJ ENCORE LP12Z IP user manual

Flash F7100322 user manual

Flash

Flash F7100322 user manual

Pioneer DJM-500 Service manual

Pioneer

Pioneer DJM-500 Service manual

Becen BC-M195B user manual

Becen

Becen BC-M195B user manual

Chroma Inspire XT quick start guide

Chroma

Chroma Inspire XT quick start guide

manuals.online logo
manuals.online logoBrands
  • About & Mission
  • Contact us
  • Privacy Policy
  • Terms and Conditions

Copyright 2025 Manuals.Online. All Rights Reserved.