-8-
During playback, pressto enter the GOTO menu. In the menu, use the
direction key [UP]/[DOWN]to select asetting item and press [ENTER] to
enter the editingstate, then with the digit keys input a specifictrack, disc
time, track time,chapter, title,chapter time or title time togo to directly.
Press it againto exit the GOTO menu.
Press repeatedly forfast reverse playbackin different speed. The
available speeds are2X, 4X, 8X, 16X and 32X.
Press repeatedly forfast forward playbackin different speed. The
available speeds are2X, 4X, 8X, 16X and 32X.
Press repeatedly toselect the available audio languages provided by the
disc (for DVD).
Press repeatedly toswitch the available audio channels provided by the
disc (for VCD).
Press [VOLUME+] toturn up the volume; press [VOLUME-] to turn down
the volume.
Press this buttonto switch off the sound temporarily. Press it again to
switch it on.
Press to switchthe viewing angles.
(Note: This function only works with those discsencoded with multiple
camera angles.)
STEP
GOTO
ANGLE
MUTE
VOLUME+/-
AUDIO
Press to returnto the superior menu when playing DVD.
When playing discencoded with PBC function, press to display the PBC
menu. Press itagain to disable the PBC function. (Note: VCD2.0 dischas
PBC function whileDVD, VCD1.1, CD-DAand MP3 discshave no PBC
function.)
Press to returnto the title menu of a DVD disc.
TITLE
MENU
Press repeatedly toswitch/show the subtitle(s)or turn off the subtitle
function. (Note: This function only works with thediscs encoded with
subtitles.)
SUBTITLE
OSD Press repeatedly toswitch or hide the relative information of the playing
disc.
Press to zoomin/out the scene. The available zoom ratios are 2X, 3X, 4X,
1/2, 1/3 and1/4. In zoomed-in mode, the direction keys can beused to
move the zoomingcenter. (Note:Applies toDVD, VCD, MPEG4,etc.)
ZOOM
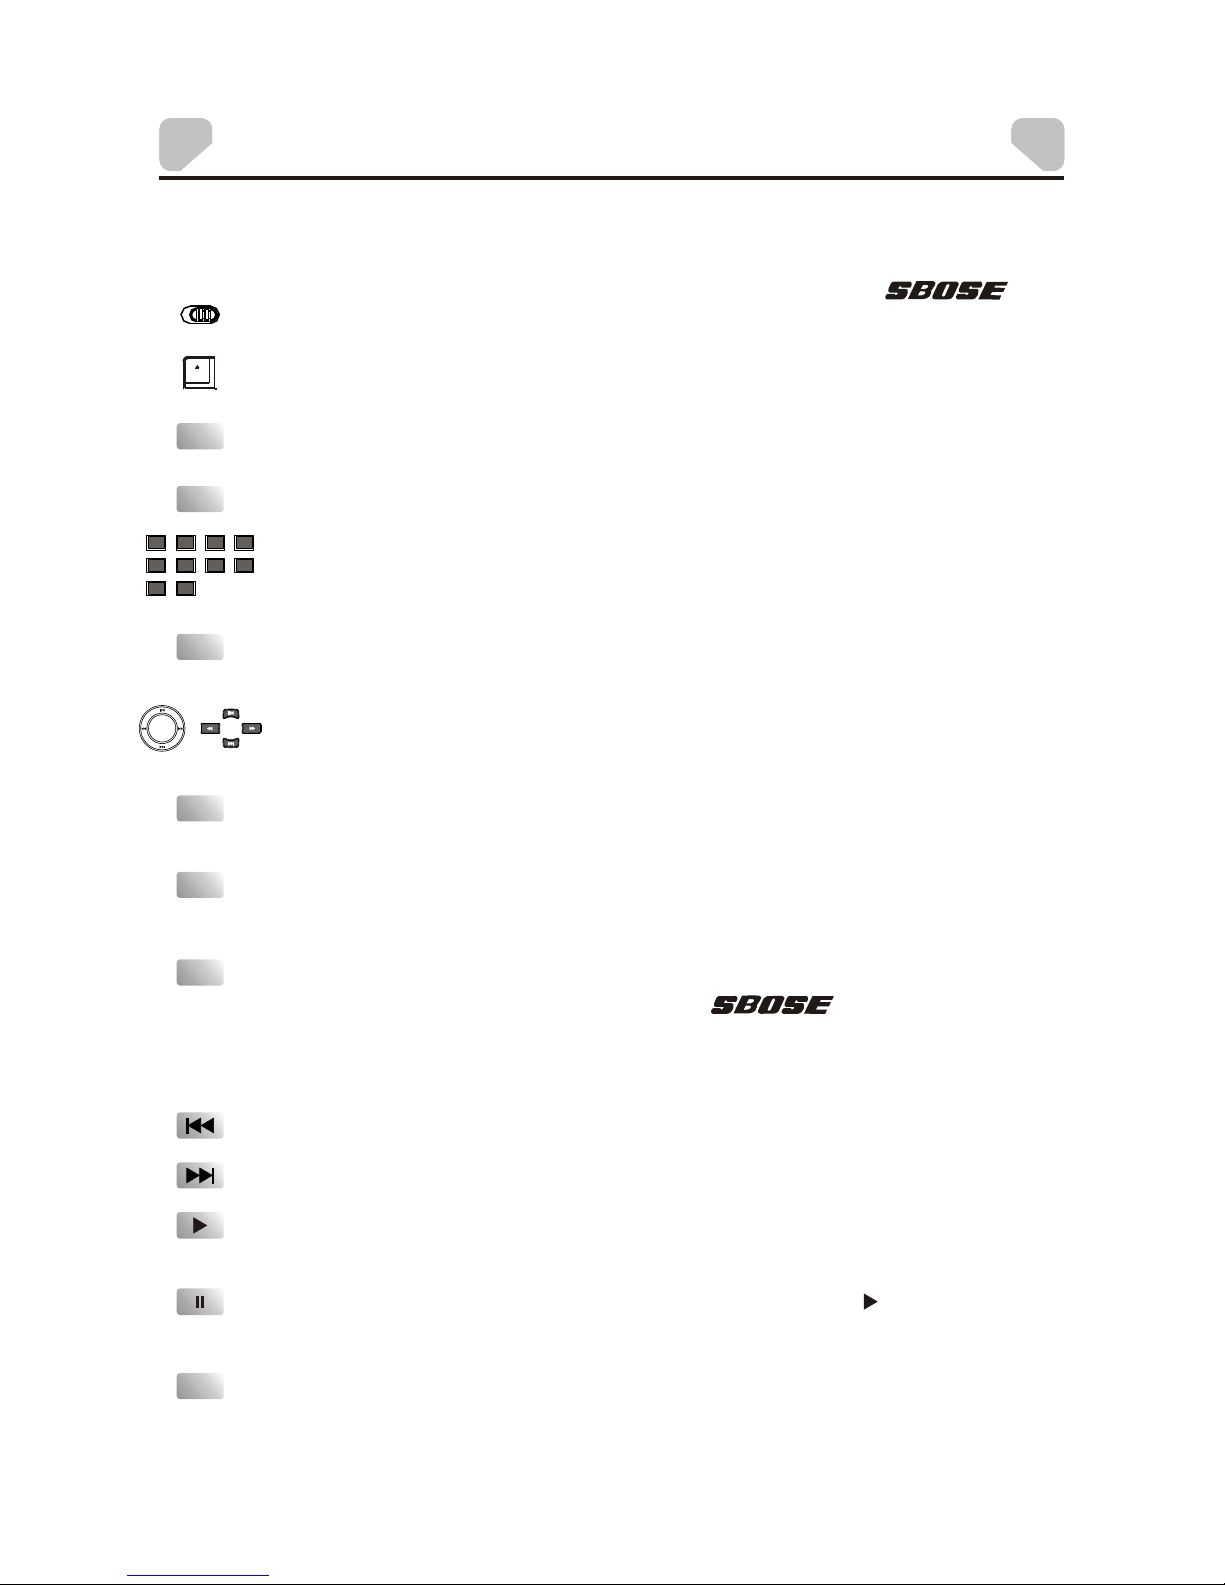
KEY FUNCTION INTRODUCTION
Press repeatedly toadvance the video frame by frame.Press [ ]to
resume the normalplayback. (Note: Applies to DVD,VCD, MPEG4,etc)
Press once topause a playback, then press [ ] to continuethe playback;
Press it twiceto stop a playback.