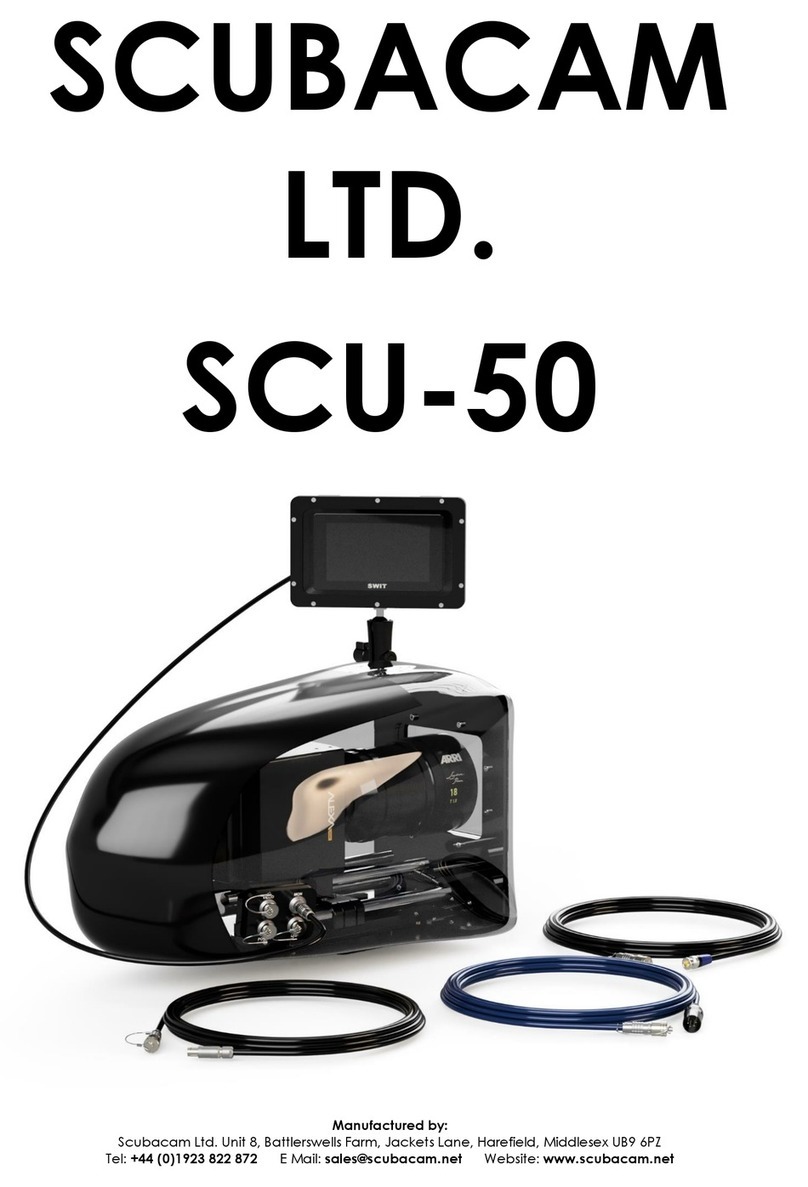
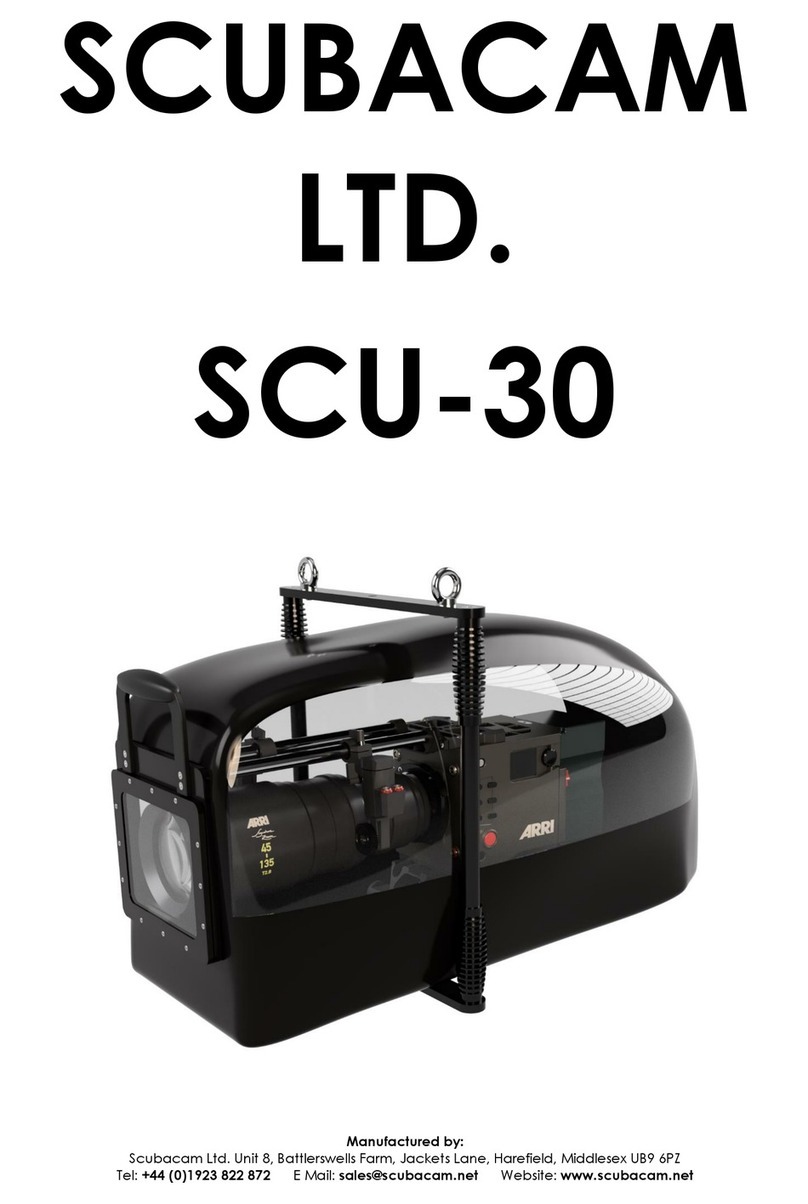
SCUBACAM SCU-60 User manual

Manufactured by:
Scubacam Ltd. Unit 8, Battlerswells Farm, Jackets Lane, Harefield, Middlesex UB9 6PZ
Tel: +44 (0)1923 822 872 E Mail: [email protected] Website: www.scubacam.net
SCUBACAM
LTD.
SCU-60


3
Manufactured by:
Scubacam Ltd. Unit 8, Battlerswells Farm, Jackets Lane, Harefield, Middlesex UB9 6PZ
Tel: +44 (0)1923 822 872 E Mail: [email protected] Website: www.scubacam.net
Contents
Introduction 4
General Information 4
Technical Data 5
General Care 6
Instructions 7
Camera Instructions 8
Instructions (Accessories) 9
List of Parts 10
Maintenance Products 11
Limited One-Year Warranty 12
A digital (.pdf) version of this manual can be found on our website at
www.scubacam.net/downloads

4
Manufactured by:
Scubacam Ltd. Unit 8, Battlerswells Farm, Jackets Lane, Harefield, Middlesex UB9 6PZ
Tel: +44 (0)1923 822 872 E Mail: [email protected] Website: www.scubacam.net
Introduction
The Scubacam range of splash housings are completely watertight, flexible
lightweight camera housings designed for both video and film cameras. They
are designed to operate just above or just below the surface of the water, or
in an environment which is extremely dusty or dirty, while also giving the
camera operator access to all lens and camera functions.
Each model of Scubacam splash housings are made from high quality
polyurethane sheet and clear PVC viewing windows –both robust and hard-
wearing materials. The units are sealed with specialised watertight zips made
to M.o.D. specifications. All metal parts are either stainless steel, or anodised
aluminium.
It is important to remember that these housings are NOT to be considered as
being suitable for prolonged continuous underwater use, and are not an
inexpensive replacement for other brands of more expensive solid aluminium
deep-water housings.
General Information
The materials used in manufacture can be affected by heat, ozone, and
ultraviolet light. This appears as surface cracking on areas under stress. Therefore,
it is important not to expose your Scubacam splash housing to these conditions for
prolonged periods.
Polyurethane and PVC are also adversely affected by solvents and oils,
including sun protective agents used on the skin, and therefore must be
always kept away from these.
Should the housing come into contact with these substances, wash the
affected areas with a diluted detergent solution.
The glues used in the manufacture of this splash housing are heat sensitive. Do
not leave the splash housing in a situation where the temperature will rise
above 75°C.

5
Manufactured by:
Scubacam Ltd. Unit 8, Battlerswells Farm, Jackets Lane, Harefield, Middlesex UB9 6PZ
Tel: +44 (0)1923 822 872 E Mail: [email protected] Website: www.scubacam.net
Technical Data
Housing:
Anodised aluminium frame with a black TPU structure
bonded with a high tenacity webbing to clear PVC
viewing windows
Operating Temperature:
-4°C to +40°C
Dimensions:
Length: 400mm Height: 240mm Width: 210mm
Weight:
2kg
Front Port:
130 x 100 x 6mm thick optical glass coated with a non-
stick polymer. Maximum lens front diameter 100mm.
Height to suit 15mm Light Weight Support rod spacing
Leak Alarm:
9 volt tone generator
Maximum 95dB
Maximum Depth:
NO MORE THAN 4 meters
Video Output:
(Where fitted)
LEMO coaxial underwater connector to BNC video
connector
LCS Input:
(Where fitted)
LEMO 5 pin underwater connector to Fischer 5 pin
connector or LEMO 5 pin 1B type connector as fitted
Power Input:
(Where fitted)
LEMO 2 pin underwater connector to 3 pin XLR for 24V
Ethernet Input:
(Where fitted)
LEMO 8 pin underwater connector to RJ45 connector,
Cat-6 twisted pair cable
On-Off Input
(Where fitted)
LEMO 2 pin underwater connector to Fischer 3 pin
connector. Waterproof pistol grip for actuation.
Mon Output
(Where fitted)
LEMO 4 pin underwater connector, split to BNC video
connector for video and D-Tap for power

6
Manufactured by:
Scubacam Ltd. Unit 8, Battlerswells Farm, Jackets Lane, Harefield, Middlesex UB9 6PZ
Tel: +44 (0)1923 822 872 E Mail: [email protected] Website: www.scubacam.net
General Care
Before every use, carry out a visual inspection of the splash housing to
determine if there is any damage.
Before use, inspect the probes of the leak alarm to ensure they are clean and
unobstructed. To check the detector is working properly, connect the battery
and touch the probes with a damp finger. The tone will be heard if the leak
detector is functioning correctly.
For total safety, test the integrity of the empty housing by closing the zip and
submerging for 10 minutes. At the end of this period, open, and inspect the
housing for water ingress.
After every use, wash the housing with salt free water and dry. Using the brush
applicator on the Zip Care bottle, carefully clean the zip and apply Zip Care
as per the instructions supplied, and wax the outer teeth.
Always handle carefully.
Store in a cool place.
Keep away from sharp or pointed objects.
DO NOT place on or near hot objects or heat sources.
DO NOT fold the housing tightly when storing in a flight case, and ensure that it
is not pinched between the lid and the box.
DO NOT leave the housing for prolonged periods in direct sunlight.
DO NOT clean with strong chemicals.
Clean the front port regularly with the supplied cleaner and re-coat with
polymer.
It is recommended to return the housing to Scubacam at least once per year
to ensure the housing remains in acceptable condition

7
Manufactured by:
Scubacam Ltd. Unit 8, Battlerswells Farm, Jackets Lane, Harefield, Middlesex UB9 6PZ
Tel: +44 (0)1923 822 872 E Mail: [email protected] Website: www.scubacam.net
Instructions
FULLY open the zip of the splash housing
Gently ease the camera package into the housing, and onto the dovetail
plate inside
Position the lens as close to the front port as possible, and lock the bridge
plate
DO NOT force any part of this operation or put ANY stress on the zip ends
Insert any required connectors from the housing into the camera assembly,
ensuring that any SDI connections are made LAST in order to prevent damage
to the camera outputs
FULLY CLOSE THE ZIP, ensuring the slider seats fully into the end of the zip
To remove the camera, reverse these steps
If using the external base plate for mounting, ensure that any screws protrude
no further than 9mm (~⅜”)
With the camera enclosed in the splash housing the unit will likely have positive
buoyancy. However, the lens can be located below the surface by letting out
some air from the housing, achieved by rotating the adjustable dump valve
anti-clockwise. Air will vent from the valve as the unit submerges. To submerge
the housing further, rotate the valve further.

8
Manufactured by:
Scubacam Ltd. Unit 8, Battlerswells Farm, Jackets Lane, Harefield, Middlesex UB9 6PZ
Tel: +44 (0)1923 822 872 E Mail: [email protected] Website: www.scubacam.net
Camera Instructions
Details of support accessories to ensure correct lens height inside the housing:
ARRI
ALEXA Mini and Mini LF, and ALEXA 35
Camera Body
Custom Scubacam Spacer
ARRI BPS-2
RED
Komodo
Tilta 15mm LWS Baseplate for Komodo
OR
Wooden Camera LW 15mm Baseplate for Komodo
V-Raptor
RED V-Raptor QUICK RELEASE PLATFORM PACK
Sony Venice (1 and 2)
Camera Body
Custom Scubacam Riser
ARRI BPS-2

9
Manufactured by:
Scubacam Ltd. Unit 8, Battlerswells Farm, Jackets Lane, Harefield, Middlesex UB9 6PZ
Tel: +44 (0)1923 822 872 E Mail: [email protected] Website: www.scubacam.net
Instructions (Accessories)
Cables:
To insert connectors, simply line up the key and push on the body.
Connector plugs and caps MUST be mated when underwater. Failure
to do so will lead to the connectors filling with water when the caps
are re-installed after use
When connecting or disconnecting the cables grip the CONNECTOR
BODIES - DO NOT pull on the cables, as this will damage the
connector assembly
French Flag:
Loosen the hand knob, reposition the flag such that it is not in view of the shot
(Using MON or HD-SDI output), and lock the position again with using the knob.
Monitor:
Position the monitor on the outside of the housing as required, and insert the 4 pin
LEMO connector. Ensure the blanking caps and plugs are mated.
Connect the D-Tap connector to a battery or splitter box, and check the monitor
powers on.
Connect the BNC to an SDI output on the camera. Ensure the power is
connected BEFORE the video to prevent damage to the camera video outputs.
Air Jet System:
For removing water droplets from the port glass. Not for use when submerged
Connect the coiled hose to the manifold on the housing, and the regulator to a
standard diving bottle. Set the regulator such that there is a steady stream of air
over the port glass.
Internal Dovetail:
Can be adjusted to various positions within the housing using a 4mm allen key.
Replacements screws MUST BE M6x12 Socket Countersunk A4 SS

10
Manufactured by:
Scubacam Ltd. Unit 8, Battlerswells Farm, Jackets Lane, Harefield, Middlesex UB9 6PZ
Tel: +44 (0)1923 822 872 E Mail: [email protected] Website: www.scubacam.net
List of Parts
Scubacam splash housing
Zip wax
Zip care fluid
Lens cleaning kit
Instruction booklet
Laminated instruction sheet
BDM zip care instruction leaflet
Optional extras:
HD-SDI video cable
LCS cable
Power cable
Ethernet Cable
On-board HD Monitor
Pistol On/Off grip
Wrap around handle
Air jet system
French flag

11
Manufactured by:
Scubacam Ltd. Unit 8, Battlerswells Farm, Jackets Lane, Harefield, Middlesex UB9 6PZ
Tel: +44 (0)1923 822 872 E Mail: [email protected] Website: www.scubacam.net
Maintenance Products
When a Scubacam splash housing is sold, we supply the following products to help
maintain the splash housing:
Zip wax:
The zip wax is part of a two-part process to protect the zip against the elements.
At the end of the day, prior to storing the unit, clean the zipper with fresh water and brush
off any debris. Apply the zip wax sparingly on the outer elements of the zip. Open and
close the zip a few times to aid in the application of the wax. This allows the slider to run
smoothly over the teeth of the zip.
Zip care fluid:
The zip care fluid is the second part to the zip cleaning process.
Use the brush applicator on the bottle to clean away any debris from the teeth of the zip.
Repeat procedure; squeeze the bottle to allow the zip care fluid to run along the inner
elements of the zip.
Leave the zip open when storing the unit.
Front port polymer:
The front port polymer is a two-part application.
Part one: is a pre cleaner, this dissolves any oils and solvents that are on the glass, and
cleans off any debris.
Part two: is the “sea through”polymer. Apply to the front port by following the procedure
on the bottle.
The polymer puts a fine clear film on the glass, when water comes in to contact with the
glass it runs off, as opposed to sticking to it.
Use regularly for consistent results.

12
Manufactured by:
Scubacam Ltd. Unit 8, Battlerswells Farm, Jackets Lane, Harefield, Middlesex UB9 6PZ
Tel: +44 (0)1923 822 872 E Mail: [email protected] Website: www.scubacam.net
Limited One-Year
Warranty
Scubacam Ltd. warrants that for a period of one year from the date of
purchase your Scubacam housing will be free from defects in materials and
workmanship UNDER NORMAL USE and following manufacturer’s instructions for
maintenance.
This warranty extends only to the original purchaser.
Scubacam Ltd. will at its option, repair or replace any components of the
Scubacam housing which it finds defective. To obtain warranty service on your
Scubacam housing, it must be returned to Scubacam Ltd. at your cost, and
with proof of purchase.
NO guarantee express or implied is given for the operation of a camera at a
depth greater than specified in the instructions or for any other misuse
including, but not limited to, improper operation or handling and failure due to
normal wear and tear. All implied warranties of merchantability and fitness for
intended use are limited to the duration of this warranty.
THIS WARRANTY DOES NOT AND SCUBACAM LTD. SHALL NOT BE LIABLE
FOR INCIDENTAL OR CONSEQUENTIAL LOSSES OR DAMAGES.
This warranty does not cover anything arising from: misuse, abuse, neglect,
alteration, failure to observe maintenance procedures, attempted disassembly
or un-authorised repairs and service
Table of contents
Other SCUBACAM Camera Accessories manuals
Popular Camera Accessories manuals by other brands

Narada
Narada ACMEG AG12V50F Operation manual

Lifepower
Lifepower A2 user guide

Sony
Sony SPK-HCF Preparation guide

Dragonfly Energy
Dragonfly Energy Battle Born BB10012 Manual and installation guide

Automatic Technology
Automatic Technology EASYROLLER GDO-6AM installation instructions

Sealife
Sealife SL962 instruction manual

USA GEAR
USA GEAR TrueSHOT GRCMDSS200BKEW user guide

NoxuStick
NoxuStick Selfie Stick user manual

VERSATIVTECH
VERSATIVTECH Circuit Breaker Finder instruction manual

Nikon
Nikon AF-S NIKKOR 24-70mm f/2.8E ED VR user manual

Security Labs
Security Labs SLC-177 owner's manual

Sunpak
Sunpak PRO 723B Specifications