3
set cut out temperature the RUN indicator light will go off with the
compressor. The ON indicator light will remain lit indicating a standby or
ready to run mode.
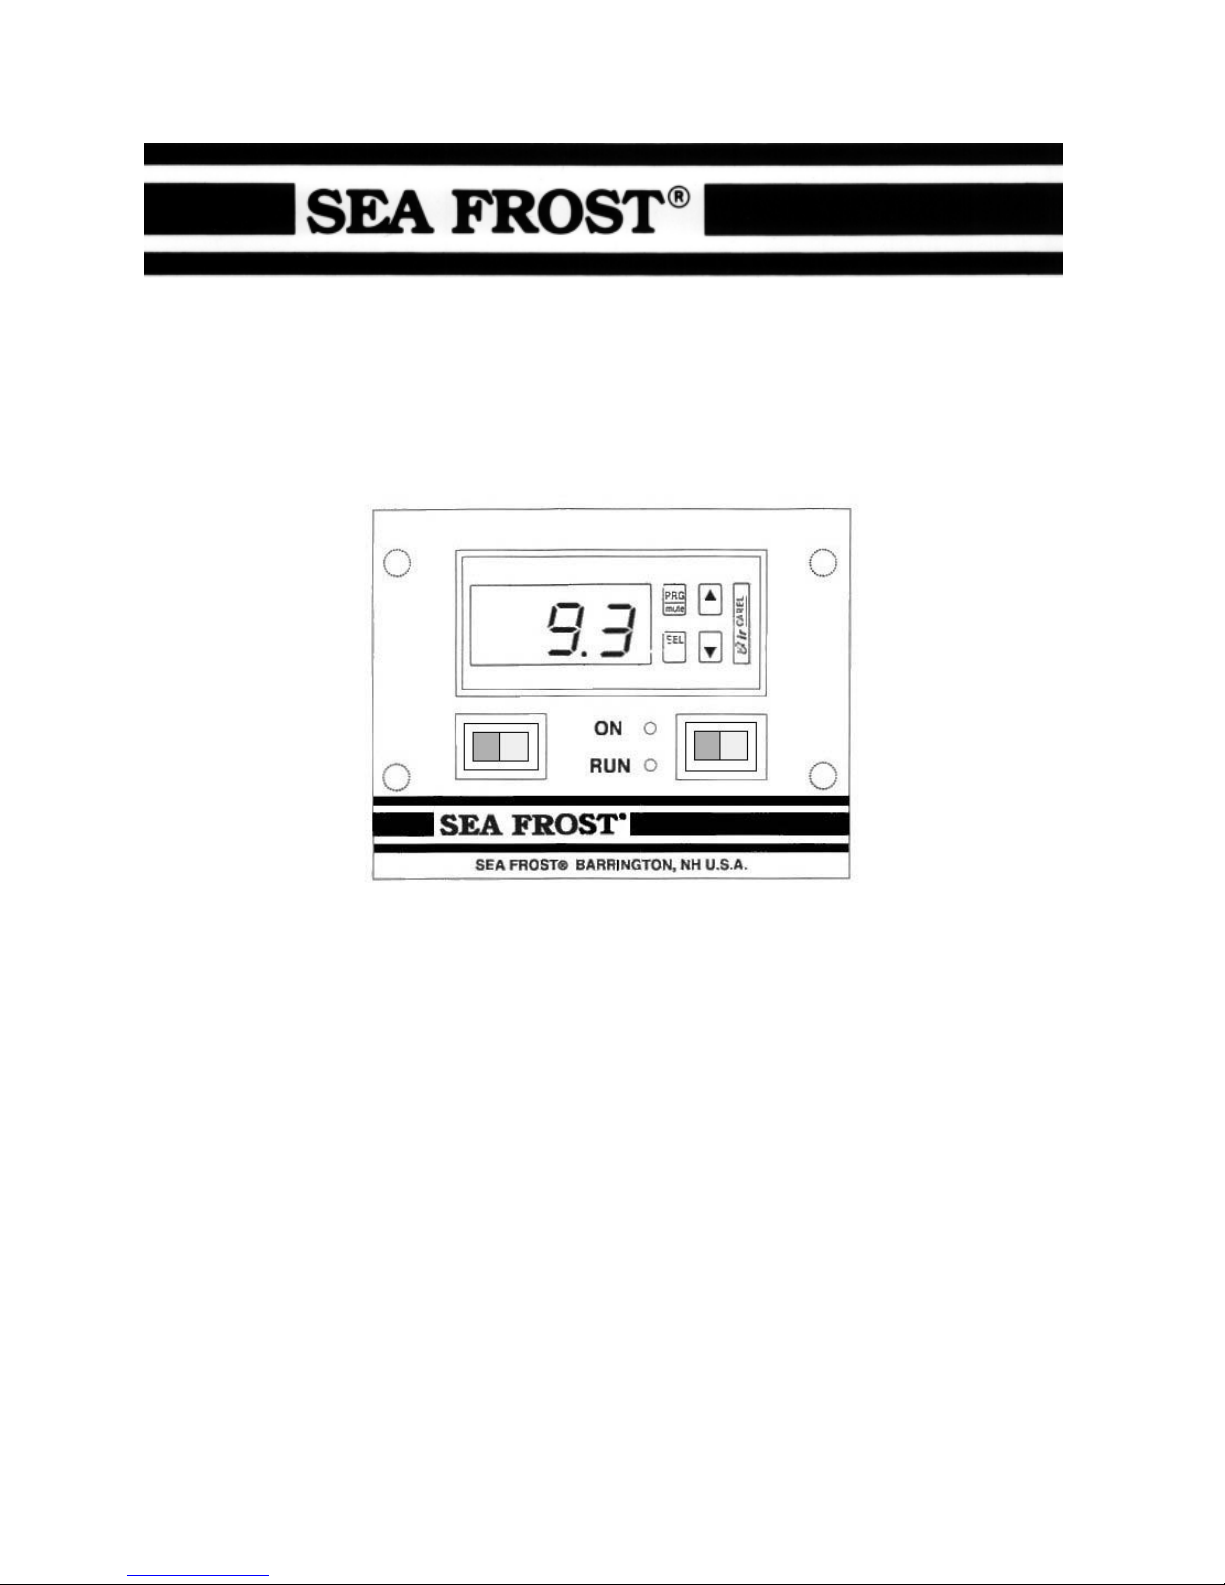
To display temperature only turn off the right ON/RUN switch.
To turn off both the temperature readout and compressor the left switch
may be used however when turning it back on the compressor will start
immediately. All settings will always be saved.
CHECKING THE TEMPERATURE SETTING
Before adjusting the thermostat be sure the refrigeration system is working
properly.
The ETT can be adjusted and will maintain very stable temperatures. Care
must be taken to adjust the settings to maintain obtainable temperatures.
In initial testing do not set below -10 F. (–23 degrees C.) Excessive
compressor running will occur with no benefit if the setting is below the
temperature the compressor system can easily obtain.
To check the cut out setting (cold stopping point) push and hold the SEL
button until ST-1 appears. Release the button and a number will flash.
This is the cut out temperature. Push SEL again and the readout will return
to box temperature. The cut out temperature is associated with the second
probe (red banded). This probe read out temperature is hidden. (Press and
hold the down arrow button to view this read out temperature.)
CHECKING THE PLATE PROBE TEMPERATURE
To monitor the cooling progress, push in and hold the down arrow button.
The plate probe temperature will be displayed while this button is held.
RECOMMENDED SETTINGS
The air temperature in a refrigerator is always 10 to 15 degrees F. (6 to 9
C.) warmer than the cooling device. This difference in temperature must be
remembered when setting the control cut out temperature (stopping point).
A refrigerator might have to be set to run up to 20 degrees colder than the
desired box temperature.