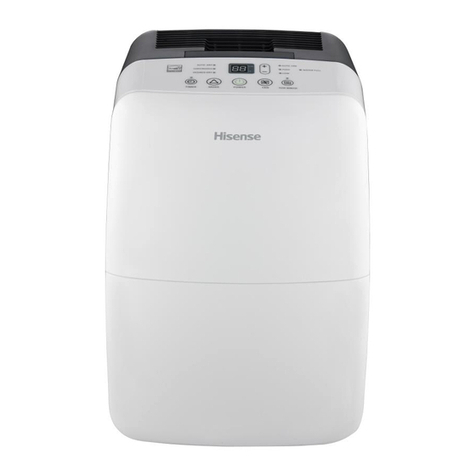
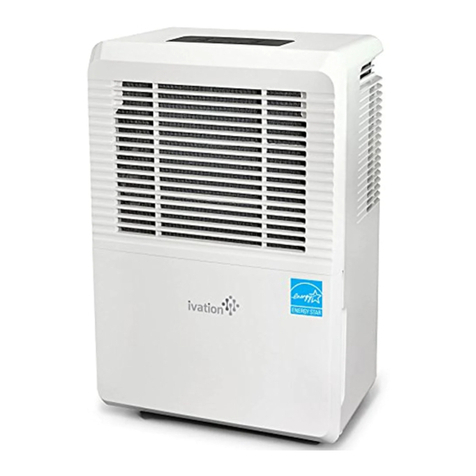
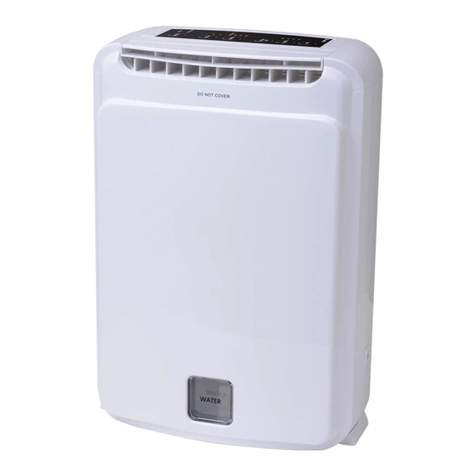
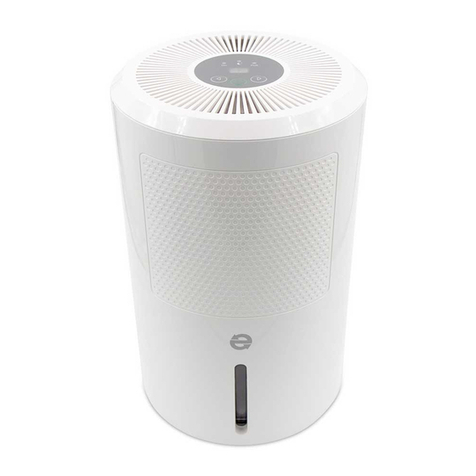
Seago SMTD-201710V2EP User manual

User manual
SMART DRY
dehumidifier
Model:
SMTD-201710V2EP


- 1 1 -
Water tank needs to be
is low (low water removal)
to be lower than the
1
1
3
3-4
5-6
7
9-10
11
12
Doors and windows are
Water noise
E1 error
LO error
Unit does not operate

- 1 0 -
- 1 -
!WARNINGS
Be sure to follow the instructions
!
Do not use wet hands.
Be sure not to do.
(SMTD-201710V2EP) can remove moisture from the air
H) Storing the Smart Dry:
a. Ensure the water tank is empty and the power cord is unplugged.
b. Coil up the power cord.
d. Store in a dry clean environment.

- 9 -
air filter
- 2 -
!
!
Cau�on: To avoid an accident disconnect the power cord from the power outlet
before maintenance.
A) Keep air filter clean:
The air filter gathers dust restric�ng air flow. To achieve the best opera�on and
efficiency clean the filter regularly.
Clean the filter every 1 to 5 days if ambient space is dusty.
Clean the filter every month if ambient space is reasonably clean.
How to clean the filter:
a. Pull out the air filter (see illustra�on below).
b. Suck the dust from the surface of the filter with a vacuum or wash it with
warm water (not higher than 40°C).
c. Shake of excess water and air dry (do not expose to the sun for long
periods). Install in the unit once dry.
B) Check the drainage water pipe:
It is necessary to keep the water pipe unobstructed to drain the water
smoothly and make the unit work correctly. You should check the water pipe
regularly and replace it if necessary.
C) Do not use the unit next to a heat source i.e. radiator, heater or stove.
D) Do not place the unit where it will get wet.
E) The unit must be situated in a suitable place before opera�on.
G) Beware of room humidity with wooden furniture, flooring or other woodwork
objects. Excessive dryness will result in wood cracking.
Must be reliably grounded or plugged into a
grounded outlet.
This unit must not be used with an extension or
portable outlet.
This appliance should not be operated by
children. It should be operated by a experienced
person that has read and understood these
instruc�ons fully.
Children must be supervised to ensure they do
not play with this appliance.
Warm air coming from this appliance may cause
harm to people or animals. Do not stand too
close to the unit.
Do not operate this unit near flammable or
explosive materials.
Do not put your hands or other objects into the
air outlet.
Do not touch the power switch or outlet with
wet hands, danger of electric shock.
This unit must be turned on/off in the correct
way. Repeated connec�ng/disconnec�ng from
the outlet without correctly turning on/off from
the unit may cause damage.
If the supply cord is damaged it must be
replaced by the manufacturer, service agent or
similarly qualified person in order to avoid
hazard.

- 8 -
- 3 -
A i r d e fle c to r
F ron t c o v e r
To p c o v e r
R ig ht-s ide p la te
B a c k c o ve r
F ilte r
Wa te r ta nk
C on tro l b oa rd
L e ft- s id e p l a te
P o we r c o rd

- 4 -
- 7 -
DRY
QUIET
TIMER
POWER
FULL
Power indicator:
When connected to power outlet the indicator with show green.
Water tank full indicator:
When the water tank is full the indicator will show red and an audible beep will be
Timer indicator:
Quiet indicator:
When the unit is running in quiet mode the indicator will show green.
Dry indicator:
When in dry mode the indicator will show red.
C) Empty water tank:
When the water tank is full the indicator will light and an audible beep will
F) Timer
the unit to stay on for up to 24 hours in 1 hour increments.
the tank becomes full or the compressor becomes frosted the unit will stop
ambient humidity and the level of humidity that it is set to work to. The RH level
is set to 55% upon switching on the unit.
change the level in this order:
55%-60%-65%-70%-75%-80%-CO-35%-40%-45%-50%
for 5 seconds for the level to become set. The display will revert to show the
ambient humidity.
H) Mode

- 5 -
≥2 0cm
≥2 0cm
≥5 0cm
≥5 0cm
≥5 0cm
- 6 -
B) The power outlet supply should be in accordance to the label on the rear of the
unit. The power outlet must be grounded.
C) Plug in the power cord into the supply outlet.
D) Check that the space around the air inlet/outlet is clear. There must be free air
flow for to op�mum performance and energy conserav�on.
E) To operate the Smart Dry in con�nuos mode the use of an external drain pipe is
needed. Follow these instruc�ons for con�nuos drain mode:
Connect 9mm drainage pipe to the hose connector and secure it to avoid any
leakage.
A) For best performance posi�on the unit in accordance to the below guideline.
Remove the
water tank
Connect drainage
pipe to outlet
Replace the water tank. The
drainage pipe will fit in the slot
on the water tank.
NOTE: For con�uous drainage to work the unit must always be higher than the
drainage pipe. The drainage pipe should not have any kinks, twists or knots and must
allow water to flow freely.

- 4 -
- 7 -
DRY
QUIET
TIMER
POWER
FULL
Power indicator:
When connected to power outlet the indicator with show green.
Water tank full indicator:
When the water tank is full the indicator will show red and an audible beep will be
Timer indicator:
Quiet indicator:
When the unit is running in quiet mode the indicator will show green.
Dry indicator:
When in dry mode the indicator will show red.
C) Empty water tank:
When the water tank is full the indicator will light and an audible beep will
F) Timer
the unit to stay on for up to 24 hours in 1 hour increments.
the tank becomes full or the compressor becomes frosted the unit will stop
ambient humidity and the level of humidity that it is set to work to. The RH level
is set to 55% upon switching on the unit.
change the level in this order:
55%-60%-65%-70%-75%-80%-CO-35%-40%-45%-50%
for 5 seconds for the level to become set. The display will revert to show the
ambient humidity.
H) Mode

- 8 -
- 3 -
A i r d e fle c to r
F ron t c o v e r
To p c o v e r
R ig ht-s ide p la te
B a c k c o ve r
F ilte r
Wa te r ta nk
C on tro l b oa rd
L e ft- s id e p l a te
P o we r c o rd

- 9 -
air filter
- 2 -
!
!
Cau�on: To avoid an accident disconnect the power cord from the power outlet
before maintenance.
A) Keep air filter clean:
The air filter gathers dust restric�ng air flow. To achieve the best opera�on and
efficiency clean the filter regularly.
Clean the filter every 1 to 5 days if ambient space is dusty.
Clean the filter every month if ambient space is reasonably clean.
How to clean the filter:
a. Pull out the air filter (see illustra�on below).
b. Suck the dust from the surface of the filter with a vacuum or wash it with
warm water (not higher than 40°C).
c. Shake of excess water and air dry (do not expose to the sun for long
periods). Install in the unit once dry.
B) Check the drainage water pipe:
It is necessary to keep the water pipe unobstructed to drain the water
smoothly and make the unit work correctly. You should check the water pipe
regularly and replace it if necessary.
C) Do not use the unit next to a heat source i.e. radiator, heater or stove.
D) Do not place the unit where it will get wet.
E) The unit must be situated in a suitable place before opera�on.
G) Beware of room humidity with wooden furniture, flooring or other woodwork
objects. Excessive dryness will result in wood cracking.
Must be reliably grounded or plugged into a
grounded outlet.
This unit must not be used with an extension or
portable outlet.
This appliance should not be operated by
children. It should be operated by a experienced
person that has read and understood these
instruc�ons fully.
Children must be supervised to ensure they do
not play with this appliance.
Warm air coming from this appliance may cause
harm to people or animals. Do not stand too
close to the unit.
Do not operate this unit near flammable or
explosive materials.
Do not put your hands or other objects into the
air outlet.
Do not touch the power switch or outlet with
wet hands, danger of electric shock.
This unit must be turned on/off in the correct
way. Repeated connec�ng/disconnec�ng from
the outlet without correctly turning on/off from
the unit may cause damage.
If the supply cord is damaged it must be
replaced by the manufacturer, service agent or
similarly qualified person in order to avoid
hazard.

- 1 0 -
- 1 -
!WARNINGS
Be sure to follow the instructions
!
Do not use wet hands.
Be sure not to do.
(SMTD-201710V2EP) can remove moisture from the air
H) Storing the Smart Dry:
a. Ensure the water tank is empty and the power cord is unplugged.
b. Coil up the power cord.
d. Store in a dry clean environment.

- 1 1 -
Water tank needs to be
is low (low water removal)
to be lower than the
1
1
3
3-4
5-6
7
9-10
11
12
Doors and windows are
Water noise
E1 error
LO error
Unit does not operate

- 1 2 -
MODEL SMTD-201710V2EP
POWER SUPPLY AC 220-240/50Hz
10L (30°C RH80%)
5.5L (27°C RH60%)
RATED INPUT POWER 200W
AIR VOLUME 100m³/h
WORKING SPACE 10-20m³
WORKING TEMPERATURE 5-32°C
REFRIGERANT R134a
NOISE LEVEL 42dB
COMPRESSOR PISTON TYPE
CONTROL MODEL ELECTRONIC
WATER TANK CAPACITY 1.8L
PRODUCT SIZE 287x169x488mm
NET WEIGHT 10 kg
GROSS WEIGHT 11.5 kg
DEHUMIDIFYING CAPACITY

Table of contents
