Seago LY-S-10 User manual

Tablet PC
LY-S-10
Seago
Important Safeguards
1.
Do not use the tablet in exceptionally cold or hot, dusty, damp or dry
environments.
2.
Avoid dropping this device as there is a high risk that you will damage
the screen and other fragile components.
3.
Please charge your battery when:
A.
The battery power icon shows an empty battery;
B.
The system automatically shuts down and the tablet does not
stay on for very long when you switch the unit on again;
C.
There is no response if you touch any key.
4.
Please do not suddenly disconnect the power when the tablet is being
formatted or is in the process of uploading or downloading. This may
lead to an error in the program.
5.
When this tablet is used as a moving disk, the user must store or export
files in the proper file management operation method. Any improper
operation method may lead to the loss of files, for which the
manufacturer will not be held liable.
6.
Do not disassemble this device to carry out repairs or maintenance as
this will void the warranty. All repairs are to be carried out by the
manufacturer or a similarly qualified person.
7.
There will be no separate notice in the case of any change in the
functions and performance of this product.

Basic Operation
Power on
Press and hold the Power button and the device will start up.
Power off
Press and hold the power button, choose "Power Off" to shut down.
Sleep
When the device is on, press the Power button quickly to shut down the
display, it will then go into Sleep mode. Press the Power button again to
reactivate the device.
Power reset
If there is shutdown to the tablet in the process of operation, you can turn off and
restart the device by pressing "reset" key.
Screen time out
If you do not use the tablet within the set time, and do no operate any buttons,
the contact screen will automatically turn off.
In any state, press " " button t o a c t i v a t e ; Then slid the lock
upwards to gain access to the upper interface.
If it is necessary to deactivate the contact screen time out function, you can set
the [Screen time out] option under [display] function into "Never ".
Using the Micro SD card
Once the tablet is connected to a computer, you will find two moving disks.
The first one is the built-in memory disk for device unit and the other is the disk for
the Micro SD card. If no card is inserted, the second disk will not open. This tablet

supports the extension of the Micro SD card from4GB to 32GB.
Inserting and Removing the Micro SD card
Inserting:
Place the Micro SD Card facing upwards (side with words), and slightly force the
card into the socket of the card, i.e. connecting the unit. Under this state, you can play
the content on the Micro SD card.
Removing:
Slightly push the Micro SD, and it will bounce by a section, and then you can
take it out.
Caution:
Please perform inserting and removing operation when power is off! Otherwise,
it will lead to the loss or damage to the files within the unit! If no card is inserted, the
computer will be unable to perform read and write operation for the disk notes of the
later removable disk (Micro SD card).
Battery:
This unit is fitted with a high capacity Polymer battery.
The duration available of the battery power depends on volume, types of playing
files and operation of battery. The player can be set up by the user as "user define
power off time" or "display setup" to save batteries.
Charging:
This unit can be recharged by using a USB port. Please charge the device only
with the recommended USB cable and Charger. Other Chargers might damage the
machine.
Please Note:
1.
The new battery may be empty and not charged when youbuy the tablet.
2.
If the tablet is not used for a long time, it is better to charge it to full capacity
every 2 or 3 months during storage.

Setting Up Your Tablet
After charging the battery, press
and hold the power button for up
to 5 seconds until the pattern
is displayed.
IMPORTANT: If the battery image is not displayed on the screen, press the power
button briefly to display the image, then press and hold the power button until the
logo is displayed.
Follow the on-screen instructions to select a language and a wireless network.
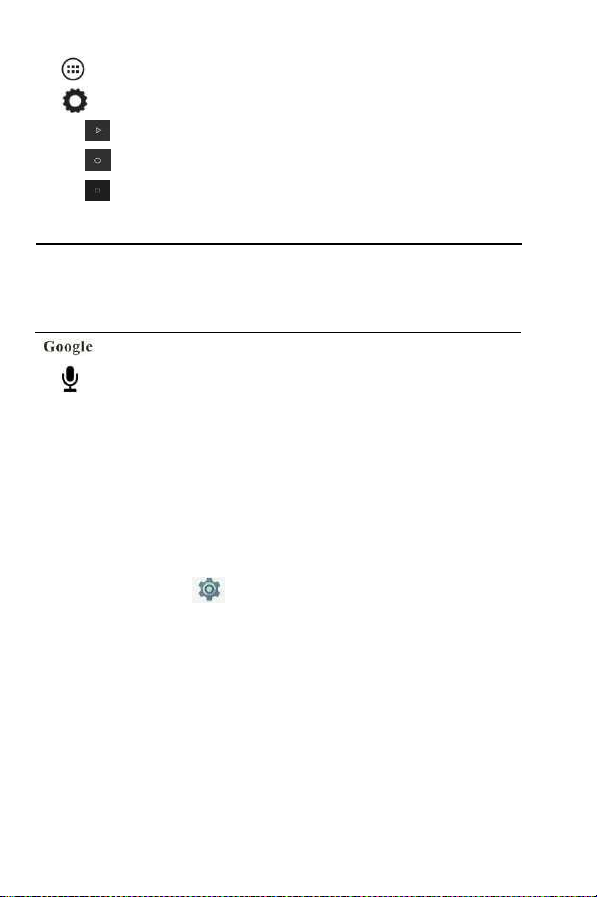
All Apps —Displays a list of All Apps installed.
Setting —Set the WLAN, BT, and Brightness etc.
The button moves back one step to the previous menu/page.
The button returns immediately to the main screen.
The button displays a menu of recently opened applications.
(This interface adds a “CLEAR ALL”button)
Please note: The appearance of the Home screen may vary.
Search—allows you to type one or more keywords to search.
Voice search—allows you to speak one or more keywords to search
with the installed search app.
*The search feature varies by model and country.
Settings Menu
The Settings Menu allows you to adjust Tablet PC System Configuration. To
Change Settings:
1.
Touch the “Settings” menu icon found in the Application menu. The
Settings menu will open.
2.
Touch a category title to view further options on the right side of the screen.

•
Wi-Fi – Connect to/disconnect from wireless networks, view connection status.
•
Bluetooth – Connect or disconnect Bluetooth devices.
•
Display – Adjust display settings.
•
Prompt & Notifications – Adjust different notification settings.
•
Audio Profiles – Adjust the different audio settings such as ringtones.
•
Apps – A list of all Apps downloaded and running.
•
Storage & USB – View your Tablet PC’s internal and external storage settings.
(Please note: The operation system software occupied some part of
capacity).
•
Battery – View the status of your battery and make adjustments to power
consumption.
•
Memory – View the total memory capacity and free memory capacity.
(Please note: this is for RAM memory, if it’s 1GB ram, the displayed total memory
will be around 0.90-0.93GB).
•
Users - Switch between Owner and Guest
•
Location – Change approximate location detection, improve search results, GPS
satellites
•
Security – Adjust Tablet PC’s security settings; the screen lock;

•
Accounts – Add or remove email and Google™ accounts such as Gmail™, Google.
•
Google – Location, security, Ads, Nearby, Set up nearby device.
•
Language and input – add to the dictionary, edit on-screen keyboard settings, vocal
search, etc.
•
Backup and reset – Backup and restore data, perform factory reset, etc.
•
Date & time – Set date, time zone, time, clock format etc.
•
Accessibility – Set up large text, auto-rotate screen, speak password etc.
•
About Tablet PC – Displays information about your Tablet PC
•
"Settings" added the hamburger menu, in the two level settings in the upper left
corner of the interface; you will see this hamburger menu.
Click to see all the settings, easy to quickly jump.
Gestures
The following gestures can be
used with your tablet
Home Screen
•
To add an App or a Widget to the Home screen, touch the Apps tab or the Widgets
tab, then tap and hold an App or Widget until it is added to the Home screen.
•
To remove an App or Widget from the Home screen, drag it to the X at the top of
the screen.
Change the view of the Tablet
The Auto-rotate feature allows you to change the view of the device. For landscape
view, hold the tablet horizontally. For portrait view, hold the tablet vertically.
Please note: Some Apps do not rotate automatically.
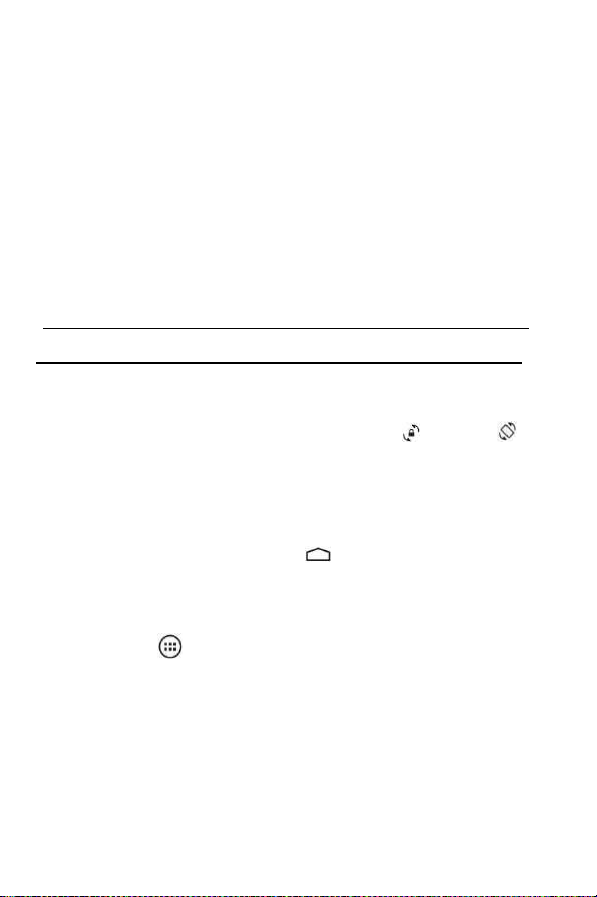
To change the Auto-rotate setting, swipe down from the top of the screen to display
notifications, and then touch the Screen rotation icon to lock or unlock
the screen rotation.
Return to the Home screen
To quickly return to the Home screen, touch .
Display Apps, Widgets, and Notification
Apps
—
Touch
, then touch the Apps tab to see a list of all Apps.

Widgets—Touch , then touch the Widgets tab to see a list of all Widgets.
Notification—Swipe down from the top of the screen to see your notifications.
Data Back Up
It is strongly recommended that you periodically back up your personal data and media
on your tablet to another computer, a dedicated storage device, or to the cloud using one
of several commercially available solutions.

13. FAQ
1. The device cannot connect to Wi-Fi:
• Check wireless network is operational with another
wireless device.
• Make sure the device is within the Wi-Fi area. Walls
or other obstacles can decrease the signal range.
• Make sure the password used is the correct one.
2. The device does not start:
• The device will not start if the battery power is below the
critical level. In this case, please recharge the battery.
• Press the RESET button and check if the product starts.
• Check if the charger is correctly connected.
3. Heating problem:
• If you work on more than one application at a time, if you
select the highest level of brightness for the display or if
you work on the device while charging, the device can get
warm. This is normal and will not lead to other problems
of functionality.
4. The system is not working correctly:
• Installing third party applications can lead to system
malfunctioning. Uninstall these third partyapplications or
perform a factory reset in order to have the device
functioning within the normal parameters again.
5. Problems with e-mailsetup:
• Make sure the device is connected to a Wi-Fi network
and that this network can connect to the Internet.
• Make sure all the data for the e-mail account is correctly
inserted in the application.
• Make sure the date of the system is correct.
6. Recording problems:
• Press the RESET button and after restart check if the
recording works.

7. Battery usage time too short:
• Battery usage time can be influenced by the temperatures
in the working environment. If the temperature is too high
or too low, the working time will be affected. It is
recommended to use the device in a normal temperature
environment.
• Battery usage time depends on the way you use the
device. High audio volume or Wi-Fi makes the battery
life shorter.
• In order to have a long lasting battery life, please charge it
for 8 to 12 hours before the first use.
8. Headphones don’t play sound:
• Make sure the audio file you are trying to listen to is not
damaged. Try listening to another audio file to confirm.
• Make sure you have a good wire connection between the
headphones and the device.
9. Display colour problems for photos or videos:
• Press the RESET button to check this issue.
10. Errors while copying files:
• Please check if the storage space is full.
• Please check if the USB cable is in good condition.
11. Other problems:
• Most of the problems can be solved by restarting the
device, with the reset to factory settings from the main
menu or by pressing the RESET button on the side ofthe
case.

12. Password or Pattern Lock Reset:
• Please ensure your device is fully charged and not
connected to your charger when carrying out the
following steps:
1) Hold down the Power button and at the same time
press the Volume “ –“ (Minus) button repeatedly until the
Blue Telefunken Screen is displayed (Telefunken Logo).
2) Once this screen is displayed, releases buttons
immediately and continue by pressing the Volume “+” (Plus)
button repeatedly until you see a black screen then stop. If
the above procedure is done correctly the black screen will
automatically take you into AndroidTM mode. If not, repeat
the steps above until you access the Android function.
3) Once in Android mode, use the VOL “–“ (Minus)
button to highlight “Wipe Data/Factory Reset” then press
the Power button (Ok) to enter.
4) Use the VOL”-“(Minus) button to highlight “Yes – delete
all user data” and then press the Power button (Ok) to
confirm. The tablet will erase all user data and return to
the main Android screen.
5) “Reboot System Now” will then automatically be
highlighted and you will need to press the Power button
(Ok) to confirm.
6) Tablet reset is now complete.

Important Notice:
This procedure will delete all data uploaded or any stored files.
Remove TF Card before you proceed with the factory reset.
13. Netflix APP:
• Important Notice:
For the Netflix App please follow the steps below:
1) Open the Netflix App.
2) Create an account to access the App.
3) This may prompt you to update Google Play Service –
please update when requested.
4) Once complete, you will then have access toNetflix.
Please note:
By updating the Google Play Service, this will have resolved
other App conflicts, such as YouTubeTM, Skype etc., which may
now only require an App update (via the Play Store) in order to
function properly.

FCC Statement
Changes or modifications not expressly approved by the party
responsible for compliance could void the user's authority to operate
the equipment.
This equipment has been tested and found to comply with the limits
for a Class B digital device, pursuant to Part 15 of the FCC Rules. These
limits are designed to provide reasonable protection against harmful
interference in a residential installation. This equipment generates uses
and can radiate radio frequency energy and, if not installed and used in
accordance with the instructions, may cause harmful interference to
radio communications. However, there is no guarantee that
interference will not occur in a particular installation. If this equipment
does cause harmful interference to radio or television reception, which
can be determined by turning the equipment off and on, the user is
encouraged to try to correct the interference by one or more of the
following measures:
-- Reorient or relocate the receiving antenna.
-- Increase the separation between the equipment and receiver.
-- Connect the equipment into an outlet on a circuit different from that
to which the receiver is connected.
-- Consult the dealer or an experienced radio/TV technician for help
This device complies with part 15 of the FCC rules. Operation is subject
to the following two conditions (1)this device may not cause harmful
interference, and (2) this device must accept any interference received,
including interference that may cause undesired operation.

SAR Information Statement
Your Tablet PC is a radio transmitter and receiver. It is designed and
manufactured not to exceed the emission limits for exposure to
radiofrequency (RF) energy set by the Federal Communications
Commission of the U.S. Government. These limits are part of
comprehensive guidelines and establish permitted levels of RF energy
for the general population. The guidelines are based on standards that
were developed by independent scientific organizations through
periodic and thorough evaluation of scientific studies. The standards
include a substantial safety margin designed to assure the safety of all
persons, regardless of age and health. The exposure standard for Tablet
PC employs a unit of measurement known as the Specific Absorption
Rate, or SAR. The SAR limit set by the FCC is 1.6 W/kg. * Tests for SAR
are conducted with the Tablet PC transmitting at its highest certified
power level in all tested frequency bands. Although the SAR is
determined at the highest certified power level, the actual SAR level of
the Tablet PC while operating can be well below the maximum value.
This is because the Tablet PC is designed to operate at multiple power
levels so as to use only the power required to reach the network. In
general, the closer you are to a wireless base station antenna, the lower
the power output. Before a Tablet PC model is available for sale to the
public, it must be tested and certified to the FCC that it does not exceed
the limit established by the government adopted requirement for safe
exposure. The tests are performed in positions and locations (e.g., at
the ear and worn on the body) as required by the FCC for each model.
The highest SAR value for this model Tablet PC when tested for use at
the ear is 0.50W/Kg and when worn on the body,

While there may be differences between the SAR levels of
various Tablet PC and at various positions, they all meet the
government requirement for safe exposure. The FCC has
granted an Equipment Authorization for this Tablet PC with all
reported SAR levels evaluated as in compliance with the FCC
RF exposure guidelines. SAR information on this Tablet PC is
on file with the FCC and can be found under the Display Grant
section of http://www.fcc.gov/ oet/fccid after searching on
FCC ID: 2AQ4G-LY-S-10 Additional information on Specific
Absorption Rates (SAR) can be found on the Cellular
Telecommunications Industry Association (CTIA) web-site at
http://www.wow-com.com. * In the United States and
Canada, the SAR limit for mobile Tablet PC used by the public
is 1.6 watts/kg (W/kg) averaged over one gram of tissue. The
standard incorporates a substantial margin of safety to give
additional protection for the public and to account for any
variations in measurements.
The SAR test distance is 0mm.
Table of contents


