Segen Solar EPM Plus 5G User manual

Application Note –Solis and EPM Quick Setup
Guide

AN_EPM_SOL_Ver0.
0
Product Description
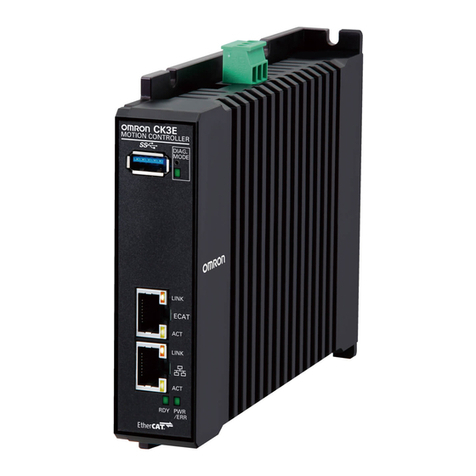
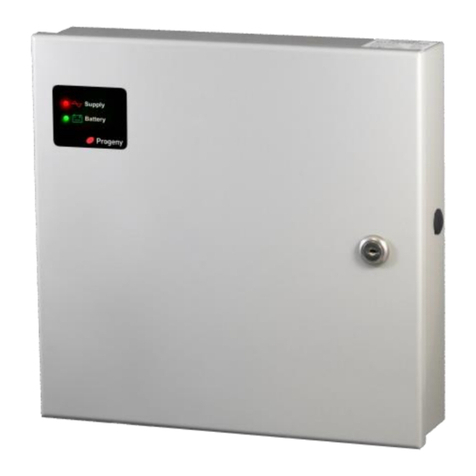
Front View EPM Plus 5G
Front View EPM Plus 5G
The Solis EPM 5G is a device that allows you to adjust export values to satisfy local network
regulatoryrequirements.
General Notes
•Do not place communication cables with DC and AC cables in the same conduits or
trunking asthis may influence the normal communications.
•Ensure that the communication wires between the inverter and EPM are properly
connected asin the manual. (refer to system wiring diagram)
•The EPM should always be connected to the first inverter on the RS485 bus if multiple
units areinstalled and the other inverters must be daisy chained.
•The secondary current for the CT should be 5A and recommended class 0.5CT for
higheraccuracy on the measured values.
•The load must be switched off before disconnecting CT as this will open circuit the
secondaryof the CT and may cause damage to CT, EPM or injury.
•Date & Time setting must be the same on the EPM and the Inverters.

AN_EPM_SOL_Ver0.
0
System Connection Wiring Diagram
The wiring diagram is also found in the user manual and EPM quick installation
guide.
NB: This application note must be used in conjunction with the user manual for any further
reference.
Communication
The EPM and Inverter communicates with Modbus protocol via RS485 2 wire. UTP/FTP Twisted
pair cableshould always be used.
Important Settings for Inverter and EPM
For the EPM to work, the settings and parameters to be adjusted are done separately on the
Inverter andthe EPM 5G device.
Inverter Settings
•Ensure correct date and time setting.
•Check set address and ensure Modbus Address is set to 01 (default address is 01).
•Under Advanced Settings, External EPM 5G must be enabled.

AN_EPM_SOL_Ver0.
0
EPM Settings
Once the EPM is wired correctly and powered on, the unit needs to be configured. On power on the
default screen displays your active power (+ means consuming, –means exporting or may mean
the CTs have been reversely installed if power is supposed to be consumed).
Note this is the overall power and it is important to ensure that the CTs are checked for correct
polarity onthe individual phases.
The image below shows the EPM landing page.
Advanced Settings
Access the menu by pressing the Enter key and navigate to Advanced settings using the down arrow.
Press Enter on the advanced settings and password screen will pop up.
•Enter password 0010 by using the up-arrow key on the desired digit.
•Once you input the correct password, press enter to access the advanced settings menu.
Setting: Inverter Qty. Set
This must be selected to match the number of inverters connected to the EPM on site. This setting
allowsthe inverter to know how many inverters to look for.

AN_EPM_SOL_Ver0.
0
Setting: Backflow Power
This value shows the maximum power that can be pushed back into the local grid. Export values
must be checked with the local municipalities and must be followed. Note that only surplus power is
exported i.e. if solar generation is more than consumption and if surplus power exceeds max export
value, the generationwill be throttled to the set value.
NB: For zero export plants, it is important to note that in case of a large sudden drop in load there
will be a momentary export of power if there is no buffer. So, for plants where prepaid meters may
experience nuisance trips because of this scenario, set this value to i.e. - 1000W etc. for the
inverters to start throttling sooner before the actual zero mark. The plant size must be used to
decide the buffer size.
Setting: PLED
This switch enables the EPM to work. It comes on by default and it is good to confirm that it is on
becauseif off the EPM cannot function.

AN_EPM_SOL_Ver0.
0
Setting 3: Set Meter CT
The CT ratio is set according to the installed CTs. Because all the CTs used for the EPM must have a
secondary 5A current, the ratio is obtained by dividing the Primary Current/Secondary Current e.g.,
a 200:5 CT will be 0040:1
Setting: FailSafe
Must be set to run. This is a safety feature that stops inverter production should the EPM fail for any
reason.
Setting: Set EPM Regulator
This is to set the capacity of the generation plant, so the value will be the total of all inverters
added uptogether.

AN_EPM_SOL_Ver0.
0
Setting: Backflow Work Mode
Mode 2 is always recommended for unbalanced loads. (for detailed explanation refer to the user
manual. After adjusting the settings successfully, check on the advanced info menu option for the
following.
Inverter Power: This will display the power of each inverter as measured by the EPM
CT Connect Status: This must show OK, otherwise if CT_NG is displayed it means that the CT is
open circuit or current passing through is extremely low which is usually a result of using CTs with
a secondary current less than the recommended 5A.
Checking your CT polarity
The physical check is to make sure that P1 always faces the grid and P2 always faces the load.
If in doubt about the direction of the CT, please follow these steps to double check.
On your inverter menu, navigate to Advanced Settings and on the Grid ON/OFF select off.
Off state stops the inverter from producing power. (Must remember to switch Grid back on after
check)
Navigate to the Advanced info and check the power of the individual phases. Note at this stage
only yourgrid is available and producing power.
The individual phases: Active_APwr, Active_BPower & Active_CPower will show -(negative) Watts
showing that you are buying power from the grid, once all 3 phases are verified, navigate back to
Advanced Settingsand switch grid on.

AN_EPM_SOL_Ver0.
0
SolisCloud Monitoring
After successful setup of the EPM and inverter settings, please refer to the SolisCloud Operation
Manual for Organization or User for details on how to connect the plant to the internet for remote
monitoring andcreating an account for cloud monitoring.
NB: Remote monitoring data is not real time; Data points are logged after every 5 minutes so on
first setup wait for about 10 minutes to get data points. This is because the data points go through
the ginlong serverto round-trip time +- 5 minutes.
Table of contents
