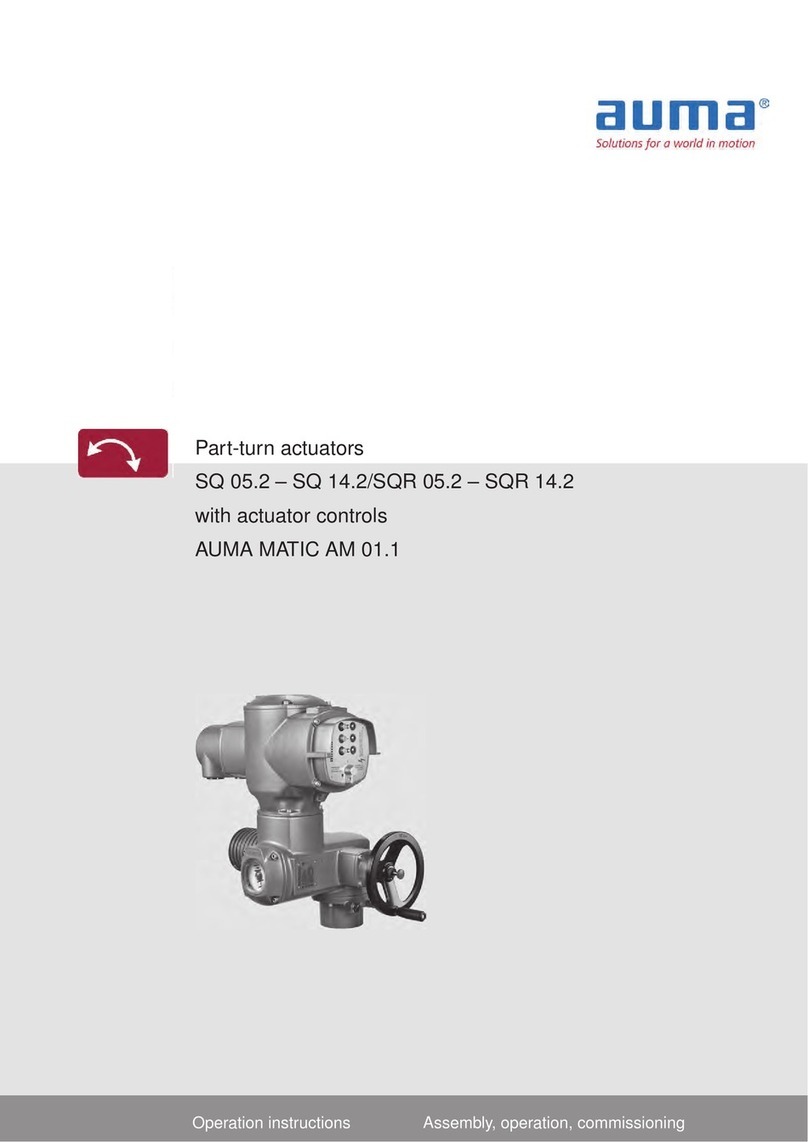
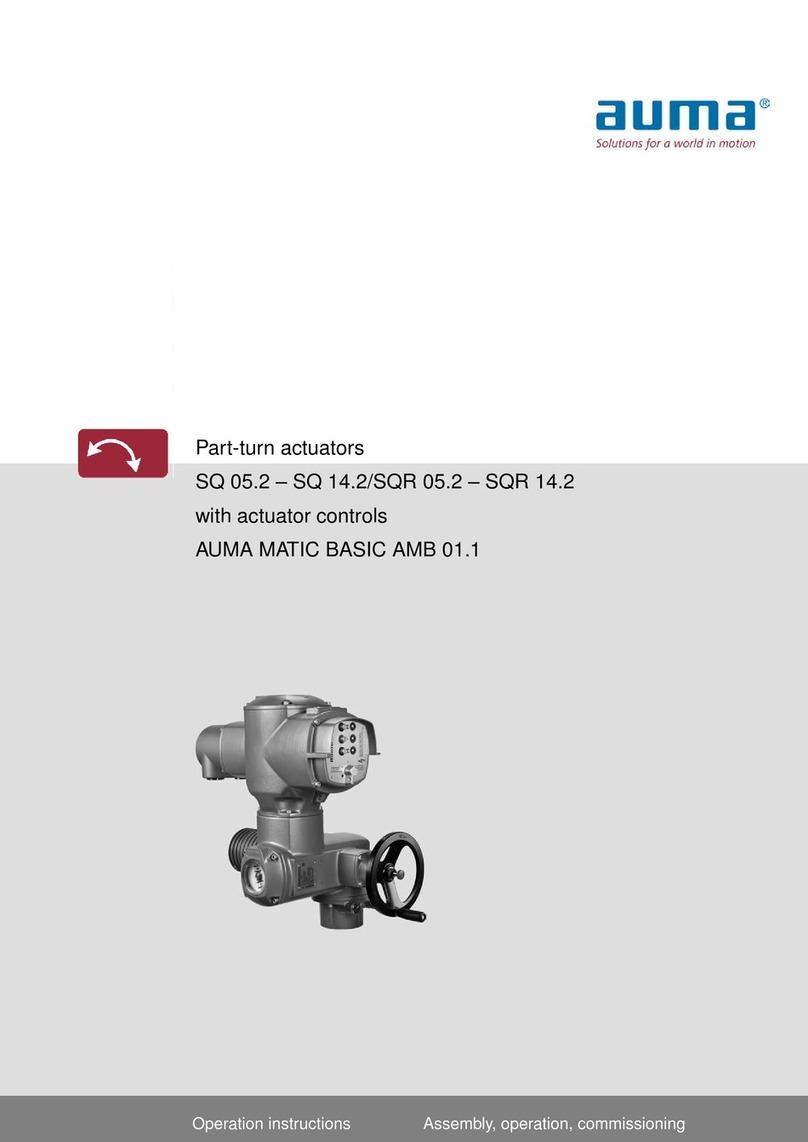
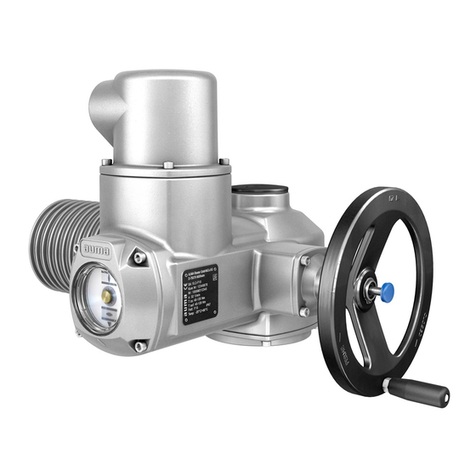
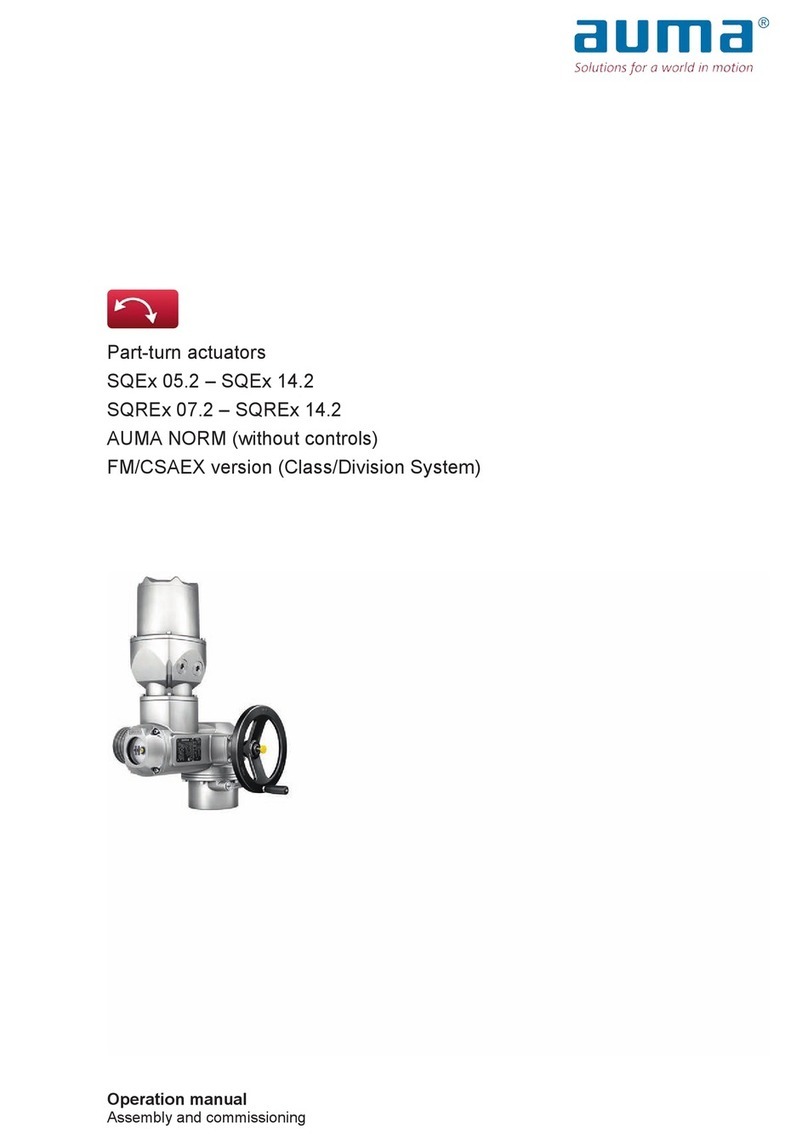
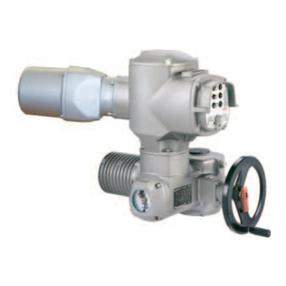
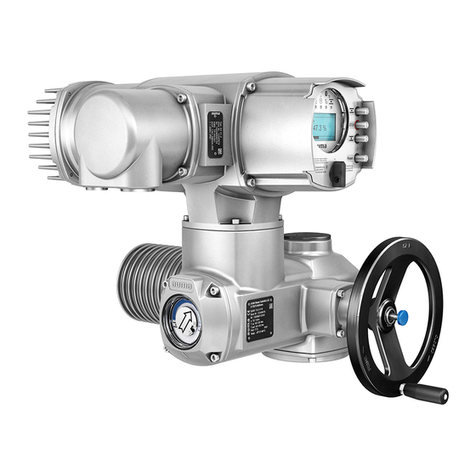
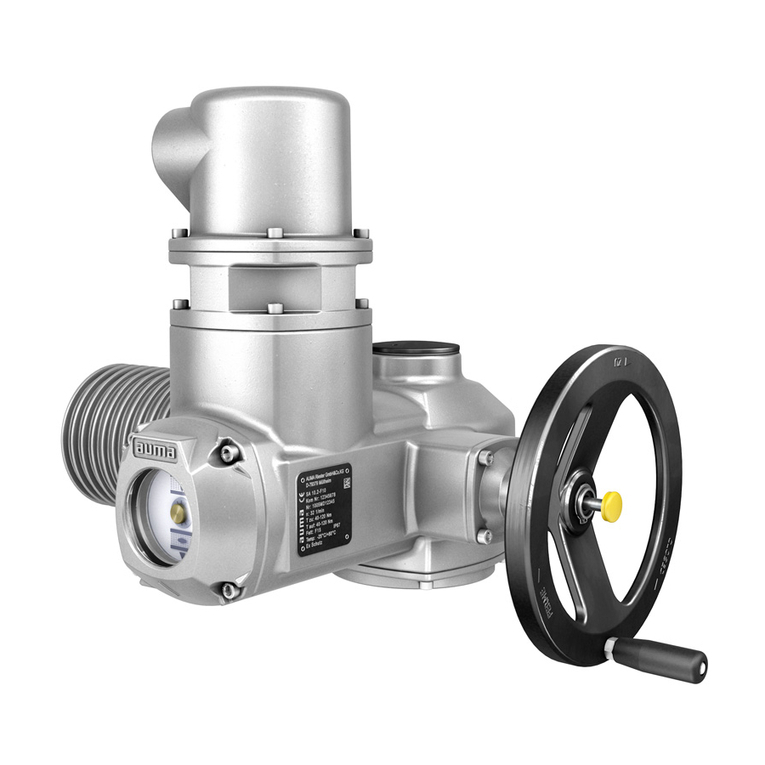
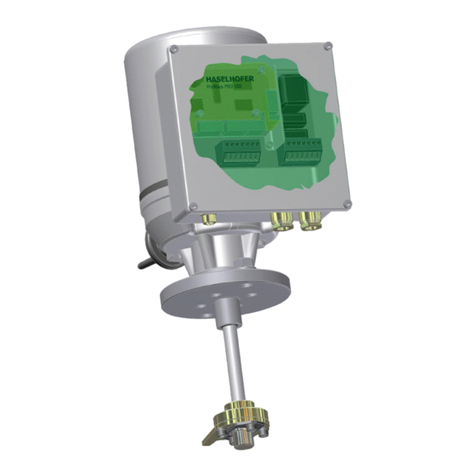
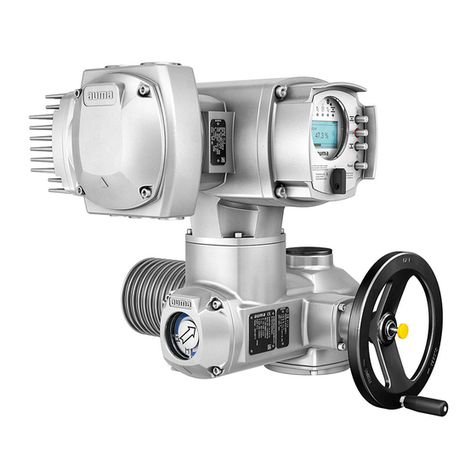
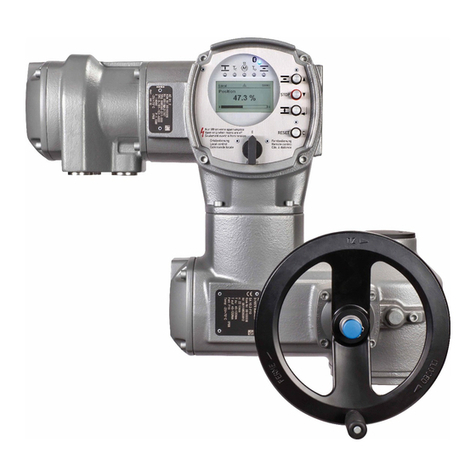
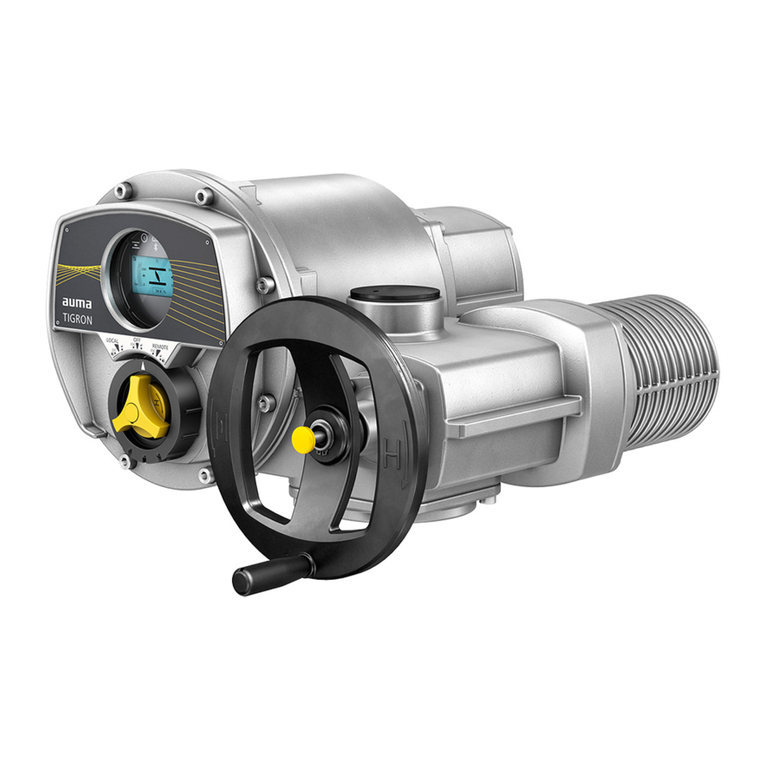
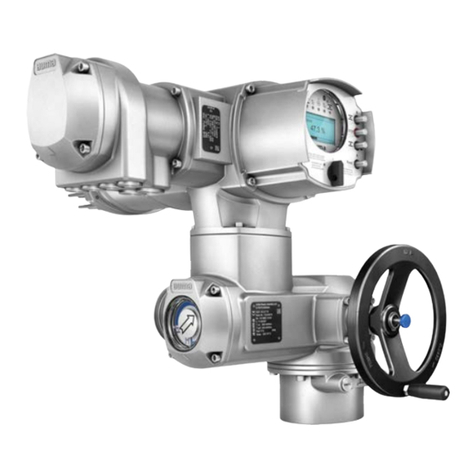
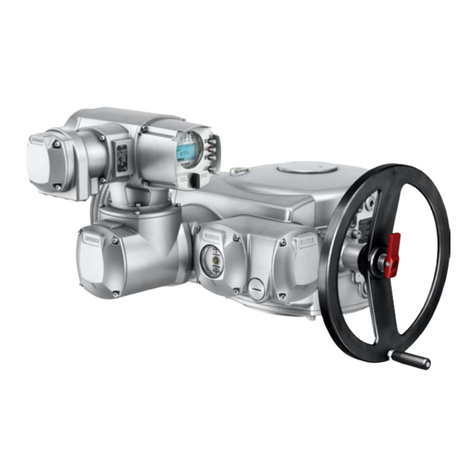
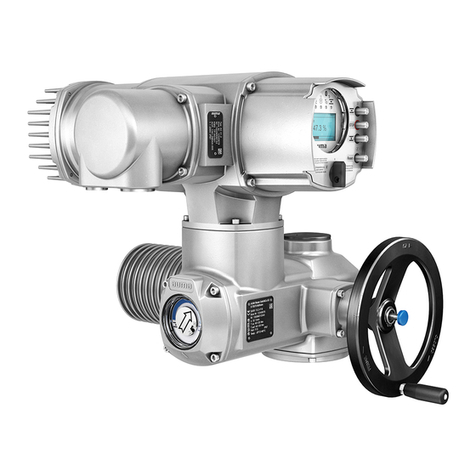
AUMA SA3-SA100 User manual

Weather proof actuators
with 3.XMP-SIL & Data logging
SA3 - SA100
SAR3 - SAR100
Manual Operations & Instructions

2
Table of Content
Sl. No.
Content
Page No.
1
Safety Instructions
3-6
1.1
Basic information on safety
1.2
Range of application
1.3
References and symbols
1.4
Name plate
1.5
Transport, storage and packaging
2
Introduction
7-10
3
Front panel details
11-14
3.1
Selector switch
3.2
LCD screen & LED indication
4
Modes of operation
15-38
4.1
Program mode
4.1.1
EDIT/VIEW option of program mode
4.1.2
EDIT mode parameters
4.1.3
Remote settings
4.1.4
Relay settings
4.1.5
Intermediate position setting
4.2
Diagnostic mode
4.3
Calibration mode
4.3.1
Limit open calibration
4.3.2
Limit close calibration
4.3.3
Close limit and open limit calibration through counter gears/ limit switches
4.3.4
Setting of Mechanical position indicator
4.3.5
Do's and Don'ts - Troubleshooting tips
4.3.6
Change torque trip value
4.3.7
Preset torque
5
Annexure
39-44
6
Disposal and recycling
45
Table of Content
Sl. No.
Content
Page No.
1
Safety Instructions
6-7
1.1
Basic information on safety
1.1.1
Safety instructions/warnings
8
1.1.2
Warnings and notes
1.1.3
Transport, storage and packaging
1.1.4
Qualification of staff
1.1.5
Commissioning
9-13
1.1.6
Operation
1.1.7
Protective measures
1.1.8
Maintenance
1.2
Range of application
1.3
References and symbols
1.3.1
Name plate
2
Introduction
17-17
2.1
LCD graphical display & LED indication
2.2
Inbuilt front panel option selection
2.3
Interfaces
2.4
Emergency stop - ESD
2.5
Event storage & data logging option
2.6
Partial valve stroke test (PVST) option
2.7
Inhibit option
18-20
2.8
Local control station (LCS) priority
2.8.1
Remote local stop
2.8.2
Timer mode
2.8.3
Programmable relays
2.8.4
Real time clock (RTC)
2.8.5
Power supply
Weather proof actuators with 3.XMP-SIL &
Data logging

3
1 Safety Instructions
Proof test checklist for version or configuration:
“SIL function” = “Safe STOP OPEN/CLOSE” (safe stop) configuration.
Also, valid for combination of Safe ESD with Safe STOP.
Table 25: Proof test checklist
11.2.10 Combination of Safe ESD and Safe STOP
Safety function
Proof test checklist for version or configuration:
• One of the following Safe ESD safety functions with any seating configuration:
- Safe ESD function: “Safe CLOSING” (Safe ESD in direction CLOSE)
- Safe ESD function: “Safe OPENING” (Safe ESD in direction OPEN)
• Safe STOP function
1 Safety Instructions
1.1 Basic information on safety
Safety instructions /
warnings
All personnel working with this device must be well-versed with the safety and warning
instructions in this manual and observe the instructions given. In order to avoid personal
injury or property damage, the safety instructions and warning signs must be observed
carefully. Kindly follow Common Electrical and Electronic related safety instructions
according to industrial standards. The main mechanical safety instructions are fixed on
the actuators as shown below.
Warnings and notes
Failure to observe the warnings and notes may lead to serious injuries or damage.
Qualified personnel must be thoroughly familiar with all warnings and notes in these
operation instructions. Correct transport, proper storage, mounting and installation, as
well as careful commissioning are essential to ensure a trouble-free and safe operation.
The following references draw special attention to safety-relevant procedures in these
operation instructions. Each is marked by the appropriate pictograph.
This pictograph means: Note!
“Note” marks activities or procedures which have major influence on the correct operation.
Non-observance of these notes may lead to consequential damage.
This pictograph means: Warning!
“Warning” marks activities or procedures which, if not carried out correctly can affect the
safety of persons or material.
Qualification of staff
Assembly, electrical connection, commissioning, operation and maintenance must be
carried out exclusively by suitably qualified personnel having been authorized by the end
user or contractor of the plant only. Prior to working on this product, the staff must have
thoroughly read and understood these instructions and, furthermore, know and observe
officially recognized rules regarding occupational health and safety.
Work performed in potentially explosive atmospheres is subject to special regulations
which have to be observed. The end user or contractor of the plant is responsible for
respect and control of these regulations, standards and laws.
Commissioning
Prior to commissioning, it is important to check that all settings meet the requirements of
the application. Incorrect settings might present a danger to the application, e.g. cause
damage to the valve or the installation. The manufacturer will not be held liable for any
consequential damage. Such risk lies entirely with the user.
Weather proof actuators with 3.XMP-SIL &
Data logging

4
Operation
Prerequisites for safe and smooth operation:
• Correct transport, proper storage, mounting and installation, as well as careful
commissioning.
• Only operate the device if it is in perfect condition while observing these instructions.
• Immediately report any faults and damage and allow for corrective measures.
• Observe recognized rules for occupational health and safety.
• Observe the national regulations.
Protective measures
The end user or the contractor is responsible for implementing required protective
measures on site, such as enclosures, barriers, or personal protective equipment for the
staff.
Maintenance
AUMA India multi-turn actuators require very little maintenance but they need to be tested
regularly for its correct functioning. After commissioning, check the actuator for damage to
paint finish. Do a thorough touch-up to prevent corrosion. Correct commissioning is a pre-
requisite for reliable service. Seals made of elastomers are subject to aging and must
therefore regularly be checked and, if necessary, exchanged. It is also very important that
the O-rings at the covers are placed correctly and cable glands fastened firmly to prevent
ingress of dust or water.
We recommend additionally:
• If operated seldom, perform a test run about every 6 months. This ensures that the
actuator is always ready to operate. The version of actuators discussed in this
manual have an option for Partial Valve Stroke Test (PVST) to check if the actuator is
healthy.
• Approximately six months after commissioning and then every year check bolts
between actuator and valve for tightness. If required, tighten by applying appropriate
torques.
• The gear housing is filled with lubricant in the factory. This filling lasts for several
years of service.
• Corrosion of paint damage parts must be prevented through touch up.
Any device modification requires the consent of the manufacturer.
1.2 Range of application
AUMA India actuator controls are exclusively designed for the operation of AUMA India
actuators. Other applications require explicit (written) confirmation by the manufacturer.
The following applications are not permitted.
• Motor control
• Pump control
No liability can be assumed for inappropriate or unintended use.
Observance of these operation instructions is considered as part of the device's
designated use.
1.3 References and symbols
The following references and symbols are used to provide information of the basic
actuator commands to the customer. They are:
Symbol for CLOSED (valve closed)
Symbol for OPEN (valve open)
Symbol for STOP (valve stop)
Storage
√ Store in well-ventilated, dry room.
√ Protect against floor dampness by storage on a shelf or on a wooden pallet.
√ Cover to protect against dust and dirt. Apply suitable corrosion protection agent to
bare surfaces.
√ In case gearboxes are to be stored for a long period (more than 6 months). Protect
bare surfaces, in particular the output drive parts and mounting surface, with long-
term corrosion protection agent.
√ Check for corrosion approximately every 6 months. If first signs of corrosion show,
apply new corrosion protection.
Type of enclosure is mentioned on the name plates.
Packaging
√ Our products are protected by special packaging for the transport ex-works.
√ The packaging consists of environmentally friendly materials which can be easily
separated and recycled.
√ For the disposal of the packaging material, we recommend approved disposal
agency.
√ We use the following packaging materials: Wooden material boards (OSB) /
cardboard / paper, PE sheet.
1.1.4 Qualification of staff
Assembly, electrical connection, commissioning, operation and maintenance must be
carried out exclusively by suitably qualified personnel having been authorized by the end
user or contractor of the plant only. Prior to working on this product, the staff must have
thoroughly read and understood these instructions and, furthermore, know and observe
officially recognized rules regarding occupational health and safety.
Work performed in potentially explosive atmospheres is subject to special regulations
which have to be observed. The end user or contractor of the plant is responsible for
respect and control of these regulations, standards and laws.
1.1.5 Commissioning
Prior to commissioning, it is important to check that all settings meet the requirements of
the application. Incorrect settings might present a danger to the application, e.g. cause
damage to the valve or the installation. The manufacturer will not be held liable for any
consequential damage. Such risk lies entirely with the user.
1.1.6 Operation
Prerequisites for safe and smooth operation:
• Correct transport, proper storage, mounting and installation, as well as careful
commissioning.
• Only operate the device if it is in perfect condition while observing these instructions.
• Immediately report any faults and damage and allow for corrective measures.
• Observe recognized rules for occupational health and safety.
• Observe the national regulations.
Weather proof actuators with 3.XMP-SIL &
Data logging

5
Notice
The actuator can be mounted in any position. The actuator is suitable for short-
time duty.
The Maximum rated torque and thrust should not be applied over full range of
travel, except for valve with short stroke. The maximum rated torque(Nm) can be
applied to 10% of travel and remaining 90% of travel can be applied with 30% of
rated torque(Nm).
Bore in coupling flange must have sliding fit on the input shaft. Excessive seating
may damage the actuator during fitting.
Positioning of actuator on the valve is made easy by spigot on mounting flange.
The corresponding seating should be made to grade H8. Check the proper
seating.
Additional Tips
• Do not operate the actuator with improper wiring.
• Do not interchange the cards without checking the e-pac code.
• Do not interchange the e-pac without checking the rating.TOLR
• Improper sealing of cable glands resulting in water entry at site will inadvertently
damage all the electronic cards.
• Do not operate the actuator in manual mode while electrically operating.
• Please check the input voltage rating of the motor before giving supply.
• Do not run the NORM actuator without panel.
• Do not bypass the thermoswitch connection in the loop.
Tightening torque for bolts
Strength class
8.8
Strength class
10.9
Standard
metric thread
Assembly
preload [kN]
Tightening
torque [Nm]
Assembly
preload [kN]
Tightening
torque[Nm]
M 1.6 0.538 0.18 0.79 0.27
M 2 0.895 0.38 1.32 0.56
M 2.5 1.49 0.78 2.19 1.1
M 3 2.24 1.4 3.3 2
M 4 3.88 3.1 5.7 4.5
M 5 6.36 6.1 9.34 9
M 6 8.97 11 13.2 15
M 8 16.5 25 24.2 37
M 10 26.2 51 38.5 75
M 12 38.3 87 56.2 128
M 16 72.4 214 106 314
M 20 117 431 166 615
M 24 168 742 239 1057
M 30 269 1489 383 2121
M 36 393 2594 560 3695
Weather proof actuators with 3.XMP-SIL &
Data logging

6
1.4 Name Plate
Each actuator will have a nameplate associated with it which contains several important
details. Please locate where the plate is present in your actuator. The information
provided in the nameplates is delineated below. These are required to ensure our support
after supply. There are several variations of nameplates available. Please match your
actuator nameplate with the appropriate one below to obtain the required information. You
are requested to furnish the below details of the name plate while ordering spare
parts/after sales support.
The Works Number mentioned in this name plate gives other details besides giving the
EPAC Version. The actuator type gives the maximum torque, RPM of the actuator,
weather proof/explosion proof and on-off/regulating duty.
1.5 Transport, storage and packaging
Transport
Transport to place of installation in sturdy packing. If mounted together with actuator,
attach ropes or hooks for the purpose of lifting by hoist only to the gearbox and not to the
actuator and use eye bolt as per table 1.
√ Transport to the place of installation (till last destination).
√ Avoid packages from exposing to open atmosphere during transit.
√ Protect against rains.
Storage
√ Store in well-ventilated, dry room.
√ Protect against floor dampness by storage on a shelf or on a wooden pallet.
√ Cover to protect against dust and dirt. Apply suitable corrosion protection agent to
bare surfaces.
√ In case gearboxes are to be stored for a long period (more than 6 months). Protect
bare surfaces, in particular the output drive parts and mounting surface, with long-
term corrosion protection agent.
√ Check for corrosion approximately every 6 months. If first signs of corrosion show,
apply new corrosion protection.
Type of enclosure is mentioned on the name plates.
Packaging
√ Our products are protected by special packaging for the transport ex-works.
√ The packaging consists of environmentally friendly materials which can be easily
separated and recycled.
√ For the disposal of the packaging material, we recommend approved disposal
agency.
√ We use the following packaging materials: Wooden material boards (OSB) /
cardboard / paper, PE sheet.
Weather proof actuators with 3.XMP-SIL &
Data logging

7
2 Introduction
AUMA India has developed a new range of electric actuators with intelligent integral
starter using microcontrollers for weatherproof applications that has the ability to store
events and other upgraded features. The actuators support both ON-OFF and Regulating
Duty and can also be run in Inching or Non-Inching mode depending on the selection.
The important features of these electric actuators are as explained below:
LCD graphical display &
LED indication
Options can be selected by using the selector switches, rotating knob based on the
instructions displayed on the LCD screen. Information on faults/statuses can be obtained
from the 6 LEDs next to the LCD. The 6 LEDs are configurable as per user requirement
before-hand. LCD screen facilitates easier understanding of status, operation and
parameter setting details. More information regarding this is described in section 3.
Inbuilt front panel option
selection
Different features/options of the actuator can be configured using software. This is done
using the selector switches, rotating knob based on the instructions displayed on the LCD
screen that is present on the front panel. More information regarding this is described in
section 3.
Interfaces
These actuators are capable of supporting different types of interfaces like Remote – 4
Wire / 2 Wire Make/Break, 4-20 mA Regulating Duty, Bluetooth & MODBUS-RTU.
Emergency stop - ESD
ESD feature is configured to run in Close direction on enabling ESD as a default setting.
One needs to enable ESD and set its behavior in Program Mode for it to function. An
ESD via MODBUS option is also available that needs to be enabled in Program Mode.
ESD Operation can be configured for OPEN/CLOSE/STAY. One can choose to set ESD
on TOLR Ignore, TH Ignore, Space heater Fail Ignore, OFF Ignore. This means that ESD
operation would occur irrespective of these faults. One must enable ESD on program
mode and set its behavior (ESD Open/Close). An ESD NO/NC configuration is also
available that can be configured in Program mode. ESD feature now can be carried out
using an external 24VDc supply also.
Event storage & data
logging option
These actuators comes with an option to store events such as faults, statuses, number of
starts (Open in Local/Remote) etc. using a Bluetooth module. The events are stored in a
flash memory and can be read via Bluetooth. The data logged will have a real time stamp
and can be downloaded using a user-friendly application called AUMA India Utility
Software onto a PC/ Laptop with Bluetooth connection. About 43691 events can be
stored at a time using this module. AIUS is also used in assisting commissioning and
diagnosing the actuators. Device Tag is customer configurable. Remote Operation of
actuator through Bluetooth is also available.
The available events are as follows:
● Number of Starts (Open and close in specified duration)
● Open and close Command with Selector Switch Position
● Tripping Torque Profile (Non-Intrusive)
● Faults.
ₒ Loss of Phase
ₒ 24V Fail
ₒ Thermal Switch Trip
ₒ Torque Switch Trip
ₒ Control Supply Failure
ₒ TOLR
Weather proof actuators with 3.XMP-SIL &
Data logging

8
• Selector Switch Change.
• End Position
• ESD
More details of this feature are available in AIUS User Manual (Doc. No.: 4-AIUS-
MANUAL-39396).
Partial valve stroke test
(PVST) option
This feature is used in checking correct functioning of valves which are not operated for a
long period. When PVST is triggered the valve moves to particular percentage and come
back to the same end position and gives PVST result. The features are:
• PVST can be triggered externally through a switch or via MODBUS.
• PVST command can be given through MODBUS using dedicated registers.
• PVST Position can be configured in the following two ways.
From Open End
From Close End
• PVST Percentage can be set to any of the three options.
5%, 10%, 15%
• PVST Failure: This failure occurs when the PVST command doesn't take place after
a specified time (that is specific to actuators based on its RPM and No. of Turns).
This failure is indicated by using any one of the programmable relays present in your
module.
Inhibit option
Inhibit is an interlock for open close operations. Inhibit Operation can be Enabled or
Disabled in Software (Program Mode). In this module, separate terminals for Inhibit Open
and Inhibit Close are available. Based on this, Open/Close Commands can be inhibited.
Local control station
(LCS) priority
When this feature is enabled, the user can control the actuator in remote 4 –wire mode of
operation even when in 4-20mA or MODBUS mode of Operation.
Remote local stop
This option is also software configurable and can be enabled in Program Mode. The
actuator should stop running in Remote Mode when open/close rotary knob rotated in the
Actuator Front Panel. No commands should be accepted by the actuator until it is reset.
Timer mode
Timer mode is used to control the valve movement. This mode allows us to open or close
the valve slowly towards the end position after reaching a certain distance with
continuous operation.
Configurable Options:
• Open timer start Valve Position: The user has to set the valve position at which this
Timer mode should go on for Open Command.
• Open ON time: This parameter decides the amount of time (in s) the actuator runs in
Open direction before shutting off for Open OFF time (in s). This continues to
happen until the respective limit switch is hit (unless the switch is bypassed).
• Open OFF time: This parameter decides the amount of time (in s) the actuator shuts
off before running in open direction for Open ON time (in s). This continues to
happen until the respective limit switch is hit (unless the switch is bypassed).
• Close timer start Valve Position: The user has to set the valve position at which this
Timer mode should go on for Close command.
• Close ON time : This parameter decides the amount of time (in s) the actuator runs
in Close direction before shutting off for Close OFF time (in s).This continues to
Weather proof actuators with 3.XMP-SIL &
Data logging

9
• happen until the respective limit switch is hit (unless the switch is bypassed).
• Close OFF time: This parameter decides the amount of time (in s) the actuator shuts
off before running in open direction for Open ON time (in s). This continues to
happen until the respective limit switch is hit (unless the switch is bypassed).
Programmable relays
As per standard, two relays are given for customer end information - Fault Relay &
Optional Relay 1. There are about 6-8 more additional relays that have been added
along with this module. Each of these relays can be configured for the following 27 faults /
statues as given below.
Real time clock (RTC)
This module has a Real time clock that is used to obtain the time-stamp for Event logging.
The RTC can be configured by AUMA Utility Software or by manually setting the RTC in
Program Mode settings. The RTC is powered by a Super Capacitor when the power is off
which is another added feature of this module. The Super Capacitor takes about 2 hours
to charge and can supply power up to 20 days to the RTC.
Power supply
The Power Supply Card used in this module has several new features. The features are
as follows:
• Under Voltage Protection
• Over Voltage Protection
· List of available relays
o Fault Relay
o Assignable Relay (5relays)
o Latching Relay ( 2 relays)
· Available Programmable options are:
o Opened (Open Limit Trip)
o Closed (Close Limit Trip)
o Remote Local stop
o Local Stop
o Open Torque Trip
o Close Torque Trip
o Loss of Phase
o TH-Trip
o TOLR Trip
o Control Supply Fail
o Phase reversal
o Jammed Valve
o Power ON
o Program Mode Indication
o SP Reached ( via DAC/MODBUS)
o Selector SW LOCAL
o Selector SW OFF
o Selector SW REMOTE
o ESD Pressed
o 24V DC Fail
o Space Heater Fail
o Running Open
o Running Close
o Remote Selector SW EN
o PVST Fail
o Intermediate Pos
o 4-20mA Signal Fail
Weather proof actuators with 3.XMP-SIL &
Data logging

10
• Short Circuit Protection
• Uses Single Transformer with selectable voltage & frequency range
• Voltage Range : 360VAC to 480VAC
• Frequency Range: 47.5Hz to 63Hz.
NOTE: The features supported by your actuator is with respect to the wiring diagram
(WDP) provided with it. Please remember that it might not have all the features described
in this document.
Customer Connections/
terminals
Weather proof actuators with 3.XMP-SIL &
Data logging

11
Mounting to valve /
gearboxes
Note
• Prior to mounting, the multi-turn actuators must be checked for any damage.
• Damaged parts must be replaced by original spare parts.
Mounting is easily carried out with valve shaft / gearbox shaft pointing vertically upward.
However, mounting is also possible in any other position as well.
The actuator is delivered ex-works in position CLOSED.
Note
• Check if mounting flange fits valve / gearbox.
• spigot at flange should be loose fit.
Output drives
Output drive type ‘A’ (Fig. 1)
This type is with stem nut. stem nut will be bored to pilot bore. Finish machining of nut to
be carried out by customer as follows:
• Remove mounting flange (1)by loosening the bolts (2)
• Loosen ring nut (3) after unlocking grub screw (7) and take out stem nut (4) along
with thrust bearings (5).
• Drill, bore and cut threads as required.
• Clean machined component and reassemble the output drive after applying ball
bearing grease to thrust bearings.
• press grease through grease nipple (6) with grease gun.
• Thoroughly clean the mounting faces of output drive and valve.
• Apply small quantity of grease to stem of valve.
• Assemble the output drive to valve stem by slowly rotating the stem nut by suitable
tool to engage the claws of the stem nut.
• After full engagement of nut, clamp the output drive to valve by using suitable bolts
(threads at M).
• Lower the actuator on to the output drive and rotate the hollow drive shaft of actuator
by engaging manual drive of actuator and rotating by hand wheel.
Output drive type B, C, D, E (Fig. 2):
Type B : Plug Sleeve
Type C : Dog coupling
Type D : Stub shaft
Type E : Bore with keyway
The above drives can be easily mounted to the actuator / gearbox as follows:
• Check whether bore and keyway match the input shaft of valve or gearbox.
• Output drive need not be removed from the actuator.
• Place the actuator with output drive on to the valve and engage the output of
actuator (keyway or key of Type E) with the valve by slowly rotating the handwheel of
actuator after engaging manual drive.
• Fasten valve flange to output drive flange with suitable bolts (bolt to at least quality
grade H8). Refer table ‘Tightening torque for bolts’ for approximate tightening
torques.
Weather proof actuators with 3.XMP-SIL &
Data logging

12
Procedure for enlarging
the pilot bore of 'E' type
output drive sockets used
in actuators
Dismantle the Drive socket by loosening draw bolt part Enlarge the pilot bore to required
size.
Enlarge bore length of the drive socket shall not exceed the length L* as indicated in the
table. Key way position should be in line with the relief hole provided in the drive socket.
The hole is provided to do the keyway slotting on slotting machine.
Actuator
Model
Pilot bore
Dia (D)
Max bore
Dia
Max bore
Dia
AI12 10 32 67
Weather proof actuators with 3.XMP-SIL &
Data logging

13
3 Front panel details
This section outlines the front panel details of actuators. The functions of each of these
components are discussed below.
3.1 Selector switch
Two rotary selector switch configurations are available.
1. There are 3 modes available: OFF, ESC & ENTER.
2. There are 2 states available: UP & DOWN.
3.2 LCD screen & LED indication
LCD screen
A graphical LCD is designed for the new actuator series. The LCD has scroll in (up down
feature) and an Enter that can be operated through Hall Effect selector switches.
This LCD broadly has two types of screens: Setting screens and Main screens.
Each screen has a specific number identification. A new navigation feature is added, for
LCD screens. If a particular screen number is entered, then the screen navigates to the
respective display screen.
On power up, the screen is as indicated below.
The basic LCD view is split into two lines. The first line shows the status details - The left
half shows selector switch position status and the actuator running status alternatively.
The right half of the first line represents Valve Position (VP) in terms of percentage. The
valve position display feature is optional. If required, an appropriate Electronic Position
Transmitter (EPT) must be chosen for this feature. Please contact AUMA India for more
information.
The second line is used to represent only faults. The faults/warnings if any toggle in the
sequence of occurrence. The details are as shown in the Fig.
Weather proof actuators with 3.XMP-SIL &
Data logging

14
Information regarding the running indication of the actuator (status) and faults are
indicated by the LEDs present on the left side of the LCD screen which is shown in the
Fig.
LED indication
One can configure the four LEDS on the display module to represent different conditions.
The default LED settings are as below:
COLOR INDICATION MODE
GREEN If LED is blinking then actuator is running in OPEN direction.
If LED is continuously ON then actuator is fully OPENED.
If LED is OFF – then actuator is in Mid-Travel.
AMBER If LED is blinking then actuator is running in CLOSE direction.
If LED is continuously ON then actuator is fully CLOSED.
If LED is OFF – then actuator is in Mid-Travel.
RED Torque open trip indication
RED Torque close trip indication
RED If LED is continuously ON -- Fault Condition
If LED is OFF – No fault Condition
BLUE Default: OFF
If LED ON: Paired and Connected with AUMA India Utility
Software/ Whenever BT is connected
Weather proof actuators with 3.XMP-SIL &
Data logging

15
4 Modes of operation
For any device diagnostics and settings, there are two modes available. EDIT and VIEW.
EDIT can be used whenever setting needs to be changed and VIEW can be used to see
the already set settings.
This section describes about the modes available for selection in this module. The options
are:
•MODE 1 - Program mode
•MODE 2 - Calibration mode
•MODE 3 - Diagnostic mode
There are several options/settings that are available in each of these modes. These are
discussed below.
Weather proof actuators with 3.XMP-SIL &
Data logging

16
4.1 Program mode
The push buttons on the Front Panel can be used for programming. To enter into
PROGRAM MODE, follow the below steps:
Step 1: Keep the selector switch in OFF position
Step 2: Press "STOP" key for approximately 4 seconds.
Step 3: Press the STOP key on the display of “Program Mode” as shown in the below fig.
In the program mode, one can choose to configure settings as per customer requirement.
The three sub-categories are – General settings, Remote settings and Relay settings.
The flowcharts to choose EDIT / VIEW and any one subcategory are given below.
4.1.1 EDIT/VIEW option of program mode
By entering the appropriate password, user can enter into the “PROGRAM MODE” for
3.XMP Non-Intrusive SIL with Bluetooth Module as shown in the above flowchart. The
features that can be set in this are given in the below flowchart.
Weather proof actuators with 3.XMP-SIL &
Data logging

17
4.1.2 EDIT mode parameters
Following options can be set by using the “OPEN” key for navigating up side, “CLOSE”
key is for navigating down and “STOP” key is for selecting the parameter in “ACTUATOR
CONTROLS” of “PROGRAM MODE” for 3.XMP Non-Intrusive SIL with Bluetooth
actuators.
Weather proof actuators with 3.XMP-SIL &
Data logging

18
Weather proof actuators with 3.XMP-SIL &
Data logging

19
Weather proof actuators with 3.XMP-SIL &
Data logging

20
Weather proof actuators with 3.XMP-SIL &
Data logging
This manual suits for next models
1
Table of contents
Other AUMA Controllers manuals

AUMA
AUMA SG 03.3 User manual

AUMA
AUMA SAEx 07.2 User manual

AUMA
AUMA GST 10.1 Administrator Guide

AUMA
AUMA SAVEx 07.2 User manual

AUMA
AUMA SA 07.2 User manual

AUMA
AUMA ACVExC 01.2 Series Manual

AUMA
AUMA SA 3 User manual

AUMA
AUMA SAI 6 User manual

AUMA
AUMA SA Series User manual

AUMA
AUMA SEVEN 2SA7 Instruction manual

AUMA
AUMA SA 25.1 User manual

AUMA
AUMA SA 07.2 User manual

AUMA
AUMA TIGRON TR-M30X User manual

AUMA
AUMA SAEx 07.2 User manual

AUMA
AUMA FQM 05.1 User manual

AUMA
AUMA SQ 05.2 User manual

AUMA
AUMA SAVEx 07.2 User manual

AUMA
AUMA SA 25.1 User manual

AUMA
AUMA SA 07.2 User manual

AUMA
AUMA SG 03.3 Series User manual