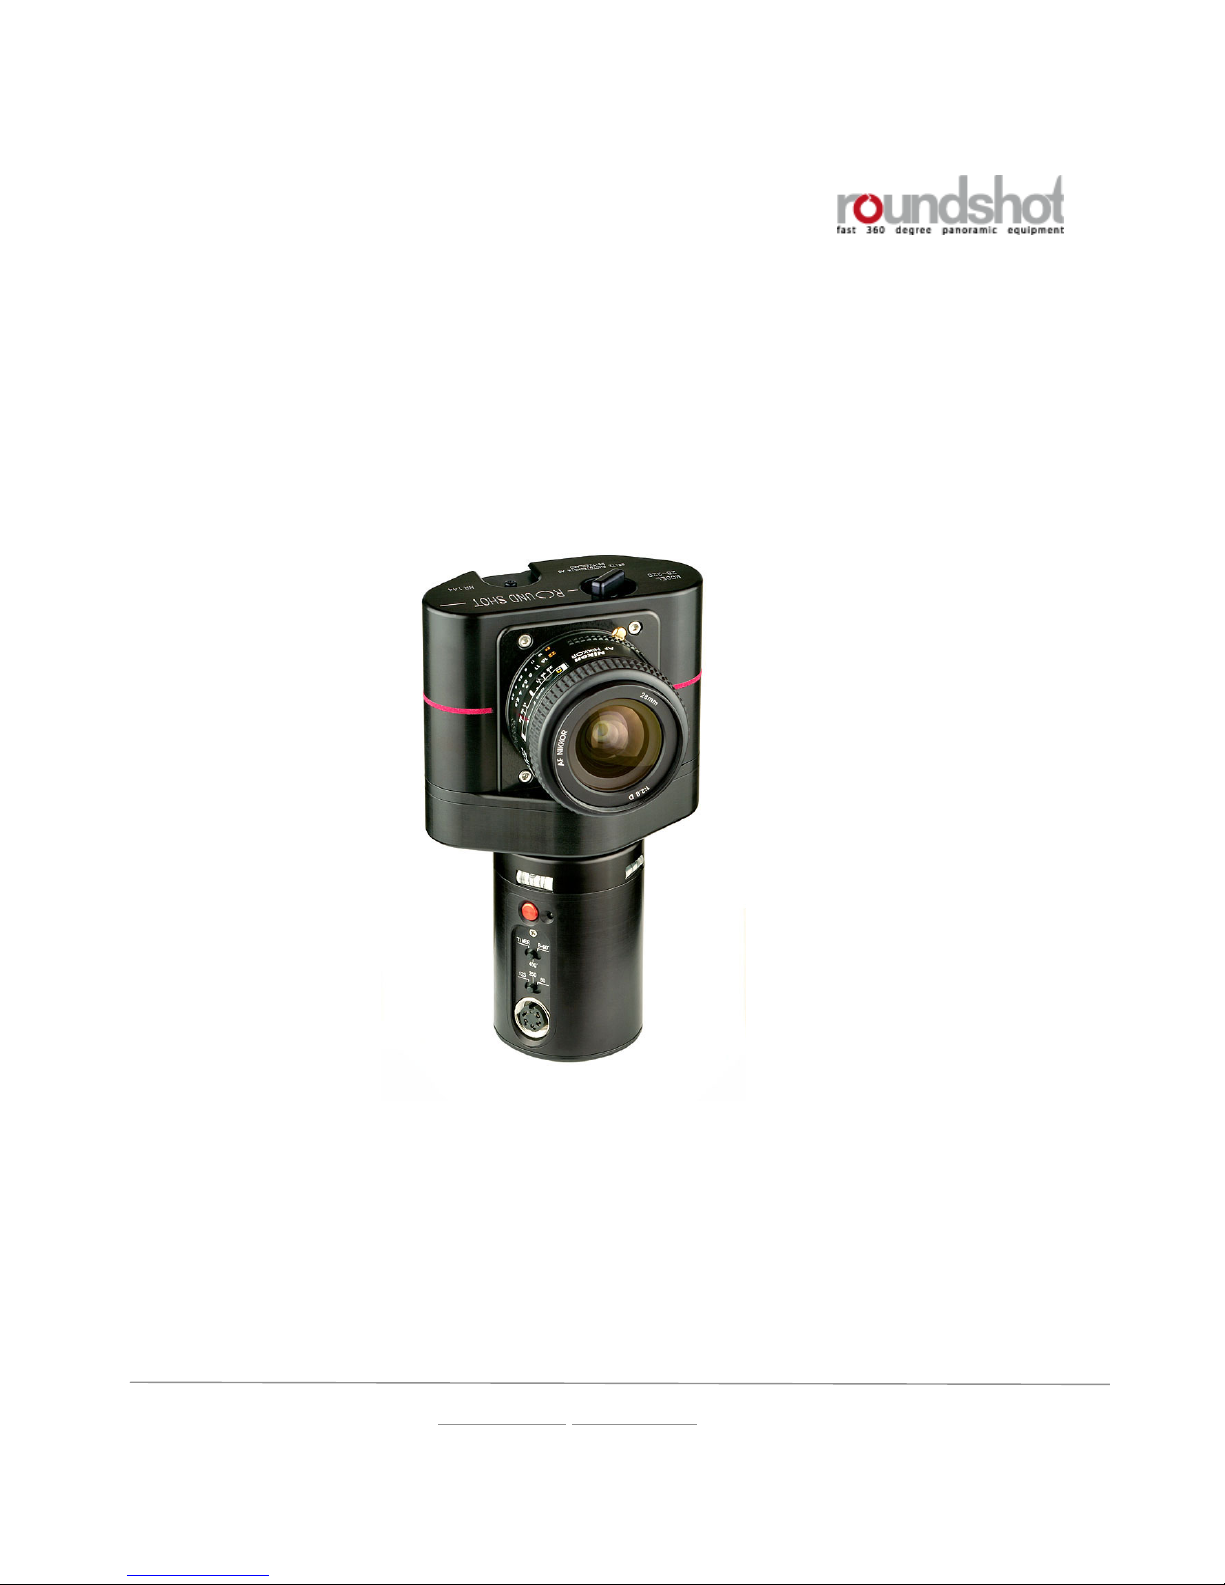
Page 8
© by Seitz Phototechnik AG, Hauptstr. 14, 8512 Lustdorf, Switzerland
Technical changes reserved, Status: 4.2007
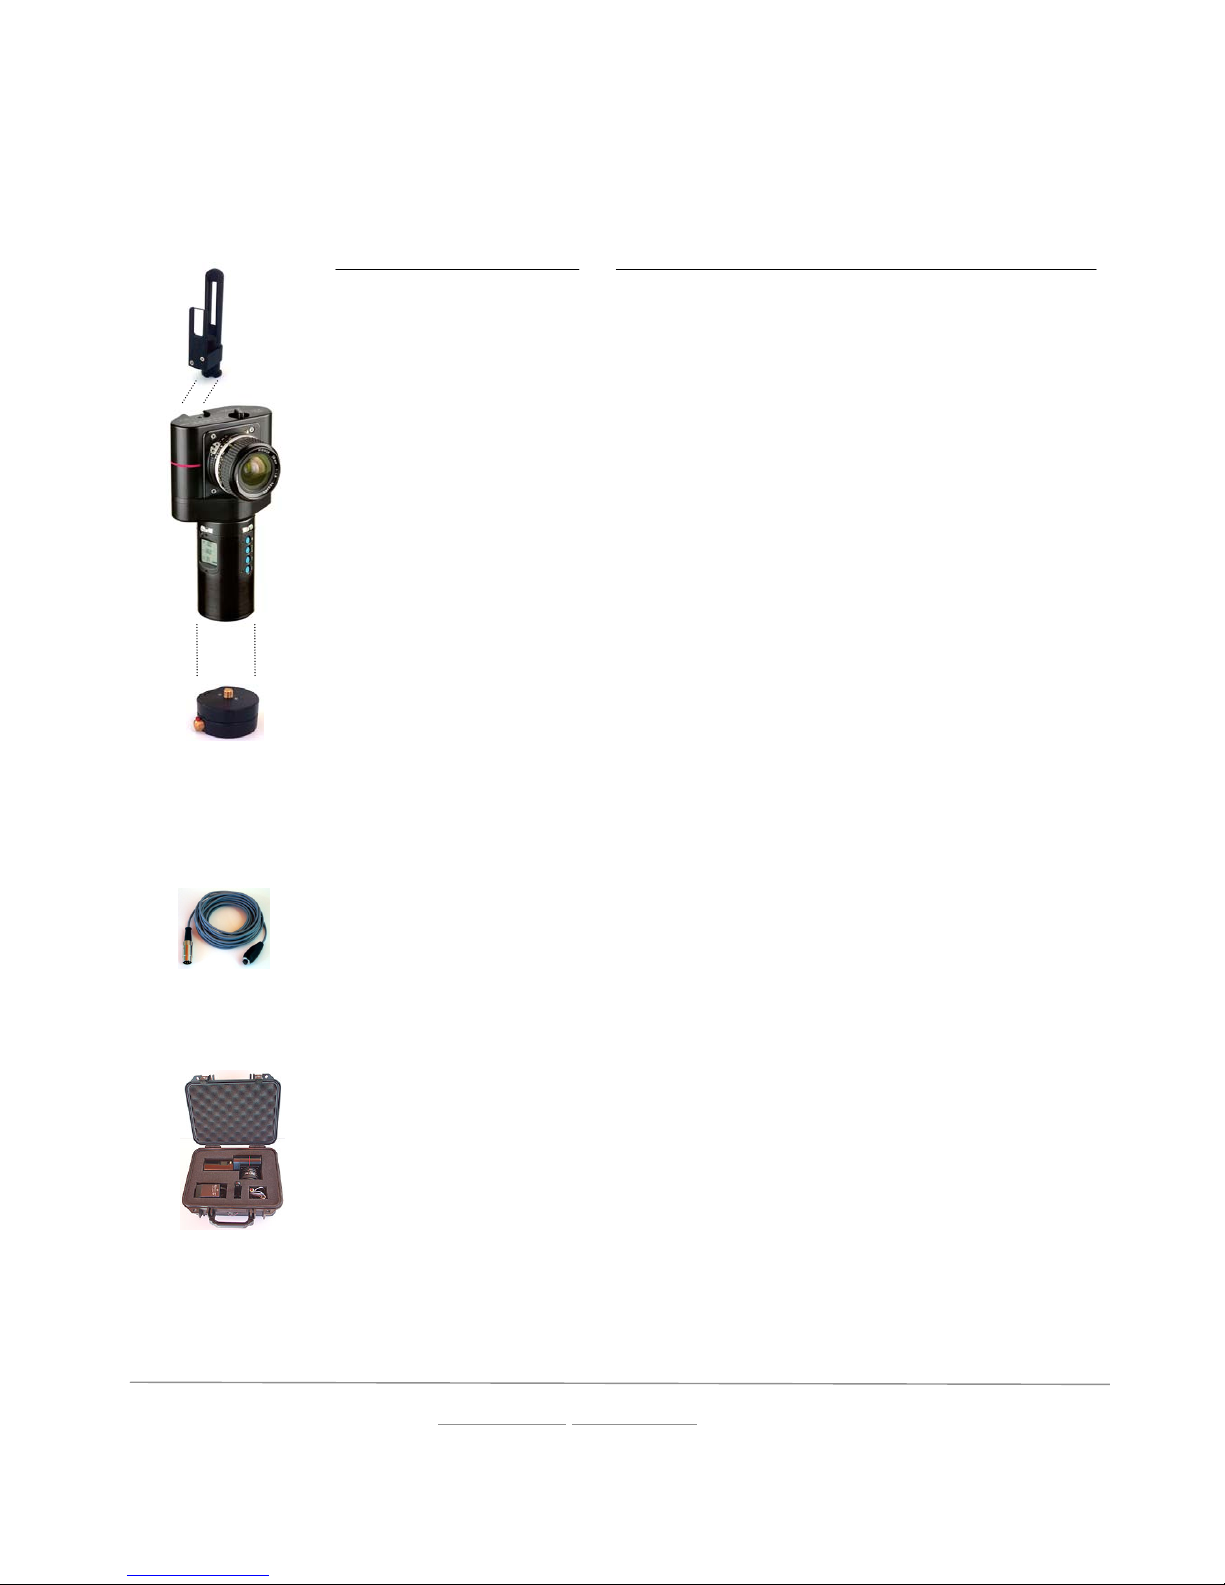
2.5 Calibration with water bubble indicators
If you want to portray the horizon as a straight line it is important to hold the camera steady. To do this, the camera
is calibrated with 2 water bubble indicators that are positioned at the upper end of the engine body. Holding the
camera at a significant angle results in a wave-like horizon.
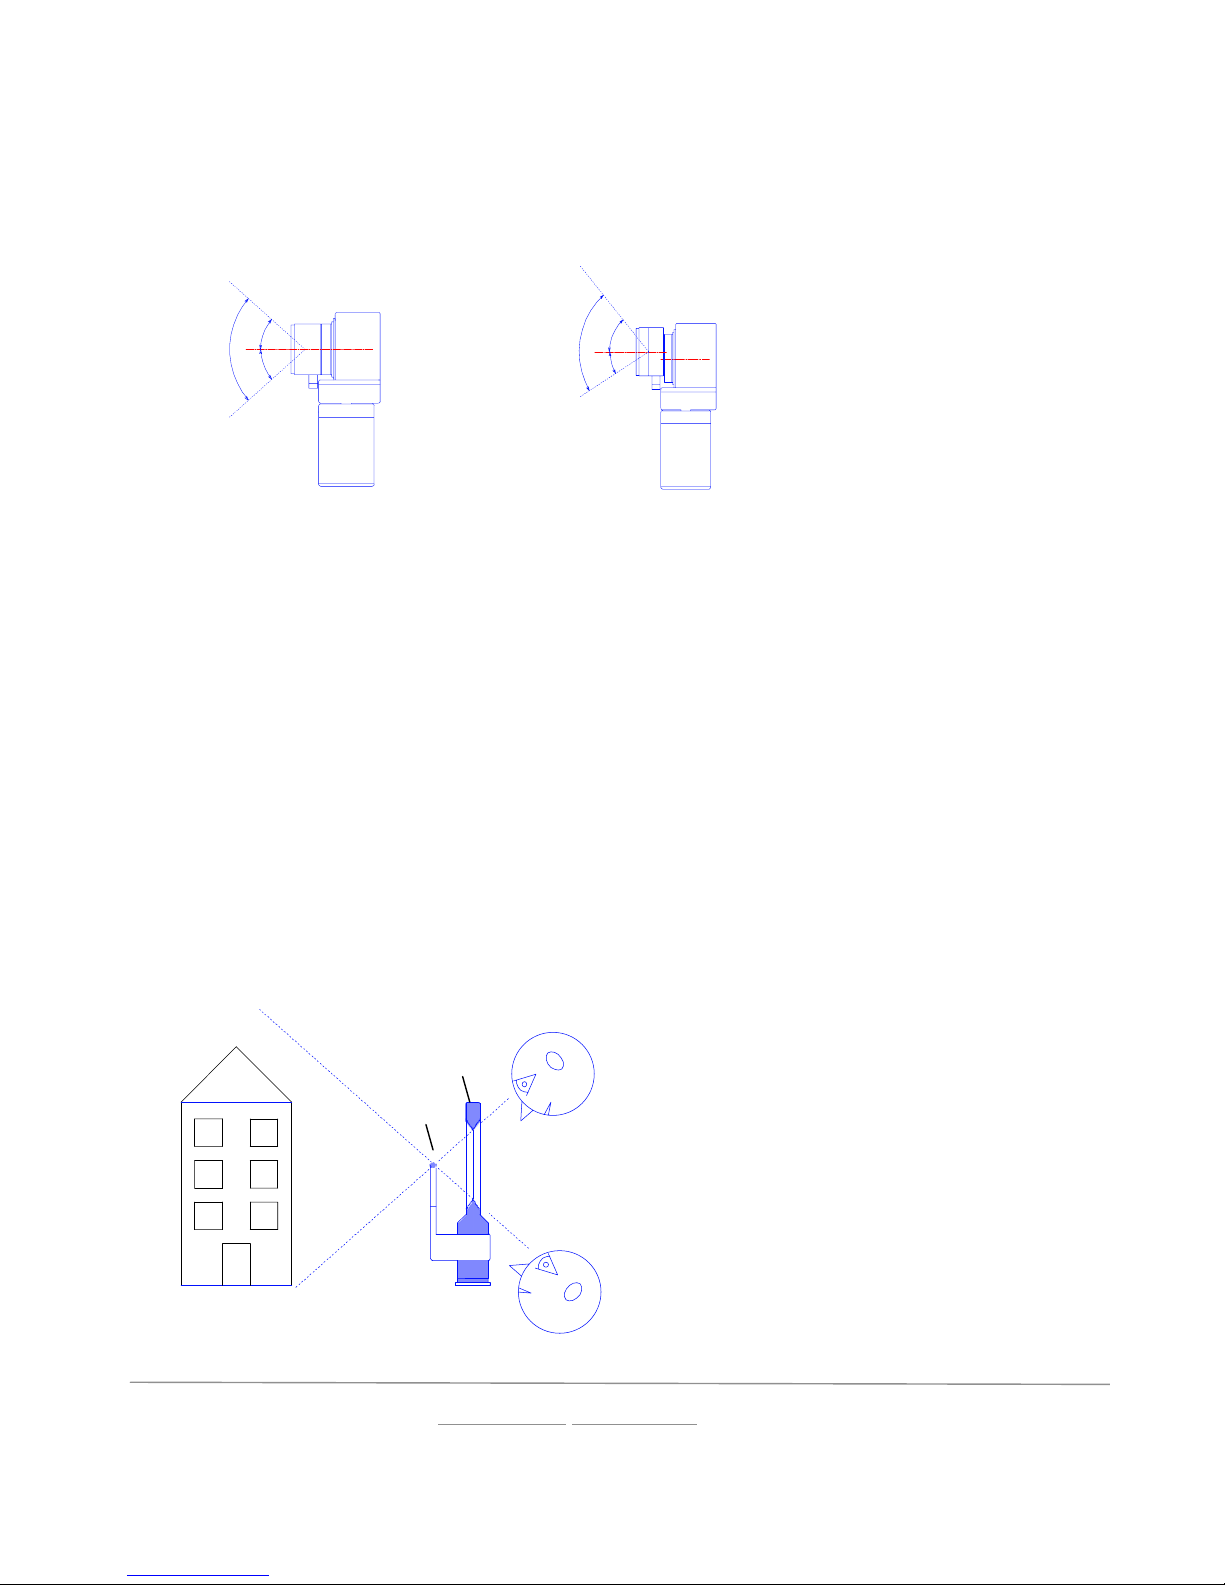
2.6. Light metering
The reading of the exact aperture and shutter time can be done with an external light meter. For optimum results
the section of the panorama with most relevance should be taken as a reference. During daylight the section with
bright sunlight should not be taken as the primary reading as this may lead to under-exposure of the panorama. The
obtained light reading can be set on the lens (aperture) and using the shutter speed function. Some lenses, such as
the Nikon AF 28mm, reach optimum image circle only after aperture 11. When selecting lower apertures with this
lens a reduction in light and sharpness on the upper or lower margins may occur.
2.7 Distance setting on the lens
The camera system requires exact setting of the lens. The system is optimised for an average distance of 7 metres,
i.e., at this distance optimum sharpness can be reached, normally 3 to 5mm after the infinity setting of the lens.
Thanks to the slit-scan technology very high depth of field can be reached.
Depending on lens brand and type small differences in focal length and distance markings can occur. That is why
we recommend to test the lens in use under different distance settings.
To do this, place the camera on a tripod placed 7 metres away from an object with smaller and larger letters. Ideally
leave the aperture open, optionally reduce by one „f-stop“ and correct shutter speed accordingly. Take different
shots of the object, varying the distance setting slightly each time from infinity to 5 metres. Plot shutter speeds,
apertures and distance parameters on a notepad or on a display table.
After film development choose optimum distance setting and mark this value on the lens.