manuals.online logo
Brands
  1. Home
  2. •
  3. Brands
  4. •
  5. SEMCOM
  6. •
  7. Tent
  8. •
  9. SEMCOM TRANSPAFORZA TF-P2 User manual

SEMCOM TRANSPAFORZA TF-P2 User manual

R
ısemcom
Designer - Developer - Producer
www.tfsem.com
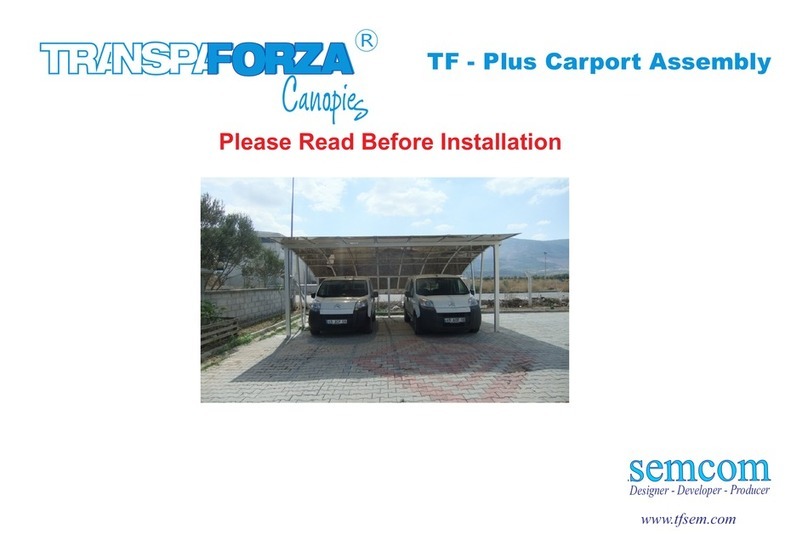
TF - P2 Carport Assembly
Please Read Before Installation
IMPORTANT
Please read these instructions carefully before you start to assemble this carport.
Please carry out the steps in the order set out in these instructions.
Keep these instructions in a safe place for future reference.
Care and Safety advice
* Please follow the instructions as listed in this manual.
* Sort the parts and check against the list of contents.
* For safety purposes we strongly recommend that the product will be assembled
by at least two people
* Some parts have metal edges. Please be careful when handling components.
* Always wear gloves, shoes and safety goggles during assembly.
* Do not attempt to assemble the carport in windy or wet conditions.
* Dispose of all plastic bags safely - keep them out of reach of small children.
* Keep children away from the assembly area.
* Do not attempt to assemble the carport if you are tired,
* When using a stepladder or power tools, ensure that you are follow the
manufacturer's safety advice.
* Do not climb or stand on the roof.
* Heavy articles should not be leaned against the poles.
* Please consult your local authorities if any permits are required to erect carport.
* Keep roof and gutters clean of snow, dirt & leaves.
* Heavy amounts of snow on roof can damage the carport making it unsafe to
stand below or nearby.
* This product was designed and produced to be a carport only.
PREPARATION OF GROUND
Before Starting Assembly
This carport must be assembled on a solid base,
Choose your site carefully before beginning assembly. Site surface (mainly below
poles) needs to be level.
50 cm
50 cm
50 cm
Concrete
MAINTENANCE NOTES
1. In case of a defective or damaged part, or for any other questions concerning
the product, please contact the manufacturer directly.
2. Please have the parts list and part numbers on hand when ordering or
requesting replacement parts.
3. When cleaning, use mild soap or detergent, warm water, and a washcloth or sponge.
4. While the product is designed for 4 seasons use, it is strongly recommended to
clear snow from the roof on a regular basis.
LIMITATIONS ON THE WARRANTY
1. The product is not warranted against damages due to vandalism, abuse, or falling
or thrown objects.
2. The product is not warranted against damages due to extreme weather conditions,
such as thunderstorms, hail, strong wind or snow storms, or any other acts of God.
3. The product is only warranted in the event it is installed in accordance with the
Transpa Forza written instructions enclosed with the product.
4. The product is not warranted in the event it has been improperly anchored.
The carrier profiles must be buried in pits, anchored and should be filled
with concrete
Prepare the holes of 50x50x50 cm for all the post.
Make a anchorage ,and fill with concrete

1 Preparation of the assembly ground area
Prepare the fixing hole to the ground 50x50x50 cm
Once you have gauged fill with concrete the holes
R
2400
500
2 - Installation of bearing arms
R
Screw the reinforcement angle part with V13.
Fix the bearing arm to the reinforcement
angle part.
V13
V13
3 Screwing the carrier arms
4 Carriers cover installation
V5
V5
V13
R
Screw the reinforcement angle part with V13.
Screw the reinforcement angle part with V5.
6 Installation of the roof carrier profiles
V5
V4
R
Installation of the roof support profiles
7 - Assembly of roof sheets
8 - Installation of Rain Gutter
V10
R
Drive the rain gutter profile to the gutter support
After the installations of rain gutter, silicone the end
cap of gutter (GC)
GC
Place and slide the roof sheets ,
Compress the rubber seal and stabilize
the roof sheets from under side .
9- Water chute connection
10 - Installations of end cup covers
R
V4
Connect the water chute
bracket
Connect the water pipe
to the post profile
V10
CONNECTION OF M JOİNT
M Joint is formed by two single combinations
After the correct installation of carports, place the upper stabilization plate and drill with
a drill bit of 9 mm from both side.
upper stabilization plate
Place the screws to the holes and tighten
the nut form both side
Place the rain cover profile holder between
the profiles from bottom side
Place the rain cover profile
between the carports
Slide the nut on the gap to profile Place the screw and tighten Close the edge of profile
with the plastic cup
CONNECTION OF M JOİNT
CONNECTION OF Y JOİNT
After the correct installation of carports, place the side
stabilization plate and drill with a drill bit of 9 mm from both side.
stabilization plate
Place the screws to the holes and tighten the nut form both side Place the T profile between the rain gutter

Other SEMCOM Tent manuals

SEMCOM TranspaForza TF-Plus User manual

SEMCOM

SEMCOM TranspaForza TF-Plus User manual

SEMCOM Transpaforza Canopies Smart Veranda &... User manual

SEMCOM

SEMCOM Transpaforza Canopies Smart Veranda &... User manual

Popular Tent manuals by other brands

Ohenry Productions Premium 10x20 quick start guide

Ohenry Productions

Ohenry Productions Premium 10x20 quick start guide

THE NORTH FACE Vector 22 Care and usage

THE NORTH FACE

THE NORTH FACE Vector 22 Care and usage

Coleman Eagle Rock 9277C957 instructions

Coleman

Coleman Eagle Rock 9277C957 instructions

Blacks of Greenrock SOLACE II Pitching instructions

Blacks of Greenrock

Blacks of Greenrock SOLACE II Pitching instructions

Trailside Long Star 3 Assembly instructions

Trailside

Trailside Long Star 3 Assembly instructions

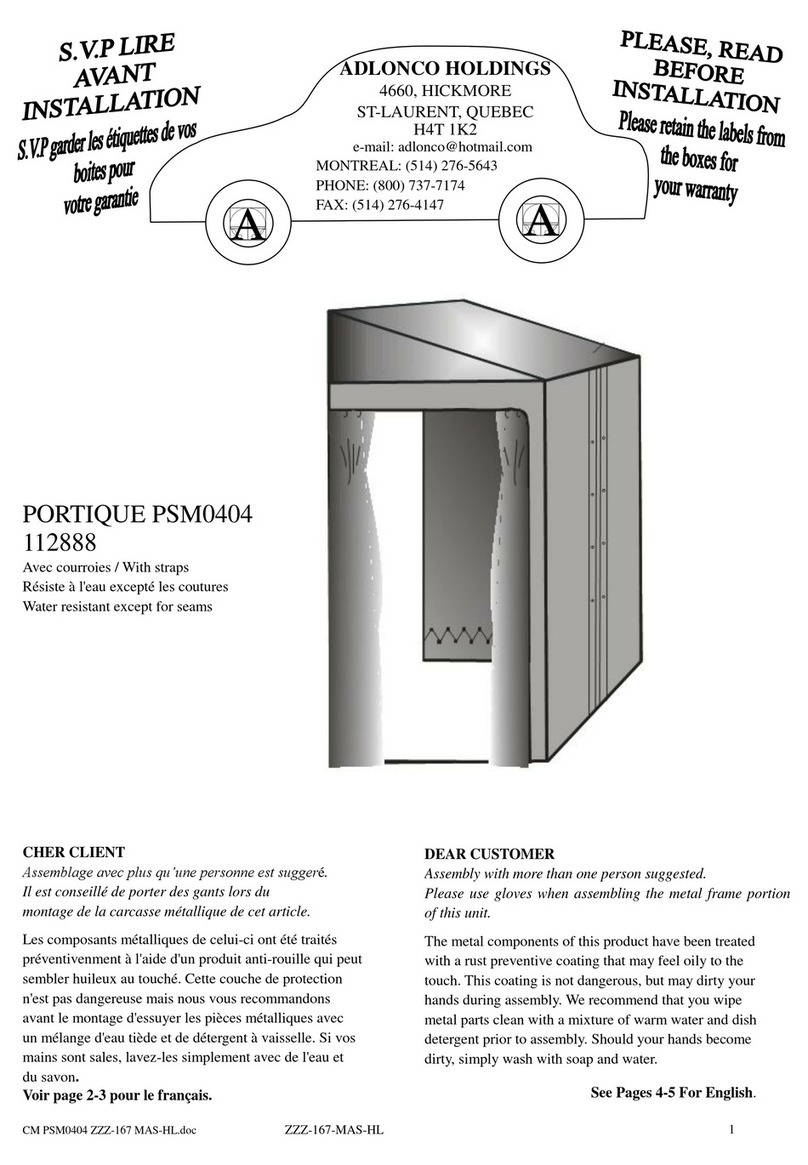
Adlonco Holdings PORTIQUE PSM0404 Installation

Adlonco Holdings

Adlonco Holdings PORTIQUE PSM0404 Installation

GigaTent My First Bakery owner's manual

GigaTent

GigaTent My First Bakery owner's manual

Coleman SKYDOME 9392-513 instructions

Coleman

Coleman SKYDOME 9392-513 instructions

Eureka Sunrise user manual

Eureka

Eureka Sunrise user manual

Outwell Rock Lake 6ATC manual

Outwell

Outwell Rock Lake 6ATC manual

Jysk NORDMARKA manual

Jysk

Jysk NORDMARKA manual

Air OPUS OFC195B-195 Handbook

Air OPUS

Air OPUS OFC195B-195 Handbook

Vango Nimbus 300 instructions

Vango

Vango Nimbus 300 instructions

Boutique Camping ADVENTURE LUNA EMPEROR BELL TENT instruction manual

Boutique Camping

Boutique Camping ADVENTURE LUNA EMPEROR BELL TENT instruction manual

Quik Shade Go Setup instructions

Quik Shade

Quik Shade Go Setup instructions

Clam Command Post 8334 manual

Clam

Clam Command Post 8334 manual

Palram solid LOUISA 2.1x0.9 How to assemble

Palram

Palram solid LOUISA 2.1x0.9 How to assemble

Boutique Camping TUAREG instruction manual

Boutique Camping

Boutique Camping TUAREG instruction manual

manuals.online logo
manuals.online logoBrands
  • About & Mission
  • Contact us
  • Privacy Policy
  • Terms and Conditions

Copyright 2025 Manuals.Online. All Rights Reserved.