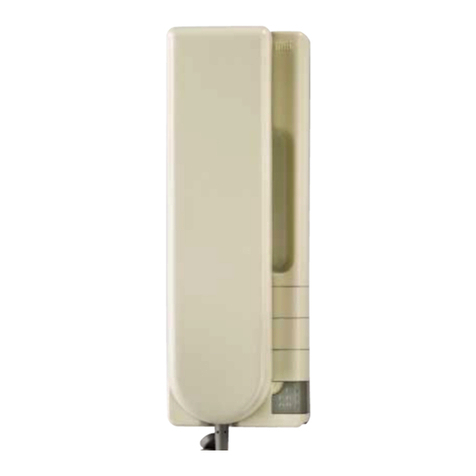
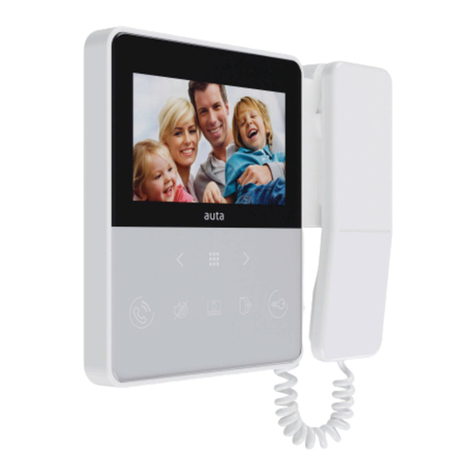
Sewosy CARE-IN KVA1 User manual

Sous réserve de modications techniques ! - Technical changes reserved! - Änderungen vorbehalten!
1/8
13b rue Saint-Exupéry ▪CS20152 ▪F-67503 HAGUENAU CEDEX www.sewosy.eu +33 (0)3 90 59 02 20 +33 (0)3 90 59 02 19
KVA1 / KVE1
INTERPHONIE CARE-IN®VILLA KIT - 2 FILS
2 WIRES VILLA KIT CARE-IN®
2-DRAHT-VIDEO-TÜRSPRECHANLAGE CARE-IN®
ST_KV_RANGE_A_160211
MODE D’EMPLOI
INSTALLATION INSTRUCTIONS
BEDIENUNGSANLEITUNG
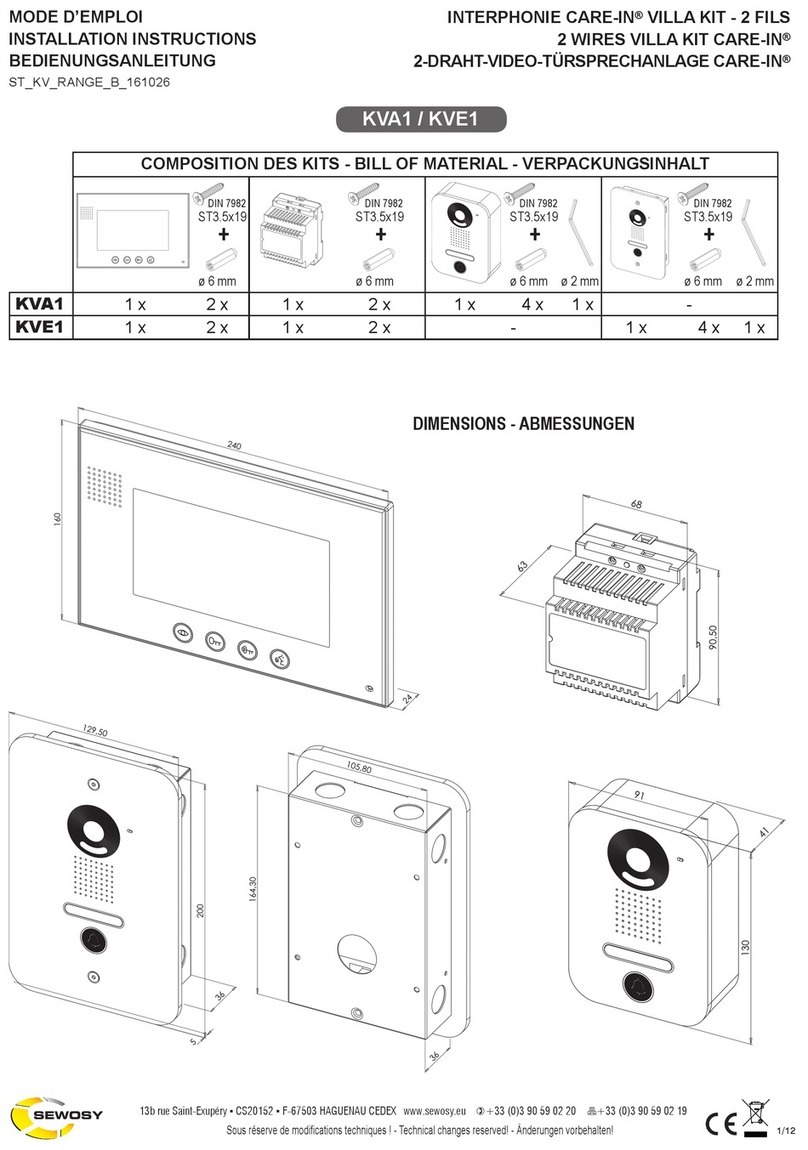
COMPOSITION DES KITS - BILL OF MATERIAL - VERPACKUNGSINHALT
KVA1 1 x 2 x 1 x 2 x 1 x 4 x 1 x -
KVE1 1 x 2 x 1 x 2 x - 1 x 4 x 1 x
DIMENSIONS - ABMESSUNGEN
ø 6 mm ø 6 mm ø 6 mm ø 2 mm ø 2 mmø 6 mm
ST3.5x19 ST3.5x19 ST3.5x19 ST3.5x19
+ + + +
DIN 7982 DIN 7982 DIN 7982 DIN 7982

2/8
FR EN DE
! !
Max. 2 monitors Max. 2 Monitore
- Do not put the indoor monitor in wet areas
- Do not place the monitor on an unstable table, to
prevent malfunction or damage caused by falls
- Do not use needles and other sharp things to click
the screen of the indoor monitor
- Keep out of reach of children
- Use a soft dry cloth for the maintenance of the
screen
General note : Empfehlungen:
Speaker
Camera/Monitoring activation
Unlocking 1
(contact 1 : C/NO)
Unlocking 2
(contact 2 : C/NO/NC)
Calling/ON or OFF
Microphone
Ring volume
Speaker volume
Contrast
Brightness
Display 7" TFT LCD
Max. operating distance monitor/outdoor station: 70 m
Recommended cable type: AWG 19 with shield
!Max. 2 moniteurs
- Ne pas placer le moniteur dans un environ-
nement humide
- Il est recommandé de xer le moniteur pour
prévenir d’éventuels dysfonctionnements ou
chutes
- Il est recommandé d’éviter tout objet pointu
ou autre qui pourrait endommager le moniteur
- Tenir hors de portée des enfants
- Pour l’entretien de l’écran utiliser un chiffon
doux et sec
- Montieren Sie den Monitor nicht in feuchte
Umgebung
- Befestigen Sie den Monitor um Störungen
oder Herunterfallen zu vermeiden
- Berühren Sie den Bildschirm nie mit spitzen
oder scharfen Gegenstände
- Entfernen Sie den Monitor aus der Reich-
weite von Kindern
- Reinigen Sie den Bildschirm mit einem
trockenen, weichen Tuch
Recommandations :
B
A
CDEF
G H I J
AHaut parleur
BActivation caméra/Visualisation
CDéverrouillage 1
(contact 1 : C/NO)
DDéverrouillage 2
(contact 2 : C/NO/NC)
EDécrocher / Raccrocher
FMicrophone
GVolume sonnerie
HVolume dialogue
IContraste
JLuminosité
Écran 7" TFT LCD
Distance max. écran/interphone : 70 mètres
Type de câble préconisé : AWG 19 avec écran
0,5 W En veille / Standby status / im Ruhestand
< 3 W En fonctionnement / Operation status / im Betrieb
150 mA max.
(HxlxP) (HxWxD) (HxBxT) 160 x 240 x 24 mm
+10 C +40° C
0,52 kg
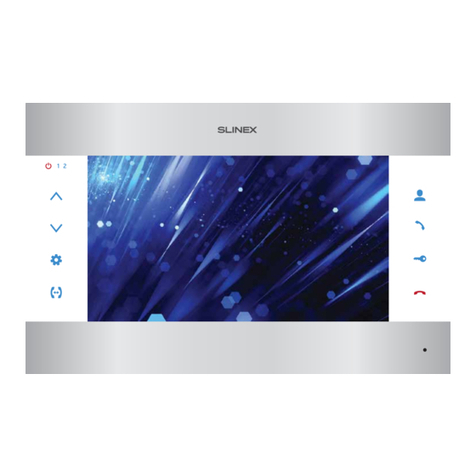
MONITEUR 7"
MONITOR 7"
Lautsprecher
Kamera aktivieren/Monitoring
Entriegelung 1
(Kontakt 1 : C/NO)
Entriegelung 2
(Kontakt 2 : C/NO/NC)
Sprechtaste an-/abschalten
Mikrofon
Klingeltonlautstärke
Gesprächlautstärke
Kontrast
Lichtstärke
7" TFT LCD Farbdisplay
Max. Abstand Bildschirm/Türstation: 70 Meter
Empfohlenes Kabel: AWG 19 abgeschirmtes Kabel

3/8
AUßENEINHEIT (Türstation)
!Max. 2 Türstationen
DIN HUTSCHIENEN NETZTEIL 18V DC - 1,5 A
DIN RAIL POWER SUPPLY 18V DC - 1,5 A
ALIMENTATION RAIL DIN 18V DC - 1,5 A 100-240V AC
18V DC / 1500 mA
27 W
(HxlxP) (HxWxD) (HxBxT) 90,50 x 68 x 63 mm
0,16 kg
CLASSE - CLASS - KLASSE II
FR EN DE
Use only the provided KVDIN1 power supply
Benutzen Sie nur das mitgelieferte Netzteil KVDIN1
!
!
!
Utiliser uniquement l’alimentation KVDIN1 fournie
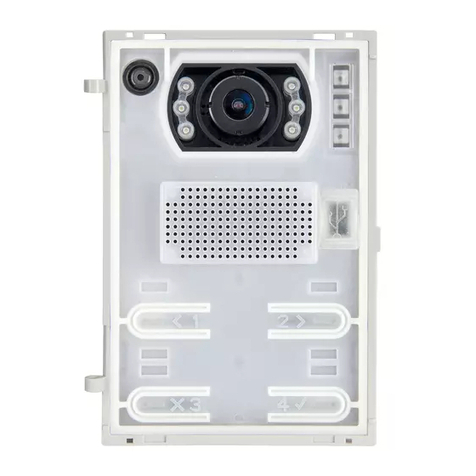
OUTDOOR STATION
KCaméra + LEDs
LMicrophone
MHaut-parleur
NEmplacement nom
OSonnette
18V DC / 160 mA max.
13,6V DC
< 0,1 W En veille / Standby status / im Ruhestand
< 3 W En fonctionnement / Operation status / im Betrieb
200 x 129,50 x 41 mm
130 x 91 x 41 mm
0,66 kg
0,38 kg
220V DC - 250V AC
1 A 0,1
-25 C +65° C 4 LEDs
55 72°
INTERPHONE
!Max. 2 interphones
!Max. 2 outdoor stations
Kamera + LEDs
Mikrofon
Lautsprecher
Namensschild
Klingeltaste
CCD Camera + LEDs
Microphone
Speaker
Name plate
Calling button
aP- Montage
Montage en applique
Surface mounted
uP- Montage
Montage encastré
Mortise mounted
Sensibilité à la lumière
Minimum illumination
Lichtempndlichkeit
Compensation d’éclairage
Night light compensation
Lichtkompensation
Angle de vision
Viewing angle
Erfassungswinkel der Kamera
Tension de sortie mesurée bornes E-lock
Measured output voltage for E-lock terminals
Abgemessene Ausgangsspannung an den E-lock Klemmen
(HxlxP)
(HxWxD)
(HxBxT)
L
N
M
K
O
L
N
M
K
O
A
A A
B B
B

4/8
MONTAGE - INSTALLATION
Fixation du support sur pot d’encastrement
Fixing of the mounting bracket on electric pot
Befestigung der Halterung auf Unterputzdose
Fixation de l’interphone encastré
Mortise xing of the outdoor station
Befestigung der Türstation durch uP- Montage
Fixation de l’interphone en applique
Surface xing of the outdoor station
Befestigung der Türstation durch aP- Montage
Il est recommandé d’appliquer un joint silicone autour de l’interphone !
It is recommended to apply a silicon seal around the outdoor station!
Eine Silikondichtung um die Türstation ist empfohlen!
Pose de l’écran LCD. S’assurer que l’écran soit
correctement enché dans son support métallique
Fastening of the LCD monitor. Make sure that the monitor
will be properly plugged in the mounting bracket
Befestigung des LCD Monitors. Stellen Sie sicher daß der
Monitor auf der Halterung richtig aufsteckt
Fixation du support sur le mur
Fixing of the mounting bracket on the wall
Befestigung der Halterung auf der Wand
!
Ø 6
Ø 6

5/8
SCHEMAS DE RACCORDEMENT
CONNECTION DIAGRAMS
SCHALTBILDER
N
_
L
+
N
_
L
+
N
_
L
+
Interphone 1
Outdoor Station 1
Türstation 1
Interphone 2
Outdoor Station 2
Türstation 2
Alimentation
Power supply
Stromversorgung
Sonnette
Calling button
Klingel
_
+
_
+
_
+
Interphone 1
Outdoor Station 1
Türstation 1
Interphone 2
Outdoor Station 2
Türstation 2
Alimentation
Power supply
Stromversorgung
Sonnette
Calling button
Klingel
_
+
_
+
_
+
Interphone 1
Outdoor Station 1
Türstation 1
Interphone 2
Outdoor Station 2
Türstation 2
Alimentation
Power supply
Stromversorgung
Sonnette
Calling button
Klingel
_
+
_
+
_
+
_
+
_
+
VOL
E-LOCK INDOOR
NO COM NC _
+
_
+
VOL
E-LOCK INDOOR
NO COM NC

6/8
AUTRE SCHEMA DE RACCORDEMENT
OTHER CONNECTION DIAGRAM
WEITERES ANSCHALTBEISPIEL
Flashez le QR code pour visualiser le schéma
de raccordement pour 2 écrans / 2 interphones
Flash the QR code to access the connection
diagram for 2 displays / 2 outdoor stations
Scannen Sie den QR code um das Schaltbild
für 2 displays / 2 Türstationen zu visualisieren
N
_
L
+
Interphone 1
Outdoor Station 1
Türstation 1
Interphone 2
Outdoor Station 2
Türstation 2
Alimentation
Power supply
Stromversorgung
Sonnette
Calling button
Klingel
_
+
_
+
_
+
_
+
_
+
VOL
E-LOCK INDOOR
NO COM NC _
+
_
+
VOL
E-LOCK INDOOR
NO COM NC

7/8
EXEMPLE DE CÂBLAGE
INSTALLATION EXAMPLE
INSTALLATIONSBEISPIEL
!
Réglage du volume dialogue
Adjustable speaker volume
Einstellbare Lautsprecherstärke
Bornes pour verrouillage à émission uniquement
(raccordement direct)
These terminals are only used for a fail secure locking
system (direct connection)
Diese Klemmen dienen nur zur verbindung mit einem
Arbeitsstrom Verriegelungssystem (direkter Anschluss)
Verrouillage à émission
activation par touche C
Fail secure locking system
operated by Ckey
Arbeitsstrom Verriegelungssystem
aktivierung durch C-Taste
Verrouillage à rupture
activation par touche D
Fail safe locking system
operated by Dkey
Ruhestrom Verriegelungssystem
aktivierung durch D-Taste
Le contact C/NO permet un raccordement direct
The C/NO contact allows a direct connection
Der C/NO Kontakt ermöglicht ein direkter
Anschluß
!
_
+
_
+
VOL
E-LOCK INDOOR
NO COM NC
C/NO
Min. 130 cm
1
2
3
4
5
6
7
13,6V DC
1100 mA max.
Alimentation
Power Supply
Stromversorgung
_
+
_
+
_
+
1 2 3 4 5 6 7
Commun - Common - Gemeinsam (C)
Contact normalement ouvert - Normally open contact - Schließerkontakt (NO)
Contact normalement ouvert - Normally open contact - Schließerkontakt (NO)
Commun - Common - Gemeinsam (C)
Contact normalement fermé - Normally closed contact - Öffnerkontakt (NC)
Alimentation - Power Supply - Stromversorgung (-)
Alimentation - Power Supply - Stromversorgung (+)

8/8
ACCESSOIRES - ACCESSORIES - ZUBEHÖR
KVM1 Écran blanc 7" avec volume ajustable, déverrouillage de 2 portes + alimentation DIN
White display 7" with adjustable volume, dual door release + DIN power supply
Weißer Monitor 7" - regelbare Lautstärke, Entriegelung von 2 Türen + DIN Stromversorgung
KVSA1 Interphone couleur argent - montage en applique - avec vision nocturne
Outdoor station silver color - surface mounted - night vision
Silberfarbige Türstation (Außeneinheit) - aP- Montage - Nachtsichtfunktion
KVSE1 Interphone couleur argent - montage encastré - avec vision nocturne
Outdoor station silver color - mortice mounted - night vision
Silberfarbige Türstation (Außeneinheit) - uP- Montage - Nachtsichtfunktion
KVDIN1 Alimentation DIN 18V DC - 1,5 A pour kit villa KVA1 et KVE1
DIN rail power supply 18V DC - 1,5 A for kit villa KVA1 and KVE1
DIN Hutschienen Netzteil 18V DC - 1,5 A für Kit Villa KVA1 und KVE1
Safety instructions and warnings:
Allgemeine Sicherheitsbestimmungen:
Recommandations :
Les alimentations doivent être raccordées au réseau (basse tension 230Vca) à l'aide d'une protection adaptée. Cette protection doit être conforme aux
normes produits la concernant. Les alimentations ne doivent pas être exposées à des écoulements ou à des pulvérisations d'eau. Ne pas boucher les ou-
vertures d'aération. S'assurer que pendant les opérations d'installation des appareils, l'alimentation ne soit pas raccordée au réseau. Avant de mettre sous
tension l'installation, vérier que le câblage est correct et s'assurer que la tension du réseau est compatible avec celle de l'alimentation.
Le montage doit être effectué conformément aux normes et règlements d'installation applicables.
L'installation et le montage d'appareils électriques doivent être effectués exclusivement par du personnel qualié.
The power supplies are intented for connection to low voltage 230VAC with adapted protection, which must be in accordance with the relevant product standards.
Connect to main according to the specic national regulations. Power supplies should not be exposed to water ows or spraying water. Do not obstruct the air
openings. Disconnect the system from the supply network before executing any works at the installation’s devices and protect against switching on!
Before powering the installation, check for correct wiring and ensure that the mains voltage corresponds to the equipment’s rating.
The device must be installed by qualied persons only and in accordance with the specic national regulations.
Die Spannungsversorgungen müssen an das 230V Netz (Niederspannung 230V AC) mittels angemessenem Schutz angeschlossen sein. Dieser Schutz muss
den geltenden Normen und Vorschriften entsprechen. Tropf- und spritzwasserkontakt vermeiden. Die Lüftungsschlitze der Spannungsversorgungen müssen
frei bleiben. Beachten Sie bei Arbeiten an Anlagen mit Netzanschluss von 230 V Wechselspannung die Sicherheitsanforderungen: stellen Sie sicher daß die
Spannungsversorgungen nicht am Netz angeschlossen sind. Bevor Sie die Installation unter Strom setzen, stellen Sie sicher daß die Verkabelung korrekt ist
und daß die Spannungen Netz/ Netzteil übereinstimmen. Halten Sie die geltenden Normen und Vorschriften für die Anlageninstallation ein.
Achtung: Einbau und Montage elektrischer Geräte dürfen nur durch eine Elektrofachkraft ausgeführt werden.
Other manuals for CARE-IN KVA1
1
This manual suits for next models
1
Table of contents
Other Sewosy Intercom System manuals
