Shanling CD-T100MKII User manual

S T E R E O T U B E C D P L AY E R
立体声电子管 播放器CD
STEREO TUBE CD PLAY E R
限量版

2
1. 不可自行开启本机进行维修或改造!本产品不设有用户自行检修的零件,本机的维修须请具备专业资
格的人员进行。开启机器及随意改造内部电路会令检修人员难以维修本机,而且会对机器造成性能或
质量的影响。
3. 设备不应遭受水滴或水溅,机器上不应放置诸如花瓶一类的装满液体的物品。
7. 用电源插头和器具耦合器作为断开装置,断开装置应当保持能方便地操作。
6. 设备应当连接到带保护接地连接的电网电源输出插座上。
5. 设备上不要放置裸露的火焰源,如点燃的蜡烛。
4. 通风孔不要覆盖诸如报纸、桌布和窗帘等物品而防碍通风。
8. 必须遵照电池废弃的相关地方条例来废弃旧电池。
2. 为了充分通风,设备背面和两侧应最少保留10cm,顶部应最少保留20cm的空间。
9. 仅适用于海拔2000m以下地区安全使用,标志见图1。
10. 仅适用于非热带气候条件下安全使用,标志见图2。 图1 图2
欢迎购买立体声电子管 播放器,让我们借此机会向您表示诚挚的谢意。我们向您建议:在动手操作之
CD
前,请仔细阅读此使用说明书,并注意存放好以备随时参考。
安全指示
敬爱的用户
执行标准:GB8898-2011; GB/T13837-2012
谨防触电
切勿打开机盖
警 告
警 告:谨防触电,切勿打开机盖。
等边三角形中有箭头闪电符号的图形表示警
告使用者在产品内有高压电,会导致人为的
触电。
等边三角形中有叹号的图形表示警告使用者
该设备有重要的操作和维护指示。
安全注意事项
激光警告
1. 由于本装置中使用的镭射光束对眼睛有害,请勿打开机箱,只有专业人员方可维修。
2. 本装置被划分为1级镭射产品,1级镭射产品标牌位于机箱后面。
安全警告
CLASS 1 LASER PRODUCT
类激光产品
1
3. 本机的镭射元件能产生超过1级限度的镭射。

USE ONLY WI TH A 250V FUS E
DI GI TAL
OUT
IN
RC A OU T
L
R
AN AL OG O UT
SE LE CT OR
RCA
XLR
R
XL R OU T
L
FUS E: T1AL / ~2 0V5
US B
~22 0V /50 Hz
/AC I N
交流电源输入
产品型号:
产品名称:
消耗功率:
立体声 电子管 播 放器
CD
<8 5 W
SER IAL NO. :
(20 )
谨防 触电
切勿 打开 机盖
警 告
CLASS 1 LASER PRODUCT
类激光产品
1
ST E R E O TU B E C D P LA YE R
SE ARC H / SKI P
VO L UM E
IN P UT
PO WE R
ON/
开
OFF /
关
7
2345
2345678
1. 输入选择旋钮
2. 停止键
3. 播放/暂停键
4. 向前搜索/上一曲选择键
5. 向后搜索/下一曲选择键
6. 音量调节旋钮
7. 电源开关键
1. 多功能显示窗 2. 遥控接收头 3. 放碟区
ST E R E O TU B E C D P LA YE R
123
16
1
1. 蓝牙天线
2. USB信号输入接口
3. 同轴数字信号输出接口
4. 同轴数字信号输入接口
5. 非平衡左右模拟信号输出接口
6. 非平衡、平衡切换开关
7. 平衡左右模拟信号输出接口
8. 交流电源输入插座 (带保险管)
3
部件名称

T U N I N G P R O G
P R E S E T R A N D O M
B A N D V O L U M E
D I S P L AY D I M M ER M U T E
S C A N
E N T E R
R E P
A - B
1 2 3
567
4
8
90
I N F O
M E M
10
A U X
C D
R C - 3 L
P O W E R
F I LT E R
A S R C
I N P U T
A M P C D /D A C
I N P U T
4
亮度调节键
曲目编号直选键
快速向后搜索键
快速向前搜索键
上一曲选择键
下一曲选择键
停止键
重复播放键
编程播放键
曲目扫描键
片段重复播放键
随机播放键
遥控器示意图
操作说明
注:
1. 遥控器有效距离不大于10米,遥控夹角不大于30度。
2. 遥控器未标示按键非本机功能,操作无效属正常现象。
CD/AUX切换开关: 置于CD位置
输入选择键
音量增加键
音量减小键
开/关机器
1. 首先连接好机器的电源线及信号线,将 侧面的 按
点亮,器进入正常工作状态。
机器左 电源开关 至于 [ON/开] 位置,此时机器显示屏
2.
状态。在长时间不使用本机时,请将机器的交流输入电源线与市电插座分离。
要关闭本机电源时,将机器左侧面的电源开关按至于 [OFF/关] 位置,此时显示屏熄灭,机器处于关闭
选择音源
1. 旋动机器前左机脚上的 旋钮或遥控器上的 键 [INPUT] [ - INPUT + ] ,可循环选择不同的输入信号。
2. 显示屏循环输入信号显示如下:
顺时针方向
逆时针方向
SOURCE:CD COAX USB BT
播放/暂停键
静音键

5
关于蓝牙
1. 当选择到蓝牙输入时,显示屏上的 "PAIRING" 字符。
2. 蓝牙的名称为 CD-T100MKII 。 " "
3. 蓝牙连接成功后显示对应连接的蓝牙格式。
蓝牙连接不成功:
A. 连接的外部设备关闭蓝牙功能。
B. 连接的外部设备不在蓝牙的有效传输范围内(最大距离为10米)。如果中间有障碍物时,有效距离将会减
小。
音量控制
旋动机器前右机脚上的 [VOLUME] 旋钮或遥控器上的 [ - VOLUME +] 键,可对音量进行大小调节。顺时针
旋动机器前右机脚上的 [VOLUME] 旋钮或遥控器上的 [VOLUME +] 键均可增加音量大小,逆时针旋动机器
前右机脚上的 [VOLUME] 旋钮或遥控器上的 [VOLUME - ] 键均可减小音量大小。
播放/暂停
1. 当放好碟片后或碟片处于停止状态时,按下机器上或遥控器上的 键 [ ] ,可对当前碟片进行播放。
2. 在播放状态下,按下机器上或遥控器上的 键
复正常播放状态。
[ ] ,可对当前碟片进行暂停播放,再按一次该键时则恢
上一曲/下一曲
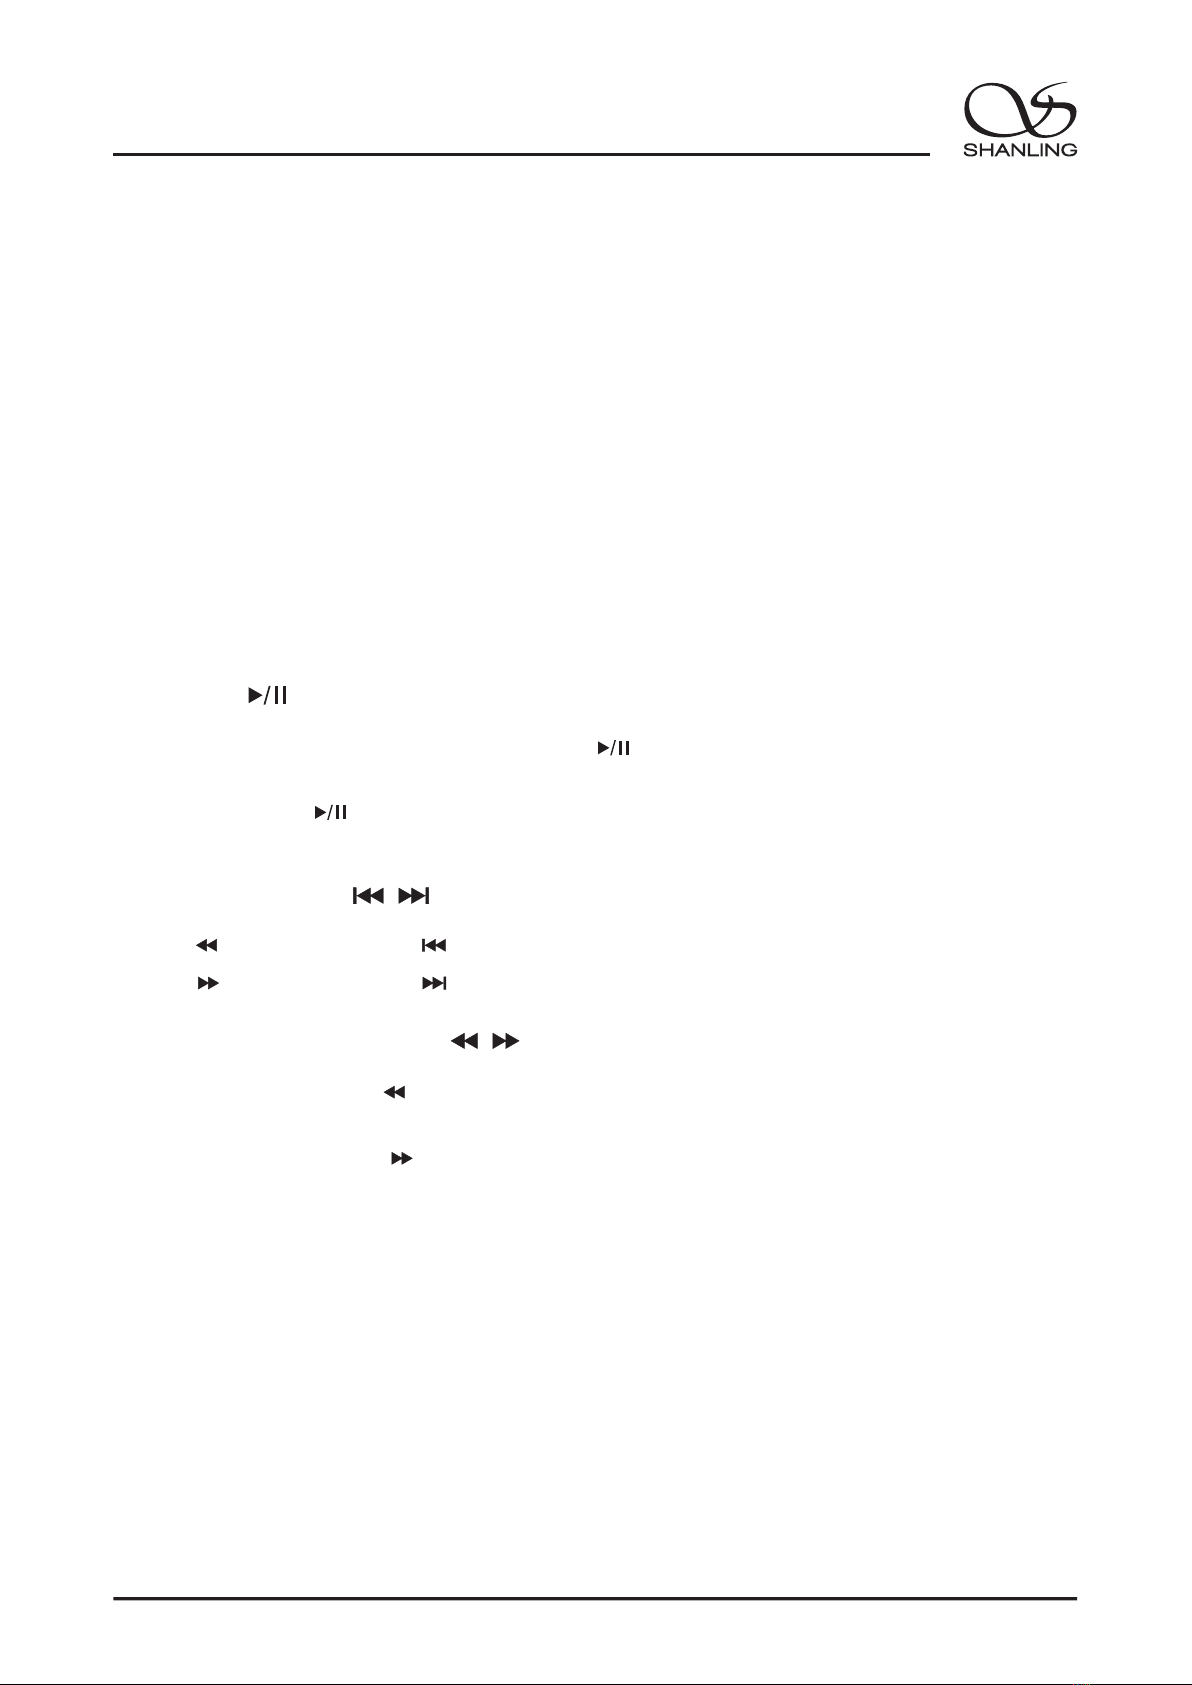
1. 按下机器上的 [ ] 键或遥控器上的 [ ] 键,即可跳向上一个曲目进行播放。
2. 按下机器上的 [ ] 键或遥控器上的 [ ] 键,即可跳向下一个曲目进行播放。
向后搜索/向前搜索
1. 在正常播放时,按住机器上或遥控器上的 [ ] 键即可快速向后搜索,放开该键时恢复正常播放状态。
2. 在正常播放时,按住机器上或遥控器上的 [ ] 键即可快速向前搜索,放开该键时恢复正常播放状态。
数字键选曲
1. 选第1至第9首曲目,可以直接按遥控器上的1至9数字键。
2. 10选 首以上曲目时,先按十位数对应的数字键,在两秒钟内,再按个位数对应的数字键即可。
重复播放
1. 若想连续重复播放当前曲目内容,按下遥控器上的 一次
符。若想连续重复播放整张碟片内容,则再按一次遥控器上的 [REP] 键,显示屏在曲目前显示
"REP ALL" 字符。
[REP] 键 ,显示屏在曲目前显示 "REP ONE" 字
2. 在停止状态下操作此键无效。

6
A-B片段重复播放
1. 在你喜欢的碟片内容的起点按下遥控器上的
喜欢内容的结束点时,再按一次遥控器上的 [A-B] 键,显示屏在曲目前显示 "REP A-B" 字符。此时机器
将从开始点A至结束点B进行重复播放,直到再次按下遥控器上的 [A-B] 键,片段播放功能才会取消。
[A-B] 键,显示屏在曲目前显示 "REP A-" 字符。当播放至你
2. 在停止状态下操作此键无效。
编程播放
1. 在停止状态下,按下遥控器上的
要编程的曲目,编程完成后按下 [ ]键,可对编好的曲目进行播放,显示屏在曲目前显示 "MEM" 字符。
[PROG] 键,显示屏显示 "PROG 00-00 00:00" 字符。此时可开始按下需
2. 如想取消编程播放功能,按两次 键即可。 [ ]
曲目扫描
1. 在停止状态下,按下遥控器上的
目扫描功能。曲目扫描功能是播放每一首曲目开始前十秒钟的内容,当碟片上的所有曲目扫描完成后,
碟机处于停止状态。
[SCAN] 键,显示屏在曲目前显示 "SCAN" 字符,表示已在开始执行曲
2. 在执行曲目扫描过程中如想取消该功能,按一次 键或 键即可。 [SCAN] [ ]
随机播放
1. 在停止或播放状态下,按下遥控器上的
始执行随机播放功能。随机播放功能是随碟机自动播放碟片曲目内容,直至全部播放完毕。
[RANDOM] 键,显示屏在曲目前显示 "RAND" 字符,表示已在开
2. 在执行随机播放过程中如想取消该功能,按一次 键或 键即可。 [RANDOM] [ ]
显示屏亮度调节
1. 结合播放环境的光线强度,可按下遥控器上的 进行显示字符的亮度调节。每按一次
亮度将从 "亮、暗、关" 中循环变换。
[DIMMER] 键 显示屏
2. 开机时显示屏自动置于 亮 状态。 " "
静 音
1. 在放音状态下,按下遥控器上的 ,显示屏显示 字符并闪亮,此时机器无声音输出。 [MUTE] 键 "MUTING"
2. 在静音状态下,再按下 。遥控器上的 [MUTE] 键一次,恢复正常放音状态
3. 静音状态下,碟片仍能正常播放。

7
USB控制
1. 将USB电缆从电脑连接到机器后板上。
2. 打开机器电源并旋动机器上的 [INPUT] 旋钮或遥控
器上的 [ - INPUT + ] 键选择对应的USB输入信号。
3. 安装 "USB驱动" 至电脑上。
4. 将电脑的 "声音" 选项进行设置,并把 "扬声器
XMOS USB Audio" 勾选为默认设备,如右图:
CD-T100MKII 限量版USB驱动程序下载链接:
请登录官网www.shanling.com,进入
CD-T100MKII 限量版产品页进行相关下载。
声音
播放 录制 声音 通信
选择以下播放设备来修改设置:
扬声器
准备就绪
Realtek High Definition Audio
( )
配置 C( )
设为默认值 S( )
属性 P
( )
应用 A
取消确定
扬声器
XMOS USB Audio
默认设备
8
技术规格
技术参数
非平衡输出电平:0-2.6V 可调
平衡输出电平:0-5.6V 可调
频率响应:20Hz - 20kHz (±0.5dB)
信噪比:>108dB
总谐波失真:<0.02%
随机附件
说明书:1本
保修卡:1份
三联电源线:1根
遥控器:1个
碟压:1只
常 规
最大功耗:85W
体积 (宽 x 深 x 高) :456 x 330 x 142mm
净重:约 11.7 kg

9
CLASS 1 LASER PRODUCT
类激光 产 品
1
Dear customer
Thank you for purchasing Shanling CD player. We would like to take this opportunity to express our sincere
appreciation to you. We recommend you to read this user's manual carefully before operating the player and
keep it available for future reference when needed.
Safety Instructions
1. Do not open this player for repair or modification by anyone other than a qualified technician! This product
has no user-serviceable parts. Opening the player and modifying its internal circuitry can make subsequent
maintenance difficult or impossible and affect performance and sound quality.
2. For good ventilation, a minimum of 10cm clearance shall be maintained at the back and both sides and 20cm
at the top of the player.
3. Allow no water dripping or splashing into the player. Place no object containing liquid on the player, e.g. Vase.
4. Do not cover any ventilation hole with newspaper, cloth, curtain, etc. in case of ventilation blocking.
5. Allow no exposed flame source on the player, e.g. burning candle.
6. The player shall be connected to AC power output socket with grounding protection.
7. If power plug and appliance coupler are used as disconnecting device, the disconnecting device shall be
easily operable.
8. The waste battery must be treated according to relevant local battery wasting regulations.
9. Only applicable for safe use in the area with elevation under 2000m. See Fig. 1 for the sign.
10. Only applicable for safe use under non-tropical climate conditions. See Fig. 2 for the sign. Fig. 1 Fig. 2
C A U T I O N
R I S K O F E L E C T R I C S H O C K
D O N O T O P E N
Safety Precautions
1. Since the laser beam in this player can damage the eye, please do not open the enclosure. Only a qualified
technician should carry out repairs.
2. This player is classified as a Class 1 laser product, and is identified as such on the label located on the rear of
the enclosure.
3. The laser components of this product can generate laser radiation above the Class 1 limit.
Caution: Risk of electric shock. DO NOT OPEN.
The sign with arrowed lightning inside an equilateral
triangle warns the user that the player has high voltages
inside which can cause electric shock.
The sign with an exclamation mark inside an equilateral
triangle warns the user that the player has important
operation and maintenance instructions.
Laser Warning

USE ONLY WI TH A 250V FUS E
DI GI TAL
OUT
IN
RC A OU T
L
R
AN AL OG O UT
SE LE CT OR
RCA
XLR
R
XL R OU T
L
FUS E: T1AL / ~2 0V5
US B
~22 0V /50 Hz
/AC I N
交流电源输入
产品型号:
产品名称:
消耗功率:
立体声 电子管 播 放器
CD
<8 5 W
SER IAL NO. :
(20 )
谨防 触电
切勿 打开 机盖
警 告
CLASS 1 LASER PRODUCT
类激光产品
1
ST E R E O TU B E C D P LA YE R
SE ARC H / SKI P
VO L UM E
IN P UT
PO WE R
ON/
开
OFF /
关
7
2345
2345678
ST E R E O TU B E C D P LA YE R
123
16
1
10
Parts Name
1. Multifunction display 2. Remote control receiver 3. Disc loader
1. 3. 5. 7.
2. Stop 4. Rewind/Previous track 6. Volume knob
Input selector Play/Pause Forward/next track Power switch
1. Bluetooth antenna 4 7.
2. USB signal input 5. Unbalanced left/right analog output 8. AC power input (with fuse)
3. Coaxial signal output 6. Unbalanced/balanced switch
. Coaxial signal input Balanced left/right analog output

11
T U N I N G P R O G
P R E S E T R A N D O M
B A N D V O L U M E
D I S P L AY D I M M ER M U T E
S C A N
E N T E R
R E P
A - B
1 2 3
567
4
8
90
I N F O
M E M
10
A U X
C D
R C - 3 L
P O W E R
F I LT E R
A S R C
I N P U T
A M P C D /D A C
I N P U T
CD/AUX switch: Switch to CD position
Input selection
Repeat play
Segment repeat play
Programmed play
Random play
Track scan
Volume up
Volume down
Mute
Play/pause
Track number selection
Rewind
Forward
Previous track
Next track
Stop
Brightness adjustment
Note:
1. The valid distance of the remote controller is not more than 10m
o
and the included angle of remote control is not more than 30 .
2.
useless for this product. It is normal that there will be no
response when you press them.
Buttons without function names on the remote controller are
Remote Control Diagram
Operation Description
Turn on/off
1. Connect the power cord and signal cable of the player. Press the power switch on the left side of the player to
[ON]. The display lights up and the player is in normal operating condition.
2. To turn off the player, press the power switch on the left side to [OFF]. Now the display goes off and the player
is OFF. Disconnect the AC power cord from main outlet when the player is not used for a long period of time.
Select Audio Source
1. Turn the [INPUT] knob on left front foot of the player or press [ - INPUT + ] button on remote control to select
different input sources.
2. Display shows the input source in circulation as shown below:
SOURCE:CD COAX USB BT
Counterclockwise
Clockwise
12
Volume Control
Turn the [VOLUME] knob on right front foot of the player or press [- VOLUME +] button on remote control to
adjust volume. Turn the [VOLUME] knob clockwise or press [VOLUME +] button on remote control to increase
volume. Turn the [VOLUME] knob counterclockwise or press [VOLUME -] button on remote control to reduce
volume.
Play/Pause
1. With the disc loaded properly or in stop mode, press [ ] button on player or remote control to play current
disc.
2. In play mode, press [ ] button on player or remote control to pause current disc. Press the button again to
return to normal play mode.
Previous/Next Track
1. Press [ ] button on player or button on remote control to jump to previous track and play. [ ]
2. Press [ ] button on player or [ ] button remote control to jump to next track and play.
Fast-Backward/Fast-Forward
1. In normal play mode, press [ ] button on player or remote control for fast-backward. Release the button to
return to normal play mode.
2. In normal play mode, press [ ] button on player or remote control for fast-forward. Release the button to
return to normal play mode.
Track Selection with Numerical Button
1. To select track 1 to 9, press the numerical buttons 1~9 on remote control.
2. To select track 10 or above, press the [10+] button and then 0 to 9 track button. After pressing [10+], you have 2
seconds to press other track button.
Repeat Play
1. If you want to play the current track repetitively, press [REP] button on remote control once. The screen will
display "REP ONE" before the track. If you want to play the entire disc repetitively, press [REP] button on
remote control again. The screen will display "REP ALL" before the track.
2. This button is invalid in stop mode.
About Bluetooth
1. When the Bluetooth input is selected, device will show PAIRING on the display." "
3. When successfully connected, currently used Bluetooth codec will be shown on the display.
2. Device will show up as CD-T100MKII in available Bluetooth devices." "
Unable to connect to the paired device:
A. Bluetooth is turned off on the paired device.
B. The paired device is out of the transmission range or there is some obstacle limiting the transmission range.

13
A-B Repeat
1. At the starting point of your favorite part, press [A-B] button on remote control. The screen will display "REP
A-" before the track. Press the [A-B] button on remote control again at the ending point of your favorite
contents and the screen will display "REP A-B" before the track. Now the player will play the segment from
point A to point B repetitively until the [A-B] button on remote control is pressed again to cancel the segment
play function.
2. This button is invalid in stop mode.
Programmed Play
2. To cancel programmed play, press [ ] button twice.
1. In stop mode, press [PROG] button on remote control, the screen will display . Press the
track number to be programmed and [ ] button to play the programmed track. "MEM" will appear before
the track on display.
"PROG 00-00 00:00"
Track Scan
1. In stop mode, press the [SCAN] button on remote control. The screen will display
in track scan mode. The track scan function will play the first 10 seconds of every track, from the first track to
the last. When all tracks have been scanned, the player stops.
"SCAN", indicating that it is
2. To cancel this function during track scan process, press [SCAN] or [ ] once.button button
Random Play
1. In stop or play mode, press the [RANDOM] on remote control. The screen will display
indicating that it is in random play mode. The random play function will play disc tracks in random order.
until all tracks are played.
button "RAND",
2. To cancel random play function, press [RANDOM] or [ ] once.button button
Display Brightness Adjustment
1. Press [DIMMER] button on remote control to adjust the brightness of characters on the display. Every time
the button is pressed, the display brightness will toggle through "HIGH, LOW and OFF".
2. Display is in "HIGH" brightness by default at startup.
Mute
1. Press [MUTE] button on remote control when the player is in play mode, "MUTING" characters will flash on
the screen and there is no voice output.
2. In mute mode, press [MUTE] button on remote control again to return to normal play mode.
3. Disc can be played normally in mute mode.

14
Realtek High Definition Audio
Configure(C)
Amplifier
Ready
Select the following devices to modify the settings:
Sound
Set default(S) Attribute(P)
OK Cancel Apply(A)
Play Record Sound Communication
XMOS USB Audio
Default device
Amplifier
1. Connect a USB cable from your computer to the rear
panel of player.
USB DAC mode
2. Turn on the player and switch audio source to USB ." "
3. Install matching USB drivers onto your Windows
computer. Drivers can be downloaded from our
official website Shanling.com, look for CD-T100MKII
Limited edition in the downloads section.
4. Go into sound settings on your computer and set the
XMOS USB Audio device as your default device for
sound.
" "
15
Max power consumption: 85W
Dimension (W x D x H): 456 x 330 x 142mm
Net weight: about 11.7 kg
Specifications
Unbalanced output level: 0-2.6V adjustable
Balanced output level: 0-5.6V adjustable
Frequency response: 20Hz - 20kHz (±0.5dB)
Signal noise ratio: >108dB
Total harmonic distortion: <0.02%
General
parameters
Technical
parameters
Accessories
User's manual: 1
Warranty card: 1
Power cord w/3-prong plug: 1
Remote control: 1
Disc press: 1

: : : :
工作时间 ( ): 08 00-12 00; 13 30-17 30周一至周五
公司名称/Company: 深圳山灵数码科技发展有限公司
公司地址/Address : 深圳市南山区蛇口赤湾一路10号
No.10, Chiwan 1 Road, Shekou Nanshan District of Shenzhen City, China.
服务热线/Telephone: 400-630-7786
电子邮件/E-mail: info@shanling.com
官 网/Official Website: www.shanling.com
由于产品不断改进,各项规格及设计随时更改,恕不另行通知。
Due to continuous improvement, every specification and design is subject to change at any time without further notice.
Shenzhen Shanling Digital Technology Development Co.,Ltd.
微博公众 号
山 灵 微 博
微信公众 号
山 灵 微 信
Table of contents
Other Shanling CD Player manuals


