7
PRIOR TO USE: IMPORTANT:
- Place the oven on a stable, heat-proof surface and make sure it is not near the edge of the table or countertop.
- Make sure that the power cord is not touching any hot surface.
- Always have enough space around the oven, so there is enough for cover when removed from the unit.
- Make sure you’ve placed the cooking racks inside the glass bowl prior to pre-heating and/or cooking.
- Always have the oven mitts ready to remove the lid and cooked food.
-You may use any oven safe pans, plates, tin foil, etc. that can be used inside the conventional oven.
ASSEMBLY-PLACING FOOD IN UNIT:
1. Open the glass lid and place the cooking racks inside, use one or both racks, depending
on the amount of food. If only need to use 1 rack, use the lower rack.
NOTE: You may combine both trays to make it a grid when cooking foods like french fries.
Just place the high cooking rack in first, then layer the low cooking rack over the high rack.
Align to form a grid. See Diagram on right
2. Place food to be cooked directly on rack (preferred method). This will allow the hot air to
circulate around the food to be able to cook it faster and more even.
3. You can increase the capacity of your Super Wave Oven when cooking large foods such as
a turkey (up to about 16 lb.). Your Super Wave Oven comes with the Extender Ring that you
can place on top of the glass bowl.
4. Just place the flat part of the extender ring over the glass
bowl’s lip. The extender has its own lip that will create a perfect
seal with the unit’s lid. See Diagrams above and on right.
5. Close the lid. Plug the power cord into the electrical
outlet. The LED displays will illuminate with 0:00 and 000.
SETTING COOKING TIME AND TEMPERATURE:
6. You can set cooking time and temperature using one of the following methods:
A. Using the adjustment buttons (+/-) set the time (0:00-1:59) and the temperature (120-480°F).
The cooking time advances in 1 minute increments, the temperature advances in 5°F increments.
Press and hold the buttons to advance to desired number faster. Refer to cooking times/temperature
guide on pp.10-12 for reference.
B. Using the one-touch preset buttons (Hamburger, Steak, Pork Chops, Salmon Steak, Chicken
Pieces, Whole Chicken, Pizza, Thaw/Wash/Dehydrate). The Time and Temperature will display
automatically (refer to guide on next page).
Once the desired preset button is pressed, you can change the cooking time and temperature using the adjustment buttons (+/-).
NOTE: As soon as you press the chosen preset button, the small light next to the selection will start blinking. However the unit will
not
start to operate until you press the Start/Stop button.
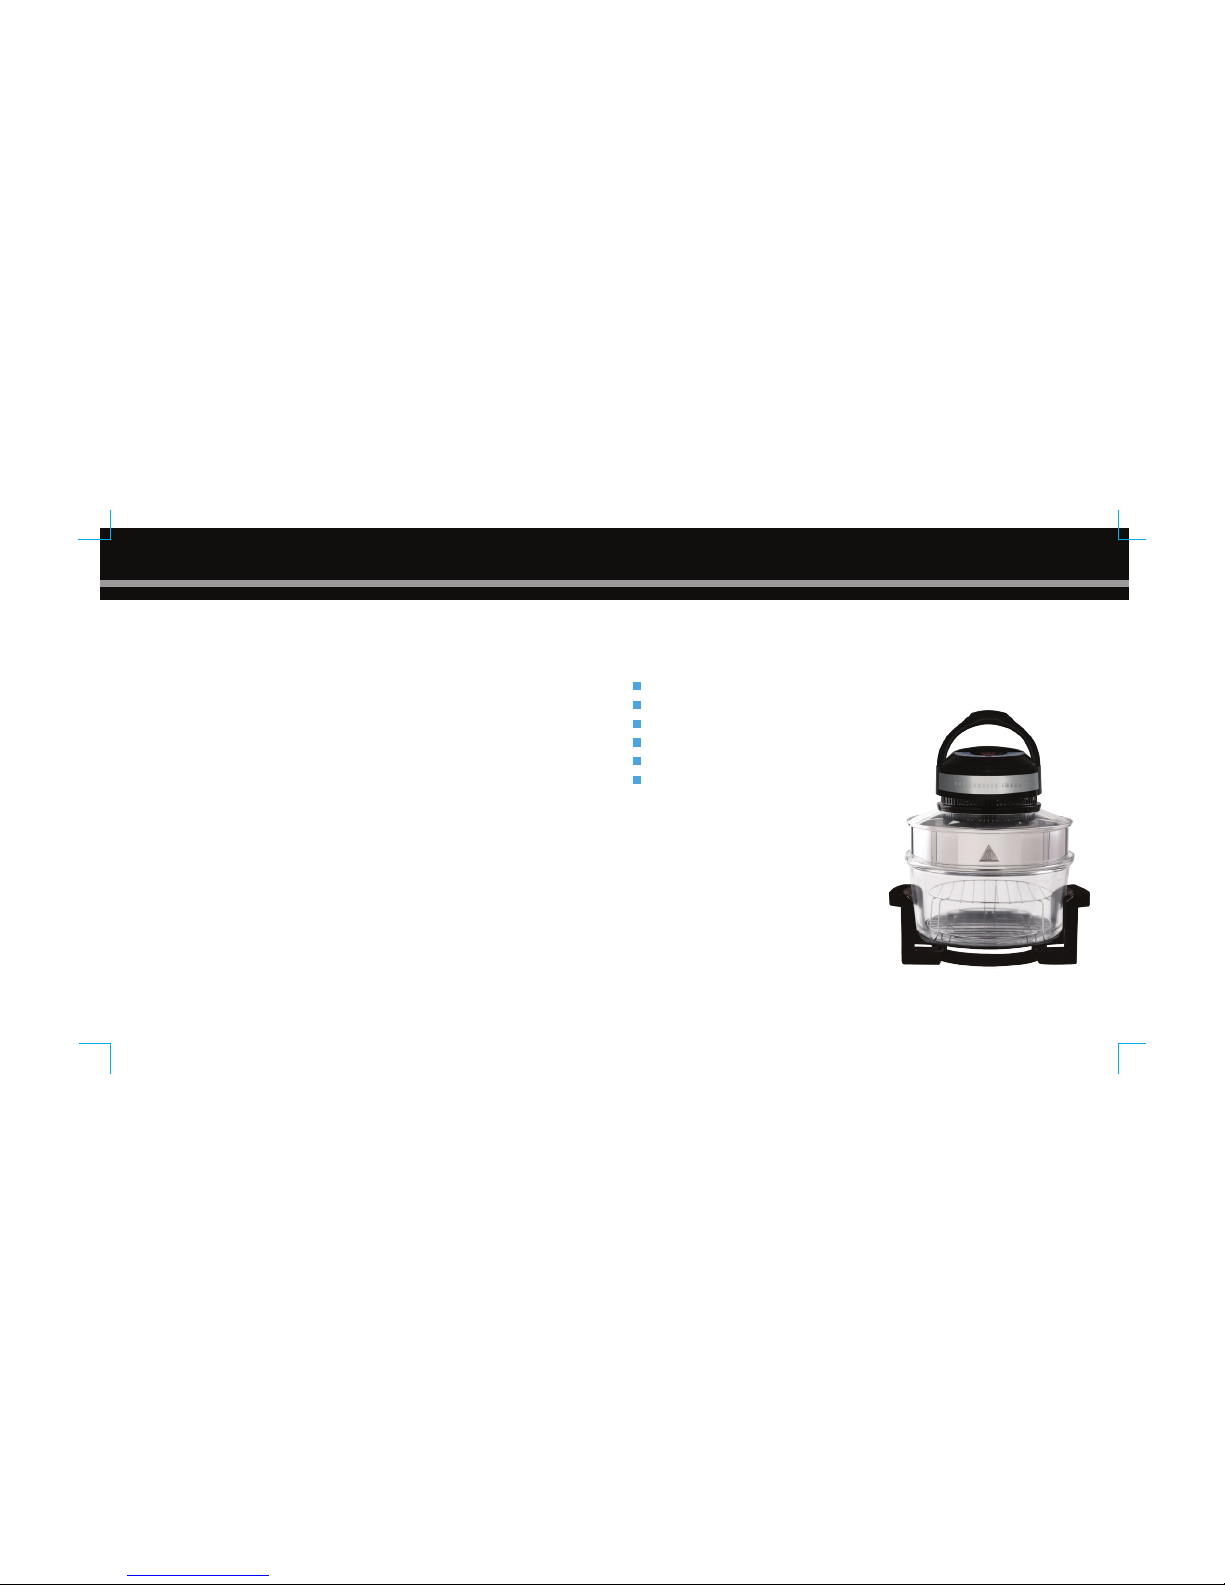
USAGE-BASICS
(Refer to p. 6 for Parts Identification)
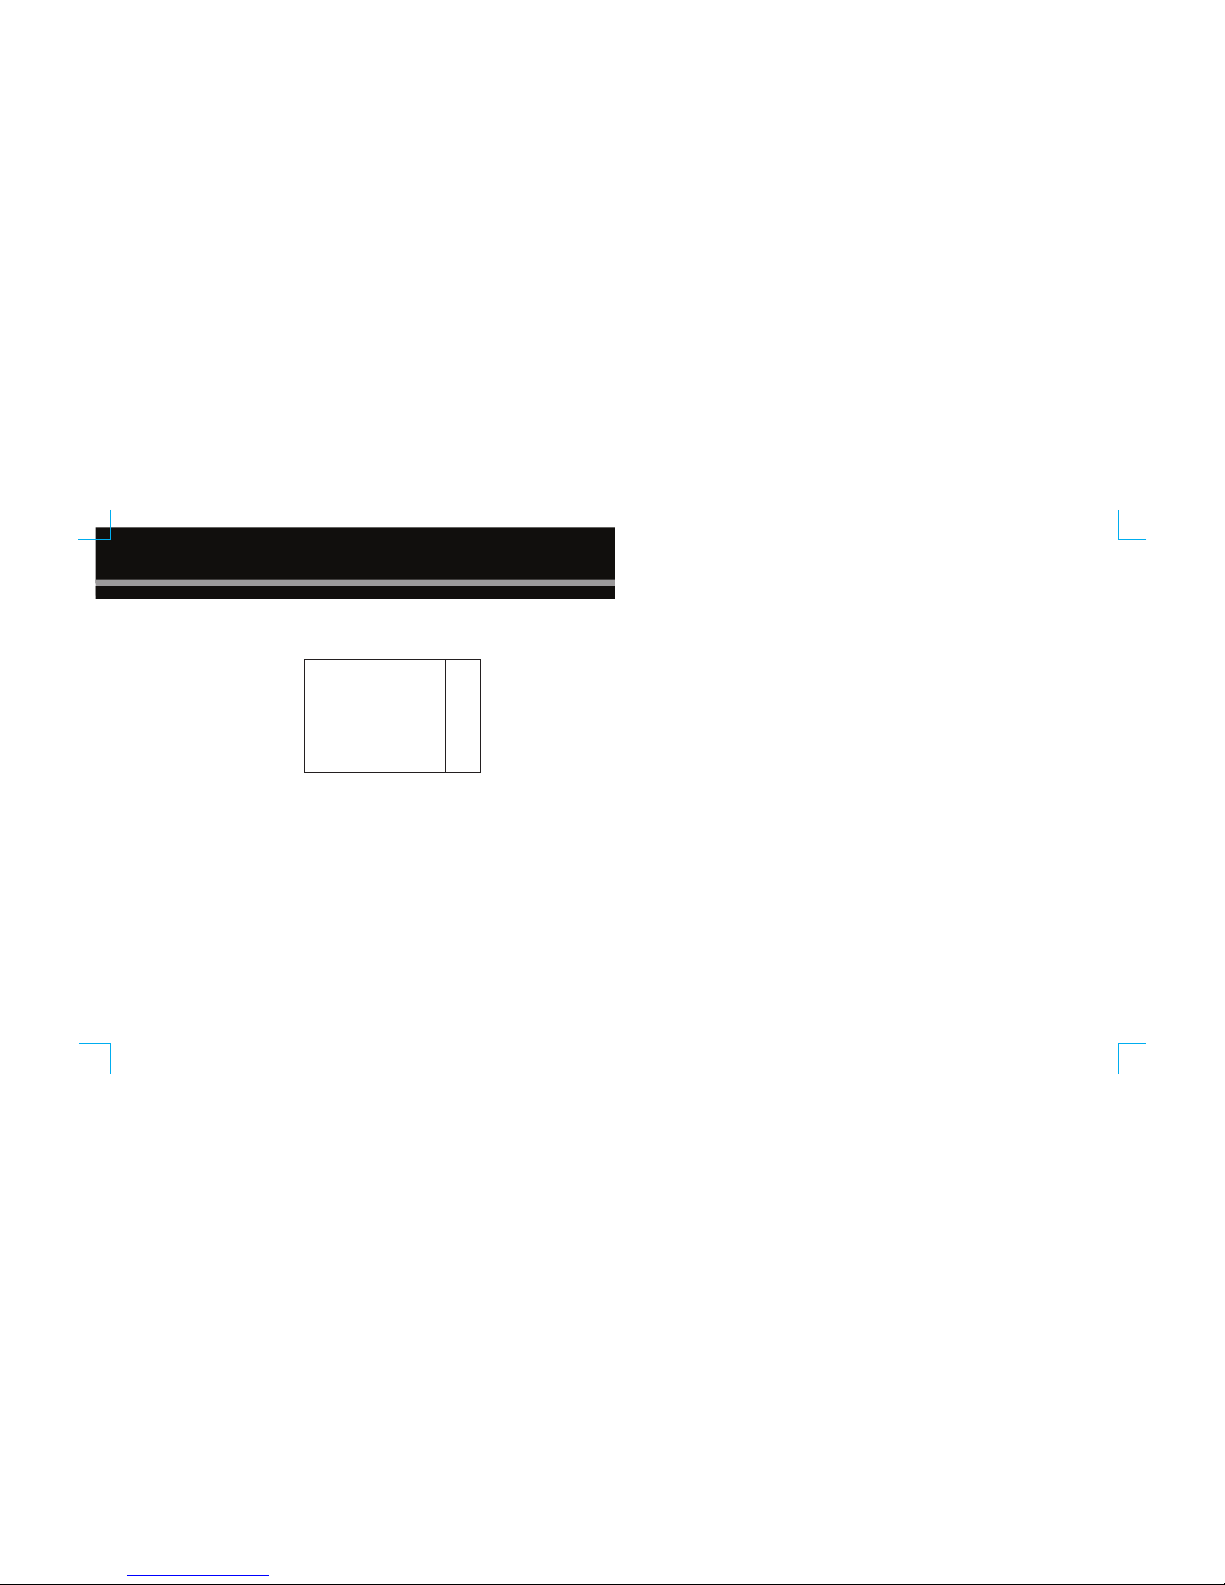
EXTENDER RING
Top
(with lip)
Bottom
(flat)
TURNING UNIT ON/OFF:
7. If you haven’t lowered the handle, lower it now
until it snaps in
.
The handle MUST be flat down in its stored position for the oven to
operate.
Press the Start/Stop button to start cooking.
IMPORTANT: The handle operates as a safety switch, as soon as it is lifted, the oven will stop operating. Once the unit is ON,
the carbon lamp and the fan will turn on. The carbon lamp will keep cycling on & off to maintain the set temperature. It will go off
when the required heat setting has been reached.
8. If at any time you need to check on the food, simply lift the handle up to stop the oven from operating. The cooking time and
temperature
displays will pause. CAUTION: Before removing the glass lid always bring the handle to its upright position as this
will activate
the safety switch and stop the oven from operating. The oven will
be very hot. If using extender ring, be extra
careful as it will get very hot during cooking process. It is strongly recommended
to use oven mitts when removing the
glass lid. When
done checking, lower the handle until it snaps in and press the Start/Stop button to
resume cooking.
9. If at any time you need to turn the unit off before the timer is up, simply press the Start/Stop button.
10. When the timer on LED display counts down to 0:00, the oven will beep several times and will
turn off automatically.
NOTE:
Unit's carbon lamp will turn off immediately once timer counts down
to 0:00, while convection fan will stay on to allow the unit to cool off (approx. 1-3 min). Remove the
lid. Check to make sure the food is fully cooked.
NOTE: To ensure the food is cooked, use a cooking thermometer or pierce the food with a fork to check
for uncooked juices on meats and poultry. When cooking vegetables, check for desired tenderness.
Moisture may build up inside the oven when cooked food is not removed soon after timer has gone
off. The steam/moisture build-up can be avoided by removing the food as soon as it is cooked.
11. Use the tongs provided to lift out the hot cooking racks with food. See Diagram on right.
USAGE-BASICS
(Refer to p. 6 for Parts Identification)
8
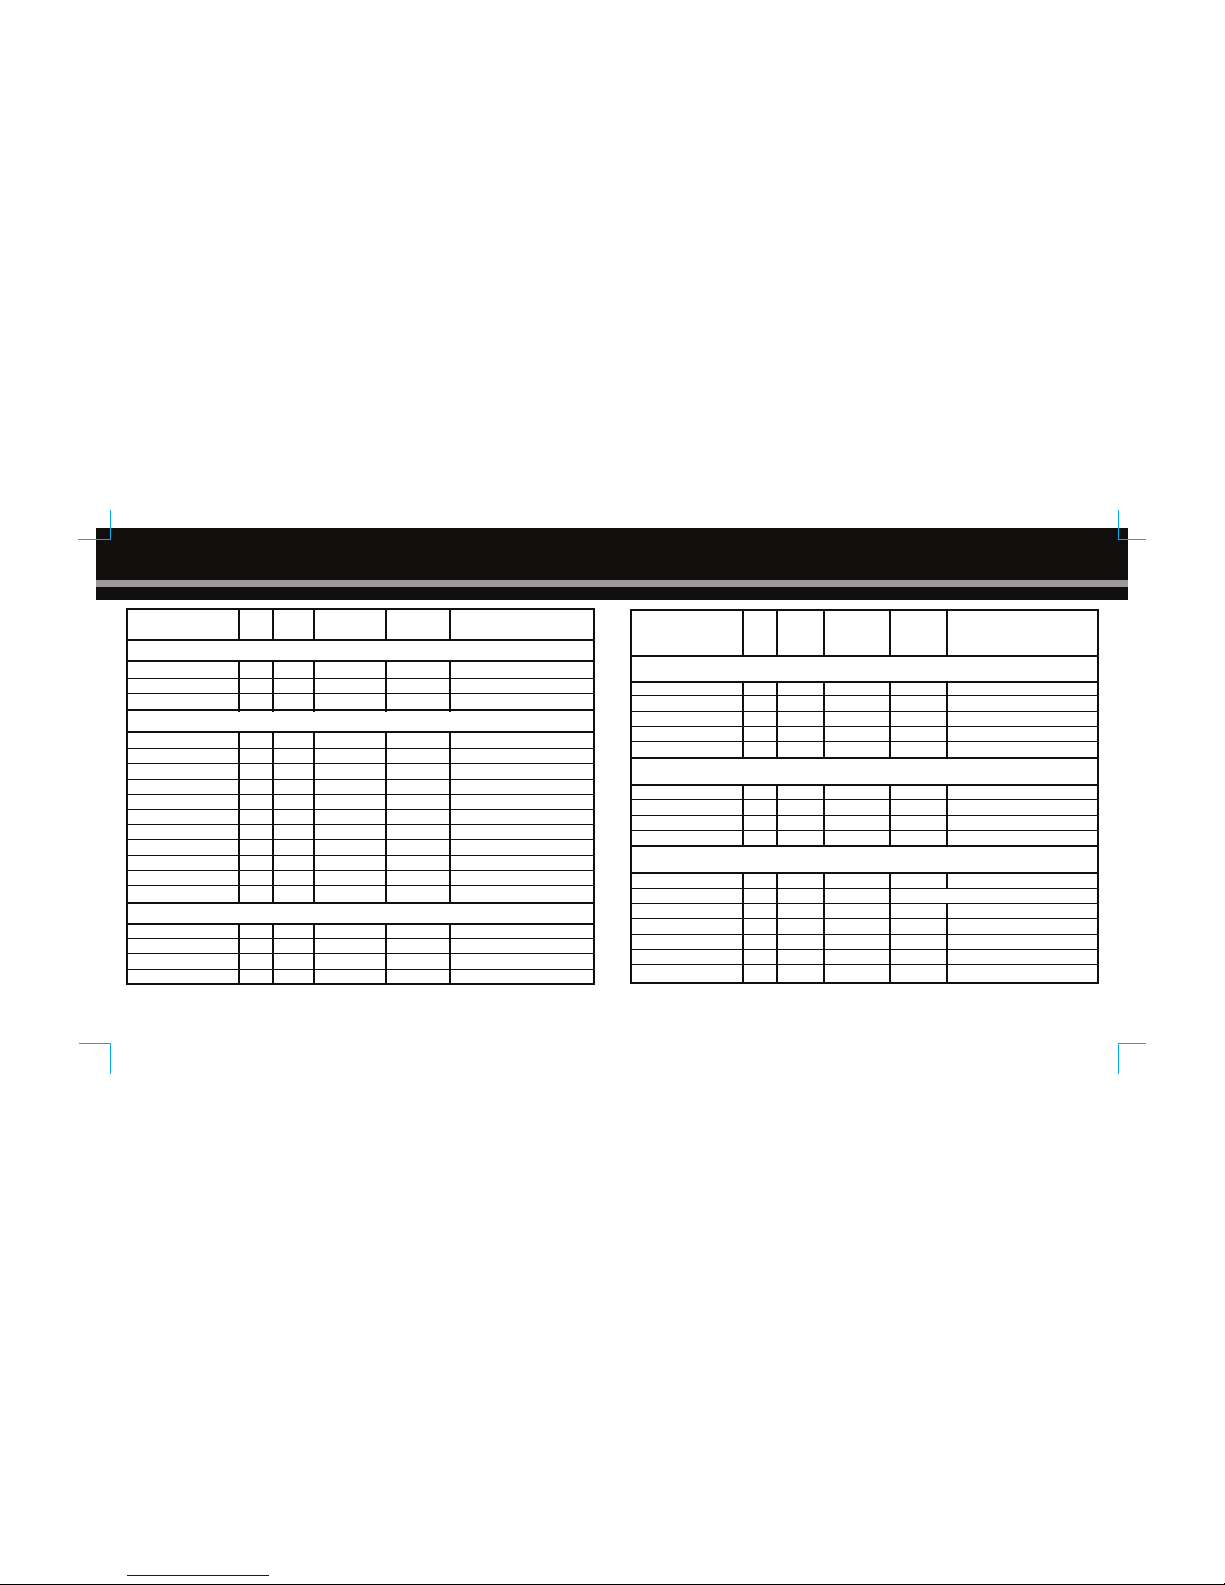
NOTE: The cooking time depends on the size and weight of the food to be cooked. Most meats have recommended cooking times, those
times should be used as a guide as the oven cooks faster than conventional ovens, so you may need to allow less time to cook the food.
Steak
10 min
400°FHIGH
Pork Chops
16 min
400°FHIGH
Salmon Steak
15 min
400°FHIGH
400°FHIGH
12 min
Hamburger Chicken Pieces
20 min
400°FLOW
Whole Chicken
45 min
460°FLOW
Pizza (frozen)
10 min
400°FHIGH
Thaw/Wash/Dehydrate
60 min
260°FHIGH
TYPE OF FOOD COOKING
TEMP.
COOKING
TIME
RACK
HEIGHT TYPE OF FOOD COOKING
TEMP.
COOKING
TIME
RACK
HEIGHT