Solar working station operation manual SR881
- 19 -
►Press “+”“-” button, to set switch-off temperature of heating
►Press “ESC” to exit this set program, parameters are saved automatically
►Repress button “Tim. Heat”, “tH 2F 10:00” displays on screen, the switch-off time and
temperature for the second schedule of heating function can be set.
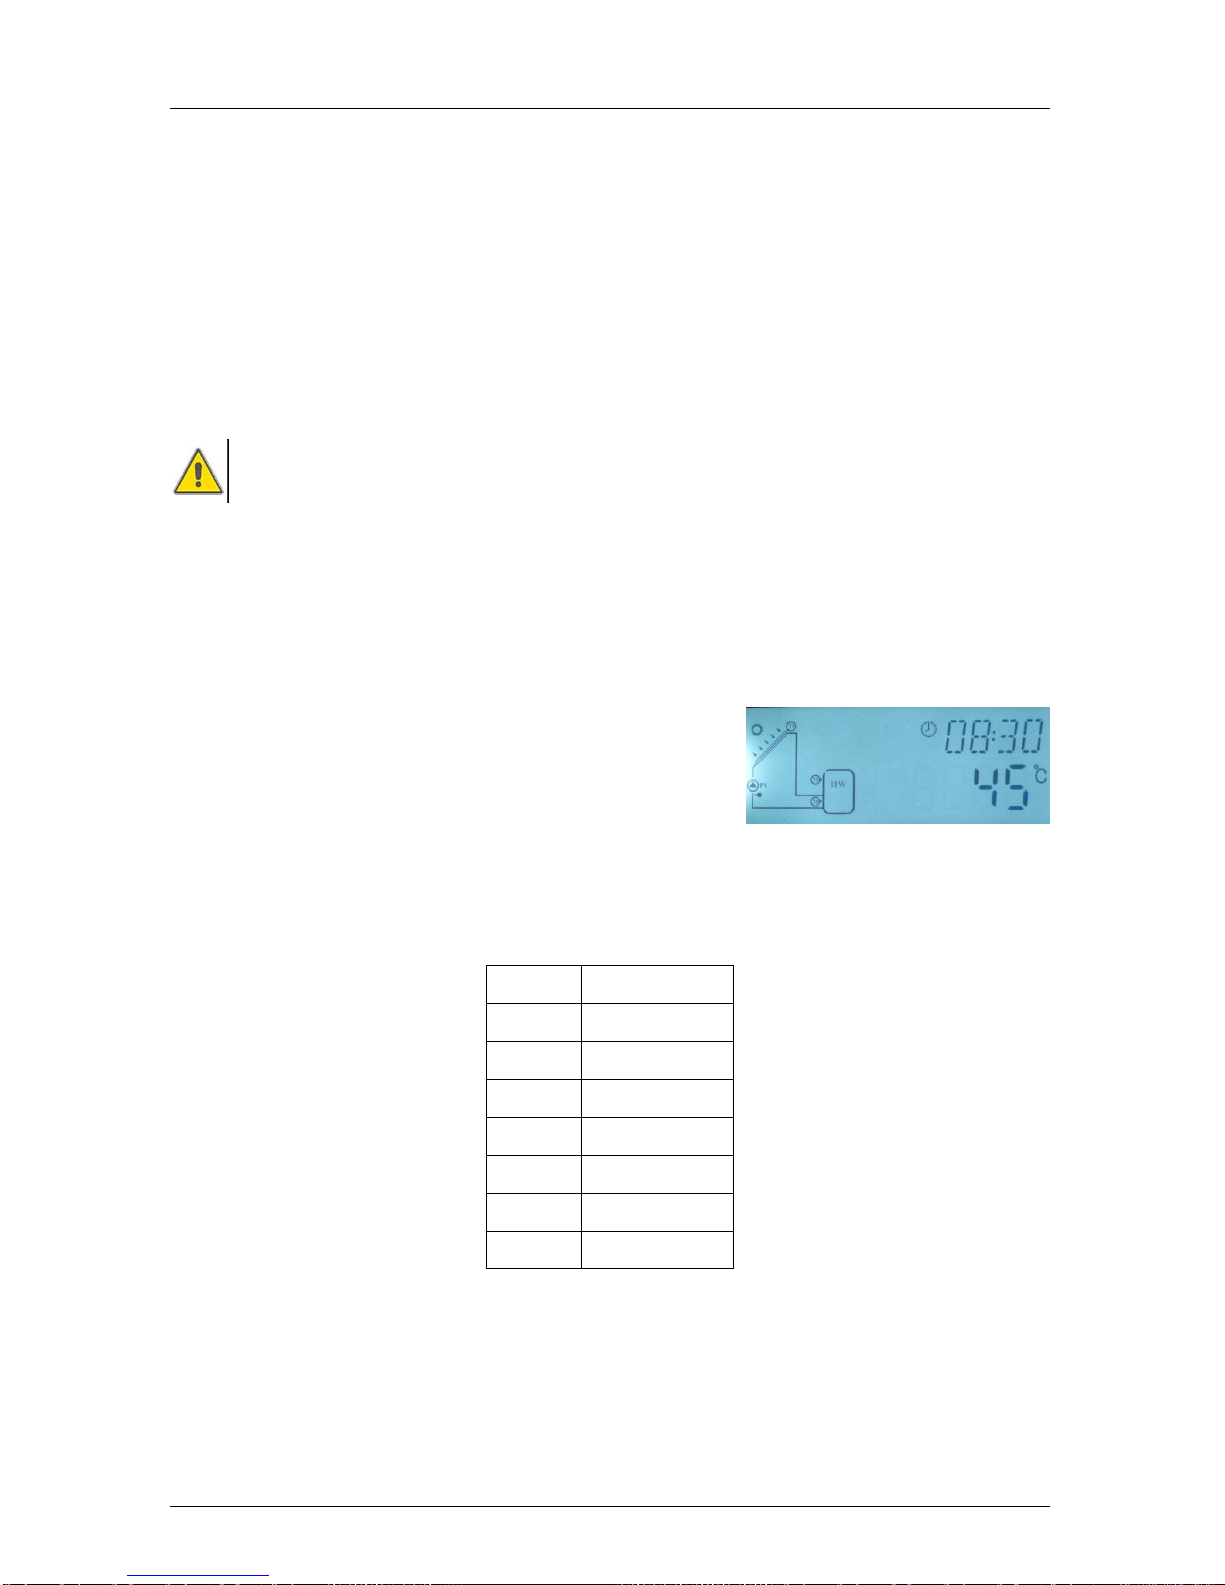
►Press “SET” button, “10” of hour time blinks on screen.
►Press “+”“-” button to adjust hour of time
►Repress “SET” button, “00” of minute time blinks on
screen
►Press “+”“-” button to set minute of time
►Repress “SET” button, temperature “55℃” blinks on screen
►Press “+”“-” button, to set switch-off temperature of heating
►Press “ESC” to exit this set program, parameters are saved automatically
--------------------------------------------------------------------------------------------------------------------
►Repress button “Tim. Heat”, “tH 3o 17:00” displays on screen, the switch-off time and
temperature for the third schedule of heating function can be set.
►Press “SET” button, “17” of hour time blinks on screen.
►Press “+”“-” button to adjust hour of time
►Repress “SET” button, “00” of minute time blinks on
screen
►Press “+”“-” button to set minute of time
►Repress “SET” button, temperature “50℃” blinks on screen
►Press “+”“-” button, to set switch-off temperature of heating
►Press “ESC” to exit this set program, parameters are saved automatically
►Repress button “Tim. Heat”, “tH 3F 22:00” displays on screen, the switch-off time and
temperature for the third schedule of heating function can be set.
►Press “SET” button, “22” of hour time blinks on screen.
►Press “+”“-” button to adjust hour of time
►Repress “SET” button, “00” of minute time blinks on
screen
►Press “+”“-” button to set minute of time
►Repress “SET” button, temperature “55℃” blinks on screen
►Press “+”“-” button, to set switch-off temperature of heating
►Press “ESC” to exit this set program, or wait for 20 seconds to exit automatically, the
setup parameters are saved automatically.