Sigma mobile X-style Tab A104 User manual

1
Dear Client! Thank you for purchasing Sigma
mobile product!
Please read this manual before using the device to ensure safe and proper
use and prevent it from damages.
Software, design features and content of manual may be changed to
improve the product without a prior notice.
Manufactures and distributors are not liable for case damages as well as
the damages caused due to incorrect or improper exploitation.
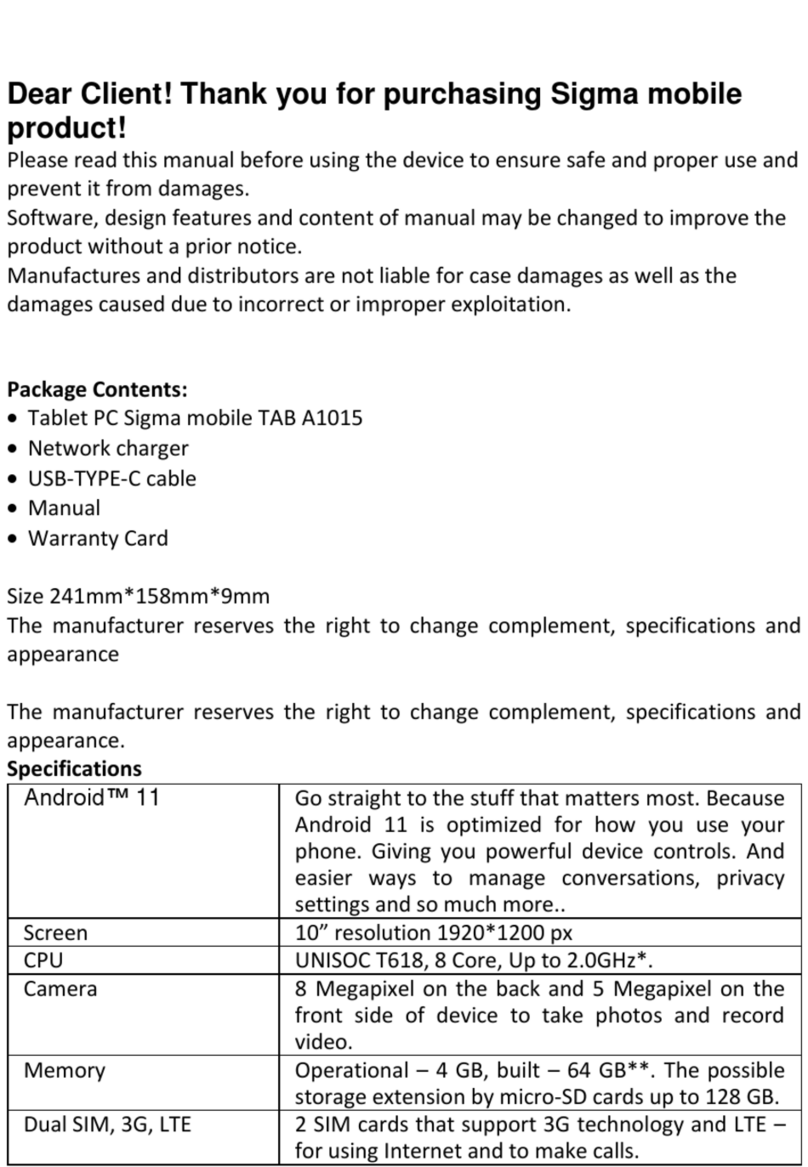
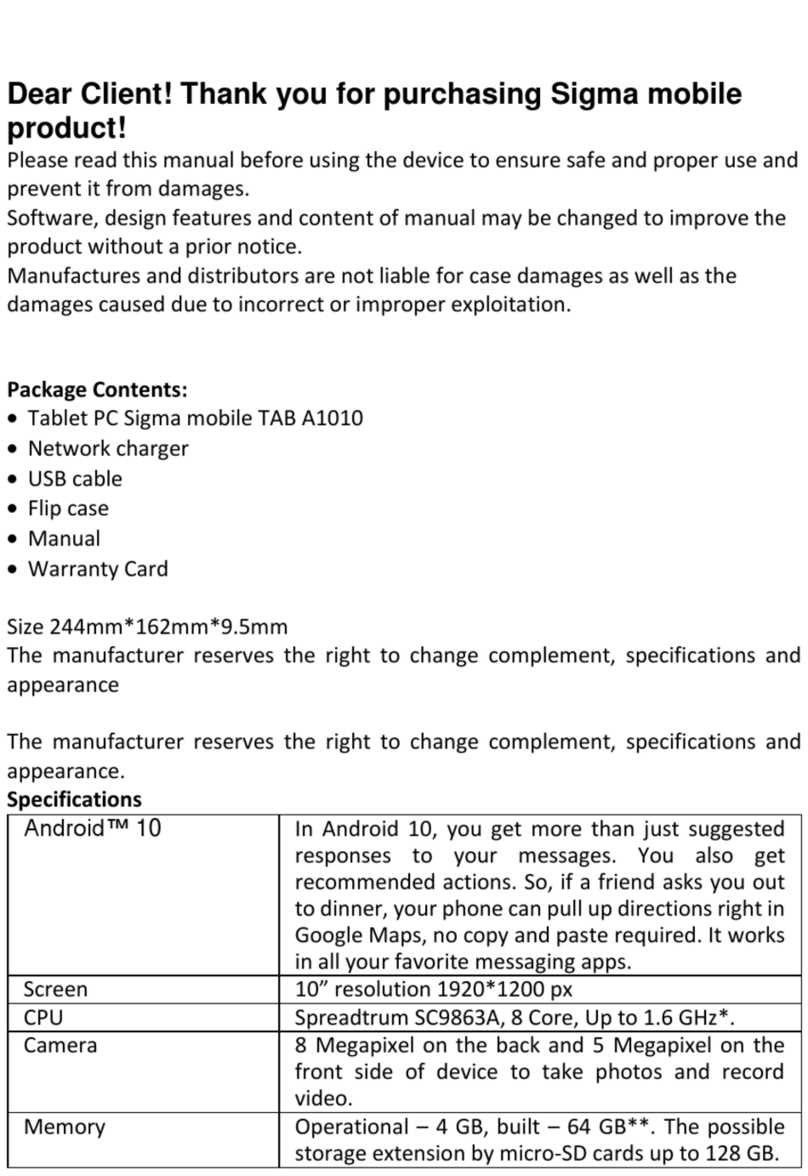
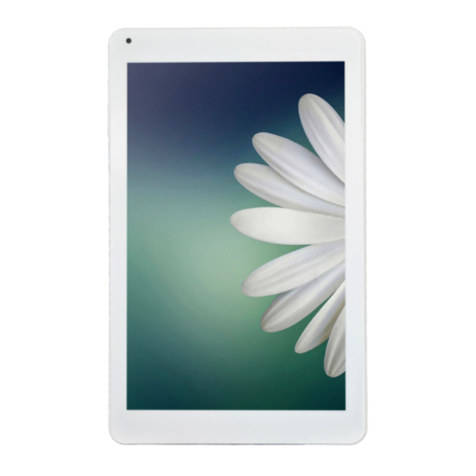
Tablet PC Sigma mobile X-style Tab A104
Network charger
USB-cable
OTG-cable
Manual
Warranty Card
SIZE: 258*160*8.5 mm
The manufacturer reserves the right to change complement, specifications
and appearance.
Specifications
Android™ 8.1
Popular operating system for tablet Pcs, the
ability to install applications.
Screen
10,1” resolution 1280*800
CPU
МТК8321, four cores to 1,3GHz*.
Camera
5 Megapixel on the back and 2 Megapixel on
the front side of device to take photos and
record video.
Memory
Operational –2GB, built –16GB**. The
possible storage extension by micro-SD cards
up to 32 GB.
Dual SIM, 3G
2 SIM cards that support 3G technology –for
using Internet and to make calls.
WI-FI 802.11 B/G/N
Connection Interface to the wireless network

2
GPS
The ability to determine the location and to use
navigation programs.
Battery
9000 мAh.
OTG
USB On-The-Go. Ability to connect and use
some peripheral devices such mouse, USB
flash drive etc
*The frequency of the processor program may be limited to lower values.
** The actual memory size may be less due to the pre-installed operating
system and applications.
Table of contents
SAFETY AND SECURITY............................................................................................. 3
GETTING STARTED ................................................................................................... 4
Device Layout .................................................................................................... 5
Standby mode .................................................................................................... 5
Button to additional menu ................................................................................. 6
Connection to 3G networks................................................................................ 6
Indicator icons.................................................................................................... 6
Charging the battery .......................................................................................... 7
Installing a SIM-card........................................................................................... 8
Installing a memory card.................................................................................... 9
Touchscreen usage............................................................................................. 9
Rotating the screen .......................................................................................... 10
Notifications..................................................................................................... 10
Home screen .................................................................................................... 11
Managing objects ............................................................................................. 11
Creating folders................................................................................................ 11
Managing panels .............................................................................................. 11
Setting wallpaper ............................................................................................. 12
Widgets usage.................................................................................................. 12
Applications screen .......................................................................................... 12
Program installing ............................................................................................ 12
Program removing............................................................................................ 12
Account settings............................................................................................... 13
Files transferring .............................................................................................. 13
Securing the device .......................................................................................... 13

3
SETTINGS ............................................................................................................... 14
Network & Internet .......................................................................................... 15
Connected devices ........................................................................................... 17
Apps & notifications ......................................................................................... 17
Battery ............................................................................................................. 18
Display.............................................................................................................. 18
Sound ............................................................................................................... 18
Storage............................................................................................................. 18
Security & location ........................................................................................... 18
Users & accounts.............................................................................................. 20
Accessibility...................................................................................................... 20
Google.............................................................................................................. 20
System.............................................................................................................. 20
Backup.............................................................................................................. 22
About tablet ..................................................................................................... 22
Connection ............................................................................................................ 22
Phone ............................................................................................................... 22
Contacts ........................................................................................................... 24
Messaging ........................................................................................................ 24
Programs ............................................................................................................... 25
Internet ............................................................................................................ 25
Email ................................................................................................................ 26
Camera............................................................................................................. 26
Taking photos or recording videos ................................................................... 27
Gallery .............................................................................................................. 27
Google™ programs ........................................................................................... 28
Troubleshooting .................................................................................................... 29
SAFETY AND SECURITY
Do not disassemble device and do not repair it by yourself.
Permitted outside temperature operating mode: 0 to 35*C.
Storage temperature:-5 to +45*C.
Relative humidity: 5% to 90%, non-condensing (25 ° C).
Avoid the contact with fire to avoid explosion or fire.

4
Do not expose the device or the battery to very cold or very hot
temperatures.
Avoid the water penetration on the device.
Do not drop device and avoid its hitting by other objects.
Do not expose the tablet to the heavy mechanical impact.
Avoid contacts with sources of electromagnetic radiation.
For cleaning device do not use chemicals or cleaning means; always turn
the device off before cleaning.
Do not disconnect device from the PC while formatting and copying files.
When using the device as a removable disk always follow the instructions.
Any false step may lead to loss of files.
Create a backup copy of important data on the PC, as the device repair or
other causes may result the data loss.
Use only accessories recommended by the manufacturer.
To avoid of getting heavy metals, acids, lye in water or soil, causing
significant damage to the environment, utilize used battery according to the
law. The legal liability arises in case of infraction about the utilizationnorms.
HEADSET USAGE
For safety do not use headset while driving the car or bicycle.
Reduce the volume passing roadway.
Using the headset, do not listen to music at a high volume for a long time
–reversely, it may lead to the hearing problems.
Stop using the headset or reduce the volume if you hear the ringing in ears.
GETTING STARTED
Turn on: Press and hold a few seconds power button. Wait for the download
process and lock screen appearance.
Turn off: Press and hold for four seconds power button until the switching off
interface appears. Choose the button, which confirms the switching off. The
device turns off.

5
Device Layout
(1) Screen
(2) Front camera
(3) Back camera
(4) Speaker
(5) USB-connector
(6) Headset connector
(7) Power: long press –turn on/off the device; short press - sleep mode on/off
(turn on the screen)
(8) Volume button:
Loudness +: volume up
Loudness -: volume down
(9) Micro SD slot (under case)
(10) SIM-cards slot (under case)
Standby mode
In operation mode theshort pressing on the power button leads the device to
the standby mode, the screen goes dark.
The repeated short pressing on the power button leads the device out from
the standby mode; the lock screen is showed on the display.
To unlock the screen, you may swipe from the bottom in any part of the
screen.
It is possible to protect yourself from unauthorized access in several ways:
- Locking by the graphical key;
- Locking by the password or PIN;
- Locking by voice.

6
Button to additional menu
On the main screen and in the different programs might be the icon .
By pressing on it, the additional menu is opened for additional configuration
and management.
Connection to 3G networks
To activate 3G* insert SIM-card of mobile operator in specialslot on the tablet
(only for the tablet models with built-in 3G). Only after these actions turn on
the tablet, search 3G signal appears automatically.
* Turn off the connection toWi-Fi before running the 3G function (if the tablet
was connected via Wi-Fi).
Attention: To avoid SIM-card damages turn off the tablet before changing
and removing SIM-card. Use standard SIM-cards accurately (SIM/Micro-
SIM). It is not recommended to use SIM-cards adapter. Insert and remove
the SIM-card without effort. Mechanical damage is not a guarantee case.
Indicator icons
The icons displayed at the top of the screen provide information about the
status of the device. The icons listed in the table below are most common.
No signal
Signal strength
Roaming (outside of normal service area)
GPRS network connected
EDGE network connected
UMTS network connected
HSDPA network connected
HSPA+ network connected
Wi-Fi connected

7
Bluetooth feature activated
GPS activated
Call in progress
Missed call
Synced with the web
New text or multimedia message
Alarm activated
Mute mode activated
Vibration mode activated
Flight mode activated
Error occurred or caution required
Battery power level
Charging the battery
Charge the battery before using it for the first time.
Use only Sigma mobile approved chargers, batteries, and cables.
Unapproved chargers or cables can cause the battery to explode or damage
the device.
When the battery power is low, the battery icon appears empty.
If the battery is completely discharged, the device cannot be turned on
immediately when the charger is connected. Allow a depleted battery to
charge for a few minutes before turning on the device.
If you use multiple apps at once, network apps, or apps that need a
connection to another device, the battery will drain quickly. To avoid losing
power during a data transfer, always use these apps after fully charging the
battery.

8
Charging with the charger
Connect the USB cable to the USB power adaptor, and then plug the end of
the USB cable into the multipurpose jack.
Connecting the charger improperly may cause serious damage to the device.
Any damage caused by misuse is not covered by the warranty.
The device may be used while charging; in that case charging time is
prolonged.
If the device receives an unstable power supply while charging, the
touchscreen may not function. If this happens, unplug the charger from the
device.
While charging, the device and the charger may heat up. This is normal and
should not affect the device’s lifespan or performance. If the battery gets
hotter than usual, the charger may stop charging.
If the device is not charging properly, take the device and the charger to a
Sigma mobile Service Centre.
After fully charging, disconnect the device from the charger. First unplug the
charger from the device, and then unplug it from the electric socket.
To save energy, unplug the charger when not in use. The charger does not
have a power switch, so you must unplug the charger from the electric socket
when not in use to avoid wasting power. The charger should remain close to
the electric socket and easily accessible while charging.
Installing a SIM-card
Insert the SIM or USIM card provided by the mobile telephone service
provider.
1. Open the cover of the SIM-card.
2. Insert SIM-card with contacts facing down as shown in the picture.
3. Push on the SIM-card into the slot to fix it. Attention!
Do not
insert the
memory
card in slot
for the SIM-
card. If the
memory card stuck in the slot for SIM-card, take the device to service center
Sigma mobile for its safe removal. Be careful not to lose the SIM-card and do

9
not let others use it. Sigma mobile is not liable for any damages or
inconvenience caused by lost or stolen cards.
4. Close cover of the SIM-card.
Installing a memory card
Your device accepts memory cards with maximum capacities of 32 GB.
Depending on the memory card manufacturer and type, some memory cards
may not be compatible with your device.
Some memory cards may not be fully compatible with the device. Using an
incompatible card may damage the device or the memory card, or corrupt
the data stored in it.
Use caution to insert the memory card right-side up.
The device supports the FAT and the exFAT file systems for memorycards.
When inserting a card formatted in a different file system, the device asks
to reformat the memory card.
Frequent writing and erasing of data shortens the lifespanof memory cards.
When inserting a memory card into the device, the memory card’s file
directory appears in the My Files.
1. Open the cover of the memory card.
2. Insert memory card with contacts facing down as shown in the picture.
3. Push on the memory card into the slot to fix it.
4. Close cover of the memory card.
Touchscreen usage
It is recommended to use fingers when you use the touchscreen.
Attention! Do not allow the touchscreen to come into contact with other electrical devices.
Electrostatic discharges can cause the touchscreen to malfunction. To avoid damaging the
touchscreen, do not tap it with anything sharp or apply excessive pressure to it with your fingertips.
The device may not recognize touch inputs close to the edges of the screen, which are outside of the
touch input area. Leaving the touchscreen idle for extended periods may result in afterimages (screen
burn-in) or ghosting. Turn off the touchscreen when you do not use the device.
Tapping
To open an app, to select a menu item, to press an on-screen button, or to
enter a character using the keyboard on the screen, tap it with your finger.
Tapping and holding
Tap and hold an item or the screen for more than 2 seconds to access
available options.
Dragging
To move an item, tap and hold it and drag it to the target position.

10
Double-tapping
Double - tap on a webpage or image to zoom in. Double –tap again to return.
Swiping
Swipe to the left or right on the Home screen or the Apps screen to view other
panels. You may swipe upwards or downwards to scroll through a webpage
or a list of items such as contacts.
Spreading and pinching
Spread two fingers apart on a webpage, map, or image to zoom in a part.
Pinch to zoom out.
Rotating the screen
Many programs support the interface displaying in landscape or portrait
format. If the device turns, the display turns automatically according to the
new screen position.
Open notification panel and cancel the option Screen turning if you do not
want the screen to turn.
Attention! Some programs do not support the Screen turning option. Some
programs display different screen positions depends on the device position.
Notifications
When you receive new notifications, such as messages or missed calls,
indicator icons appear on the status bar. To see more information about the
icons, open the notification panel and view the details. To open the
notification panel, drag the status bar downwards. To close the notification
panel, swipe upwards on the screen. Scroll down to see additional
notifications.
On the notifications panel you may view current device settings. Drag the
status bar downwards to use the following options:
Settings : switch to device settings
Wi-Fi: Wi-Fi function on/off
Bluetooth: on/off Bluetooth
Do not disturb function switch
Screen Rotation: on/off automatically screen rotation .
Battery saver on/off switch
Mobile data: on/off mobile data
Flight mode: on/off Flight mode
Location: on/off GPS function

11
Adjust the screen brightness
Home screen
Home screen is the starting point for accessing all of the device’s features. It
displays widgets, shortcuts to apps, and more. To view other panels, swipe
to the left or right.
Managing objects
Adding items
On the Home screen swipe up to open apps folder tap and hold program icon,
then drag it to the previous image panel.
Moving items
Tap and hold an item on the Home screen, and then drag it to a new location.
To move the item to another panel, drag it to the side of the screen.
Removing items
Tap and hold an item, and then drag it to remove at the top of the screen.
Creating folders
You can combine multiple shortcuts in folders on the home screen.
On the Home screen,tap and hold an app, and then drag it over another app.
Drop the app when a folder frame appears around the apps. A new folder
containing the selected apps will be created.
To move apps from a folder to the Home screen, tap the folder, and then drag
an app to the Home screen.
To delete apps in a folder, tap the folder, and then drag the app you want to
delete to Remove at the top of the screen.
To rename the folder, tap the name.
Managing panels
Adding new panel
New panel is added automatically when the new object is added beyond the
existing panels.
Moving the pannel
On the Home screen, tap and hold an empty area to add, move, or remove a
panel.
Delete the panel
In order to delete the panel, delete first all of the objects of its panel. And the
panel will be removed automatically.

12
Setting wallpaper
Setting pictures and photos, saved on the device, as a background for home
screen.
Press and hold empty space on the home screen and then press
Wallpapers.
Choose the necessary image, change the frame (as you wish) and install
as a wallpaper.
Widgets usage
Widgets –are the short programs, because of them a lot of small functions
places on the home screen. In order to use them, add widgets to the home
screen.
Attention! Some widgets are connected to network. The usage of web-
widget may lead to additional costs. The widgets availability depends on
country or mobile operator.
On the home screen press and hold empty space and then press Widgets.
Scroll left and right on the widget panel and then touch and hold widget to
add it to the home screen. Place it on the proper place, change size by
dragging (if you wish) and then touch any part of screen to save the widget
location.
Applications screen
On the program screen all program icons are displayed, including recently
installed program.
Swipe Up on the home screen, to open program menu. To view other panel
scroll Up or Down.
Program installing
To download and install applications you may use different services such as
Google Play.
Program removing
Touch and hold object and drag it Recycle Bin that appears at the top of the
home screen. When the basket turns red, release it.
Standard programs cannot be deleted.

13
Account settings
You need Google™account to use Google programs such as Play Store,
Gmail and ext. Create Google account for using all phone possibilities.
Adding accounts
To set up Google account follow the instructions, which are displayed when
the Google is opened without signing in.
To enter the system by the Google account or register Google account
touches the program menu - Settings → Users & Accounts →Add
account→ Google.
Removing accounts
On the program menu press Settings → Users & Accounts, choose the
account that should be removed then press → Remove account.
Files transferring
Transferring of the audio, video, images and other file types from the device
to computer and reversely.
Connection in file transfer mode
1. Connect the device to the computer using the USB cable.
2. Open the notifications panel, and then tap Use USB to → Transfer files.
3. Transfer files between your device and the computer.
Connection in photo transfer mode
1. Connect the device to the computer using the USB cable.
2. Open the notifications panel, and then tap Use USB to → Transfer photos
(PTP).
3. Transfer photos between your device and the computer.
Securing the device
Prevent others from using or accessing personal data and information stored
in the device by using the security features. The device requires an unlock
code whenever unlocking it.

14
Setting a pattern
On the Applications screen, tap Settings → Security →
Lock screen → Pattern.
Draw a pattern by connecting four dots or more, and then
draw the pattern again to verify it.
Set a backup unlock PIN to unlock the screen when you forget the pattern.
Setting a PIN
On the Applications screen, tap Settings → Security → Lock screen → PIN.
Enter at least four numbers, and then enter the password again to verify it.
Setting a password
On the Applications screen, tap Settings → Security → Lock screen →
Password.
Enter at least four characters including numbers and symbols, and then enter
the password again to verify it.
SETTINGS
Use this application to configure the device, set application options, and add
accounts.
Tap Settings on the Applications screen.

15
Network & Internet
WI-FI
In the WI-FI section you will see a WI-FI
switch, a list of available networks, the
latest line of which is "Add Network" - for
manually adding the WI-FI network and a
Saved network –list of network has been
saved.
For settings press WiFi preferences:
Open network notification switch
Install certificates
WiFi calling switch
Network rating provider
WI-FI Direct –searching and
connection to devices that support this
technology
WPS button - WPS-router
connection
Enter by PIN-code with WPS
MAC-address and IP-address
After all installation is done, icon of
connection with the wireless
network appears at the top of
the screen
Mobile network
Data roaming
Set the device to use data connections when you are roaming
Preferred network type
To choose which type of network you want to connect: 2G/3G
Access point names
Set up access point names (APNs).

16
Network operators
Automatic or manual choosing the operators. Search for available networks
and manually register a network.
Data usage
Keep track of your data usage amount, and customize the settings for the
limitation.
Mobile data switch: Set the device to use data connections on any mobile
network.
Mobile data usage: accounting of usage of data services in all mobile
networks
Set mobile data limit and billing cycle: Set a limitfor the mobile data usage.
Data saver: Data saver prevents some apps from sending or receiving data
an the background
Wi-Fi usage: Set the device to show your data usage via Wi-Fi.
Hotspot & tethering
USB tethering: Use USB tethering to share the device’s mobile network
connection with a computer via USB. When connected to a computer, the
device is used as a wireless modem for the computer.
Bluetooth tethering: Use Bluetooth tethering to share the device’s mobile
network connection with computers or other devices via Bluetooth.
WiFi hotspot: Use the portable Mobile hotspot to share the device’s mobile
network connection with computers or other devices through the Wi-Fi
network.
SIM cards
Enable / disable SIM cards, configure the card by default for:
Getting mobile data
Calls
Message
VPN
Set up and connect to virtual private networks (VPNs).
Airplane mode
This disables all wireless functions on your device. You can use only non-
network services.

17
Connected devices
Bluetooth
Use Bluetooth to exchange data or media files with other Bluetooth-enabled
devices.
USB
How to use USB (when connected to a PC):
Charge this device
Transfer files
Transfer photos (РТР)
Apps & notifications
List of applications installed on the device.
To view all installed apps, touch See all apps. Touch the app you want to
view and adjust your actions:
• Uninstall - remove the application
• Force Stop - stop the application
• Application notifications - Notification settings for the application
• Permissions - View and configure the permissions of the application
• Storage (use the device memory application)
• Data usage
• Battery. Battery usage data, background settings and battery optimization.
• Open by default (using this particular application to open specific links)
• Information about the application
WARNING! Standard apps provided with the device can not be deleted.
Downloaded applications and some standard applications that come with
your device can not be turned off. If you use this feature, the programs
turned off do not appear on the application screen, but are still stored in the
device memory.
Notification
Application setting to show notification. For each application, you can
enable / disable and configure display and send notifications in different
situations with the use of a smartphone.

18
App permissions
View application permissions. Permissions are grouped by type of use.
There is the ability to manage permissions: enable / disable
Advanced
Installing default apps to use in certain situations. Configuring Special app
Access to System Processes (battery optimization, modify system settings
and so on)
Battery
In this menu you can see the battery usage after the last full charge, enable
/ disable power saving mode, set sleep mode, enable battery percentage
display, and more.
Display
Screen settings:
•Wallpaper
•Brightness level
•Time for activating sleep mode
•Font size
•Screen Rotation (auto-rotation switch)
Sound
Set up your phone's sound: ringtones and volume for different types of
notifications, vibrate on / off, key sounds, Do not disturb, sound
enhancement, and more.
Storage
The memory displaying installed in the device: total amount and free space
Security & location
Security status
Turn Google Play protect on / off and report on it
Turn on and set up the "Find My device" feature

19
Device security
There is a changing of security settings of device and SIM- or USIM-card.
Locking the screen. Type setting screen lock
Fingerprint. Setting up screen unlock with fingerprint.
Smart Lock. You need to set the screen lock to turn on. With Google Smart
Lock you can easily protect your devices and accounts. Smart Lock
automatically blocks the tablet or phone when it's not with you and unlocks
the device when it's safe. You can choose how to unlock your Android
device: through certain Bluetooth or NFC connections, in trusted locations
when you hold it, or when it recognizes your voice
Privacy
Location
The setting changing is for applying to the location information.
Mode: collection of information about the location mode.
Last requests: viewing programs that use information about location and its
battery usage.
Show passwords
Activate / deactivate the short-term password display feature when you enter
it
Other settings for device security
Device admin apps: view device administrators, installed on it.
Administrators may be allowed to use on the device new policy.
To encrypt device: set a password to encrypt data stored on the device.
Password must be entered each time when activatethe device. Charge the
battery before activate this option, as data encryption takes time more than
an hour.
External memory card encryption: files encryption on the device, saved on
memory card. If you reset your device to the factory defaults with this
setting enabled, the device will not be able to read your encrypted files.
Disable this setting before resetting the device.
Data protection. To protect data from unwanted access usinga graphic key
Setting of SIM-card locking:
–To lock SIM-card: enable or disable the lock option with the help of
PIN-code to request PIN-code before using the device.

20
–To change the PIN-code of the SIM-card: PIN-code changing that is
used for the access on the SIM-card.
Type of storage: set up the type of storage for account data saving.
Trusted account data: certificate and account data usage to ensure secure
use of various applications.
Certificates installation: to install encrypted certificates stored on USB-
drives.
Remove account data: remove account data from the device and reset the
password.
Users & accounts
Manage (add, edit, etc.) accounts of the device. Enable / disable automatic
data synchronization. Adding and viewing information for emergencies for
the user (medical information, contact persons in case of an emergency)
Accessibility
Availability services –special functions, designed for users with certain
disabilities. Use the settings and change it to improve the availability and
usability of the device
Google
View and configure Google services installed on your smartphone (e.g.
Google Pay, account, Google Fit, and more).
System
Language and input
Change the settings for text input. Some options may not be available
depending on the selected language.
Language
Language selection will be displayed on the all menus and programs.
Keyboard and input methods
Google keyboard
Number of available options depends on country and operator
Languages: to choose input language
Table of contents
Other Sigma mobile Tablet manuals
