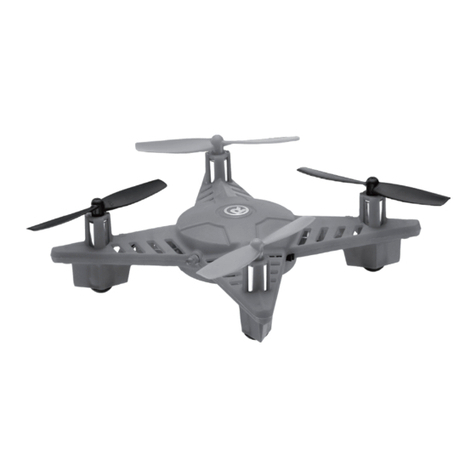
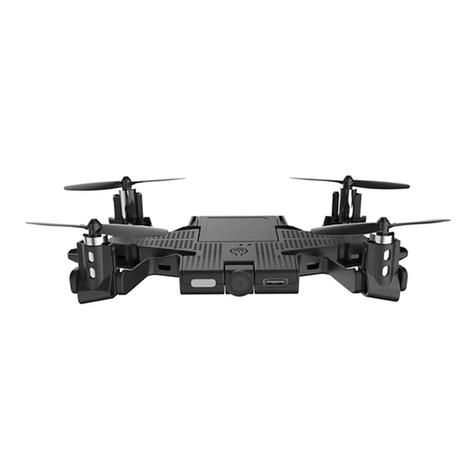
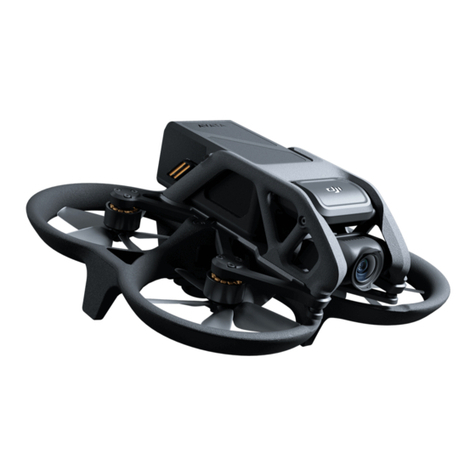
skeye. NANO DRONE User manual

1
SKEYE
USER GUIDE
Nano Drone

2
Idencaon des pièces
SKEYE Nano Drone Remplacer les pales du rotor
Controller
USB Charging Cable
Throle /
Rotate
Direcon Forward/
Backward Sideways
Forward/Backward
Trimmer
Sideways Le/Right
Trimmer
Power Switch (ON/OFF)
Controller Funcons

3
1. Open the controller
baery cover.
4. Connect the USB charging cable to a USB port. The LED on the USB charging cable
lights red indicang that the baery is charging. When the baery is fully charged,
the LED on the USB charging cable turns o. It takes about 60 minutes to recharge
a discharged baery.
Pushing the throle/rotate sck forward will cause the main rotors to spin. The
farther you push the sck, the faster the rotors will spin, causing the drone to li o
and gain altude.
If you noce that the drone moves forwards or to the side without your touching the
control scks, please adjust the trim of the drone as described in “Trimming”.
Make sure you only charge the rechargeable baery with the supplied
USB charging cable. If you try to charge the rechargeable baery with a
dierent baery charger, this might cause serious damage.
2. Install 2x 1.5V AAA
baeries into the
controller.
3. Lock the baery cover.
WARNING
Baery Installaon
Charging
Flight Controls
Geng Started

4
Flying Your Drone
Throle Control
Direcon Control
To start or to y higher, push the throle/rotate sck cauously forwards. To land or
y lower, push the throle/rotate sck cauously backwards.
To y the drone forwards or backwards, push the direcon sck cauously to
forwards or backwards.
To y the drone to the le or the right, push the direcon sck cauously to the le
or the right
1. Move the throle/rotate sck to the full down posion.
2. Slide the power switch of the drone. Immediately aer switching the drone
on, place the drone on a at and level surface. The gyro-system will then set itself
automacally.

5
Advanced Flight: Performing 360° Flips
Sensivity Control
3. Slide the power switch to the ON posion. The controller will emit a tone to
indicate that binding is complete. At the same me, two LED lights on the drone will
start to ash slowly.
4. The controller needs to be calibrated aer successful binding: move the throle/
rotate sck to the full up posion and then push the throle/rotate sck to the full
down posion. When the LED on the controller and the LEDs on the model are all
solid (not blinking), the drone is ready to y.
The drone has three sensivity sengs: low, middle and high.
Press the throle/rotate sck in order to change the sensivity:
1.When the controller emits 1 tone = low sensivity mode.
(sensivity of up to 30%)
2. When the controller emits 2 tones = middle sensivity mode.
(sensivity of up to 50%)
3. When the controller emits 3 tones= high sensivity mode.
(sensivity of up to 70%)
A higher sensivity makes the drone faster and more responsive
The drone can perform 360° front ips, back ips and side ips. Press the direcon
sck to enter ip mode. The controller will emit a tone.

6
Le Side 360° Flip
Right Side 360° Flip
Forward 360° Flip
Backward 360° Flip
Press the direcon sck and push it to the le once you’ve heard the tone.
Press the direcon sck and push it to the right once you’ve heard the tone.
Press the direcon sckand push it forward once you’ve heard the tone.
Press the direcon sck and push it backward once you’ve heard the tone.

7
Do not aempt these stunts unl you are able to y condently. Choose
an area that will provide a so landing (carpet or grass) and maintain an
altude of at least 10 feet/3 meter to allow room to recover control as you
pracce ipping the model.
WARNING
Press the direcon sck and push it to the le once you’ve heard the tone.
When hovering, if the drone ies forwards or backwards without you moving the
direcon sck, please proceed as follows:
If the drone moves on its own forwards, press the backward trimmer in steps.
If the drone moves on its own backwards, press the forward trimmer in steps.
When hovering, if the drone ies to the le or right without you moving the direcon
sck, please proceed as follows:
If the drone moves on its own sideways to the le, press the right trimmer in steps.
If the drone moves on its own sideways to the right, press the le trimmer in steps.
Trimming
Direcon Trim

8
Calibraon
Replacing Rotor Blades
The drone needs to be calibrated if it ies unstable.
1. Place the drone on a at surface and calibrate throle
(See 4 under “Flying Your Drone”)
2. Set the sensivity to high. Keep the throle in the minimum posion.
3. Move the direcon sck to the upper le corner, the throle/rotate sck into
the lower le corner. Two LED lights will start to ash meaning that the calibraon
is successful.
Gently pull the rotor to be replaced from the motor axis. Each rotor is marked with a
“B” or “A”, followed by a number at the underside. Be sure to note the marking and the
lt angle of the rotor blades.
Front le: marking “B”
Front right: marking “A”
Rear le: marking “A”
Rear right: marking “B”
B
A
A
B

9
Problem: Controller does
not work.
Cause: The power switch is
turned “OFF”.
Soluon: Turn the power
switch “ON”.
Cause: The baeries have
been wrongly inserted.
Soluon: Check if the
baeries have been
correctly inserted.
Cause: The baeries do
not have enough power.
Soluon: Insert new
baeries.
Problem: The drone cannot
be controlled with the
controller
Cause: The power switch on
the controller is turned “OFF”.
Soluon: First turn the power
switch on the controller “ON”.
Cause: The controller
is possibly not correctly
frequency bound with the
receiver on the drone.
Soluon: Please carry
out the binding procedure
as described in “Flying
Your Drone”.
Problem: The drone does
not li.
Cause: The rotor blades
rotate too slowly.
Soluon: Push the
throle up.
Cause: The baery’s power
is not sucient.
Soluon: Charge the baery
(see chapter “Geng
Started / Charging”).
Problem: During ight, the
Drone loses speed and height
without any obvious reason.
Cause: The baery is
too weak.
Soluon: Charge the baery
(see chapter “Geng
Started / Charging”).
Problem: The drone only
ies in a circle or turns over
on starng.
Cause: Rotor blades
incorrectly ed or damaged.
Soluon: Fit rotor blades /
replace rotor blades
Troubleshoong

10
Safety Precauons
• Carefully follow the direcons and warnings for this drone and any oponal
support equipment you may use.
• Never operate your drone with low controller baeries.
• The drone has rotang blades that move at high speed, posing danger of damage
and injury. Pilots are responsible for any acons that result in damage or injury
from the improper operaon of the drone. Choose an adequate ying space
without obstacles. Do not operate the drone near buildings, crowds of people,
high voltage power lines, or trees to ensure the safety of yourself, others, and your
drone. Wear eye protecon when operang your drone and keep your hands, face,
hair, loose clothing, and foreign objects away from the rotang blades.
• This drone has small parts that may pose a choking hazard. Keep all small parts and
electrical devices out of the reach of children and animals.
• Pets can become excited by radio-controlled drones. Keep pets away from your
drone at all mes.
• Keep the drone in sight at all mes during operaon and ight. Disconnue
operaon immediately if the drone ies out of your eld of view.
• Because your drone is controlled by radio, it is subject to radio interference
from many sources that are beyond your control. Radio interference can cause
momentary losses of radio control; always allow a safety margin in all direcons
around the drone to prevent collisions.
• When ying indoors, avoid locaons with ceiling fans, hanging light xtures,
heang or air condioning vents, or any other obstacles that may interfere with or
damage your drone.
• Keep hands, hair and loose clothing away from the rotors when the power switch
is turned on.
• Parental guidance is required for younger users.
• The controller and charger are specically designed to charge this drone. Never
use other charging equipment.
• The drone is NOT intended for use by children under fourteen (14) years old,
unless directly supervised by competent adult at all mes.
• Regularly examine the drone and controller for any damage to the plugs,
enclosure, rotors, baery covers and other parts. In the event of any damage,
neither the drone nor the controller should be used.

11
Do not aempt these stunts unl you are able to y condently. Choose
an area that will provide a so landing (carpet or grass) and maintain an
altude of at least 10 feet/3 meter to allow room to recover control as you
pracce ipping the model.
WARNING
Caring For Your Drone
FCC Compliance Informaon (USA only)
• For best performance, only use fresh Alkaline “AAA” baeries in the controller.
• Aer each crash, inspect your drone for worn or damaged parts.
• The drone automacally switches o if the rotors are unable to rotate. Switch the
power to restart the drone.
• When not in use, store your drone in its original packaging with the baeries
removed from the controller and drone.
• Always recharge the baery immediately aer use to prevent its becoming deep
discharged. Please make sure to allow a pause of about 20 minutes between
nishing the ight and recharging the baery. Recharge the baery occasionally
(suggested every 2-3 months). Failure to treat the baery as described above can
lead to its becoming defecve.
• When transporng or temporarily storing the rechargeable baery the
temperature should be between 5-50°C. If possible, do not store the baery or the
drone in a car and do not expose it to direct sunlight. In case the baery is broiled
it can be damaged or catch re.
• Do not submerge the drone or remote control in water. This will damage the
electronic components, and could pose a severe risk to the built-in baery.
• Keep the drone and remote away from heat sources.
• To clean, wipe gently with a damp cloth. Avoid use of solvents, as these can damage
the plasc components.
This device complies with part 15 of the FCC Rules. Operaon is subject to the
following two condions: (1) This device may not cause harmful interference, and (2)
This device must accept any interference received, including interference that may
cause undesired operaon.
AW-v5-NL

12
Table of contents
