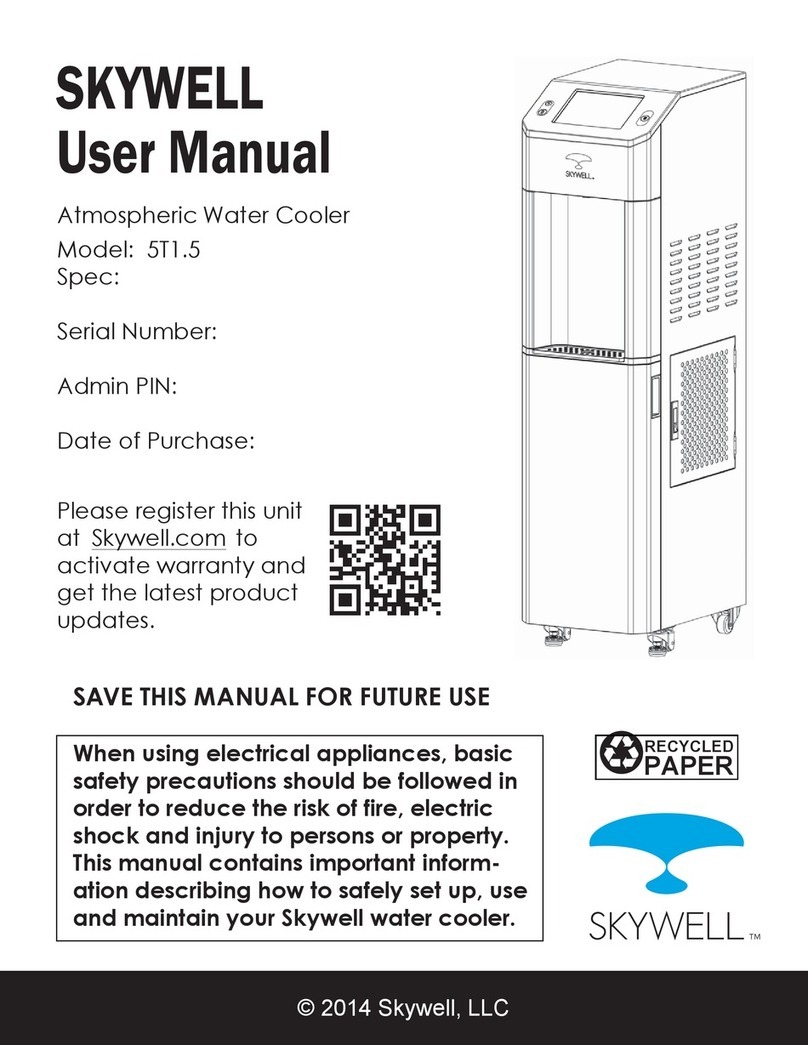
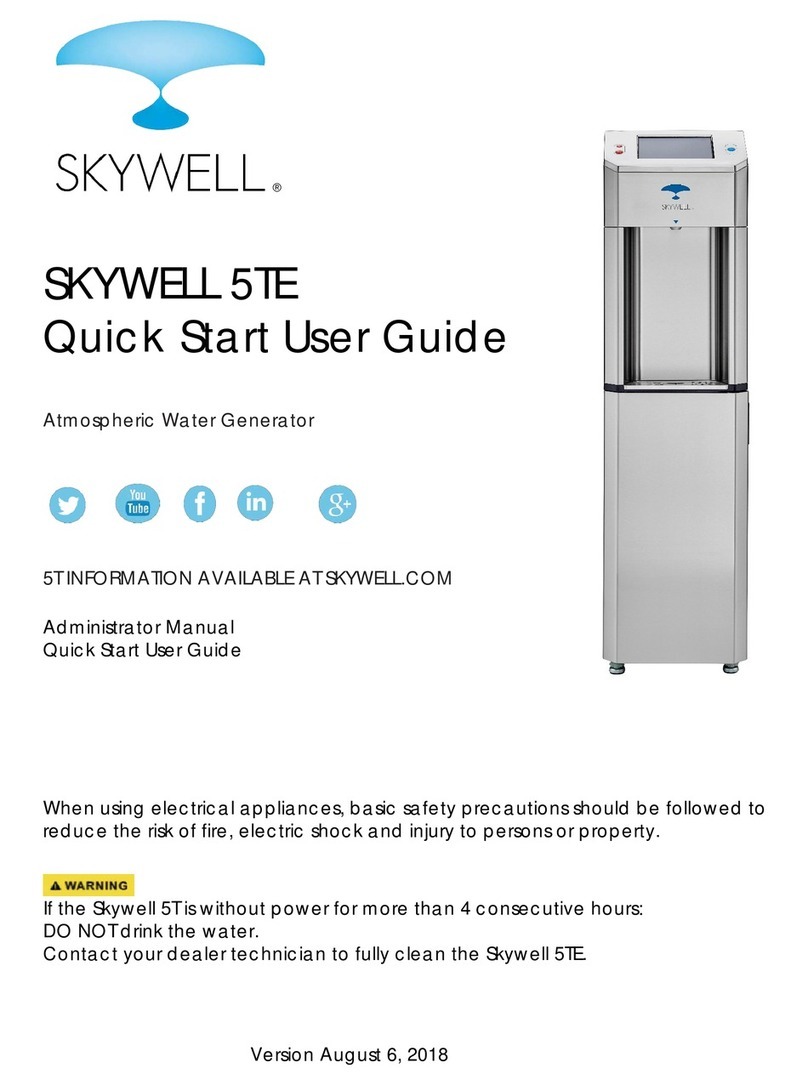
Skywell 5T User manual

SKYWELL 5T
USER MANUAL
Atmospheric Water Generator
5T INFORMATION AVAILABLE AT SKYWELL.COM
User Manual
Quick Start User Guide
The Latest Skywell APP
When using electrical appliances, basic safety precautions should be followed to
reduce the risk of fire, electric shock and injury to persons or property.
If the Skywell 5T is without power for more than 4 consecutive hours:
DO NOT drink the water.
Contact your dealer technician to fully clean the Skywell 5T per the cleaning protocol
established in the Skywell 5T Service Manual.
VERSION: APRIL 15, 2018
1

TABLE OF CONTENTS
Key Safety Considerations 3
Safety Precautions 4
Electrical Shock Hazard 5
How the Skywell Works 6
Product Specifications 9
Product Features 9
Dispense Water 10
The Skywell APP 11
Set Water Generation Periods, Temperatures and Quiet Mode 12
Set the Time and Date 13
Create Personal Hydration Profile 15
Connect Via WIFI to the Skywell 16
Install the Skywell APP 17
Load Logos and Images 21
Install Custom Profile Pics 23
Install Custom Eco Trivia Questions 25
Install a Custom Screensaver Video 27
Clean the Air Filter 28
Clean the Skywell Exterior 28
Disinfect the Dispensing Point 28
Cleaning the Skywell After a Power Outage 29
Detecting any Abnormal Circumstance 29
Limited Warranty 30
FCC Statement 31
IC Statement 32
2

KEY SAFETY CONSIDERATIONS
To reduce risk of injury and/or property damage, please read
the Skywell 5T Service Manual in its entirety before assembling, installing and
operating the Skywell 5T. Failure to follow the instructions in the Skywell 5T Service
Manual could cause personal injury or property damage.
Use two or more people to unpack the Skywell 5T.
The Skywell 5T should be upright for at least 4 hours prior to
plugging it into an electrical wall outlet. Plugging in shortly after the Skywell has
been on its side can damage the compressor. Skywell recommends never
placing the unit on its side.
NOTE: After water generation begins, it may take 90 minutes for the water to
reach its coldest temperature.
Insert the Skywell power cord into a standard 3-prong
grounded AC 120V, 60Hz outlet ONLY. Consult with an electrician if necessary.
The Skywell dispenses water as hot as 208° Fahrenheit (97.7°
Celsius). Use caution when dispensing hot water and do not allow children to
dispense hot water without proper and direct adultsupervision.
Do not tamper with the ozonator pump or generator. Oxygen
is released in very small quantities into the Skywell. Attempting to adjust the pump
or generator may release more oxygen than prescribed.
3

SAFETY PRECAUTIONS
When operating the Skywell 5T, always exercise basic safety
precautions including, but not limited to, the following:
1.
Prior to use, the Skywell 5T must be properly assembled and installed in
accordance with the Skywell 5T ServiceManual.
2.
The Skywell is intended for dispensing water only. Do NOT use other liquids. Do
NOT use for other purposes. The Limited Warranty is void if used to dispense
any otherliquids.
3.
For indoor use only. Keep the Skywell in a dry place (not exposed to
precipitation) away from directsunlight. Do NOT useoutdoors.
4.
Install and use only on a hard, flat and level surface.
5.
Do NOT place the Skywell in an enclosed space orcabinet.
6.
Do NOT operate the Skywell in the presence of explosive or inflammable
fumes.
7.
Position the Skywell no closer than 18 inches from a wall to permit free
airflow between the wall and the Skywell. There must be at least 18 inches of
clearance on all the sides of the Skywell.
8.
Use only properly groundedoutlets.
9.
Always grasp the plug and pull straight out from the outlet. Never unplug by
pulling on thecord.
10.
Do NOT use the Skywell if the cord becomes frayed or otherwisedamaged.
11.
To protect againstelectric shock, do NOT immerse the cord plug, or any other
part of the Skywell, in water or other liquids.
12.
Ensure the Skywell is unplugged prior to cleaning or changingfilters.
13.
Never allow children to dispense hot water without proper and direct adult
supervision.
14.
Only use Skywell-authorized parts and accessories.
15.
Use sanitary gloves when working on the Skywell 5T to minimize any
contamination.
During the Skywell prep process, the unitinstallation and any service calls, itis vital
that the service technician be vigilant to not allow any insects or vermin to gain
access to the Skywell.
4

ELECTRICAL SHOCK HAZARD
1. Plug the Skywell into a grounded 3-prong outletonly.
2. Do not remove the ground prong from the Skywell power cord. Use only the
Skywell power cord.
3. Failure to follow these instructions can cause fire or electricalshock resulting in
injury or even death.
A 120-volt, 60 Hz, AC only, 15-amp electrical supply is required. A time-delay fuse
or circuit breaker is recommended. Do not overload the circuit. If required,
provide a separate circuit to serve only the Skywell. The Skywell must be plugged
into a mating, 3-prong, grounding-type outlet; grounded in accordance with
local codes and ordinances. In the event of a malfunction or breakdown,
grounding will reduce the risk of electrical shock by providing a path of least
resistance for electric current. If a mating outlet is not available, it is the personal
responsibility and obligation of the user to have the properly grounded outlet
installed by a qualified electrician. Do not ground to a gas pipe. Do not have a
fuse in the neutral or groundcircuit.
5

HOW THE SKYWELL 5T WORKS
The Skywell 5T atmospheric water generator (AWG) condenses water from the air
and delivers it as either hot or cold for consumption. A fan pulls air through an
electrostatic air filter and over a heat exchanger that has been cooled below
the dew point of the entering air. On this cooled surface, water condenses and
is filtered through a double-layered wire mesh into a stainless-steel tank that is on
rails and that can be easily opened.
The generated water in the collection tank is exposed to ultraviolet (UV) light to
kill bacteria. The effectiveness of the UV light is monitored with a unique UV
sensor.
The water level in the collection tank is controlled via depth sensors. Generated
water is pumped from the tank through 4 filters. The first filter is a mineralization
filter that helps increase pH levels and adds calcium carbonate. The second
filter is a granular activated carbon (GAC) cartridge which improves taste and
removes organic chemicals and any foul odors. The third filter is a carbon block
(CB) that removes organic compounds (S/VOCs) and heavy metals (Pb, Fe,
etc.). The fourth cartridge is an ultra-filtration (UF) membrane filter that removes
any remaining fine sediments, suspended particles, viruses and bacteria.
6

4 filter set configured in
lower half of the unit
UV
7

5th Filter (UF Membrane)
The generated water is then pumped through a solenoid valve into the top/cold
tank. The top/cold tank also has depth sensors to monitor volume. As a secondary
safeguard to prevent overflows and leaks, there is a float valve on the incoming
water line.
The top/cold tank incorporates an additional UV light and unique sensor that
further ensures water quality. A cooling coil makes the water cold and a pump
dispenses the cold water for the user. A fifth filter (UF Membrane) isconfigured
on the cold water dispense line for yet another safeguard to ensure water
quality.
Water is gravity-fed from the top/cold tank into an additional tank for hot water.
The hot water dispense line is configured with a sixth filter (mesh)to further ensure
water quality. The ozonator pump and generator (producing 15 seconds of
ozone every 3 hours) provide an additional cleaning element to the Skywell 5T.
8

PRODUCT SPECIFICATIONS
Power rating
Refrigerant Types
Cold Water Power
Hot Water Power
Dispense Temp. Range
Collection tank capacity
Cold tank capacity
Hot tank capacity
Dimensions
Net Weight
AC 110 -120V/60Hz/13A
R134a & R410A
70W
850W
37°F - 208 °F (2.77°C – 97.77°C)
6 L / 1.6 Gallons
10 L / 2.5 Gallons
0.8 L / 0.21 Gallons
123. 5 H × 32. 7 W × 50. 7 D (cm)
48.6 H × 12.9 W × 20 D (inch)
73kg / 161 lbs.
FEATURES
9

DISPENSE WATER
Dispense Cold Water
After water generation, it may take up to 90 minutes for the water to reach its
maximum cold temperature of 37° Fahrenheit (2.7°Celsius). During this time, the
compressor may run continuously. Cold water available for dispense will be
aligned with overall water generation, which is influenced by the ambient
conditions.
1.
Place your cup on the center of the driptray.
2.
Press the blue circle button to the right of the touch screen to dispense cold
water.
3.
Press the blue circle button for the duration of the dispense until the desired fill
level isobtained
Dispense Hot Water
After water generation, the Skywell is able to heat the water up to 208°Fahrenheit
(97.7°Celsius) within 15-20 minutes. Hot water available for dispense will be
aligned with overall water generation, which is influenced by the ambient
conditions.
1.
Place your cup on the center of the driptray.
2.
Press and release the top red unlock button (Child Safety Lock) on the left of
the touchscreen. You have approximately 10 seconds to begin hot water
dispense before the red unlock button will need to be pressedagain.
3.
Press the bottom red circle button (below the red unlock button) to dispense
hot water. Use with caution.
4.
Press the red circle button for the duration of the dispense until the desired fill
level is obtained.
5.
Never allow children to dispense hot water without proper and direct adult
supervision.
Child Safety Lock
Hot Dispense Button Cold Dispense Button
10

Additional Pages
Eco Quiz
Skywell ContactInformation
THE SKYWELL APP
Date & Time
Custom Logo
(optional)
Current Water
Level
Quiet Mode
Settings
Current Hot Water
Temperature
16.9 oz
bottles saved
Current Cold Water
Temperature
Hydration
Profile
Contact Info
Tap once to enter
Service Mode
Tap once to switch
between Celsius
and Fahrenheit
11

SET WATER GENERATION PERIODS, TEMPERATURES AND
QUIET MODE
Daily Water GenerationSchedule –Tap the Settings icon on the bottom righthand
corner of the dashboard. Enter the Administrator PIN (1111). Tap the 4 buttons
and use the slide bar to set a generation schedule. You can set up to 4 different
time periods. Setting all four time periods to “ON” will produce the most water.
Highest sound levels occur during water generation.
Hot and Cold Water Temperature Settings/Scheduling – Tap the pencil icon next
to Hot Temp or Cold Temp and use the scroll bar to change the water
temperature. Tap "Save and Send Temperature" to save changes.
Quiet Mode - Tap the fan icon on the bottom right hand corner of the home
page. Select Quiet Mode for 1, 2, or 3 hours. The fan will automatically restart at
the end of the selected time period. Water generation will not occur in Quiet
Mode.
This feature is especially useful when the Skywell is placed in a meeting room.
Quiet Mode can be implemented usually for the duration of the meeting.
12

SET THE TIME AND DATE
Always install the latest Skywell App prior to initiating this procedure. Note: do
not install the latest App on any unit with a serial number of 1CSF16XXXXXXX.
Those units should have a version not newer than 2.10.
You will need to set the time and date (once) during the pre-installation process
and possibly if the Skywell is moved to a different time zone. Here are the steps.
1. Tap the gear button in the bottom right hand corner. The password screen
will appear. Enter 2856.
2. Tap on the date and time bar at the center top. This will open the Date and
Time change screen.
13

3. From left begin filling in the information pertinent to the unit location.
4. After selecting the continent and region, go to the bottom half of the
screen, select date and time. Press “Apply” in the bottom right hand corner.
The App will ask permission to restart. Select Yes.
14

CREATE PERSONAL HYDRATION PROFILE
On the Dashboard page
of the Skywell App, tap
the middle circle.
On the Hydration Profile
page, tap the + button to
create your profile and
track hydration
Enter your first name
and last name initial in
the fields on the page
Optional Profile Features:
º Avatars
-
Select an avatarby tapping onthe
penciliconatthetopofthepage
-
Browsethrough Skywell’savataroptions
bytappingon the“AvatarTypes” dropdownmenuon thetop rightof
thepageandbyusingtherightandleftarrows
º Daily Hydration Goals
-
Set daily hydrationgoal by swiping the bottombar tothe right.
º PIN Code
-To have your HydrationProfileprotectedwith a unique PIN numberso it is only
accessible by you, tap the “ON” button under “ENABLE PIN”. Note: you will be
promptedtocreatea 4-digitPIN codeonce youhave selectedall of your other
desiredprofilefeaturesandtapthe“OK”buttononthebottomofthepage.
ADDING WATER DISPENSED DATA TO HYDRATION PROFILE
After you’ve dispensed
your water, a page
displayingwater
dispense data will
appear
Tap on the “Add to
Profile”buttononthe
bottom of the page
Select your profile
from theHydration
Profiles page
The dispensed water
data is automatically
added to your
Hydration Profile
15

CONNECT VIA WI-FI TO THE SKYWELL
Three steps need to be undertaken to interface wirelessly with the Skywell.
1.
Connect the Skywell tablet to the internet. This normally only has to be
completed once unless the unit is moved to a location requiring interface
with a different internetconnection.
2.
Turn on FTP (File Transfer Protocol) in theSkywell.
3.
Open an FTP client on yourlaptop.
Connect the Skywell to the Internet and Turn on FTP
1.
On the dashboard, tap on the gear icon in the bottom right hand corner.
(pic 1)
2.
Enter the PIN of Administrator as 1111 and tap OK. (pic2)
3.
Click on the Wi-Fi icon. (pic3)
4.
Choose your network and enter the password. You can exit the keyboard
screen by tapping on the open screen space above thekeyboard.
5.
Enter Connect Now. (pic 4)
12
34
16

6.
Note the ftp address i.e., ftp://10.01.29:2121 in the example. Your IP
address will be different.
7.
Tap “X” to exit the screen.
Open an FTP Client on Your Laptop
1.
Open an FTP client on your laptop. Skywell recommends CyberDuck for a
Mac or FileZilla for a PC, but any FTP client will do.
2.
User Name: administrator Password: password (all lower case)
3.
Connect to your Skywell by using the values from #6above.
Note: If the above page does not initially appear, then click on Storage,
SDCard1 and then the page should appear.
4.
You will then be able to drag new files onto the tablet SD card from your
computer after deleting the old files with the correspondingnames.
17

INSTALL THE SKYWELL APP
Note: you cannot install the latest version of the Skywell App on units with a serial
number of CSF16XXXXXXX. Those units should have a version not newer than 2.10
(this version is also available at Skywell.com).
The latest version of the Skywell App can be found at Skywell.com. (pw 2856) at
http://skywell.com/product/skywell-5t/latest-app/
and can be installed via Wi-Fi. We encourage you to always have the latest
App version in operation. The App version currently on the Skywell unit can be
found by accessing Service Settings (tap on the upper right corner on the
dashboard and enter 2856 as the password) and tapping About.
For units with an existing app version of earlier than 2.37.8, use the following
procedure (A) to update the Skywell App.
For units with an existing app version of 2.37.8 or later, use the following
procedure (B) to update the Skywell App.
Connect via Wi-Fi to the Skywell. Download then drag the latest version of the
Skywell App onto the SD card into the Apps folder from your computer. Do not
delete the previous App version from the SD card.
(A)
1. Go to Service Settings by tapping once on the top right corner of the
dashboard screen (Pic 1) and entering the password of 2856 (Pic 2).
2. In the Service Settings Menu, tap on Start Default Launcher (Pic 3).
3. Click on the icon File Manager (Pic 4).
4. Tap on the icon marked “sdcard1” (Pic 5).
5. Scroll down to find the new APP you dragged to the SD card (Pic 6).
Note: be sure to select the APP version hi-lighted with the Skywell logo.
6. Tap “OK” (Pic 7).
7. Tap “Install” (Pic 8).
8. Tap “Open” and the tablet will open up into the new Skywell App. (Pic 9)
1 2
18

3 4
5 6
7 8
7 8
9
19

(B)1. Do not delete the previous app. User profile information will be retained if
you simply add the new app to the SD card.
2. Tap the gear in the lower right-hand corner of the dashboard and then
enter the Administrator password of 1111 or 2856.
3. Tap Update App.
4. Tap the new skywell.apk that was added to the SD card 1 and tap
Update Now.
5. Tap Ok to Replace App? Tap Install.
6. Tap the upper right-hand corner icon and then tap the Skywell logo.
7. The MCU will connect to the tablet and the installation should be
complete. This will take about 15 seconds.
For both (A) and (B): Tap “About” in Service Settings to confirm the new app
installation. FYI: Pic below is of dragging the latest version of the App to the FTP
SD card.
20
Other manuals for 5T
1
Table of contents
Other Skywell Water Dispenser manuals
Popular Water Dispenser manuals by other brands
Igloo
Igloo MWC502 instruction manual
PEERLESS
PEERLESS FM Series Startup Procedure
GE
GE GNSF48A01 Installation and owner's manual

Russell Hobbs
Russell Hobbs RHSWD3 Instructions and warranty
Del ozone
Del ozone TrioPure-25 Installation and operation manual

Elkay
Elkay ESWA8 1G Series Installation, care & use manual

Elkay
Elkay ESWA8 1L Series Installation, care & use manual
Spectrum
Spectrum WTS-SOFT18 Installation, service & operation manual
GE
GE SmartWater GXSF27B Owner's Manual & Installation Instructions
Osmio
Osmio Duo Hydrogen instruction manual

Kenmore
Kenmore 625.384200 Use & care guide
Elkay
Elkay EZO4 1B Series Installation, care & use manual
