[email protected] | www.adjustme.eu | © 2016 by ADJUSTME | All rights reserved | A part of Group 34100-148-02-B 1 ADJUSTME 5 – Solo ASSEMBLY MANUAL
Step 1
Step 2
pcs
2
2
2
4
2
7
18
pcs
1
1
1
pcs
8
8
8
2
18
1
1
Maximum 6 Nm.
Maximum 10 Nm.
Make sure all screws including tailstock are tightened, also after a period of use!
x 8
Step 5
Step 3
1050 - 1600 mm
L
R
L
x 4
R
Step 4
x 4
Step 6
L
[email protected] | www.adjustme.eu | © 2016 by ADJUSTME | All rights reserved | A part of Group 34100-148-02-B 1 ADJUSTME 5 – Solo ASSEMBLY MANUAL
Step 1
Step 2
pcs
2
2
2
4
2
7
18
pcs
1
1
1
pcs
8
8
8
2
18
1
1
Maximum 6 Nm.
Maximum 10 Nm.
Make sure all screws including tailstock are tightened, also after a period of use!
x 8
Step 5
Step 3
1050 - 1600 mm
L
R
[email protected] | www.adjustme.eu | © 2016 by ADJUSTME | All rights reserved | A part of Group 34100-148-02-B 1 ADJUSTME 5 – Solo ASSEMBLY MANUAL
Step 1
Step 2
pcs
2
2
2
4
2
7
18
pcs
1
1
1
pcs
8
8
8
2
18
1
1
Maximum 6 Nm.
Maximum 10 Nm.
Make sure all screws including tailstock are tightened, also after a period of use!
x 8
Step 5
Step 3
1050 - 1600 mm
L
R
L
x 4
R
Step 4
[email protected] | www.adjustme.eu | © 2016 by ADJUSTME | All rights reserved | A part of Group 34100-148-02-B 1 ADJUSTME 5 – Solo ASSEMBLY MANUAL
Step 1
Step 2
pcs
2
2
2
4
2
7
18
pcs
1
1
1
pcs
8
8
8
2
18
1
1
Maximum 6 Nm.
Maximum 10 Nm.
Make sure all screws including tailstock are tightened, also after a period of use!
x 8
Step 5
L
[email protected] | www.adjustme.eu | © 2016 by ADJUSTME | All rights reserved | A part of Group 34100-148-02-B 1 ADJUSTME 5 – Solo ASSEMBLY MANUAL
Step 1
Step 2
pcs
2
2
2
4
2
7
18
pcs
1
1
1
pcs
8
8
8
2
18
1
1
Maximum 6 Nm.
Maximum 10 Nm.
Make sure all screws including tailstock are tightened, also after a period of use!
x 8
Step 5
Step 3
1050 - 1600 mm
L
R
L
x 4
R
Step 4
x 4
Step 6
L
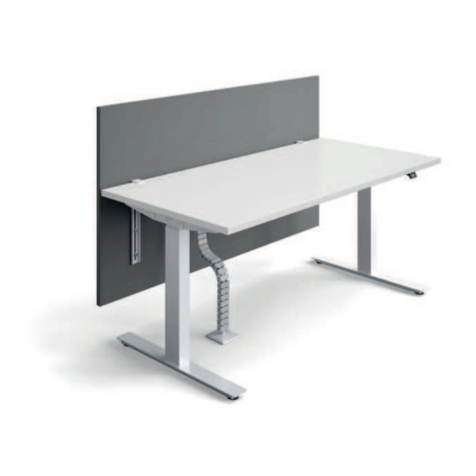
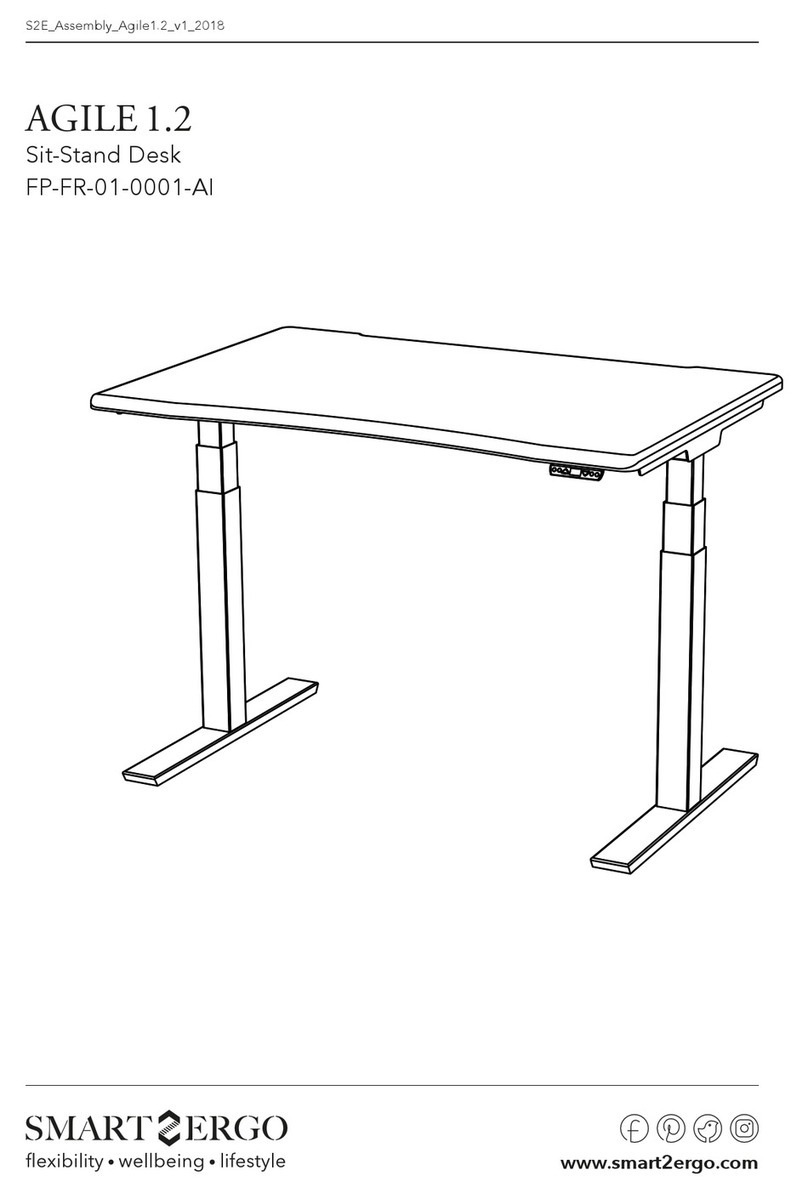
FLAIR 1.1 HEIGHT ADJUSTABLE DESK FRAME
FP-FM-01.1010 WT
PACKING LIST
Frame pcs
Column 2
Feet 2
End pipe 2
Outer pipe 4
Connection pipe 2
Cable clamp 7
Rubber washer 18
Control box/ handset pcs
Control box 1
Handset, 1800 mm cable 1
AC cable, 2000 mm 1
Screws pcs
Screw for outer pipe, M6 x 16 mm, 14 mm head 8
Screw for feet, M10 x 16 mm 8
Tailstock for con. pipe, M10 x 20 mm 8
Screw for handset, Ø4 x 25 mm 2
Screw for desktop, Ø5 x 20 mm 18
Allen key for feet, 5mm 1
Allen key for frame, 4mm 1
TIGHTENING TORQUE
Tailstock: Maximum 6 Nm.
All screws: Maximum 10 Nm.
Make sure all screws including tailstock are tightened, also after a period of use!
RESET THE DESK BEFORE USE
Press both buttons at the same time for 3 seconds.
Continue pressing the buttons until both columns are in lowest
position. When nish reset, the control box makes a sound and
the buttons can be released. Now the system is operational.
MAKE SURE ALL SCREWS INCLUDING TAILSTOCK
ARE TIGHTENED – ALSO AFTER A PERIOD OF USE!
Step 1
Step 2
Step 3
Step 4
Step 5
Step 6
info@smart2ergo.com www.smart2ergo.com part of ksf supply ltd assembly manual_FM01.0110_V1 1
