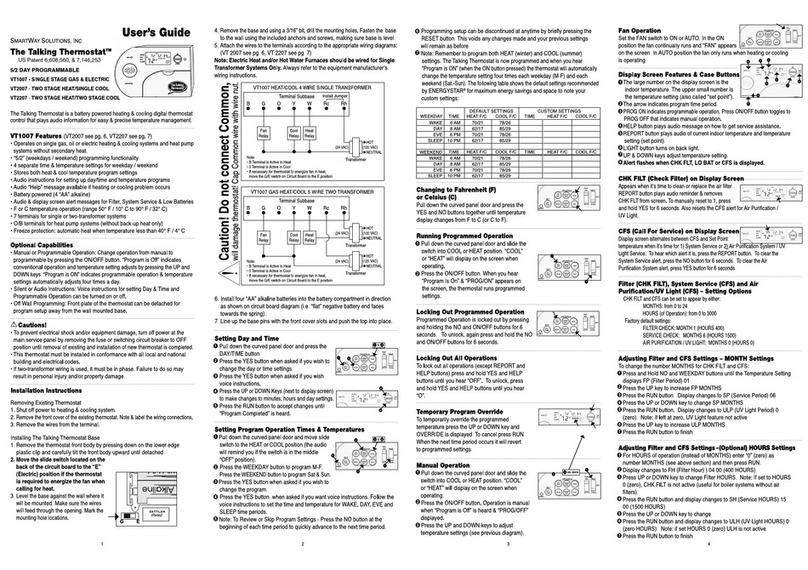
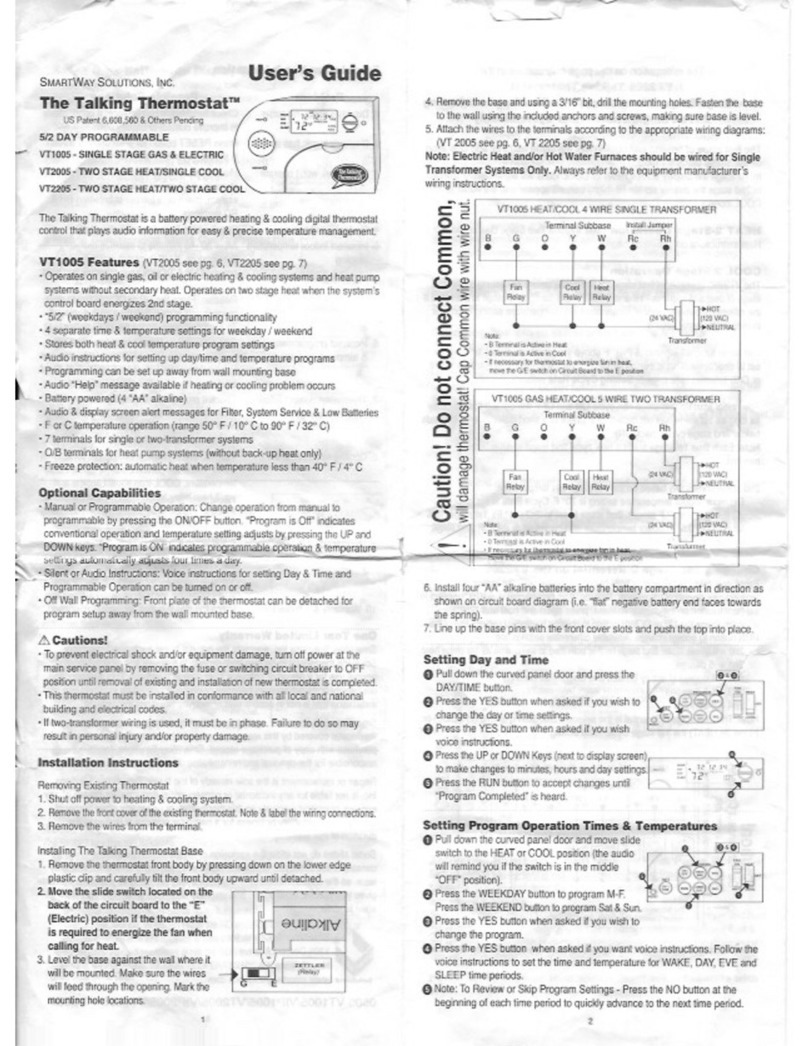
SmartWay Solutions Talking Thermostat VT3000 User manual

1
Talking Thermostat™
Model VT3000
User’s Guide
SmartWay Solutions, Inc. For Quick Set-Up
go to Page 14
US Patent 6,608,560 & 7,162,253
Model VT3000, a universal thermostat for use on most Gas or Electric, Conventional or Heat Pump /
Dual Fuel (Hybrid) Systems including:
The VT3000 is a battery powered digital thermostat for controlling single and multi-stage heating and
cooling systems. Unique audio playback assists user in setting up and maintaining precise indoor
temperature management.
FEATURES
Heating & Cooling System Compatibility
Operates on 1 or 2 stage gas, oil or electric heating systems; 1 or 2 stage cooling systems; or 1 or 2
stage heat pump systems with auxiliary gas (dual fuel), oil or electric heating.
Audio Capability
Audio playback assists user in setting Day / Time and Programmable Operation; and reporting Indoor
Temperature, Temperature Settings, Alert Conditions and Service Company’s name & phone
number.
Alert Messages
When an Alert Condition (Check Filter, Call For Service, Low Batteries or UV Light) occurs, the red
light on the case flashes, and the specific Alert Condition & PRESS REPORT BUTTON messages
appear on the display screen. When the REPORT button is pressed an audio message plays back
the exact Alert Condition.
1
Single Stage Heat / Single Stage Cool (1H / 1C)
Single Stage Heat / Two Stage Cool (1H / 2C)
Two Stage Heat / Single Stage Cool (2H / 1C)
Two Stage Heat / Two Stage Cool (2H / 2C)
Three Stage Heat / Two Stage Cool (3H / 2C)
Note: Operates on Heat Pump/Dual Fuel Systems
with 1 or 2 Stage Compressors & Auxiliary Heat
(2H/2C and 3H/2C)

2
Talking Thermostat™
2
Programmable Operation
◊ 5 Day / 2 Day (Weekend / Weekday) Programmable Operation: automatically changes
temperature to preprogrammed settings four times per day. Weekday and Weekend settings
can be programmed different from each other.
◊ Off Wall Programmable Set Up: detachable front plate allows user to set up thermostat away
from the wall mounted sub base.
Optional Operation Settings
◊ Manual (Conventional) Operation: runs only at the manually set temperature
◊ Programmable Lock Out: locks out (prevents) running in Programmable Operation.
◊ System Lock Out: locks in current settings to prevent unauthorized changes. Only the
REPORT and HELP buttons function when in “System” lock out.
◊ Auto Change-Over Mode: automatically changes between heating and cooling as indoor
temperature requires.
◊ Indoor Air Quality Fan Run Time: fan runs each hour for a programmed number of minutes.
Miscellaneous
◊ Silent Instructions: option to turn off audio when setting up Day/Time and Programmable
Operation
◊ Temperature Setting Audio: option for audio play back with each degree change when the UP or
DOWN keys are pressed
◊ Battery Powered (4 “AA” Alkaline)
◊ Fahrenheit (F) or Celsius (C) Operation (range 40º F / 4º C to 90º F / 32º C)
◊ Freeze Protection: automatically turns on heat if indoor temperature falls below 40º F / 4º C
DISPLAY SCREEN
WAKE
DAY
EVE
SLEEP
Note: Above graphic shows all display characters illuminated.
During normal operation only the actual operating characters are illuminated.
16
13 1011
1
7
3
6
9
5
4
15
12B
12A
214

3
Talking Thermostat™
3
1. Large two digits: Indoor Temperature
2. Smaller two digits: (above #1) Temperature Settings for HEAT and COOL
3. Arrows ( ): point to the programmable operation time periods (WAKE, DAY, EVE and SLEEP)
4. PROG ON: in programmable operation
5. PROG OFF: in manual (conventional) operation
6. OVERRIDE: temporary override of programmable operation (stays at manual temperature
setting until next programmed time period occurs)
7. ºF or ºC: degrees Fahrenheit or Celsius temperature
8. PRESS REPORT BUTTON: press this case button to hear the Indoor Temperature,
Temperature Set Point and specific Alert Condition
9. System Settings (all below appear right of the vertical line, in right corner; except OFF appears
at Temperature Setting location).
Press the SYSTEM button (located inside panel door) for the following:
A. OFF: System is turned off ( “OFF” appears where Temperature Set Point normally appears)
B. COOL: Set for Air Conditioning operation
C. HEAT: Set for Heating operation
D. AUTO:Set for Auto Change-Over operation
E. AUX: (only appears on Heat Pump Systems): Secondary or Emergency Heat running
10. HI DELAY: time delay before running 2nd Stage of Heating or Cooling
11. HI: System running in 2nd Stage Heating / Cooling
12. HEAT or COOL appears below Temperature Set Point:
A. HEAT:Heating is running
B. COOL: Air Conditioning is running
13. FAN (appears left of the vertical line with AUTO, ON or IAQ)
A. FAN AUTO: Fan runs only when heating or air conditioning is running.
B. FAN ON: Fan runs all the time
C. FAN IAQ: Fan runs the programmed number or minutes every hour on the hour for
14. Day of Week: M, T, W, Th, F, Sa, Su (appears at top right of display)
15. Time of Day: AM / PM (appears below Day of Week)
16. Programmable operation time period (arrow points to active period)
12 or 24 hours. Used for indoor air quality circulation.

4
Talking Thermostat™
1. HELP: press to hear Service Company’s name and phone number (also appears on display
screen).
2. REPORT: briefly press to hear Indoor Temperature, Temperature Setting and (if present) any
Alert Condition.
Note: To hear a demonstration play back of all Alert audio messages, press and continue to
hold down the REPORT button.
3. (Up) and (Down): change Temperature and other Settings
4. (Light): briefly press to illuminate display screen backlight
Note: buttons 5 through14 (below) are located inside the panel door
5. RESET: briefly press to escape Programmable Operation Set Up without making any
changes
6. DAY/TIME: press to set up day and time
7. PROG: press to turn Programmable Operation On or Off (PROG ON or PROG OFF appears
on display screen)
8. RUN: press to accept any changes (operates like the “Enter” key on a computer)
9. WEEKEND: press to set up Sat and Sun programmable operation settings
10. WEEKDAY: press to set up Mon through Fri programmable operation settings
11. YES: press to accept operation
12. NO: press to decline operation
13. FAN: press to run in AUTO, ON or IAQ Fan modes
14. SYSTEM: press to run in HEAT, COOL, AUTO (Change Over) or AUX (all appear lower
right corner, right of the vertical line)
Note: AUX is secondary / emergency heat and appears only on Heat Pump systems.
15. ALERT LIGHT: Flashes if an alert condition exists (press REPORT button to hear alert
explanation)
CASE BUTTONS / ALERT LIGHT
14
1
2
4
6
15
5
87 13
3
9 & 10
11 & 12

5
Talking Thermostat™
5
Setting Day / Time
1. Pull down the panel door
2. Press the DAY/TIME button
3. Press the YES button when asked if you
want to change the Day or Time settings.
4. Press the YES button when asked if you
want voice instructions (optional).
5. Press the (Up) or (Down) keys to change
Minutes.
6. Press RUN to accept.
7. Press the (Up) or (Down) keys to change Hours.
Be sure to correctly set AM or PM.
8. Press RUN to accept.
9. Press the (Up) or (Down) keys to change Day.
10. Press RUN to accept
11. Audio will play “Program Complete”.
SYSTEM OPERATION
Manual Operation
1. Press SYSTEM button until HEAT or COOL is displayed
2. Press the PROG button. Operation is manual when
“Program is Off” is heard and “PROG OFF” is displayed
3. Press the (Up) and (Down) key to adjust
temperature setting. Note: each press adjusts
temperature one degree.
Changing to Fahrenheit (F) or Celsius (C)
1. Pull down the panel door
2. Press the YES and NO buttons together until temperature
display changes from ºF to ºC
3. Repeat to change ºC back to ºF.
2 & 3
2
2
3 & 4
5, 7 & 9
6, 8 & 10
13
2

6
6
Programmable Operation
Follow the voice instructions to set WAKE time period. You’ll be asked to program, in this order:
◊MINUTES (flashing): press the (Up) and (Down) Key until at desired minutes setting
and then press RUN to accept.
◊HOURS AM orPM (flashing): press the (Up) and (Down) Key until at desired hours
setting and then press RUN to accept. Be sure correct AM or PM is selected.
◊HEAT Set Point Temperature (icon flashing at top of screen): press the (Up) and
(Down) Key until at desired HEAT Set Point Temperature then press RUN to accept.
◊COOL Set Point Temperature (icon flashing below two digits at top of screen): press the
(Up) and (Down) Key until at desired COOL Set Point Temperature then press RUN to
accept
5. Programmable Operation set up is completed when you hear,
“Program completed”.
Manual Operation (using Auto Change-Over)
3
4
6
4
4
3
6
1. Press SYSTEM button until HEAT, COOL or OFF is
displayed
2. Press the WEEKDAY button to program M T W
Thu Fri
Press the WEEKEND button to program Sa Su
3. Press the YES button when asked if you want voice
instructions (optional).
4. The arrow ( ) will point to the WAKE time period to
be programmed.
2 1
1

7
7
The following table shows the factory default settings. Write down any custom settings for future
reference.
WEEKDAY TIME
DEFAULT SETTINGS
HEAT F/C COOL F/C
CUSTOM SETTINGS
TIME HEAT F/C COOL F/C
WAKE 6 AM 70/21 78/26
DAY 8 AM 62/17 85/29
EVE 6 PM 70/21 78/26
SLEEP 10 PM 62/17 85/29
WEEKEND TIME
DEFAULT SETTINGS
HEAT F/C COOL F/C
CUSTOM SETTINGS
TIME HEAT F/C COOL F/C
WAKE 6 AM 70/21 78/26
DAY 8 AM 62/17 85/29
EVE 6 PM 70/21 78/26
SLEEP 10 PM 62/17 85/29
1. Press the SYSTEM button until AUTO is displayed (lower right
corner).
2. HEAT and COOL Set Point Temperatures will appear on
display (HEAT is left of COOL)
3. Follow the same steps as “Programmable Operation” (see
previous section)
2
1

8
8
Temporary Program Override
1. Press the (Up) or (Down) button to temporarily override the programmed temperature
setting.
2. “OVERRIDE” will be displayed and the system will run at the override temperature setting until
next time period. Operation will then revert to the programmed temperature setting.
Note: the override temperature can be cancelled at anytime by pressing the RUN button.
3. If set to AUTO (Auto Change-Over mode) the HEAT and COOL temperature setting will move
together one degree with each press of the (Up) or (Down) button.
Activating Emergency Heat (Heat Pump Systems Only)
2
1
1

9
9
Fan Operation
AUTO
ON
IAQ (Fan Run Time)
1. Press the FAN button until AUTO is displayed
2. Fan runs only when the heating or cooling is operating (ON
will also appear on display while running).
1. Press the FAN button until ON is displayed
2. Fan runs continuously
Alert Messages
When an Alert Condition occurs:
◊ The red light on the case flashes
◊ The specific Alert Condition icon (CHK FILT, CALL FOR SERV, LO BAT or UV LGHT)
alternates with the Set Point Temperature
◊ PRESS REPORT BUTTON messages appear on the display screen.
◊ When the REPORT button is pressed an audio message will advise you the specific Alert
Condition
◊ If Low Battery Alert, a low battery audio message also plays when the (Up) and (Down)
buttons are pressed
1
1
1

10
10
1. Check Filter (“CHK FILT” displays)
2. Call For Service (“CALL FOR SERV” displays)
Appears when it’s time to clean or replace the air filter.
Press REPORT button or press YES button for 6 seconds. Doing either one clears
the alert and resets accumulated time to zero. But only when YES is pressed will FP
0 briefly appear confirming accumulated time is reset to zero
Appears when it’s time for routine system service.
Press NO button for 6 seconds to clear alert and reset accumulated time to zero. SP 0
will briefly appear confirming accumulated time is reset to zero.
Appears when battery power is running low and it’s time they be replaced. Remove
the front plate and replace with four new AA alkaline batteries.
Appears when it’s time to replace the UV Light bulb (for air purification).
Press YES button for 20 seconds to clear alert and reset accumulated time to zero.
UV 0 will briefly appear confirming accumulated time is reset to zero.
Also resets Check Filter to FP 0.
3. UV Light (“UV LGHT” displays)
4. Low Batteries (LOW bATT)

11
Note: How to Open the Case to Replace the Batteries:
◊Place your thumb on the clasp located in the middle of the case’s bottom edge.
◊Press up (towards ceiling) on the clasp and then lift the lower part of the front plate upward
until it separates from sub base.
◊The batteries are located on the front plate’s circuit board.
◊To re-attach, align the pins at top of sub base to the holes at the top of the front plate.
◊Swing the front plate down and snap into place.
Cool Delay / Heat Delay Icons Flashing (Compressor Short Cycle Protection)
COOL & DELAY “flashes” when cooling is turned off and back on in less than 5 minutes. Cooling is
delayed to prevent compressor damage.
HEAT & DELAY (Heat Pump Systems Only) “flashes” when heating is turned off and back on in less
than 5 minutes. Heating is delayed to prevent compressor damage.
2nd Stage Heating or Cooling Delay
The VT3000 operates in 1st Stage for a delay time
before advancing to 2nd Stage. During this delay
time, the HI and DELAY icons will “flash” if the indoor
temperature requires increased heating or cooling
from 2nd Stage.
When activated, audio will play each degree change while adjusting the Set
Point Temperature with the UP or DOWN keys.
1. To turn on audio, press and hold the (Up) button for 8 seconds (until
audio plays “One”)
2. To turn off audio, press and hold the (Down) button for 8 seconds
(until audio plays “Off”)
Audio Volume Control
Activate Audio when Changing Set Point Temperature
To adjust audio volume remove the front plate from wall mounted sub
base (see Low Batteries section for removal instructions. In the upper
left hand corner of the circuit board is a small Phillips head screw (inset
in a blue plastic box). To increase volume, turn screw
counterclockwise. To decrease volume, turn screw clockwise.
“Flashes”
“Flashes”

12
Reset Key (Escape Program Mode)
Press the RESET button if you wish to quit while making changes
to Program Operation Settings (WAKE, DAY, EVE and SLEEP).
You will exit the programming set up without making any changes
to your original settings. Pressing RESET also allows quick exit
from Operations Set-Up and Review.
Troubleshooting Information
noituloSelbissoPmelborP
Display’s blank, no audio Check batteries. If bad, replace with new 4 AA Alkaline
Display has incorrect
characters and/ or
thermostat operates
erratically
Check batteries. If bad, replace with new 4 AA Alkaline.
If still operating erratically, restore the default factory
settings. See “Installer’s Guide ” “Reset Key (Full
Factory Reset to Restore Default Settings)” on pg 19
Display on, won’t operate Press FAN button until screen displays FAN ON. If no
blower, check system for 24V power.
Display won’t light up Batteries are low. Replace with 4 AA Alkaline
Can’t open case to replace
batteries
See Low Batteries (LO BAT) section in “User’s
Guide”, pages 10 & 11
System won’t turn on Check wiring to thermostat. See wiring diagrams in
“Installer’s Guide”, pages 16 & 17
Fan runs occasionally
when system is off
Fan is set to IAQ Fan run time for air quality. To
disengage press FAN button until IAQ icon (under
FAN icon) disappears.
Incorrect Indoor
Temperature
Allow 30-40 minutes for thermostat to stabilize to room
temperature. If still incorrect, calibrate temperature.
See “Calibrate Indoor Temperature” in “Installers Guide”,
page 17
Incorrect programmed
times and temperature
settings
Press WEEKDAY button to review each time period’s
setting. Press NO button when minutes flash, to quickly
advance to next time period. Then press WEEKEND
and repeat.
Doesn’t follow programmed
settings
Check if program is off (PROG OFF displays). Check
that HEAT, COOL and (if used) AUTO have been
correctly programmed. Check if time settings are
correct (especially AM and PM).
Can’t set to programmable
operation
If audio plays “Program is Off” when the PROG button
is pressed, programmable operation is locked off. To
unlock see “PL” (Program Lock) in “Installers Guide”
Step 3, page 18 .
Can’t change temperature
setting / no buttons work
If audio plays “Off” when any button is pressed,
thermostat system operation is locked off. See “SL”
(System Lock) in “Installers Guide”- Step 3 page 18

13
Cooling won’t come on Alternatives:
1) If COOL and DELAY icons are displayed, cooling
will come on in about 4 minutes.
2) Lower the temperature setting below indoor
temperature. You should see the COOL icon appear
below temperature setting and hear the relay “click”.
3) Check thermostat wiring and system for 24V power
4) Press the HELP button for service information
Heating won’t come on Alternatives:
2) Raise the temperature setting above indoor
1) If HEAT and DELAY icons are displayed, heating
will come on in about 4 minutes
temperature. You should see the HEAT icon appear
below temperature setting and hear the relay “click”.
3) Check thermostat wiring and system for 24V power
4) Press the HELP button for service information
Technical / Service Assistance
For assistance press the HELP button to hear how to contact your service company. Their phone
number will also appear on the display screen.
Manufacturers Warranty
One Year Limited Warranty
Smartway Solutions, Inc. warrants the original buyer of each new Smartway Solutions thermostat to
be free from defects in material and workmanship under normal use for a period of one year from
date of purchase. This warranty and our liability does not apply to batteries or damage caused by
incorrect use or installation that is not in accord with Smartway Solutions instructions.
Smartway Solutions, Inc. agrees to repair or replace at its option any thermostat covered by this
warranty provided it is returned within one year of purchase with copy of purchase receipt.
Smartway Solutions, Inc. is not responsible for removal and reinstallation of the thermostat.
Repair or replacement is the sole remedy of the buyer. Smartway Solutions, Inc. is not liable for any
incidental or consequential damages for breach of any liability, merchantability or fitness for a
particular purpose, is limited to the duration of this warranty.
Some states do not allow the exclusion or limitation of incidental or consequential damages, or allow
limitations on how long an implied warranty lasts, so the above limitations or exclusions may not
apply to you. This warranty gives you specific legal rights, and you may also have other rights which
vary from state to state.
Smartway Solutions, Inc.
1309 Dealers Avenue
New Orleans, LA 70123
www.smartwaysolutions.com

14
Talking Thermostat™
Model VT3000
Quick Set-Up & Installer’s Guide
Cautions!
◊ To prevent electrical shock and/or equipment damage, turn off power at the main service
panel by removing the fuse or switching circuit breaker to OFF position until removal of
existing and installation of the Talking Thermostat is complete.
◊ This thermostat must be installed in conformance with all local and national building and
electrical codes.
◊ Use only on single transformer systems.
Step 1: Mount Sub Base & Connect Wiring
◊ Mount sub base to wall using enclosed screws and anchors.
◊ Attach system wires to sub base terminals according to the system manufacturer’s
diagrams (Talking Thermostat suggested wiring diagrams on pages 16 & 17).
Step 2: Set DIP Switches
◊ Determine the type of heating and
cooling system
Locate DIP switches on circuit
board immediately below the
battery bracket, left of the RJ45 jack
Set DIP switches for your type
system according to chart (chart is
shown right)
Note: for thermostat to operate
correctly the DIP switches must be
set to match the system
Note: Default Settings
!
◊ For Heat Pump / Dual Fuel systems, the chart below
might more clearly explain those DIP Switch settings:
By Type of Heat Pump System - DIP Switch Settings
noitisoP/#hctiwSPID
# 1
All Heat Pump Systems ON # 2
Dual Fuel Heat Pumps OFF
Electric Aux Heat Pumps ON # 3 # 4
Heat Pump 1 Stage Compressor OFF OFF
Heat Pump 2 Stage Compressor ON ON
◊
◊
DIP Switch default settings: OFF, OFF, OFF, OFF (Conventional, Gas, 1 Stage
Heat, 1 Stage Cool)
Operation Settings, following default set OFF: UV Light Service Alert (UV)
IAQ Fan Run Time (FH) and Auto Change-Over (AC)
1
2

15
Step 3: Program “Operation & Alert Settings”
◊ Press the NO and then WEEKDAY buttons together to change “Operation & Alert Settings”.
Each setting appears at the Temperature Set Point location
◊ Press the UP or DOWN button to change each setting
◊ Press the RUN button to accept each setting and advance to the next.
Operation and Alerts Settings appear in the following order:
Opera-
tion or
Alert
Description Factory
Default Options User’s
Setting Comments
FP Filter Period Alert
months
0 (zero) disables
SP (Call for) Service
Period Alert
1 to 24
months
UV UV Light Service
Period Alert
0 to 24
months
0 (zero) disables
CR Cycle Rate 1, 2, or 3 1 = minimum (tightest) Cycle Rate
3 = maximum (widest) Cycle Rate
2N 2nd Stage
Differential*
*Only appears in
2 Stages of
HEAT, COOL or
HP Operation
1, 2, 3, 4,
5 or 6
1 = .5ºF /.025ºC ON
2 = 1.0ºF /.5ºC ON
3 = 1.5ºF /.75ºC ON
4 = 2ºF / 1ºC ON
5 = 1.0ºF /.5ºC ON
6 = 2.0ºF /1ºC ON
FH IAQ Fan Hours 0, 12 or
24 hours
0 (zero) disables
(runs fan for 12 or 24 hours for clean air)
FM Fan Minutes 15, 20, 25
or 30
minutes
Appears only when FH set to 12 or 24
hours (# minutes per hour fan runs for
clean air)
.5ºF / .025ºC
)
OFF
Runs until 1st Stage
Satisfied
FS Fan Start Time 7:00 AM Any hour Appears only when FH set to 12 hours.
Allows the 12 hour start time to be set.
AC Auto Change-
Over (“dead
band”)
3 to 9
degrees
0 (zero) disables (AUTO won’t appear)
Minimum # degrees between HEAT &
COOL temperature set points
Sd Stage delay 0-10
minutes
Time delay before running 2nd Stage
RV Reversing Valve O or B Heat Pump Systems: Set to “O“ for fail
safe heat. Set to “B” for fail safe cool.
Conventional Systems: Optional Damper
Control (“O” energizes in COOL and “B”
energizes in HEAT).
PL Programmable
(Operation) Lock
Out
Y or N Y locks out programmable operation
SL System Lock Out Y or N Y locks out all operations except HELP
and REPORT buttons (audio plays “Off”)
Step 4: Review Settings
It’s important to review Settings to confirm they’re correct.
◊ Press NO and then WEEKEND buttons together to view the Type of System Setting (set up by
DIP Switches).
◊ Press the DOWN button to advance through each Operation & Alert Setting
◊ Press the UP button to return to a previous Setting
◊ For FP (Filter Alert), SP (Service Period) and the UV (UV Light Alert) the numbers displayed are
elapsed months since each was reset to zero.
0 to 241
6
0
1
5
0
0
8
N
O
N
15
(audio plays “Program Off”)
Tip! Fill in desired User’s Settings before programming.

16
Examples:
FP 0 = less than one month since reset
SP 5 = 5 months since reset
UV15 = 15 months since reset
Step 5: Test Thermostat
◊ Select HEAT or COOL
◊ Press the UP or DOWN buttons (raises or lower Set Point Temperature) to bring on heating or
cooling.
◊HEAT or COOL icon will appear below the set point temperature when system is running
VT3000 Specifications
5 Day /2 Day Programmable Operation
Optional Manual (Conventional) Operation
Single Transformer Systems
DIP Switch Settings for Conventional or Heat Pump Systems
Battery Powered (4 “AA” Alkaline - Do not connect common)
Dual Fuel / Hybrid System compatible (see “2nd Stage Differential Setting Table)
Adjustable IAQ Fan Run Time
Optional Auto Change-Over Operation
Heating & Cooling System Compatibility
Technical Features
◊
◊
Wiring Diagrams
◊
CAUTION! Do not connect Common wire to terminal block! Doing
so damages the thermostat! Cap Common wire with a wire nut.
Conventional Systems Notes:
1. Common wire not required –
battery operated.
2. O/B Reversing Valve terminal
can be used to control a single
damper. “O” is active when
system is set to COOL and “B”
is active when set to HEAT.
O or B are selected during
“Operations & Alert Settings”
programming (see RV in Step 3,
table, “Quick Set- Up Guide”,
page 15)
3. If using Electric Heat without an
indoor blower control, set DIP
Switch # 2 to “ON” position
(see Step 2 in “Quick Set- Up
Guide”, page 14).
Single Stage Heat / Single Stage Cool (1H / 1C)
Single Stage Heat / Two Stage Cool (1H / 2C)
Two Stage Heat / Single Stage Cool (2H / 1C)
Two Stage Heat / Two Stage Cool (2H / 2C)
Three Stage Heat / Two Stage Cool (3H / 2C)
Note: Operates on Heat Pump/Dual Fuel Systems
with 1 or 2 Stage Compressors & Auxiliary Heat
(2H/2C and 3H/2C)

17
Changing Operation & Alert Settings
◊ Press the NO and then WEEKDAY buttons together.
◊ Each setting appears at the Temperature Set Point location.
◊ Pressing the UP or DOWN button to change each Setting.
◊ Press the RUN button to accept each Setting and advance to the next.
Reviewing All Operation & Alert Settings
◊ Press the NO and WEEKEND buttons together.
◊ Type of System appears at the Temperature Set Point location.
◊ Press the DOWN button to advance. Press UP button to go back.
◊ For Alert Settings: Filter Period, (Call for) Service Period and UV Light Service Period, review
shows accumulated months. This is a useful way to see how long it’s been since filters where
checked, system was serviced and UV light bulb changed.
◊ Press RESET to quickly exit after reviewing accumulated months.
Calibrate Indoor Temperature
1 Press the UP and DOWN keys together and hold until
Indoor Temperature starts to flash.
2 Release.
3 Press the UP or DOWN key to raise or lower Indoor
Temperature to desired setting.
4 Press RUN when done.
Note: Indoor Temperature can be raised or lowered a maximum of 4º F / 2º C from the original
Indoor Temperature. Therefore, the maximum calibration range is 8º F / 4º C.
“Flashes” Press Together
1

18
Locking Out All System Operations
Disable Compressor Short Cycle Protection
Locking Out Programmable Operation
Note: when locked, buttons will not operate and the audio will
play “Off” when any button is pressed (except REPORT and
HELP buttons)
1Press NO and then WEEKDAY buttons together to enter
“Operation & Alert Settings”
2Press the RUN button until SL (System Lockout) is displayed.
3Press the UP or DOWN button until Y appears to the right of SL.
4To unlock, press until N appears.
1
Caution! Disabling Compressor Short Cycle Protection can damage the compressor.
Press the NO and LIGHT buttons together until SHRT CYCL OFF appears at the Set Point
Temperature location. Compressor lock out is disabled for 10 minutes.
Note: Pressing NO and LIGHT also bypasses 2nd Stage delay time.
1Press NO and then WEEKDAY buttons together to enter
“Operation & Alert Settings”
2Press the RUN button until PL (Program Lockout) is displayed.
3Press the UP or DOWN button until Y appears to the right of PL.
4To unlock, press until N appears.
Note: When locked, the thermostat will not run in Programmable Operation. The audio will
play “Program is Off” anytime the PROG, WEEKEND or WEEKDAY buttons are pressed.
1
23
2 3

19
Reset Key (“Full Factory Reset” to Restore Default Settings)
Static discharge can occasionally cause faulty thermostat operation or lock up. To correct:
◊ Press the NO and RESET buttons together until the red LED on the case lights up and the word
FULL appears at the Temperature Set Point location.
◊ Release the buttons
◊ The display screen completely disappears and then reappears (briefly displaying all characters).
◊ The screen then reverts to a normal display, except the Indoor Temperature will flash for 2
minutes.
◊ Optional: Press the UP or DOWN key (while flashing) to calibrate Indoor Temperature
(maximum adjustment is + or - 4º F / 2º C)
◊ Press the RUN button to accept the Indoor Temperature.
Note: After performing a Full Factory Reset all custom Programmable Operation settings revert
to default settings and have to be reprogrammed. DIP Switch settings do remain as before.
Operating Software Version Number
Press the (Light) button for 7 seconds for audio playback of the software version.
Technical Support
Press the “HELP” button to hear how to contact your service company and see their phone number
on the display screen. Service company technicians can contact Smartway Solutions, Inc. if
advanced technical support is required.

20
Topic
Alert Messages - Explanation
Alert Messages - Clearing
gnignahC-seirettaB
Calibrating Indoor Temperature
Call For Service Alert (CALL FOR SERV)
snottuBesaC
Celsius - Changing to
Check Filter Alert (CHK FILT)
Common Wire Warning
Compressor Short Cycle Protection
yaleDlooC
gnitteS-emiT/yaD
sgnitteShctiwSPID
Disable Compressor Short Cycle Protection
Display Screen Characters
Emergency Heat (Heat Pumps)
Fahrenheit - Changing to
noitarepOnaF
yaleDtaeH
y (2nd Stage Heating or Cooling)aleDiH
Hi Delay – Bypassing / Disabling
gnitnuoM/noitallatsnI
Locking out All System Operation
Locking out Programmable Operation
Low Batteries (LOW BATT)
noitarepOlaunaM
Manual Operation - (Using Auto Change Over)
Operating Software Version
Open Case (How to)
Operation & Alert Settings - Programming
Operation & Alert Settings - Reviewing
Outdoor Thermostat - Heat Pump Wiring
Override - Temporary Program (Override)
Programmable Operation
Programmable Operation - (Using Auto
Change Over)
pUteSkciuQ
Reset Key - Escape Program Mode
Restoring Factory Default Settings
Service / Technical Assistance
Set Point Temperature Audio Playback
ytilibitapmoCmetsyS
troppuSlacinhceT
Troubleshooting Information
UV Light Alert (UV LGHT)
Volume Control - Audio
ytnarraW
smargaiDgniriW
VT3000 Model Talking Thermostat
Topic Index
PageSection
User’s
User’s
User’s
Installer’s
User’s
User’s
User’s
User’s
9
10
11
17
10
4
5
10
User’s
User’s
User’s
User’s
Installer’s
Installer’s
Installer’s
Installer’s
5
9
11
11
18
14
18
18
User’s
User’s
User’s
User’s
Installer’s
Installer’s
Installer’s
Installer’s
10
5
6
11
19
11 & 17
15 & 17
17
Installer’s
User’s
User’s
User’s
Installer’s
User’s
14 15 & 16
12
19
4 & 13
11
1
16
19
User’s
User’s
User’s
8
6 & 7
7
User’s
User’s
User’s
Installer’s
12 & 13
10
13
11
16 & 17
Installer’s
User’s
User’s
User’s
Installer’s
Installer’s
User’s
User’s
14 & 16
11
11
5
14
18
2 & 3
8
Installer’s
Installer’s
User’s
Table of contents
Other SmartWay Solutions Thermostat manuals
Popular Thermostat manuals by other brands
Hunter
Hunter 144860 Installation and operation manual
SF
SF Premier Series SFTHRP742WFC Owner's manual and installation instructions

LG
LG PREMTB10U Installation & operation
KMC Controls
KMC Controls CTE-5202 Application guide

Radio Thermostat
Radio Thermostat CT200 user guide
Full Gauge Controls
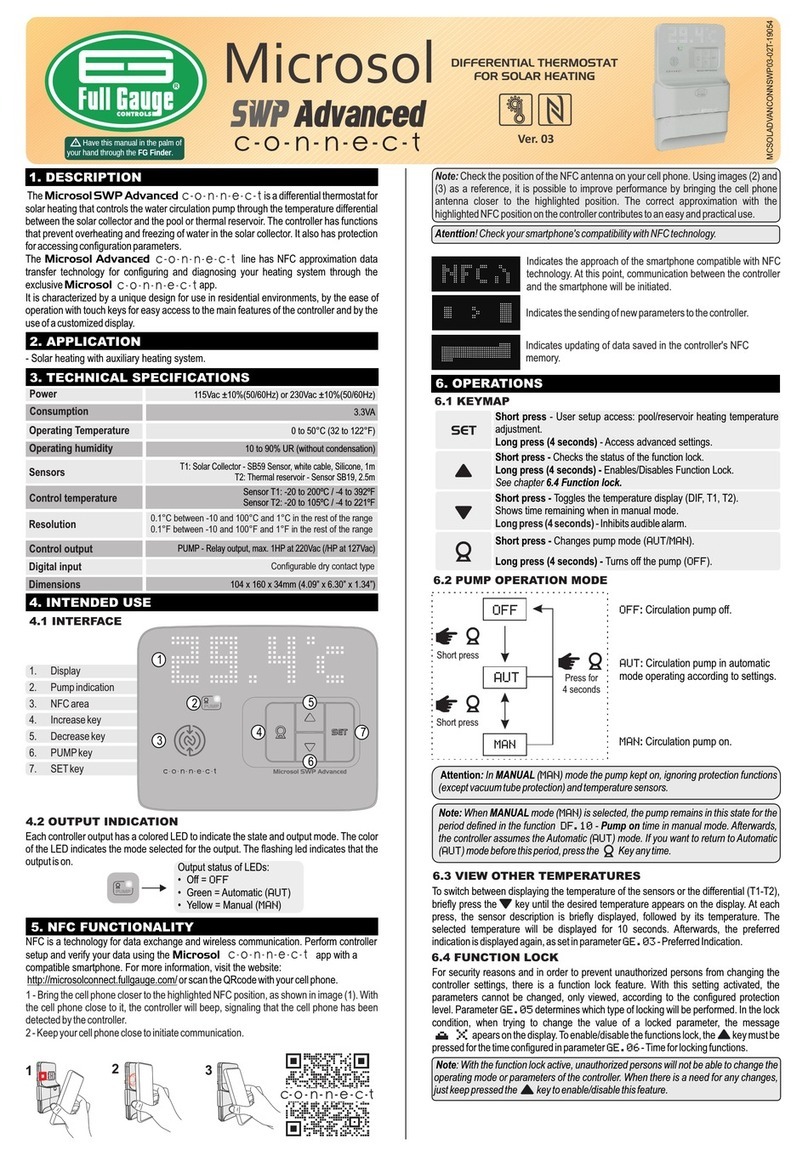
Full Gauge Controls Microsol SWP Advanced c-o-n-n-e-c-t manual
