Smith Corona Spellmate 500 User manual
;;
;;
W
My Most Popular Features
This User’s Manual should be used with the following models: Spellmate 500 and
Spellmate 700. Both the software contained in this model and this User’s Manual are
protected by Copyright Smith Corona Corporation, 1994.
2Smith Corona Corporation
Correcting Cassette
Easy to change and snap into place.
Automatic Memory Correction
Instant correction.
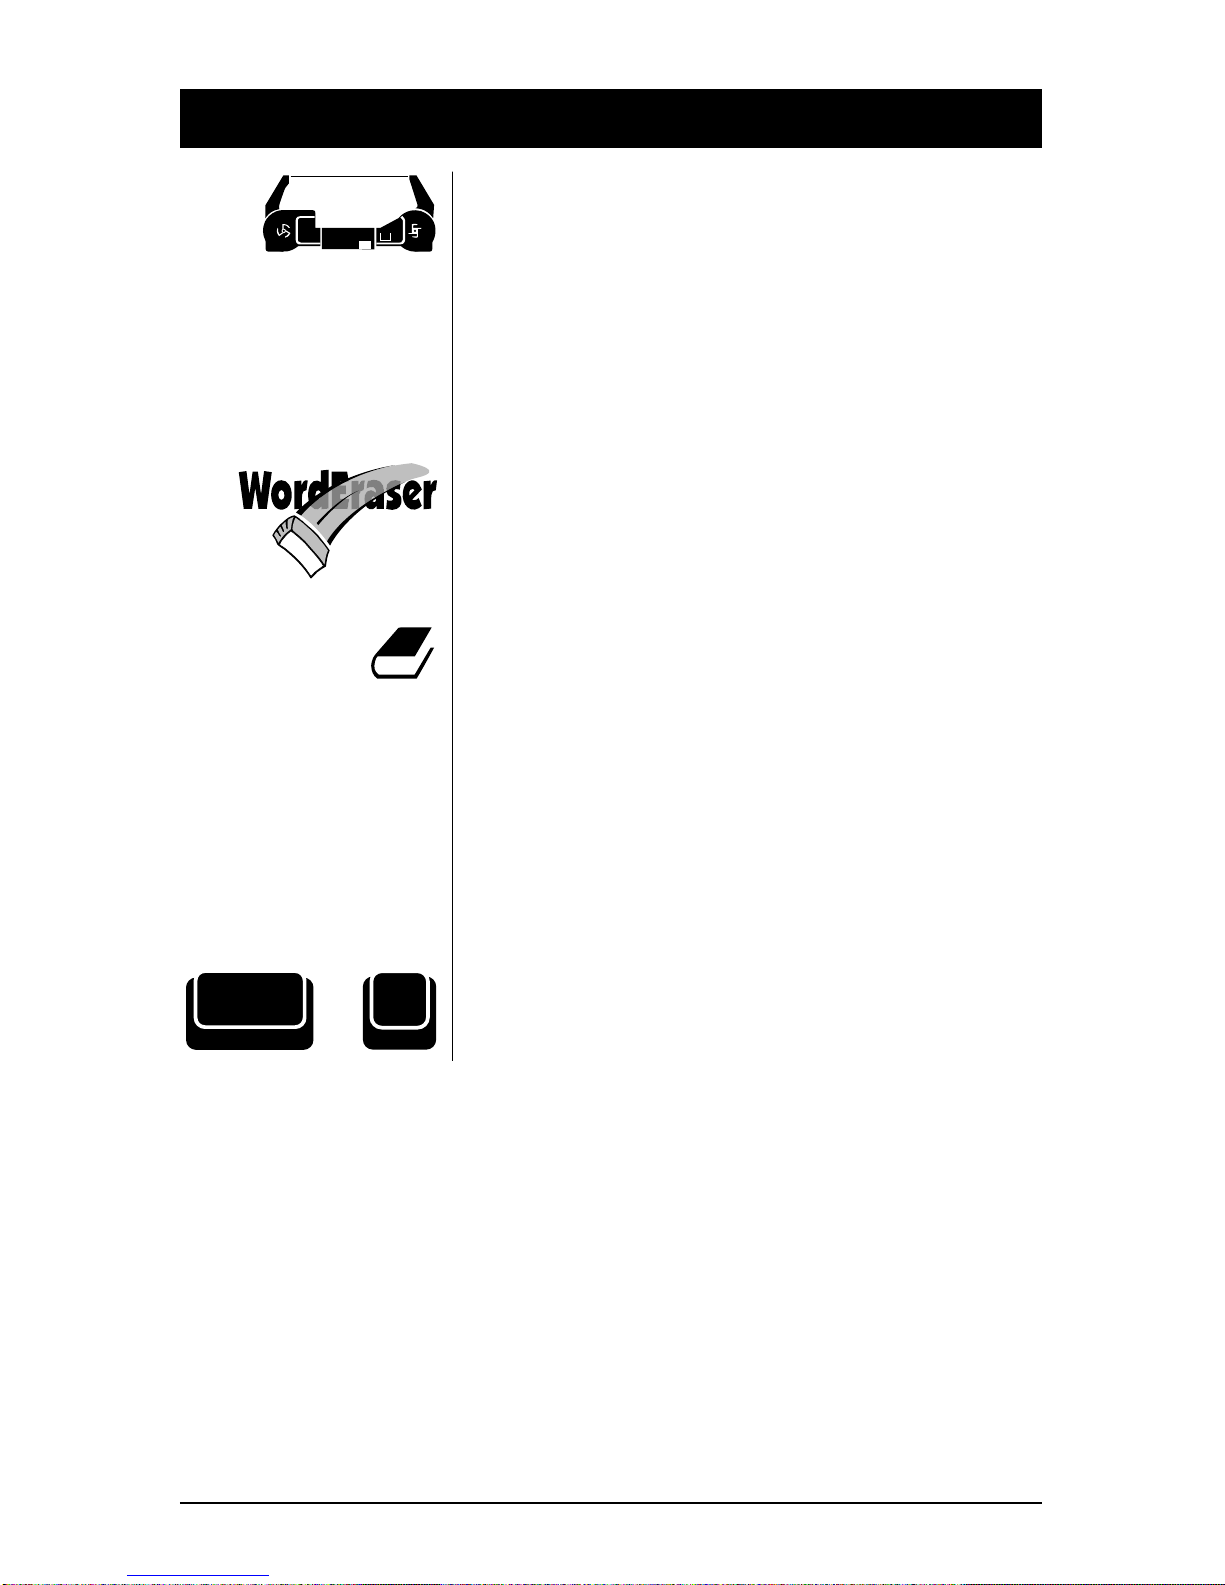
WordEraser
Erases an entire word.
Spell-Right Dictionary
Identifies spelling errors.
Self Demonstration...
Activate this Self Demonstration Program and
discover my most popular features.
This built-in Demo is easy to use. Follow the
instructions below.
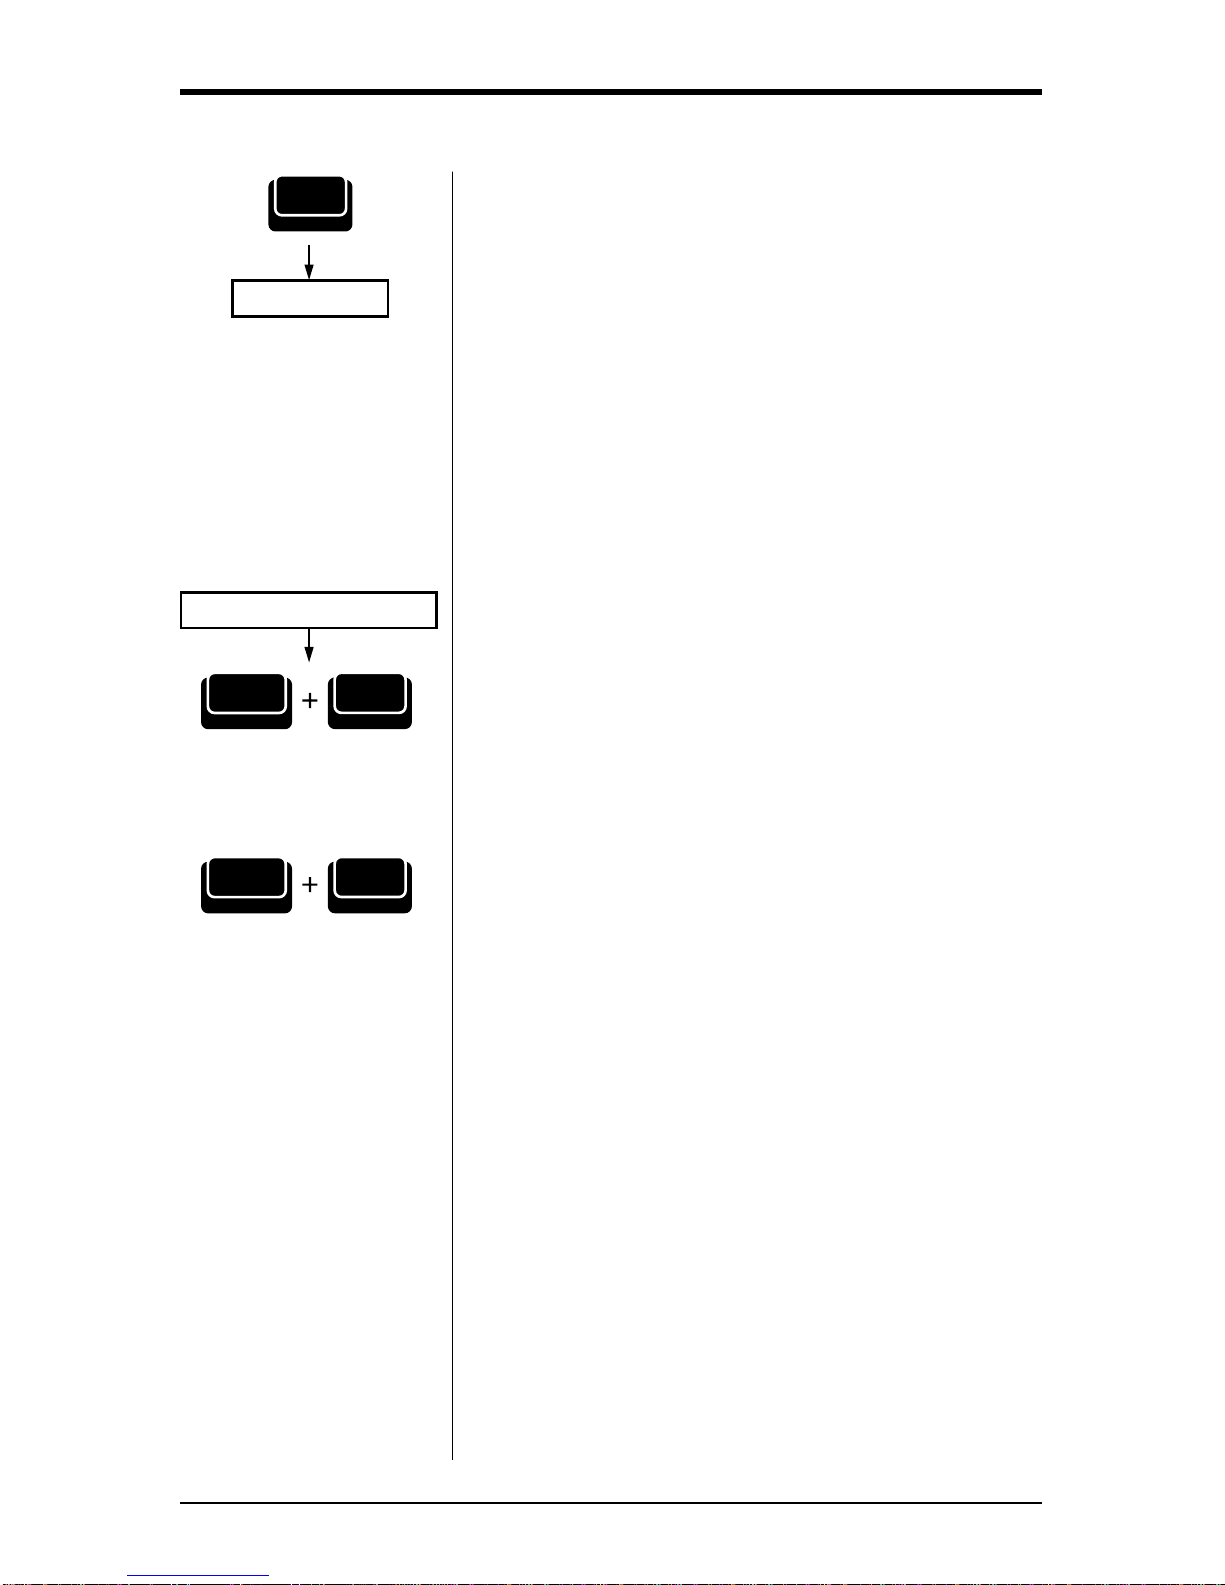
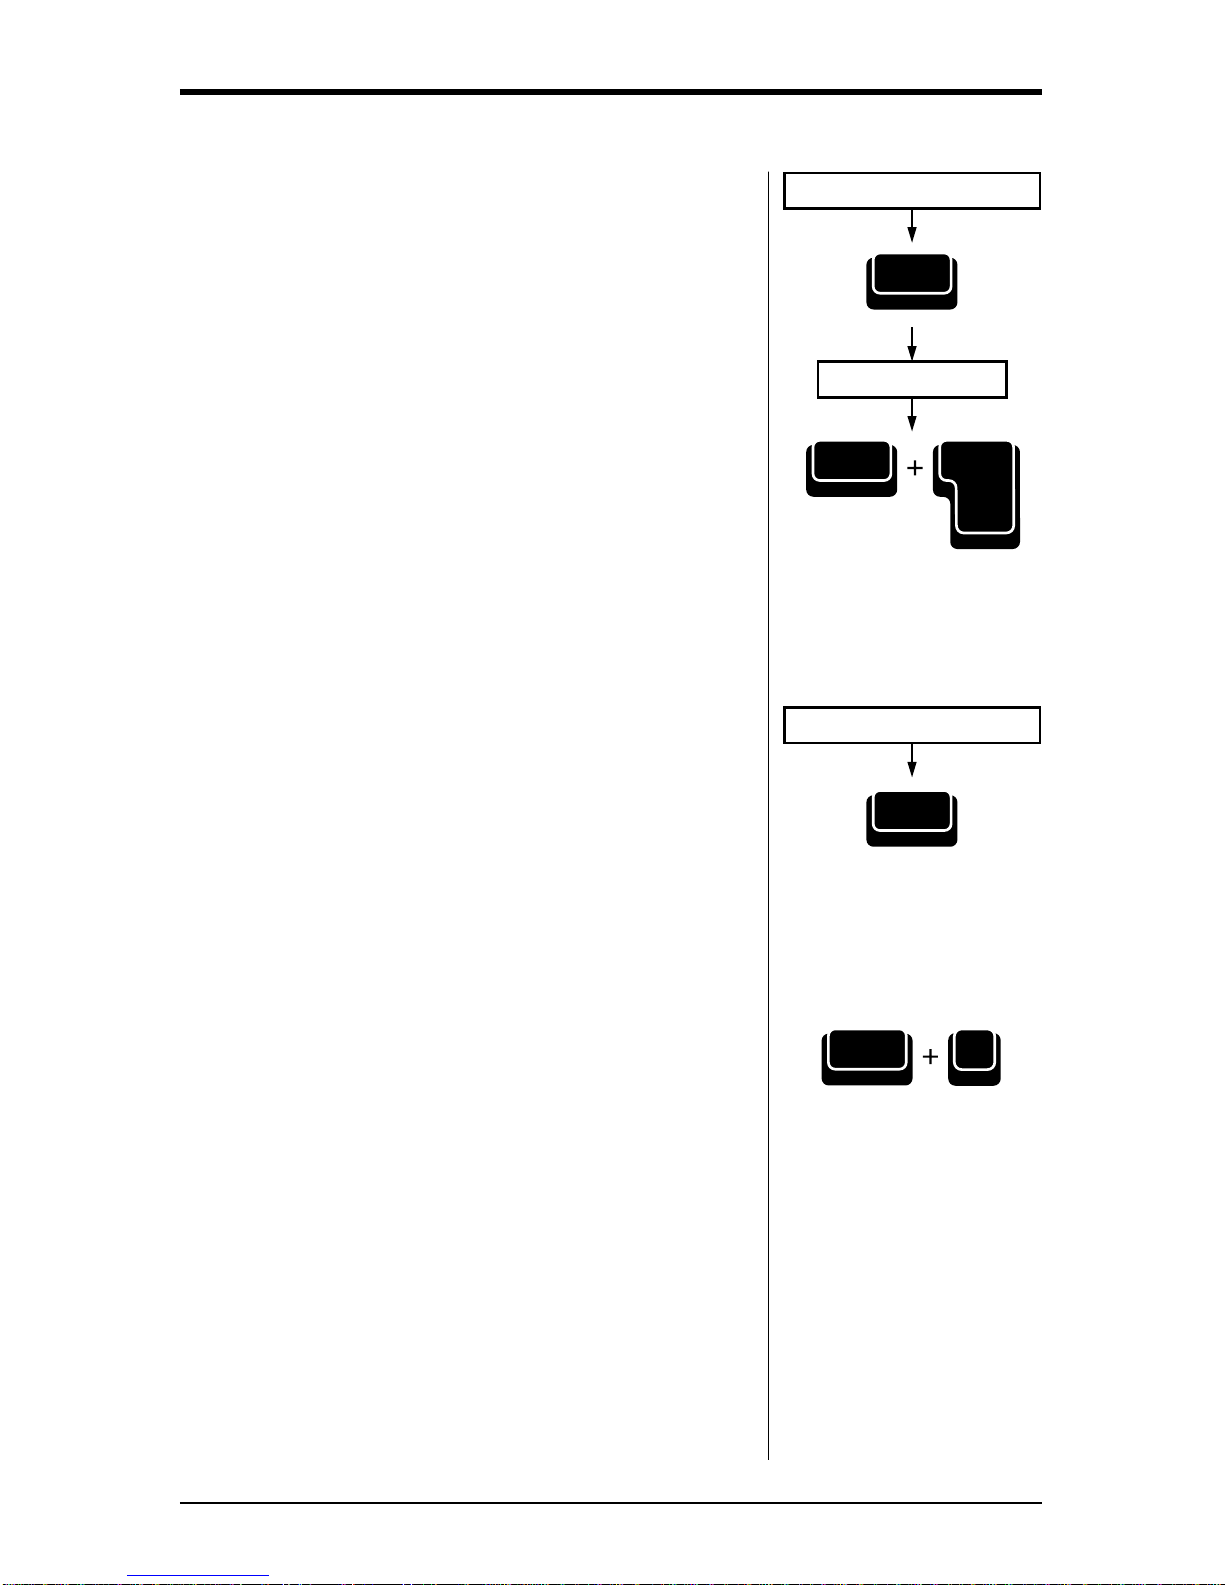
1. Insert Paper.
2. Press and hold Code while pressing Z.
3. Release both.
Z
Demo
Code +

Table of Contents
Smith Corona Corporation 3
Hardware Basics
Typewriter Diagram.......................................5
Setting Up ........................................................ 6
Paper Support .............................................7
Turning the Typewriter On ...................... 7
Inserting Paper ........................................... 7
Automatically Ejecting Paper ..............8
Platen Knob/Variable Line Spacer .....8
Selecting Volume Control .........................9
Turning the Typewriter Off ...................... 9
Keyboard Diagram ....................................... 10
Code Key ................................................... 10
Shift Keys................................................... 10
Lock Key .................................................... 10
Indicator Light .......................................... 11
Caps Lock Key .......................................... 11
Activating Caps Lock .......................... 11
Repeat Action ....................................... 11
Format
Margins and Tabs .........................................12
Margins ...................................................... 12
Changing Margins ............................... 12
Tabs ............................................................ 13
Regular Tabs ......................................... 13
Decimal Tabs ........................................ 13
Using Tabs ............................................ 14
Clearing a Tab ...................................... 14
Clearing All Tabs Quickly .................. 14
Pitch ................................................................ 15
Line Spacing .................................................. 15
Impression Control....................................... 16
End of Page Warning ................................... 16
Deactivating the End of Page Warning 16
Auto Indent ................................................... 17
Setting Temporary Indents .....................17
Correcting Text
On-Line Correction ...................................... 18
Correct Key ............................................... 18
WordEraser® Key .................................... 19
LineEraser® Key ...................................... 19
To Stop LineEraser .............................. 19
Half Space ................................................. 20
Adding a Character ............................. 20
Removing a Character ........................ 20
Character Swap® .......................................... 21
Word Swap® ................................................. 22
Off-Line Correction ...................................... 23
Forward Correct ....................................... 23
Enhanced Text
Bold ................................................................. 24
Auto Underscore .......................................... 24
Activating Word Underscore ................. 24
Activating Underscore All ......................24
Manual Underscore ................................. 24
Auto Center ................................................... 25
Superscript/Subscript.................................. 25
Typing Superscripts................................. 25
Typing Subscripts .................................... 26
Correcting Superscript and
Subscript Errors ................................... 26
Keyboard II Characters ................................ 26
Accessing Keyboard II.............................26
Spell-Right® Dictionary
The Dictionary .............................................. 27
Spell-Right ..................................................... 29
Turning Off/On Spell-Right................... 29
WordFind® .................................................... 29
Other Features
Index Up/Index Down ................................30
Auto Return ................................................... 30
Deactivating Auto Return ....................... 30
Abbreviation Feature ................................... 31
Abbreviation Lists .................................... 32
General Words and Phrases ............... 32
Request Phrases ................................... 32
Salutations and Closings ....................33
Holidays ................................................ 33
Months and Days................................. 33
Thank You Phrases .............................. 33
Care and Maintenance
Ribbon Cassette and
Correcting Cassette .................................. 34
Correctable Film with Lift-Off
Correction......................................... 34
Multi-Strike Film with Cover-Up
Correction......................................... 34
Removing the Ribbon Cassette .......... 35
Inserting the Ribbon Cassette ............ 35
Correcting Cassette .................................. 35
Removing the Correcting Cassette.... 35
Inserting a New Correcting Cassette 36
Printwheels .................................................... 36
Removing the Printwheel .......................36
Inserting a Printwheel ............................. 37

4Smith Corona Corporation
Cleaning ......................................................... 37
Printwheel ................................................. 37
Platen ......................................................... 37
Cover/Keyboard/Sound Shield ............ 37
Check Points .................................................. 38
Obtaining Service ......................................... 38
Shipping Instructions ................................... 39
Stabilizing the Carrier Mechanism ........39
Packing the Typewriter ...........................40
Supplies and Accessories
Correctable Film Ribbon Cassettes ............ 41
Multi-Strike Ribbon Cassettes ....................41
Start-Rite® ................................................. 42
Changeable Printwheels ......................... 42
Important Papers
Safe Operating Recommendations.............43
Product Consumer Warranty ..................... 44
Limited Warranty..................................... 44
90 Day Warranty..................................44
Limited Warranty ................................ 44
FCC ................................................................. 45
Quick Reference Guide ................................48
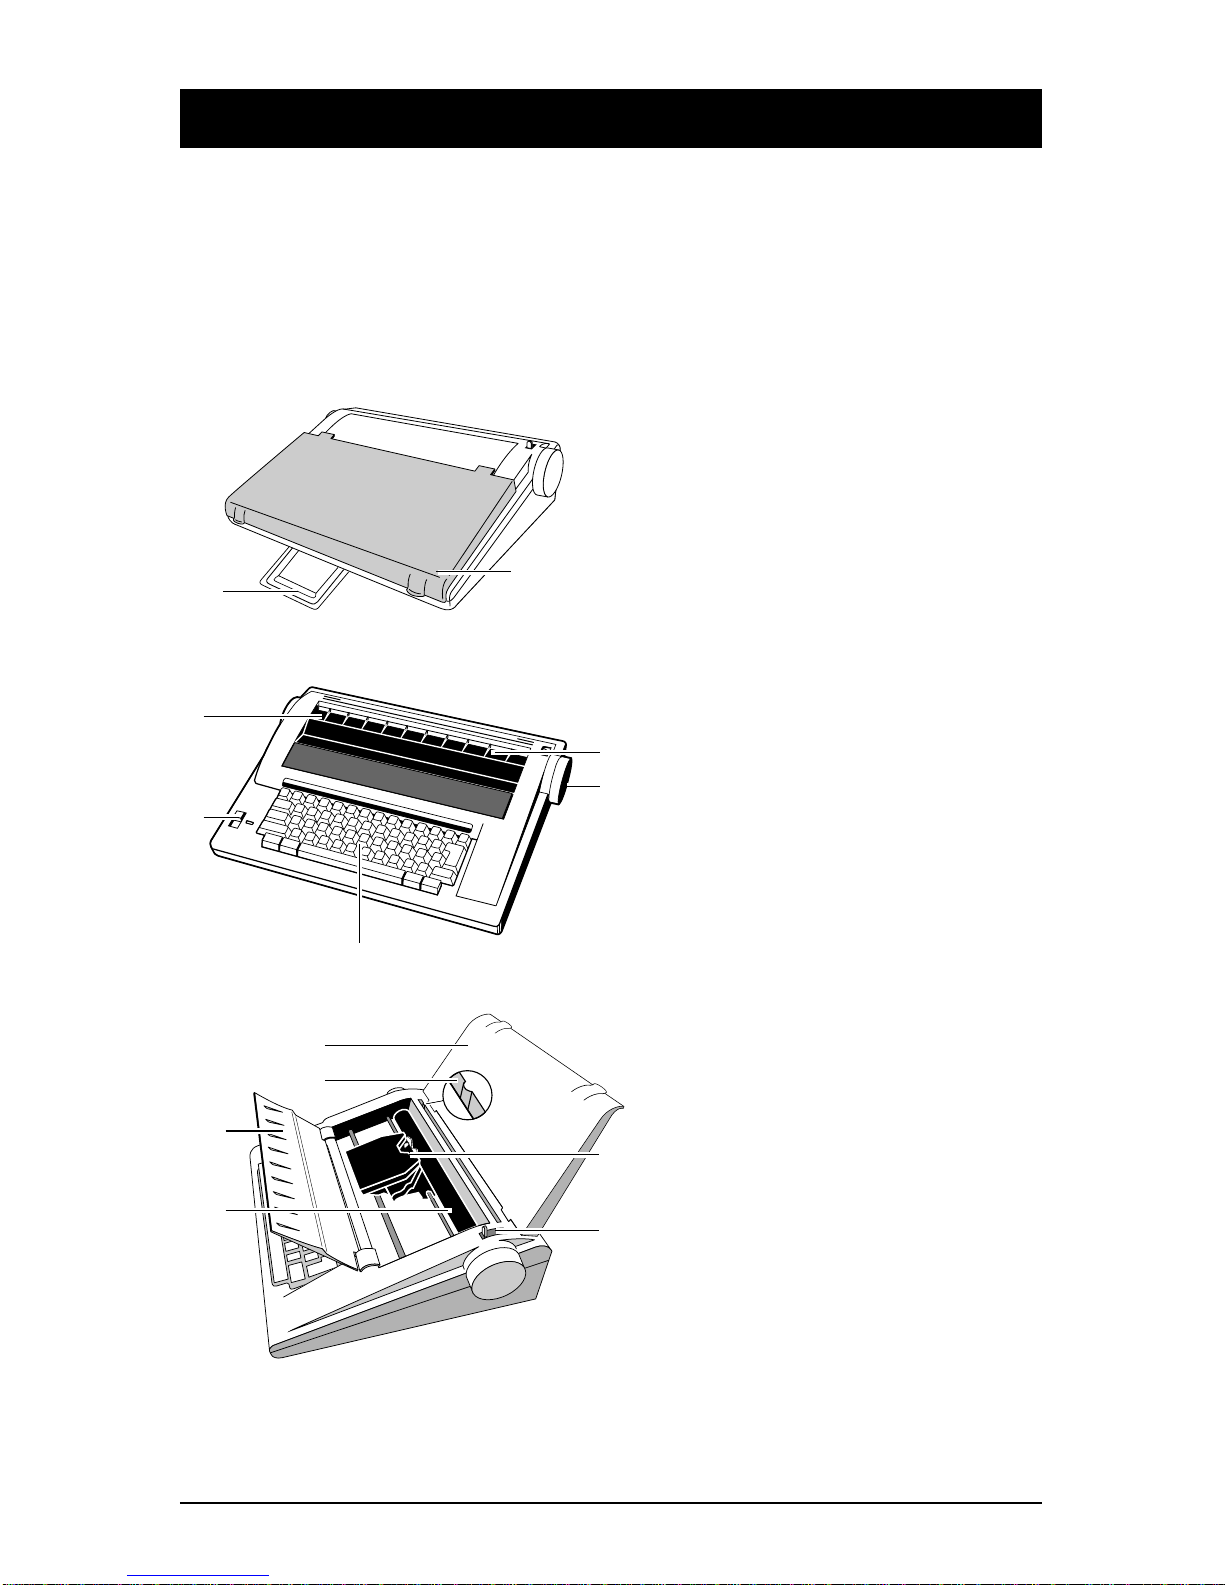
Typewriter Diagram
IMPORTANT: Be sure to save all packing materials. If you move or ship the typewriter,
it should be repacked in the original carton. To secure the unit for transport, see “Care
and Maintenance.”
This diagram depicts only basic features. For information on coded features, see
specific chapters or Quick Reference Guide on back cover.
Hardware Basics
12
IIII••••II••••II••••II••••II••••II••••II•••
II II • • • • II • • • • II • • • • II • • • • II • • • • II • • • • II • • •
•II••••II••••IIII
• II • • • • II • • • • II II
7
10
2
11
9
3
3
4
8
Product appearance and/or specifications are subject to change without notice.
1. Handle
2. Keyboard Cover/Paper Support
3. Sound Shield
4. Power Switch
5. Typing Scale
6. Platen Knob/Variable Line Spacer
7. Keyboard
8. Paper Alignment Mark
9. Platen
10. Carrier Mechanism
11. Paper Release Lever
Smith Corona Corporation 5
5
6
6Smith Corona Corporation
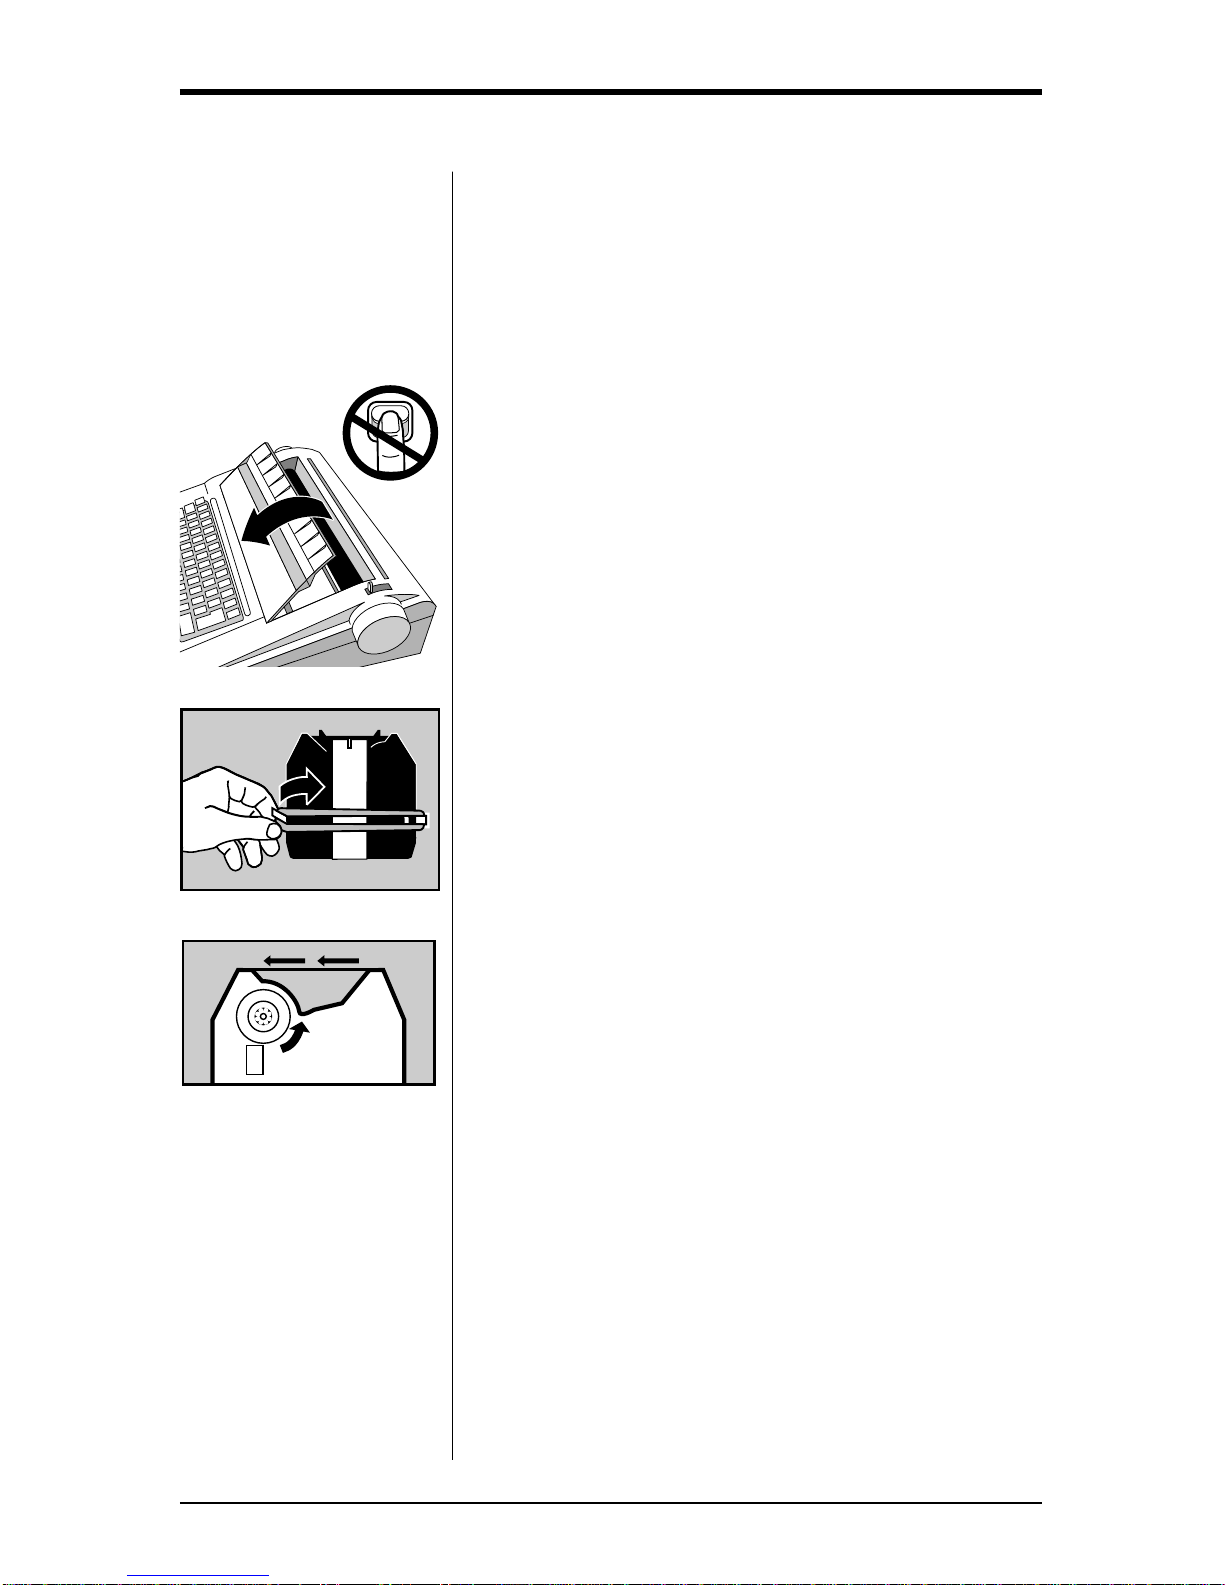
Setting Up
Before you can use your typewriter, you must remove
the packing materials from the carrier mechanism.
This is essential to the proper functioning of your
typewriter. Do not turn the unit on until you have
released the carrier mechanism (10). Follow the steps
listed below using the typewriter diagram for
reference. The numbers on the diagram correspond to
those in the instructions.
1. Remove keyboard cover (2) from the typewriter.
The cover also functions as a paper support. (See
“Paper Support.”)
2. Tilt the sound shield (3) toward you.
3. Remove the rubber band (left side first) from
the tabs.
4. Remove the carrier restraint card.
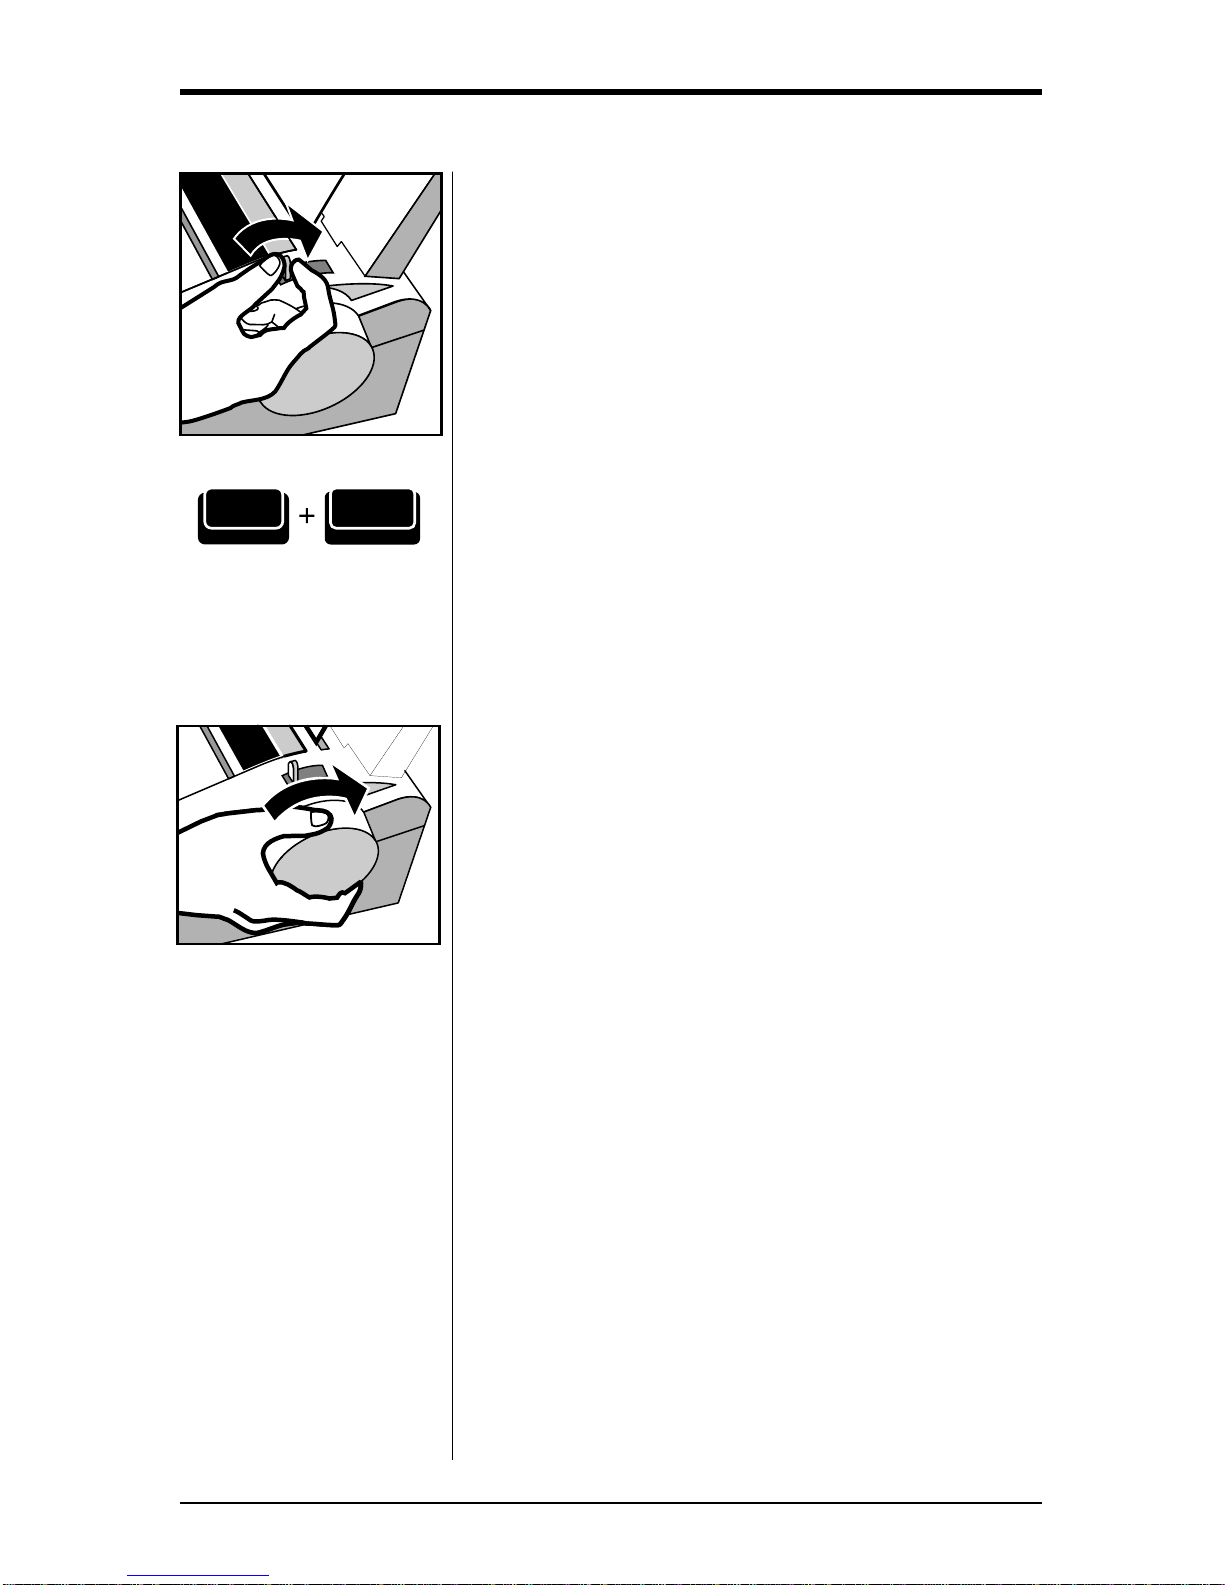
5. Remove the ribbon cassette. If the typewriter
ribbon is slack, advance it by turning the gear
wheel on the bottom of the cassette in the
direction indicated (see illustration).
6. Place the cassette back on the carrier, and return
the sound shield to its original position. You will
hear it snap into place.

Smith Corona Corporation 7
Paper Support
Your keyboard cover also functions as a paper
support.
1. Remove the cover from the keyboard if you have
not already done so.
2. Turn the cover upside down and align the tabs with
the slots behind the paper alignment mark (8).
3. Slide the tabs into the slots to provide an angled
paper support for your typing page.
Turning the Typewriter On
The electrical cord is stored on the back of the unit.
Remove the plug from the protective slot and unwind
the cord for use.
1. Plug the typewriter into a proper electrical outlet.
(Use the correct electrical current.)
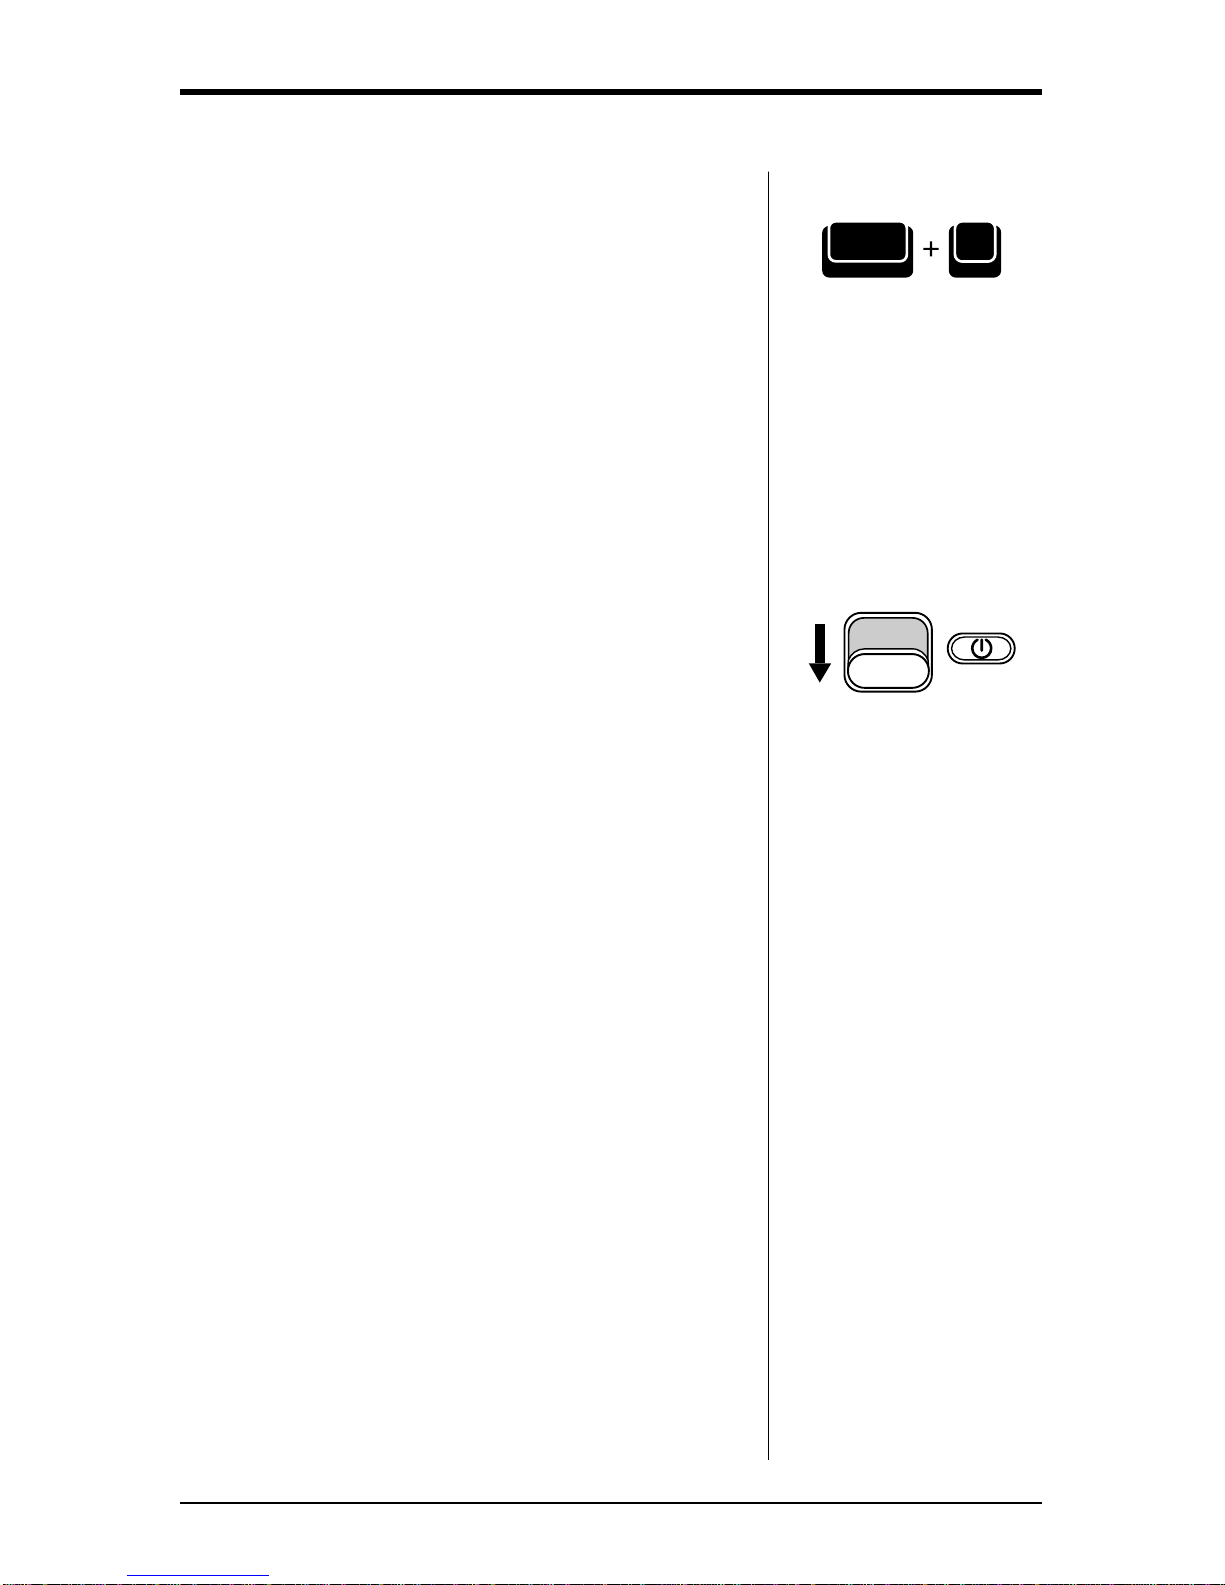
2. The symbol indicates the unit is in Standby
mode. This means your keyboard is inactive until
you select ON (|). Move the power switch (4) to
ON (|). The carrier (10) moves to the preset left
margin.
Inserting Paper
NOTE: Your typewriter handles 12” wide paper and a 9”
typing line. Standard bond paper stock is recommended for
best quality. Copier paper, erasable bonds and very heavily
textured bond papers do not print well with Correctable
Film Ribbons. For these papers, we recommend High
Density Correctable or Multi-Strike Film. If typing
stencils, use those specifically designed for daisywheel
printers.
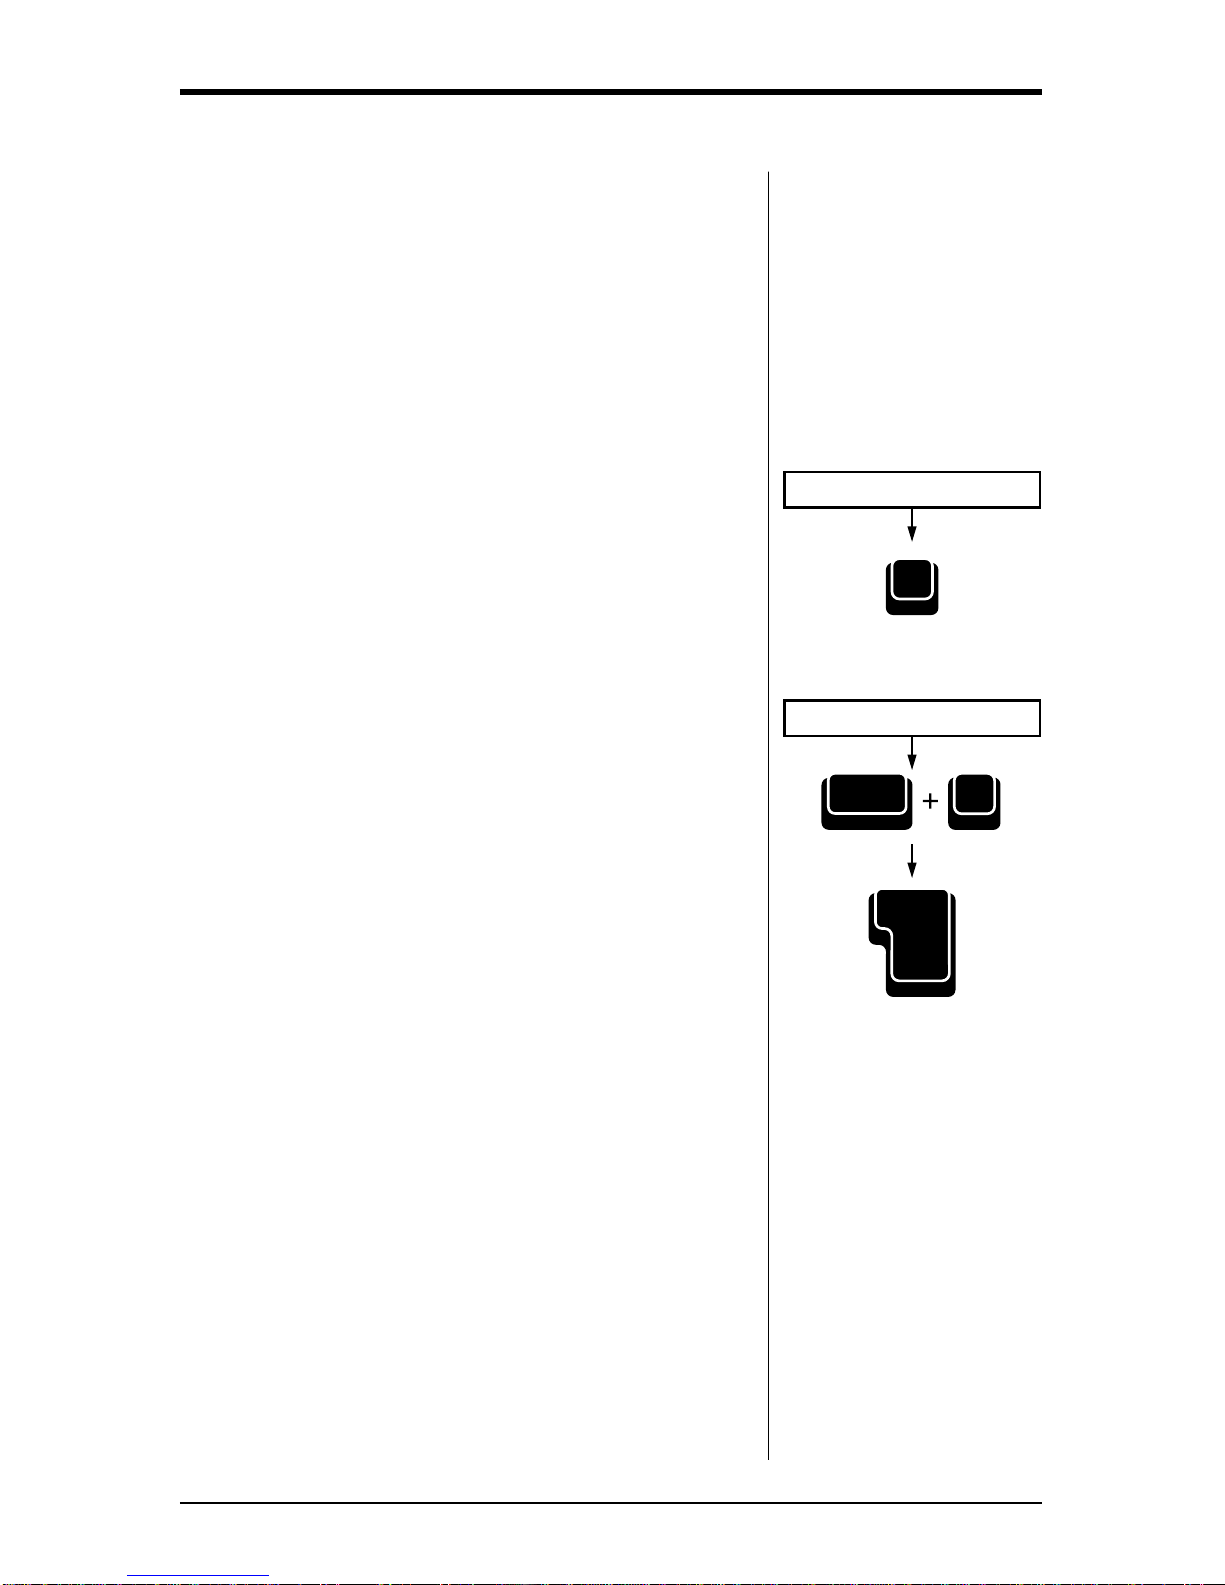
1. Insert paper securely in the slot behind the platen
(9) against the paper alignment mark. (For 12”
wide paper, center on the platen area.)
2. Press Code + Left Shift/Paper In. Paper
automatically advances to approximately one inch
from the top of the page.
II II ••••II ••••II ••••II ••••II ••••II ••••II •••
II II ••••II ••••II ••••II ••••II ••••II ••••II ••••II ••••II ••••II II
•II ••••II ••••II II
Shift Paper In
Code
8Smith Corona Corporation
3. Advance the paper by using the Index Up/Down
feature or Return key.
4. Push the paper release lever (11) back, and
straighten the paper if necessary. Return lever to
original position.
Automatically Ejecting Paper
When you reach the end of a page you can
automatically eject your paper by pressing Code +
Right Shift/Paper Out key. The paper begins ejecting
immediately.
NOTE: The platen may rotate a few seconds after
ejecting paper.
Platen Knob/Variable Line Spacer
Rotate the platen knob to position the paper up or
down at variable line positions. (You should not use
this feature if you are using the end of page warning
option.)
Shift
Paper Out
Code
Smith Corona Corporation 9
Selecting Volume Control
The typewriter will sound a beep when you activate
certain features or type a word the unit does not
recognize (see “The Dictionary”). You can adjust the
volume of these beeps by pressing and holding Code
while pressing the Vkey until the volume setting you
wish is reached or the volume is turned off. When
turned off, no beeps will be heard. The volume has
been set to a medium level at the factory. Each time
you turn your typewriter on, it will be reset for the
medium volume.
Turning the Typewriter Off
When typing is completed, move the power switch to
Standby. We suggest you unplug the typewriter if it
will not be used for an extended period of time.
V
Code
Code Margin L
R
QWERTY
ASDFG
ZXCVB
345612
Tab S !@# $%¢
Tab
Lock
Shift
Tab C
BoldDemo
^ç
`
¿~
é
UI O
HJKL;
:
NM,.
7890
&
*
()+
=Back
Space
"
'
14
12
Return
Half Space
Shift
Correct
WordEraser
?
/
.
,
D. Tab
Reloc
P
[]§
¶
®
Paper In
Caps Lock
Abbr
LineEraser
Paper Out
P. End
Ind
Find
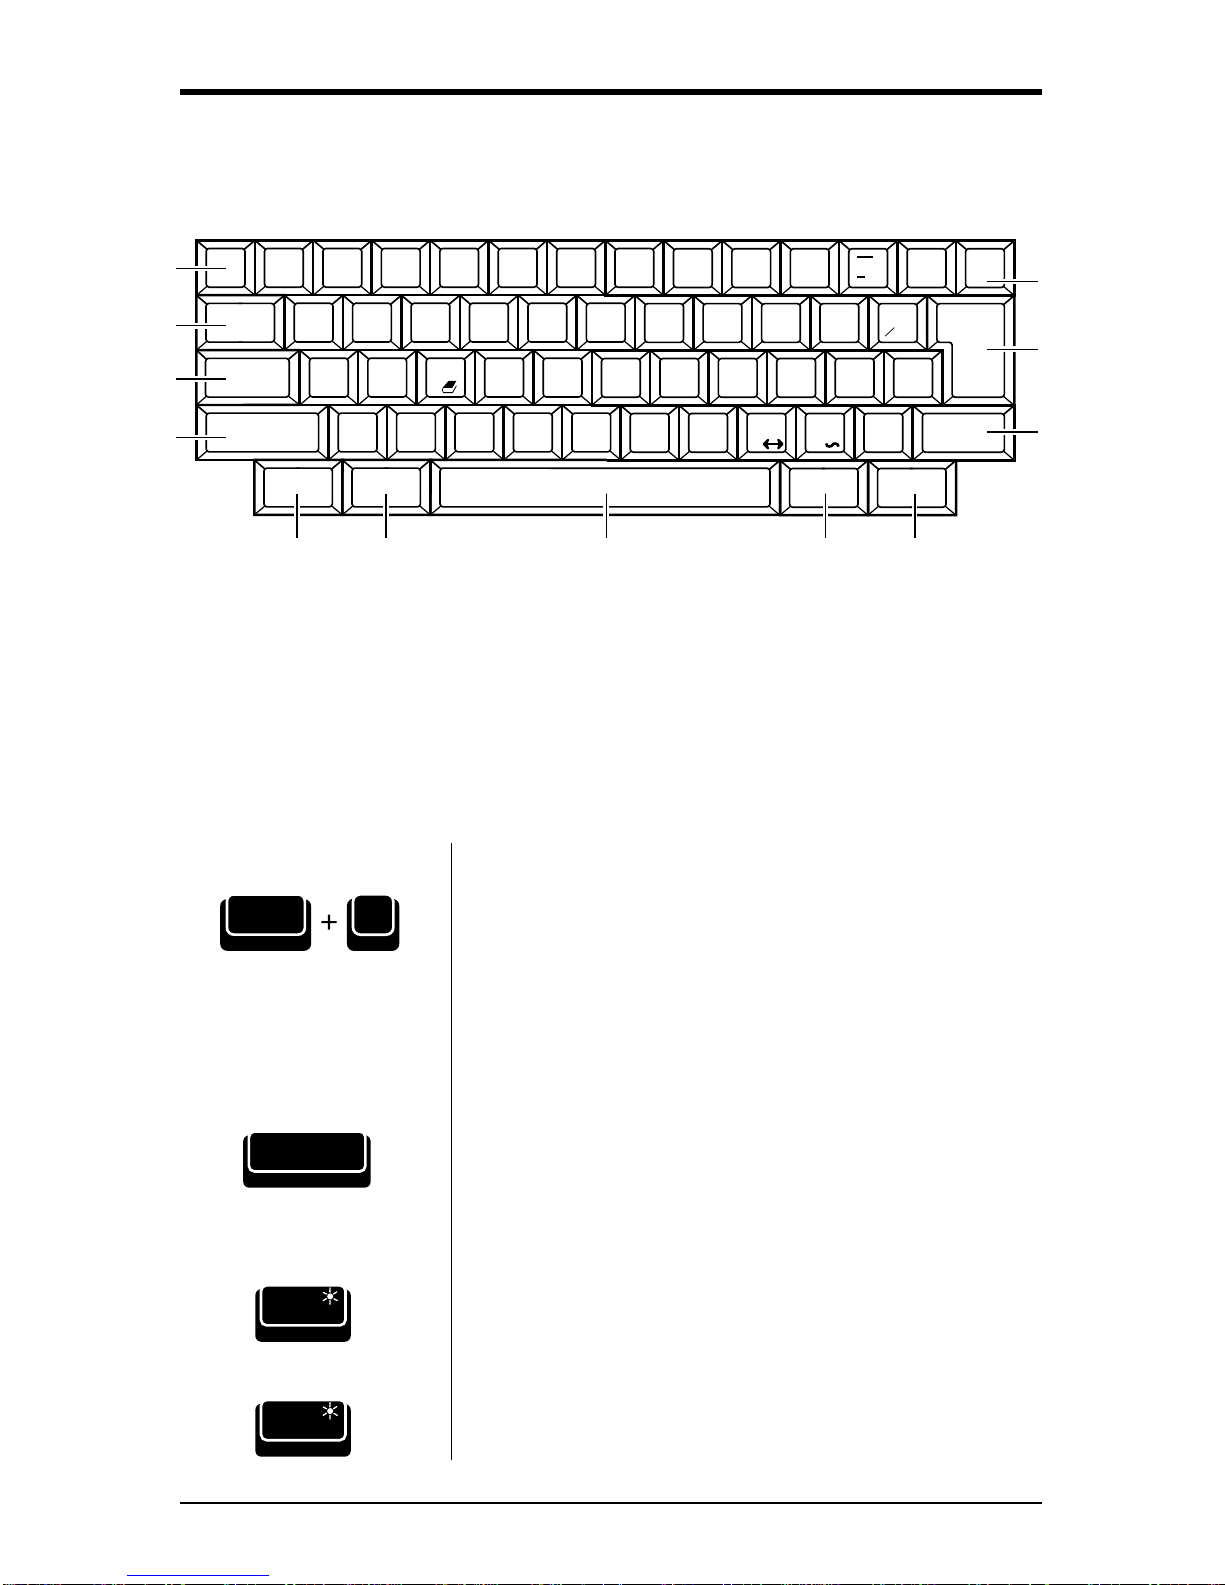
Keyboard Diagram
2
4
3
1
10
11
7. Spacebar/Halfspace
8. WordEraser/LineEraser
9. Correct
10. Shift/Paper Out
11. Return/Relocate
12. Back Space
1. Tab Set
2. Tab/Tab Clear
3. Lock/Caps Lock
4. Shift/Paper In
5. Code
6. Margin L/R
56879
10 Smith Corona Corporation
Shift Paper In
press again...
Code Key
The Code key is used in combination with other keys
to activate features. Code key combinations are
activated by pressing and holding the Code key while
pressing the second key. For a complete list of Code
functions, see the back of this manual.
Shift Keys
Press Shift while typing an alpha key to type upper
case letters or to type the characters located on the top
of certain keys, such as $, %.
Lock Key
Press Lock to type continuously in upper case
characters. The Lock light will come on when Lock is
pressed. To deactivate Lock, press Lock or a Shift key.
The light goes out.
Lock
Caps Lock
Lock
Caps Lock
12
Code

Smith Corona Corporation 11
Indicator Light
The Shift Lock light will flash to indicate an error
condition. See the chart below on how to deactivate it.
Refer to the appropriate section in this manual for
proper instructions.
Caps Lock Key
The Caps Lock feature enables you to type both
numbers and capital letters without accessing the
Shift keys.
Activating Caps Lock
1. Press Code + Caps Lock. A beep is heard, and the
Shift Lock Light goes on.
2. Type your text. All letters will print in upper case.
All numbers and punctuation will print normally.
3. Press Code + Caps Lock or Caps Lock to
deactivate Caps Lock.
NOTE: If Shift is pressed, lower case characters and other
punctuation/symbols on the top of the number keys can be
accessed.
Repeat Action
All keys will automatically repeat when held down
except the following Keyboard II characters: ^ ` ~ .
Reason
The typewriter sound shield
is not closed properly.
The typewriter has received
an incorrect command.
You typed an error or a
word not in the dictionary (if
activated).
To Stop
Snap sound shield shut.
Press either
Shift
or
Code
.
Correct word or type a
space.
R`
RRRRRR
Lock
Caps Lock
Code

12 Smith Corona Corporation
Format
Each time you turn on your typewriter, a preset
format is activated. It is set for general typing
purposes. These settings remain active until you
change them.
Margins and Tabs
Margins
Margins are preset depending on your pitch setting.
They are:
10 Pitch 12 Pitch 15 Pitch
(Pica) (Elite) (Micro)
Left Margin 12 14 18
Right Margin 72 86 108
Changing Margins
When you need to change the margins, follow the
instructions below:
1. Press Spacebar to desired left margin.
2. Press Margin. Unit beeps.
3. Press Spacebar to desired right margin.
4. Press Code + Margin. The unit beeps.
NOTE: Your typewriter will beep once to signal that you
are 5 spaces from the right hand margin.
Position Desired
Left Margin
Margin L
R
Position Desired
Right Margin
Margin L
R
Code
Smith Corona Corporation 13
Tabs
You can set up to eight tabs, either regular or decimal.
Tabs may be set outside of margins.
Regular Tab Decimal Tab Stop
This is 123.56
a Regular 12.47
Tab 2.09
Regular Tabs
Regular tabs justify text at the tab stop. To set a
regular tab:
1. Position print hammer to desired location.
2. Press Tab S. Unit beeps.
Decimal Tabs
Decimal tabs are used to align numbers with the
decimal point. To set a decimal tab:
1. Position the print hammer at desired location.
2. Press Code + D. Tab (O). Unit beeps.
3. Repeat steps 1 and 2 to set more decimal tabs if
desired.
4. Press Return when all tabs are set.
Position Print Hammer
TabS
Position Print Hammer
Reloc
Return
D.Tab
O
Code
14 Smith Corona Corporation
Position Print Hammer
(hold down)
Type Text
Tab
Tab C
Using Tabs
Once tabs are set, they can be used as you are typing
your text.
1. Press Tab (Tab C) to tab location.
2. Type text. If using a decimal tab, type the numbers
preceding the decimal point. The carrier moves to
the left for each number you type. If you make a
mistake, press Tab to start again.
3. Type the decimal point. The numbers print to
this point.
4. Type the numbers following the decimal point.
Clearing a Tab
Both types of tabs are cleared the same way.
1. Position print hammer to tab setting.
2. Press Code + Tab (Tab C). Release immediately.
Unit beeps.
Clearing All Tabs Quickly
Press and hold Code + Tab (Tab C) until 2 beeps are
heard. If you are positioned at a tab stop, you will
hear 3 beeps.
Tab
Tab C
Code
Tab
Tab C
Code
Smith Corona Corporation 15
Pitch
Your typewriter has been designed with triple pitch
capabilities. To set the Pitch:
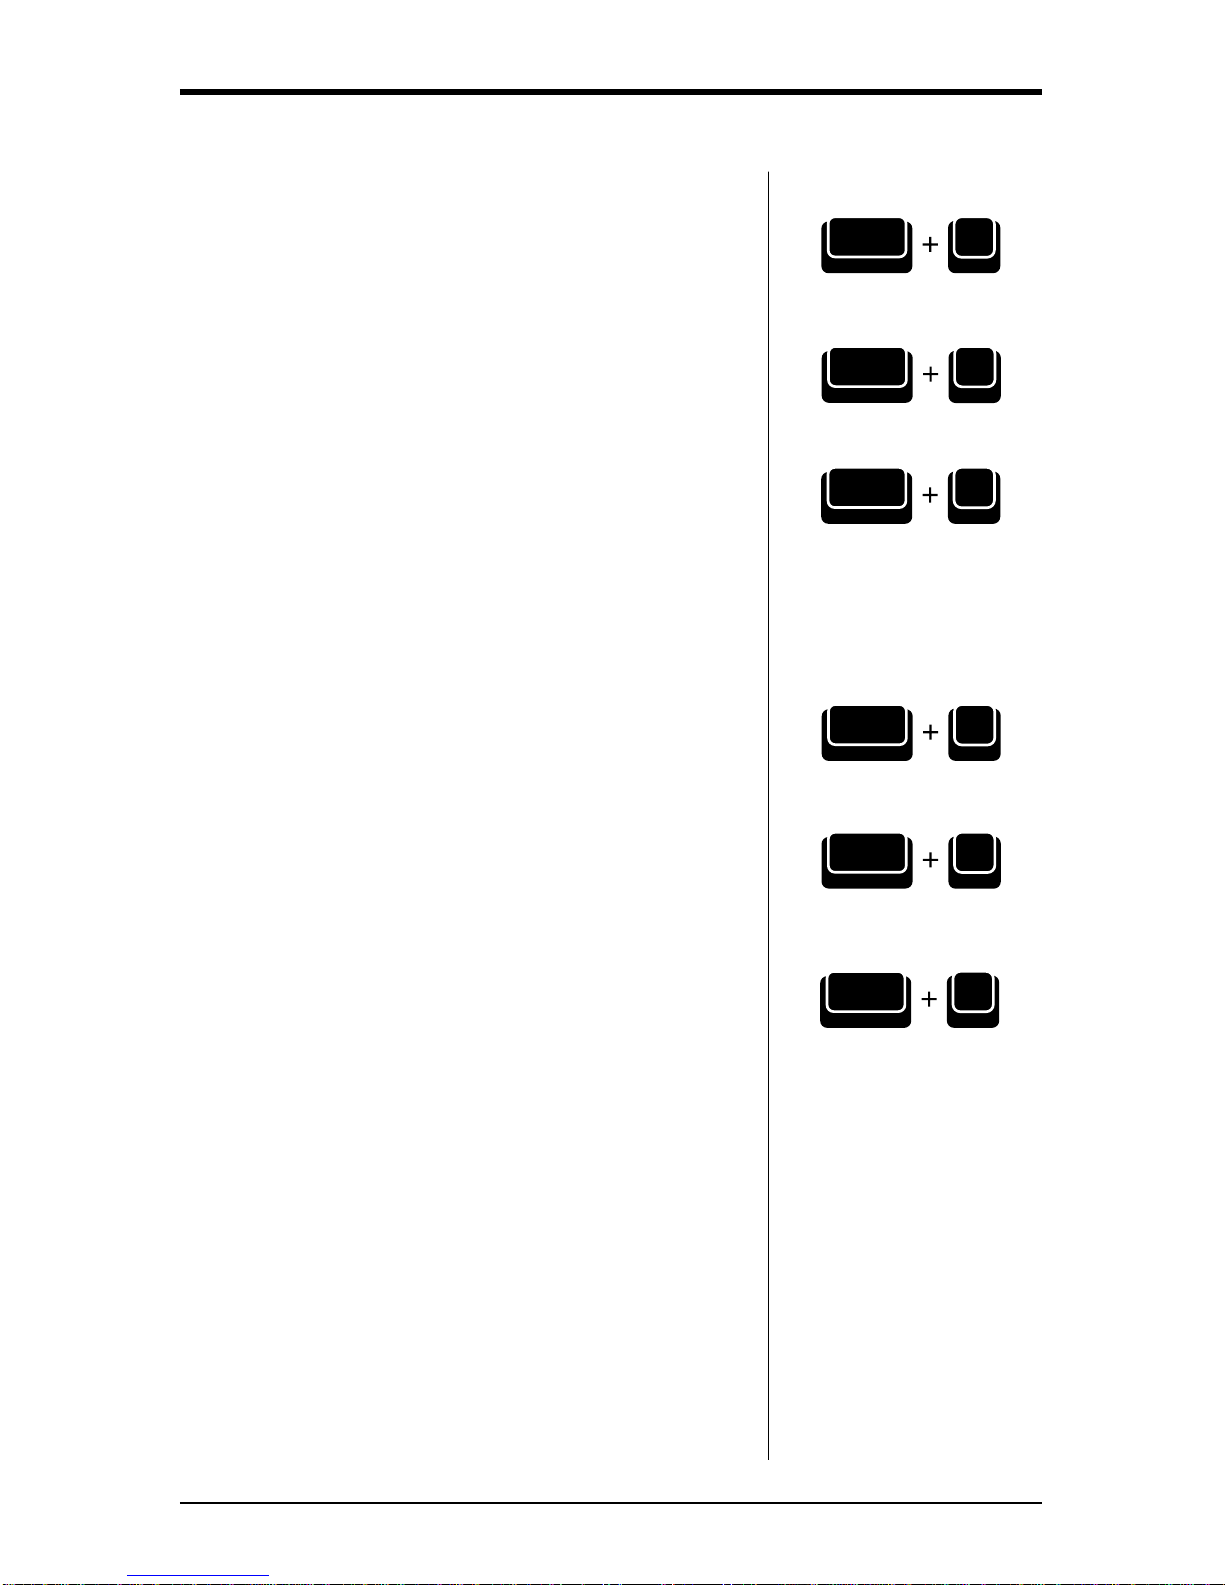
Press Code + Tab Set for 10 Pitch.
Press Code + 1 for 12 Pitch.
Press Code + 2 for 15 Pitch.
Unit beeps when selecting pitch.
NOTE: Your typewriter is set at 10 pitch. Change the
printwheel if you select another pitch. Changing pitch in the
middle of a line erases Correction Memory. However, after
the new pitch is selected, Correction Memory begins again.
Line Spacing
Each time you turn the typewriter on, it is set for
single line spacing. You can change line spacing to
11⁄2line spacing or double line spacing. To change
line spacing:
Press Code + 3 for single line spacing.
Press Code + 4 for 11⁄2line spacing.
Press Code + 5 for double line spacing.
Unit beeps when selecting line spacing.
10 Pitch
12 Pitch
15 Pitch
Single Line
One and a Half Line
Double Line
TabS
10
Code
1
12
!
Code
2
@
15
Code
3
#1
Code
4
$
1
Code
12
/
5
%
2
Code

16 Smith Corona Corporation
Impression Control
Impression control is the force used by the print
mechanism to strike the paper. When you turn the
typewriter on, impression control is set at medium.
You can change to light or heavy impression. It is
recommended that you select heavy impression when
typing stencils or carbons and when using Script or
Orator printwheels. For normal typing, use medium
impression. To set impression control:
Press Code + L for light impression.
Press Code + M for medium impression.
Press Code + H for heavy impression.
The unit beeps when Impression Control is changed.
NOTE: Standard bond paper stock is recommended for best
quality. Copier paper, erasable bonds and very heavily
textured bond papers do not print well with Correctable
Film Ribbons. For these papers, we recommend High
Density Correctable or Multi-Strike Film. If typing
stencils, use those specifically designed for daisywheel
printers.
End of Page Warning
You can program your typewriter to beep 1” from the
bottom of 11” paper. After you hear the beep, do not
attempt to add additional lines of text. To set the End
of Page Warning:
1. Press Code + P. End (P). Unit beeps.
2. Insert paper using Code + Paper In (Shift).
IMPORTANT: Do not use the platen knob while using the
End of Page feature. If you do, the line count will be
inaccurate. Use the Automatic Paper Insert feature to
insert paper. To adjust the typing position, use Code +
Index Up, Code + Index Down or Return. The line
counter is reset each time you use the Automatic Paper
Insert feature.
Deactivating the End of Page Warning
Press Code + P. End (P). The unit does not beep.
Light
Medium
Heavy
L
Code
M
Code
H
Code
P
P.End
Code
P
P.End
Code
Shift Paper In
Code
Smith Corona Corporation 17
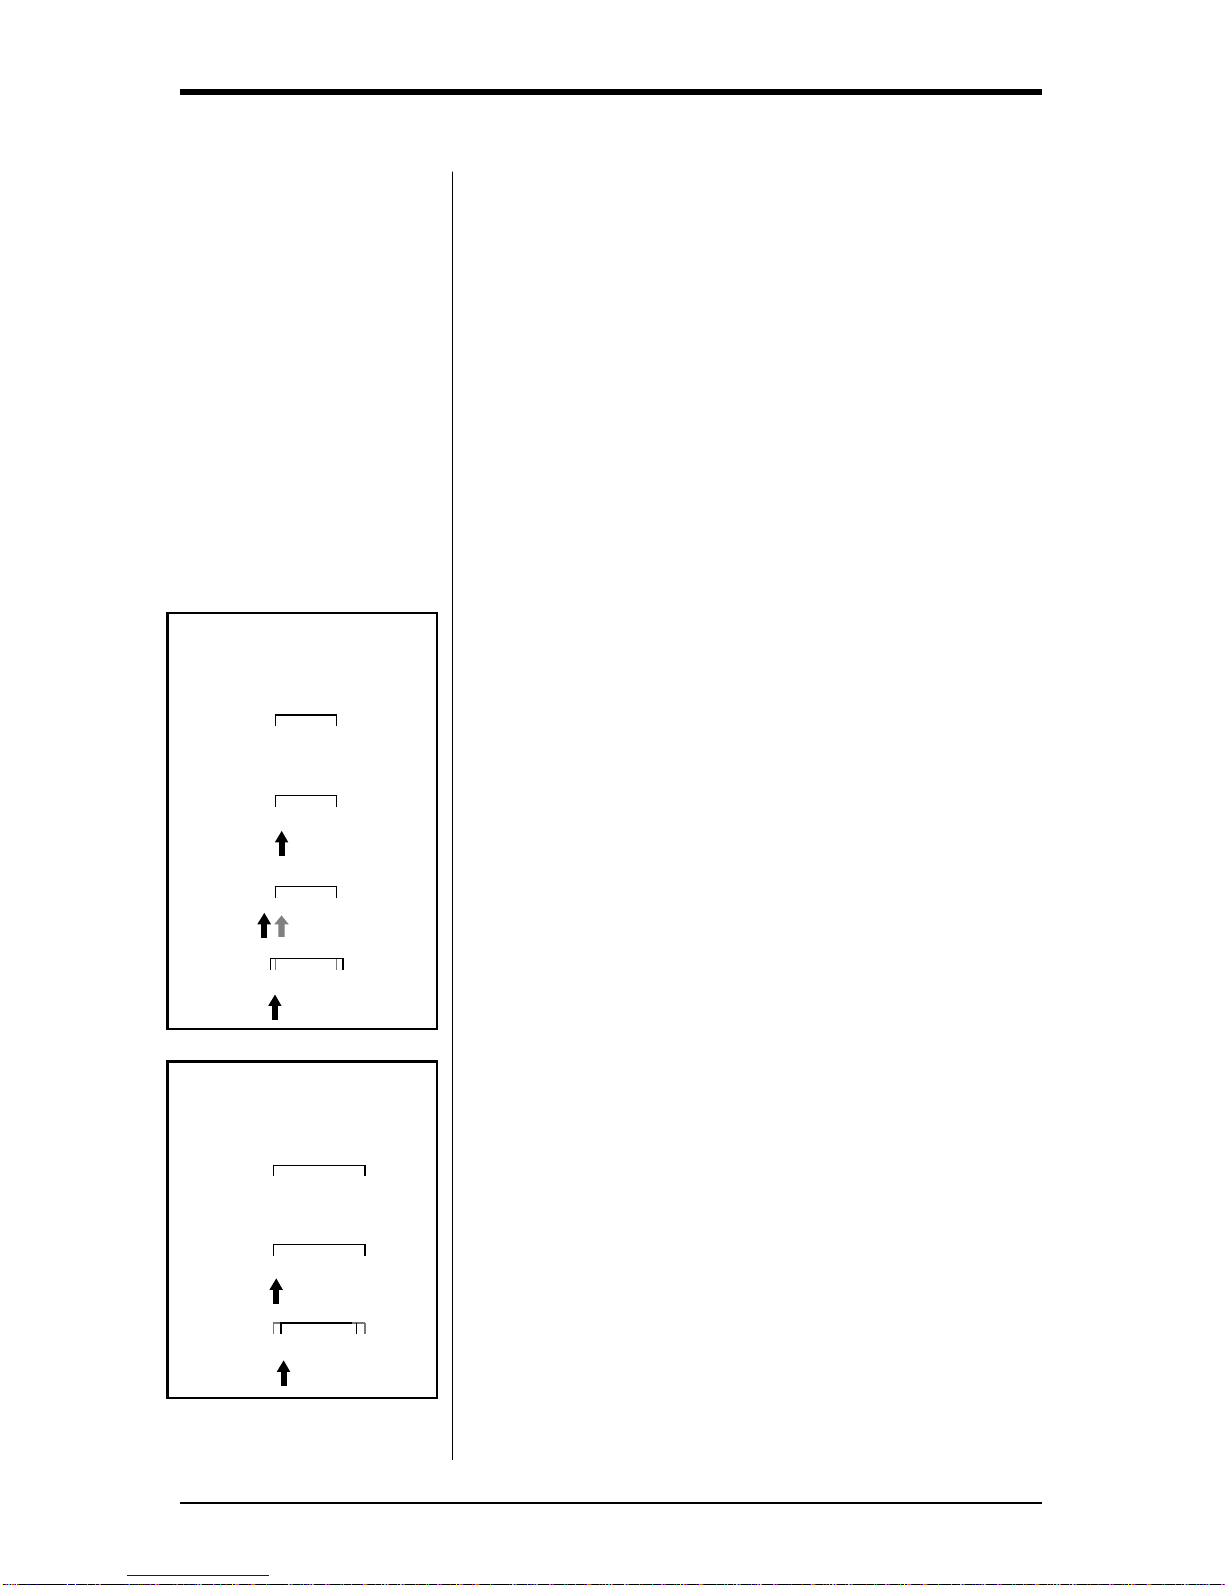
Auto Indent
Your typewriter can set a temporary left margin. In
the example below, the second paragraph
automatically indents twelve spaces.
Section V: This section evaluates the
Bold Print feature.
Research indicates that
boldfaced text is a popular
and frequently used feature
on the typewriter. It
improves the appearance of
letters and documents...
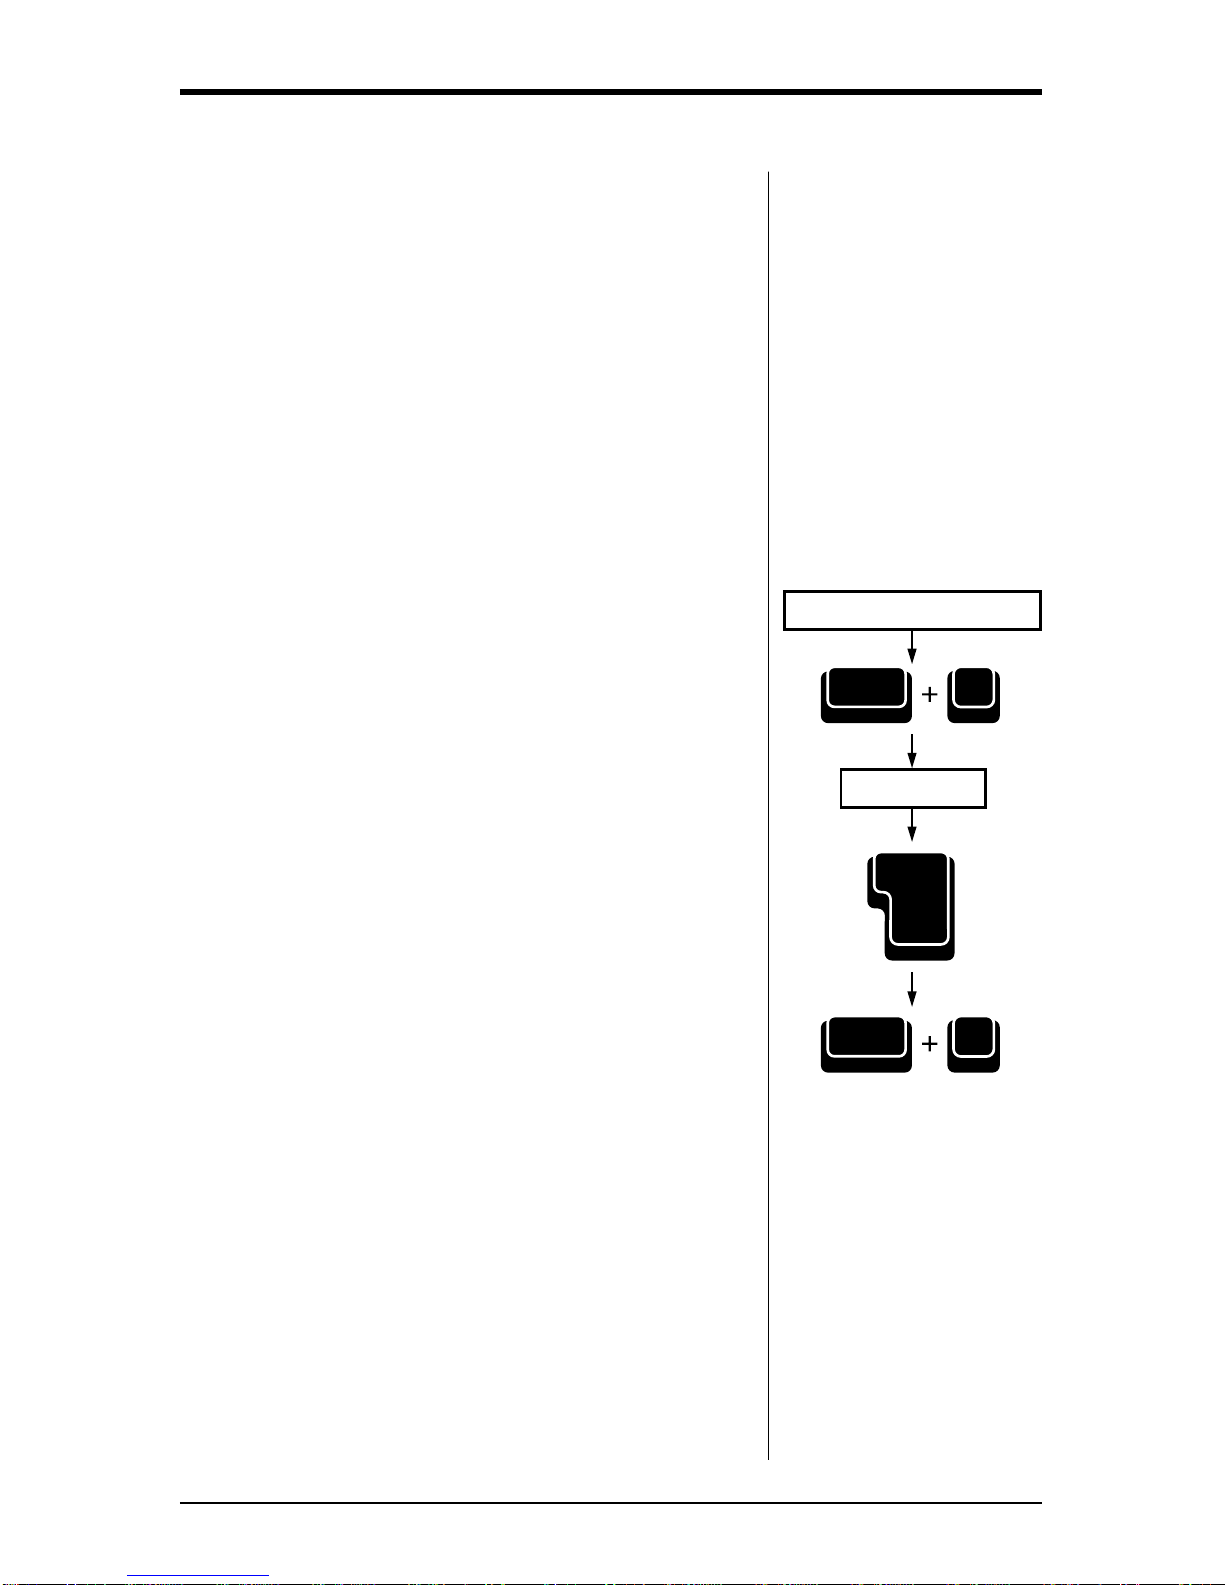
Setting Temporary Indents
1. Press Spacebar or Tab to position print hammer to
indent location.
2. Press Code + Ind (K). Unit beeps.
3. Type Text. When Return is pressed carrier returns
to indented position.
4. Press Code + Ind (K). Carrier advances one line
and returns to the original margin.
Position Print Hammer
Type Text
Reloc
Return
K
Ind
Code
K
Ind
Code
18 Smith Corona Corporation
Correcting Text
While you are creating text, there are several ways to
correct errors. You can remove characters, words, or
entire lines of text.
IMPORTANT: Bold or Auto Underscore must be
reactivated prior to correcting characters with those
enhancements or correction will not occur.
On-Line Correction
The typewriter can automatically correct all
characters in a one-line memory buffer. You can also
correct characters no longer in this Correction
Memory buffer with an extra step. After correcting
an error, you can quickly return/relocate to your
previous typing position.
IMPORTANT: If you changed printwheels, be sure to
insert the proper printwheel before making corrections.
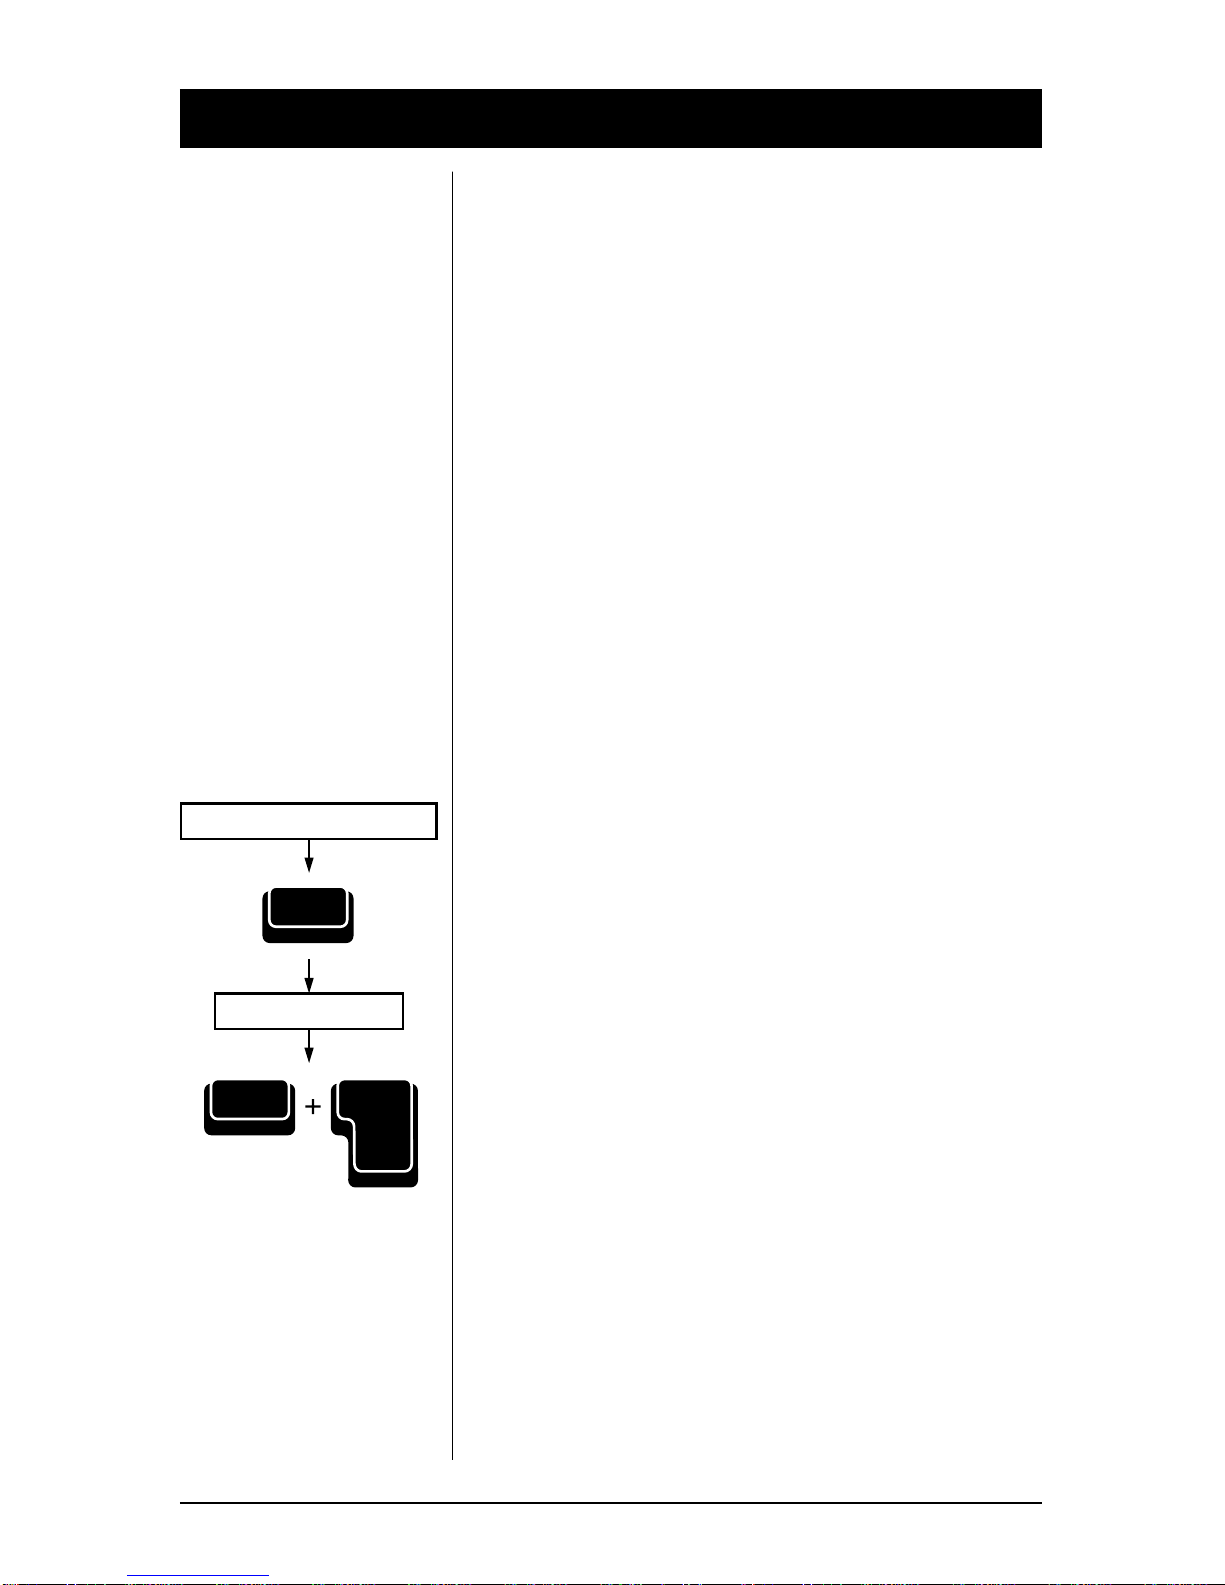
Correct Key
Use Correct for erasing character(s) in Correction
Memory.
1. Position the print hammer on the incorrect
character and then press Correct. Hold down
Correct to continue correcting, or press Back
Space and then Correct again until all characters
are removed.
2. Type correction.
3. Press Code + Reloc (Return) if necessary to
relocate. The unit beeps.
NOTE: You erase Correction Memory when you turn off
the typewriter, press Return, change pitch, or use the Half
Space feature.
Position Print Hammer
Type Correction
Correct
Reloc
Return
Code
Smith Corona Corporation 19
Position Print Hammer
Type Correction
Position Print Hammer
WordEraser
LineEraser
WordEraser
LineEraser
WordEraser®Key
Use WordEraser for erasing word(s) in Correction
Memory.
1. Position the print hammer on any character of the
right most word to be corrected, and then press
WordEraser. If you press WordEraser while
between words, the word to the left of the space
will be deleted.
2. Type correction.
3. Press Code + Reloc (Return) if necessary to
relocate. The unit beeps.
NOTE: You can use the WordFind feature to quickly locate
to misspelled words within Correction Memory.
LineEraser®Key
Use LineEraser to erase a line in Correction Memory.
1. Position the print hammer on any character in the
line to be erased.
2. Press Code + LineEraser (WordEraser). The entire
line is erased, and the carrier rests on the last
erased character.
To Stop LineEraser
Press Code + S. Erasing will stop immediately; the
print hammer remains at the last character erased.
Reloc
Return
Code
S
Code
20 Smith Corona Corporation
Half Space
The Half Space feature is used when making
corrections when you omit a character or type one too
many. When the Half Space feature is activated, the
typing position moves a half space to the right.
Regular spacing returns when the Half Space feature
is deactivated.
NOTE: When you activate the Half Space feature, the
character Correction Memory is erased. The typewriter
remembers the half spaced characters until the Half Space
feature is deactivated. Then, the typewriter begins to
remember normally spaced characters again.
Adding a Character
1. Press Correct or WordEraser to erase error.
2. Press Backspace to position the carrier one space
before the first character of the erased word.
3. Press Code + Halfspace (Spacebar). Print hammer
advances a half space.
4. Type correct word.
5. Press Code + Halfspace (Spacebar).
Removing a Character
1. Press Correct or WordEraser to erase error.
2. Press Code + Halfspace (Spacebar). Print hammer
advances a half space.
3. Type the correct word.
4. Press Code + Halfspace (Spacebar).
NOTE: Before activating the Half Space feature on another
line, you have to remove the error using off-line correction
procedures. (See “Off-Line Correction.”)
Adding Another
Character
Find
Quick brwn fox
Erase
Quick brwn fox
Back Space
Quick brwn fox
Correct
Quick brwn fox
Removing Another
Character
Find
Quick broown fox
Erase
Quick broown fox
Correct
Quick broown fox
brown
brown
This manual suits for next models
1
Table of contents
Other Smith Corona Typewriter manuals

Smith Corona
Smith Corona Sterling User manual

Smith Corona
Smith Corona DISPLAY 1000 User manual

Smith Corona
Smith Corona 88 User manual

Smith Corona
Smith Corona Standard Portables User manual

Smith Corona
Smith Corona Floating Shift Series Operating instructions

Smith Corona
Smith Corona Memory Correct User manual

Smith Corona
Smith Corona Typewriter User manual

Smith Corona
Smith Corona Wordsmith 200 User manual

Smith Corona
Smith Corona Wordsmith 100 User manual

Smith Corona
Smith Corona Memory Correct User manual


