Installation videos on
solarblasterfans.com
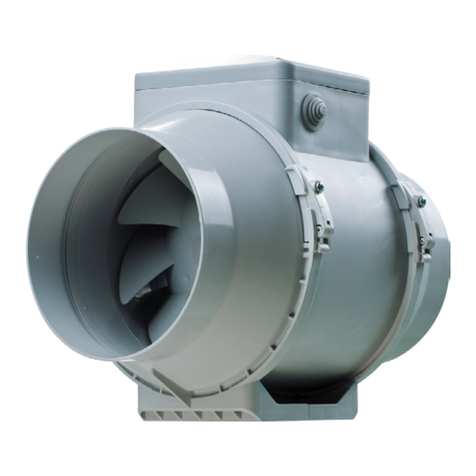
Step 13: Attach Strips
Align the center of one strip
of plumber tape to the two
holes on the bottom side of
the RIDGEblaster fan unit.
Then attach the plumber
tape to the fan unit using
the black Christmas tree
clips.
Step 9: Caulk Hole
Leave one foot of wire
running from the bottom
of the solar panel to the
hole. Then caulk the hole.
Apply one shingle layer
covering the hole keeping
the solar panel wire running
downslope.
Step 11: Secure Flashing
Using the remaining two 2”
screws, secure the upper
ashing to the roof deck.
9
11
10
12
Step 14: Insert Fans
Insert the RIDGEblaster
fan unit into the ridge
vent opening. If installing
below a ridgeboard, you
may need to pry up the
adjoining decking boards
in order to slide the fan unit
underneath.
Step 10: Attach Panel
Attach the bottom edge
of the solar panel to the
vertical lip of the bottom
ashing with the two 3/4”
screws.
Step 12: Ice & Water Shield
Place a strip of ice and
water shield over the top
ashing making sure it
won’t show below the next
layer of shingles.
Solar Blaster Corporation © 2011
Seattle, WA
www.solarblasterfans.com
Part No. SBRIDGE-030
1413
Step 15: Nail Down
Nail the two strips of
plumber tape to both sides
of the roof deck using roof-
ing nails (not included).
Step 16: Finish Up
Finish by attaching the last
two rows of shingles and
the ridge vent cap.
1615

