© 2003 - 2019 Key Wholesalers Pty Ltd t/a Solar Bollard Lighting- All rights reserved
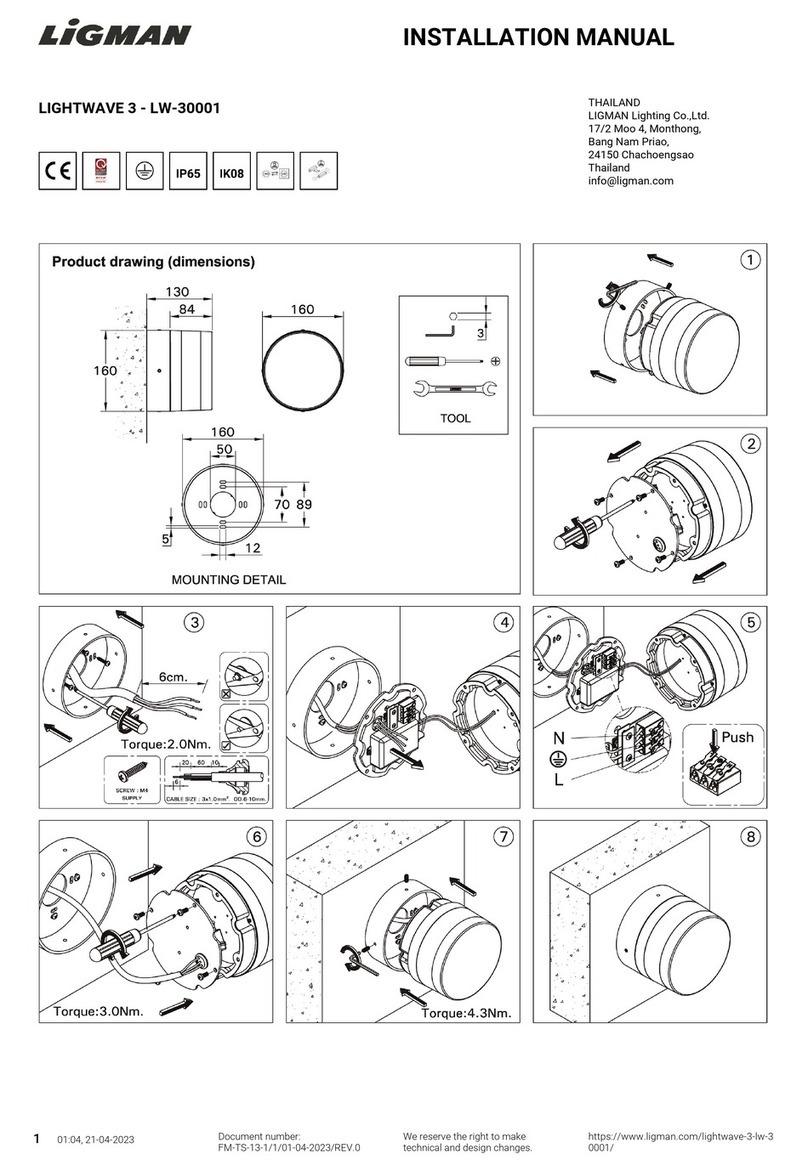
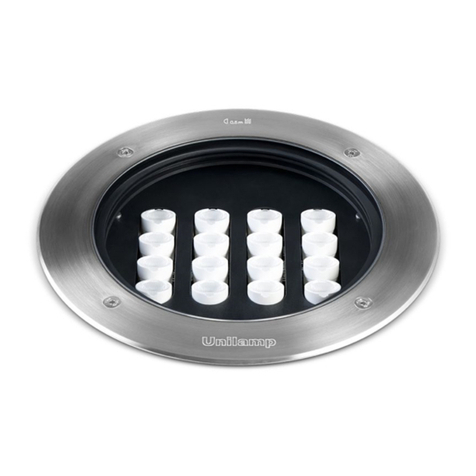
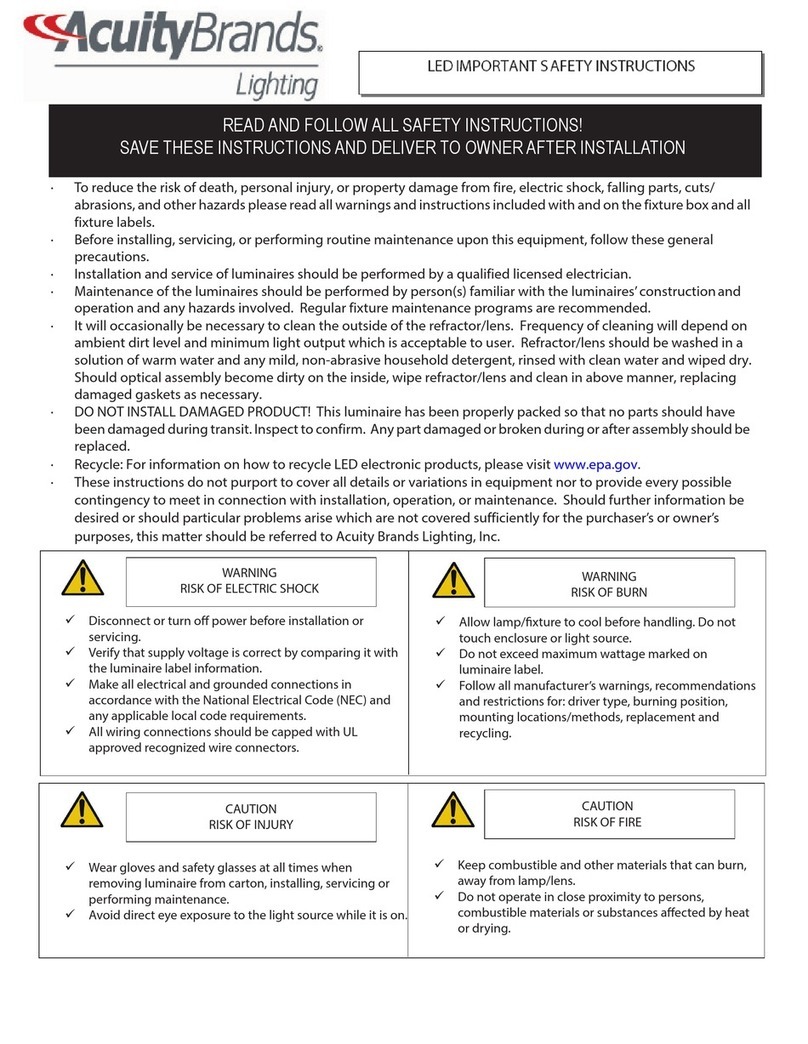
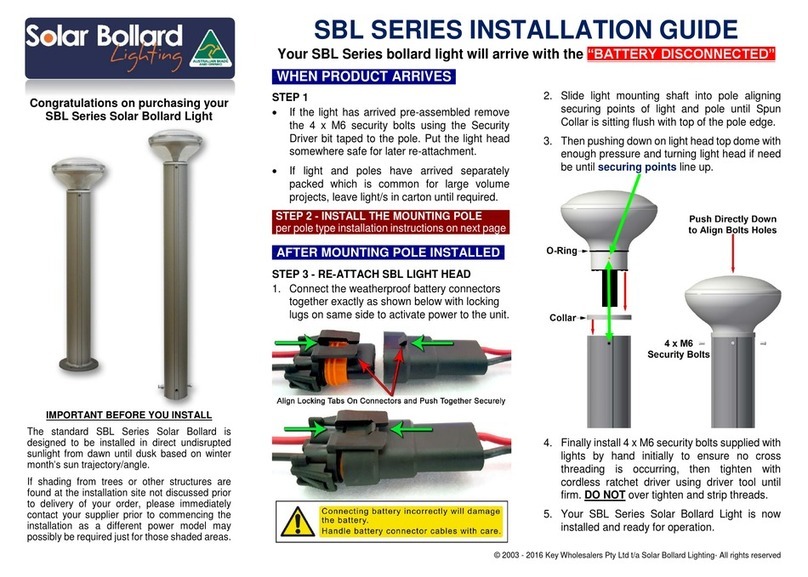
SOLAR BOLLARD MOUNTING TYPE INSTALLATION INSTRUCTIONS
BEFORE YOU INSTALL: Dial before you Dig
Ensure Anchor Bolts are through pole base/s.
STEP 1 – Dig hole with shovel, auger or similar.
In good soil we suggest ᴓ345mm/13.5” x 1/3 pole length
deep hole + 100mm /4” extra below bottom of pole end
A much larger foundation may be required if soil is poor/sandy
to prevent bollards being pushed over or removed/stolen
STEP 2 - Pour concrete into the hole
STEP 3 - Insert pole into concrete ensuring the internal of
the pole is also filled with concrete.
SLB2 with asymmetric “pathway” optic:
Removable RED dot labels are applied to
the bollard pole. These labels should face
the pathway centre.
Remove After Install
STEP 4 - Use spirit level to ensure pole is set correctly.
STEP 5 - Cure concrete.
STEP 6 - Remove the black shrink wrap from the light head
to activate the system. Your Solar Light Bollard is now
installed and ready for operation.
BEFORE YOU INSTALL: (not included in kit)
3 x M12 (1/2”) Mounting Thread, Washer, Nuts. We
recommend using security fasteners to prevent theft.
STEP 1 - Check surface is flat or determine how to ensure
bollard is perfectly vertical
STEP 2 - Mark out the 3 hole centre points as shown
below on the ᴓ150mm/5.9” to suit the base plate.
SLB2 with asymmetric “pathway” optic:
Removable RED dot labels are applied to
the bollard pole. These labels should face
the pathway centre.
Remove After Install
STEP 3 - Drill or core hole to take an M12 (1/2”) threaded
rod or other securing device
STEP 4 - Install rod or other securing device ensuring
sufficient thread protrudes from plate which is 12mm/0.47”
thick.
STEP 5 - Place the base plate over the bolts and use spirit
level while tensioning to ensure pole is set level.
STEP 6 - Remove the black shrink wrap from the light head
to activate the system. Your Solar Light Bollard is now
installed and ready for operation.
BEFORE YOU INSTALL: (not included in kit)
4 x M10 (7/16”) Mounting Thread, Washer, Nuts. We
recommend using security fasteners to prevent theft.
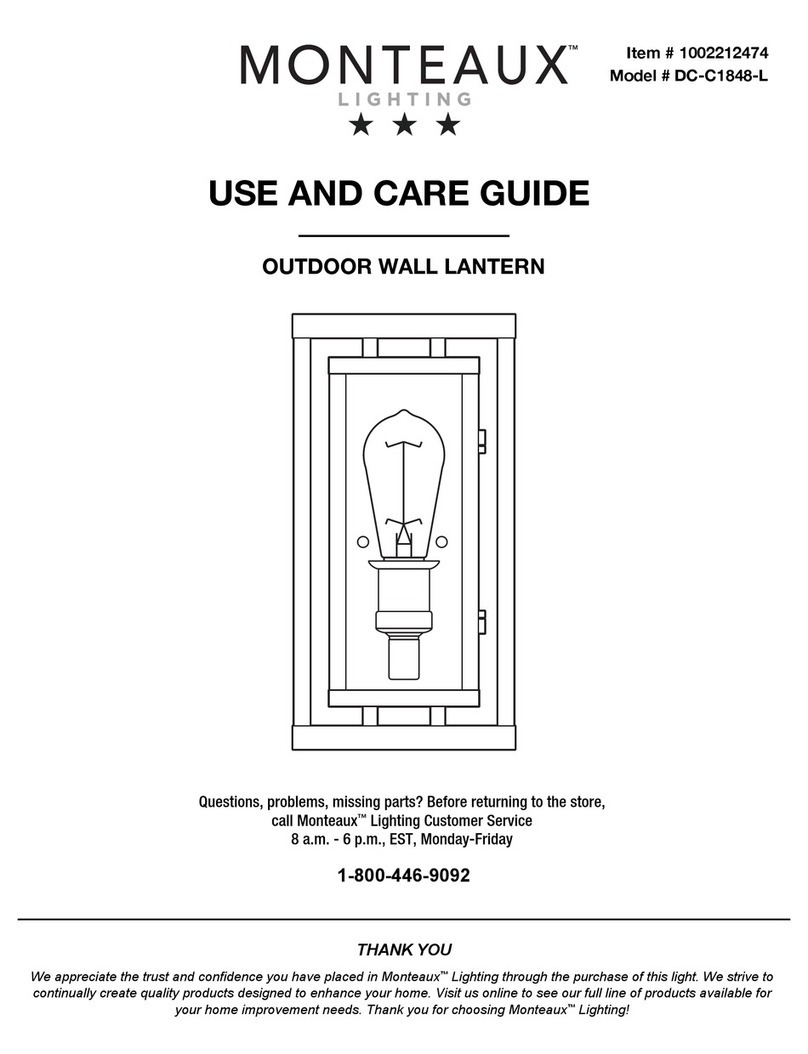
Please Note: All Wall/Pylon mount lights are Asymmetrical
STEP 1 - Check mounting surface is flat or determine how
to ensure bollard is vertical.
STEP 2 - Mark out 4 x holes to suit below mounting plates
STEP 3 - Drill hole to take M10 (7/16”) threaded rod or
other securing device such as a Dynabolt with Nylock Nuts.
STEP 4 - Install rod or other securing device ensuring
sufficient thread protrudes from plate which is 10mm/0.4”
thick.
STEP 5 - Place plate over the bolts and secure fasteners
STEP 6 - Remove the black shrink wrap from the light head
to activate the system. Your Solar Light Bollard is now
installed and ready for operation.

