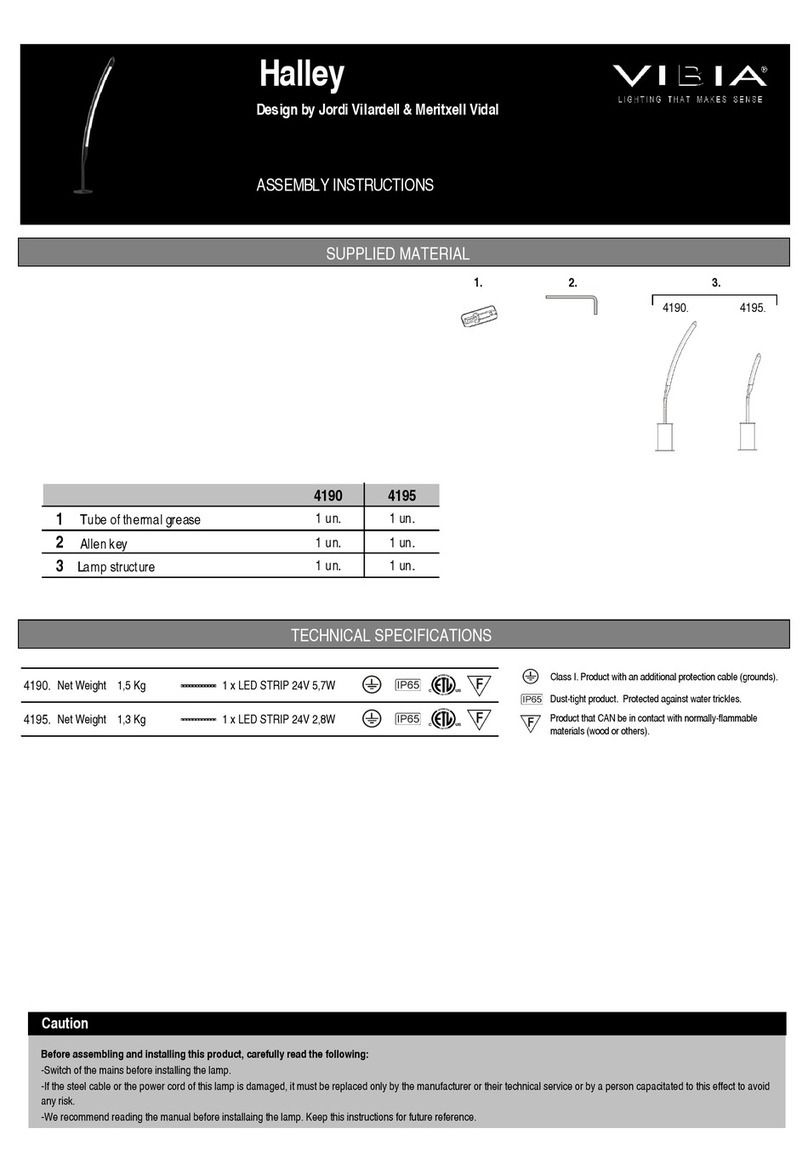
ASSEMBLY INSTRUCTIONS INSTRUCCIONES DE MONTAJE MONTAGEANLEITUNG
: Solo en caso de necesitar anclar la luminaria al suelo seguir las indicaciones descrita
continuación. Si no necesita fijarla, hacer caso omiso de los puntos 1 al 4, e ir directamente al punto 5.
U icarla donde se desee y que tenga una toma de corriente cerca para su conexión.
1. Apartar el ca le y extraer el tornillo (A) montado en la canal con la llave allen suministrada.
Importante: No realizar esta operación con la luminaria inclinada ni tum ada, tiene que estar situada en
posición vertical.
2. A continuación coger el pie (B) fuertemente con las manos y siguiendo el orden que indican las flechas,
primero desplazar el pie hacia el lado contrario a la salida del ca le hasta soltarse del anclaje (C) y segundo
tirar hacia arri a para li erarlo completamente de la ase (D).
3. Fijar la ase (D) al suelo con los tornillos y tacos mas adecuados (no suministrados).
4. Volver a montar el pie (B) siguiendo los pasos contrarios al punto 2, y asegurándose de que quede ien
sujeto al anclaje (C), fijarlo roscando el tornillo (A).
Retirar la lámina de protección de las etiquetas adhesivas situadas en la canal antes de alojar el ca le.
5. Para la instalación y mantenimiento de las om illas desenroscar los 6 tornillos con la llave allen
suministrada y extraer la tapa (E). Proceder y volver a montarla roscando los tornillos homogéneamente y
apretar para asegurar la estanqueidad.
: Please, follow these instructions just in case you need to fix the lamp to the ground. If you do not need
it to e fixed to the ground, skip steps 1 through 4 and go directly to step 5, making sure that the chose place
is close to an outlet.
1. Move the ca le sideways and remove the screw (A) located in the opening y means of the supplied Allen
key.
Important: Do not do this if the lamp is leaning or lying on the ground. It must e vertical.
2. Hold strongly on the ody of the lamp (B) and, following the arrows, move the lamp towards the opposite
side of the ca le till it comes loose from the anchorage device (C) and then pull it upwards to separate it from
the ase (D).
3. Fix the ase (D) to the ground using the most adequate screws and plugs (not supplied).
4. Replace the lamp (B) following the instruction of step 2 ackwards, making sure the lamp is firmly joined to
the anchorage device (C), and fix it in place y tightening the screw (A).
Remove the adhesive protector in the opening efore replacing the ca le.
5. To install and maintain the ul s unscrew the 6 screws with supplied allen key to free the disc (E). Once
finished, fit the disc with the screws, screw them on uniformly and tighten to ensure water-tightness.
CD
2
nd
1
st
B
D
: Folgen Sie diesen Anweisungen nur, wenn Sie die Lampe am Boden efestigen wollen. Wenn Sie
die Lampe nicht am Boden efestigen müssen, ü erspringen Sie die Punkte 1 is 4 und gehen Sie direkt zu
Punkt 5. Stellen Sie die Lampe am gewünschten Ort auf und achten Sie darauf, dass ein Stromanschluss in
der Nähe verfüg ar ist.
1. Nehmen Sie das Ka el zur Seite und ziehen Sie die Schrau e (A) der Rinne mit dem mitgelieferten
In usschlüssel heraus.
Wichtig: Führen Sie diesen Vorgang nicht aus, wenn die Lampe schräg steht oder liegt. Die Lampe muss sich
in vertikaler Position efinden.
2. Greifen Sie anschließend den Fuß (B) fest mit der Hand und folgen Sie den Pfeilen in der A ildung:
Bewegen Sie den Fuß zunächst in die dem Ka elausgang entgegengesetzt liegende Richtung, is dieser aus
der Verankerung(C) springt. Ziehen Sie ihn anschließend nach o en, um ihn vollständig aus dem Gestell (D)
zu lösen.
3. Befestigen Sie das Gestell (D) mit geeigneten Schrau en und Dü eln (im Lieferumfang nicht enthalten) am
Boden.
4. Bringen Sie den Fuß (B) wieder an und führen Sie hierzu die Schritte des Punkts 2 in umgekehrter
Reihenfolge aus. Stellen Sie sicher, dass der Fuß fest in der Verankerung (C) sitzt. Ziehen Sie hierzu die
Schrau e (A) fest.
Entfernen Sie die Schutzfolie der Kle eetiketten der Rinne, evor Sie das Ka el einlegen.
5. Zwecks Installation oder Austausch der Leuchtmittel lösen Sie die 6 Schrau en mit dem mitgelieferten
Im ußschlüssel und entnehmen Sie die A deckung (E).
Montieren Sie danach wieder die A deckung und schrau en Sie die Schrau en fest. Festziehen, damit die
Dichtigkeit gewährleistet ist.
Ca le
A
: MAKE SURE HE LID IS FIRMLY CLOSED O AVOID MOIS URE.
ASEGURAR EL CORREC O CIERRE DE LA APA PARA EVI AR POSIBLES
FIL RACIONES DE AGUA.
RN SIE SICH EINES KORREK EN SCHLIESSENS DER ABDECKUNG
EINEN MÖGLICHEN WASSEREIN RI ZU
VERMEIDEN.
E


