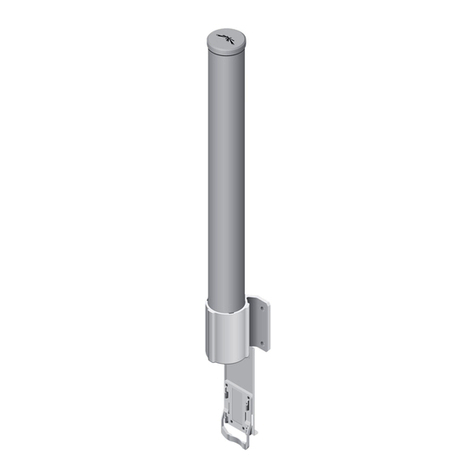
SolarEdge Cellular Plug-In User manual

Installation Guide
Cellular Plug-In
with SetApp Configuration
Version 1.0

Disclaimers
Important Notice
Copyright © SolarEdge Inc. All rights reserved.
No part of this document may be reproduced, stored in a
retrieval system or transmitted, in any form or by any means,
electronic, mechanical, photographic, magnetic or otherwise,
without the prior written permission of SolarEdge Inc.
The material furnished in this document is believed to be
accurate and reliable. However, SolarEdge assumes no
responsibility for the use of this material. SolarEdge reserves
the right to make changes to the material at any time and
without notice. You may refer to the SolarEdge web site
(www.solaredge.com) for the most updated version.
All company and brand products and service names are
trademarks or registered trademarks of their respective holders.
Patent marking notice: see http://www.solaredge.com/patent
The general terms and conditions of delivery of SolarEdge shall
apply.
The content of these documents is continually reviewed and
amended, where necessary. However, discrepancies cannot be
excluded. No guarantee is made for the completeness of these
documents.
Cellular Plug-in Installation Guide MAN-01-00622-1.0
1 Disclaimers

The images contained in this document are for illustrative
purposes only and may vary depending on product models.
Cellular Plug-in Installation Guide MAN-01-00622-1.0
Disclaimers2

Emission Compliance
This equipment has been tested and found to comply with the
limits applied by the local regulations.
These limits are designed to provide reasonable protection
against harmful interference in a residential installation. This
equipment generates, uses and can radiate radio frequency
energy and, if not installed and used in accordance with the
instructions, may cause harmful interference to radio
communications. However, there is no guarantee that
interference will not occur in a particular installation. If this
equipment does cause harmful interference to radio or
television reception, which can be determined by turning the
equipment off and on, you are encouraged to try to correct
the interference by one or more of the following measures:
Reorient or relocate the receiving antenna.
Increase the separation between the equipment and the
receiver.
Connect the equipment into an outlet on a circuit
different from that to which the receiver is connected.
Consult the dealer or an experienced radio/TV technician
for help.
Changes or modifications not expressly approved by the party
responsible for compliance may void the user’s authority to
operate the equipment.
Cellular Plug-in Installation Guide MAN-01-00622-1.0
3 Emission Compliance

Revision History
Version 1.0, August 2019 - initial release
Cellular Plug-in Installation Guide MAN-01-00622-1.0
4

Contents
Disclaimers 1
Important Notice 1
Emission Compliance 3
About This Guide 6
Chapter 1: Introduction to the Cellular Plug-In 7
Package Contents 8
Chapter 2: System Compatibility Check and Upgrade 9
Software Requirements 9
Chapter 3: Guidelines for Installing a SIMCard 10
Chapter 4: Cellular Plug-in and Antenna Installation 12
Clipping the Antenna to the inverter 12
Connecting the Antenna to a Vertical Surface using a
Bracket 15
Installing the Plug-In in the Inverter 16
Chapter 5: Configuring Cellular Communication 18
Configuring the Inverter 18
Verifying the Connection and Viewing Communication
Status 20
Viewing Error Messages and Troubleshooting 22
Technical Specifications - Cellular Plug-in 27
Support Contact Information 30
Cellular Plug-in Installation Guide MAN-01-00622-1.0
5

About This Guide
This manual describes how to install and set up Cellular Plug-
in communication in a SolarEdge inverter.
SolarEdge offers the Cellular Plug-in communication option
for connection of the SolarEdge inverter to the SolarEdge
monitoring server.
This guide assumes that the SolarEdge power harvesting
system is already installed and commissioned. For additional
information about how to install and commission the
SolarEdge power harvesting system, refer to the relevant
installation guide.
For further information, datasheets and the most up-to-date
certifications for various products in different countries, please
visit the SolarEdge website: www.solaredge.com.
Cellular Plug-in Installation Guide MAN-01-00622-1.0
About This Guide6

Chapter 1: Introduction to the
Cellular Plug-In
The Cellular Plug-In and antenna attach to SolarEdge devices
that will communicate with the SolarEdge monitoring
platform. The plug-in attaches to the communications board,
as shown in the figure below.
Figure 1: Communications Board with Cellular Plug-in
Figure 2: Connecting the Inverter to the Monitoring Platform
Cellular Plug-in Installation Guide MAN-01-00622-1.0
7 Chapter 1: Introduction to the Cellular Plug-In

Package Contents
Cellular Plug-in
Nano SIM card (where applicable)
Installation guide
Antenna with mounting clip and antenna cable. The
antenna and mounting clip are supplied as either separate
units, or joined, as shown in the figures below.
Figure 3: Separate Antenna and Mounting Clip with Cable
Figure 4: Joined Antenna and Mounting Clip with Cable
Cellular Plug-in Installation Guide MAN-01-00622-1.0
Chapter 1: Introduction to the Cellular Plug-In8

Chapter 2: System Compatibility
Check and Upgrade
Software Requirements
To use the Cellular Plug-in communication option, the
communication board firmware (CPU) version must be 4.7.xx
or higher.
To check the inverter CPU version and upgrade firmware
using SetApp:
1. Access SetApp and select Commissioning è Information
2. If required, upgrade to the latest available firmware version.
Select MaintenanceèFirmware Upgrade, and follow the
instructions on the screen.
Cellular Plug-in Installation Guide MAN-01-00622-1.0
9 Chapter 2: System Compatibility Check and Upgrade

Chapter 3: Guidelines for
Installing a SIMCard
Activating and using the Cellular Plug-in requires a
NanoSIMcard, which is inserted into a designated slot on the
Cellular Plug-in. A SIMcard is required in each Cellular Plug-in.
If there is no SIMcard installed in the Cellular Plug-in, insert
one into the slot on the Cellular Plug-in, as shown in the figure
below.
Figure 5: Nano SIMcard slot on Cellular Plug-in
When using multiple SolarEdge inverters in the same site, a
Cellular Plug-in must be installed as follows:
Residential installations - in each inverter
Commercial installations - in one device (master inverter
for up to 31 slave inverters)
NOTE
In commercial installations, make sure to choose
a data plan that is suitable for the AC system size.
Cellular Plug-in Installation Guide MAN-01-00622-1.0
Chapter 3: Guidelines for Installing a SIMCard10

Figure 6: Cellular Plug-in Connection Diagram - Residential
Installation
Figure 7: Cellular Plug-in Connection Diagram - Commercial
Installation
Cellular Plug-in Installation Guide MAN-01-00622-1.0
11 Chapter 3: Guidelines for Installing a SIMCard

Chapter 4: Cellular Plug-in and
Antenna Installation
This chapter describes how to install a Cellular Plug-in and
antenna in SolarEdge devices that will communicate with the
SolarEdge monitoring platform.
Clipping the Antenna to the inverter
1. Power off the inverter:
a. Turn the inverter ON/OFF/P switch to OFF. Wait 5
minutes for the capacitors to discharge.
b. Turn the Safety Switch (if applicable) to OFF.
c. Disconnect the AC to the inverter by turning OFF the
circuit breakers on the distribution panel.
2. Insert the clip from the bottom of the inverter between the
bracket and the inverter rear side.
3. Route the antenna cable upwards along the inner fins or
the inverter side, by threading the clip and RF cable from
the bottom of the inverter between the bracket and the
inverter’s rear side.
Cellular Plug-in Installation Guide MAN-01-00622-1.0
Chapter 4: Cellular Plug-in and Antenna Installation12

Figure 8: Routing the antenna cable
4. Clip the antenna vertically to the heatsink fins or the
inverter side.
NOTE
The antenna should point upward for maximum
range.
5. Pass the antenna cable between the mounting bracket and
the rear side of the inverter or along the heatsink fins.
6. Open the antenna cable gland (see the figure below) at the
bottom of the inverter.
Cellular Plug-in Installation Guide MAN-01-00622-1.0
13 Clipping the Antenna to the inverter

Figure 9: Antenna Cable Gland
7. Remove the rubber seal from the gland and insert the cable
through the gland body and the opened connection of the
inverter.
8. Insert the rubber seal with the cable into the gland body
and reconnect the gland to the inverter. Tighten the sealing
gland.
9. Pull the excess cable into the inverter so that the cable can
be attached to the inverter communication board (see
Figure 11
). The cable connects to the cellular Plug-in as
described in the next section.
Cellular Plug-in Installation Guide MAN-01-00622-1.0
Chapter 4: Cellular Plug-in and Antenna Installation14

Connecting the Antenna to a Vertical
Surface using a Bracket
For connecting the antenna to a vertical surface (i.e. a wall),
use a bracket with the following recommended dimensions
(not supplied by SolarEdge):
Figure 10: Example of antenna bracket
1. Drill two holes in the surface and attach the bracket to it
with two screws.
2. Clip the antenna onto the bracket. Make sure the antenna
is vertical.
Cellular Plug-in Installation Guide MAN-01-00622-1.0
15 Connecting the Antenna to a Vertical Surface

Installing the Plug-In in the Inverter
NOTE
If the Cellular Plug-in is pre-installed in the inverter,
this step is not required.
1. Remove the inverter cover as described in its manual.
To Install the Plug-in in the inverter:
1. Locate the Plug-in in its place on the communication
board, as shown in
Figure 11
.
follow these guidelines:
Plug in the Plug-in making sure that all pins are
correctly positioned in the Plug-in connector, and no
pins are left out of the connector.
Make sure that the Plug-in is firmly in place.
2. Connect the antenna cable to the cellular Plug-in and
tighten manually.
Figure 11: Installed Plug-in and Antenna Connector
Cellular Plug-in Installation Guide MAN-01-00622-1.0
Chapter 4: Cellular Plug-in and Antenna Installation16

3. Turn the AC ON.
WARNING!
ELECTRICAL SHOCK HAZARD. Do not touch
uninsulated wires when the inverter cover is removed.
4. Check that all the LEDs on the cellular Plug-in are active. If
not, refer to "Configuring Cellular Communication " on
page18
Figure 12: Cellular Plug-in LEDs
Cellular Plug-in Installation Guide MAN-01-00622-1.0
17 Installing the Plug-In in the Inverter

Chapter 5: Configuring Cellular
Communication
This chapter describes how to configure the inverter to use
cellular communication, verify the connection and
troubleshoot problems.
NOTE
Use of non-SolarEdge SIMs is supported by CPU
versions 4.8.xx and higher.
Configuring the Inverter
1. Make sure you have installed the Plug-in and antenna. For
instructions, see "Cellular Plug-in and Antenna Installation"
on page12 .
2. Activate, commission and configure the inverter (except for
communication) according to the Inverter Installation
Guide.
3. Access SetApp and select CommunicationèServer
èCellular.
Cellular Plug-in Installation Guide MAN-01-00622-1.0
Chapter 5: Configuring Cellular Communication 18

4. Select CommunicationèCellular. The page should indicate
connectivity with the monitoring platform, as shown in the
figure below.
Figure 13: Cellular Plug-in is Connected
5. Note that the Data Plan "High Bandwidth" is the default
configuration. In High Bandwidth mode the Plug-in
maintains a continuous connection with the server, and the
data is sampled every 5 minutes. After optimizer pairing,
communication is established with the server for the first
hour to simplify commissioning.
Cellular Plug-in Installation Guide MAN-01-00622-1.0
19 Configuring the Inverter
Other manuals for Cellular Plug-In
1
Table of contents
Other SolarEdge Antenna manuals
Popular Antenna manuals by other brands
Panasonic
Panasonic CA-GA60N installation instructions

Nautel
Nautel CL40 Technical instruction manual
Mecatronic
Mecatronic ASR 680 1P Installation and use manual

Kathrein
Kathrein LoRa user guide

Dover
Dover Petro Vend M1040-ANT installation manual
Diamond Antenna
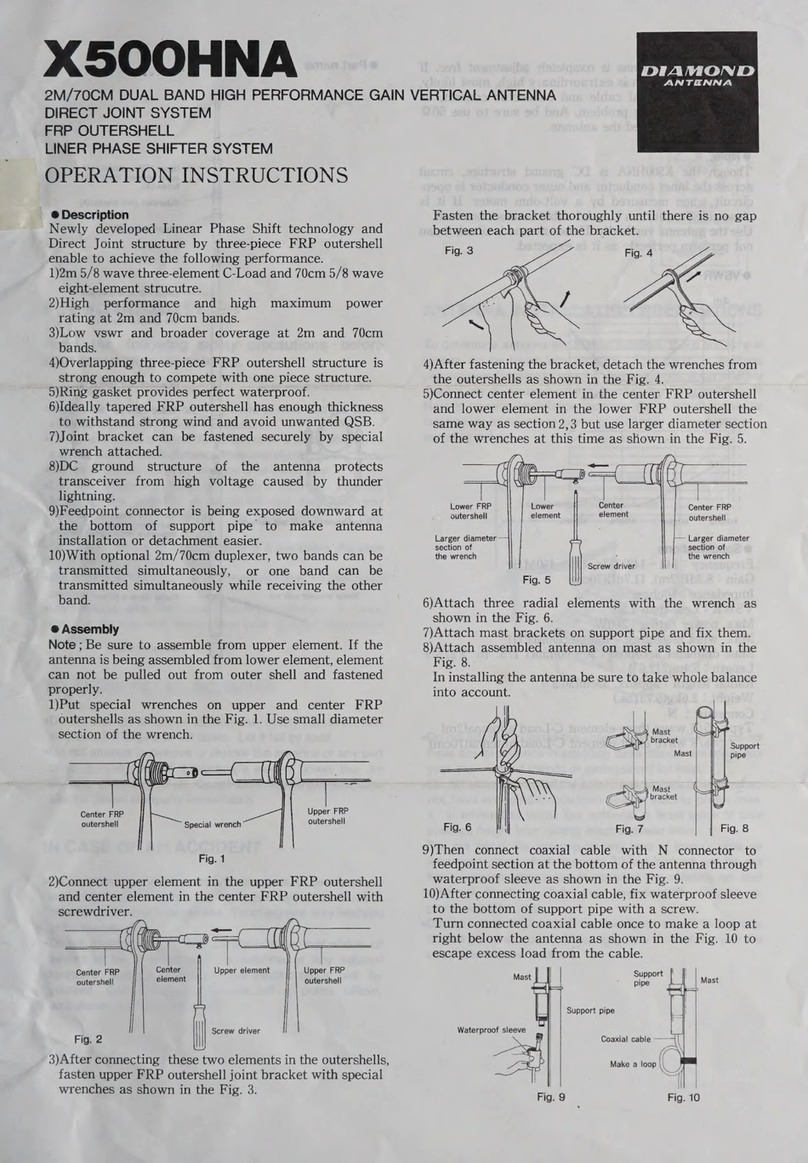
Diamond Antenna X500HNA Operation instructions
