manuals.online logo
Brands
  1. Home
  2. •
  3. Brands
  4. •
  5. Sony
  6. •
  7. Camcorder
  8. •
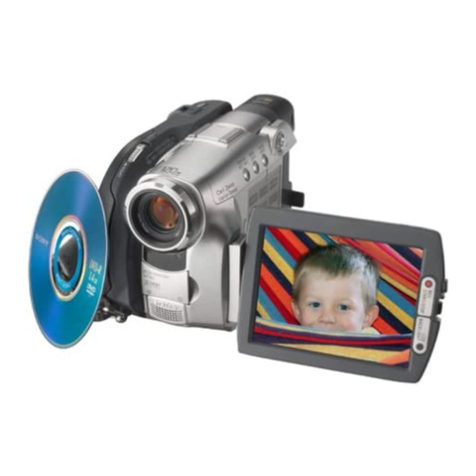
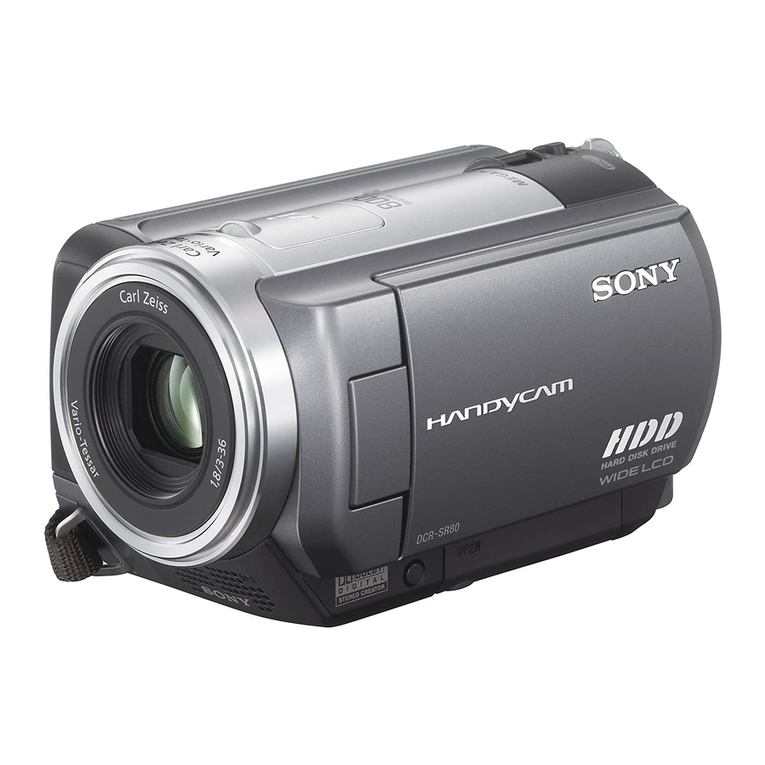
  9. Sony DCR-PC7 User manual

Sony DCR-PC7 User manual

Other manuals for DCR-PC7

1

This manual suits for next models

1

Other Sony Camcorder manuals

Sony HDR-XR550V User manual

Sony

Sony HDR-XR550V User manual

Sony HANDYCAM 4-209-887-11(1) User manual

Sony

Sony HANDYCAM 4-209-887-11(1) User manual

Sony NEX-VG30E Installation instructions manual

Sony

Sony NEX-VG30E Installation instructions manual

Sony Handycam DCR-IP1E User manual

Sony

Sony Handycam DCR-IP1E User manual

Sony CCD-TRV118 User manual

Sony

Sony CCD-TRV118 User manual

Sony Digital Handycam DCR-TRV130E User manual

Sony

Sony Digital Handycam DCR-TRV130E User manual

Sony Handycam CCD-TR317E User manual

Sony

Sony Handycam CCD-TR317E User manual

Sony XDCAM PMW-160 User manual

Sony

Sony XDCAM PMW-160 User manual

Sony HDCAM HDW-730 User manual

Sony

Sony HDCAM HDW-730 User manual

Sony TRV230 - Digital8 Camcorder User manual

Sony

Sony TRV230 - Digital8 Camcorder User manual

Sony DCR-SX41/L - Palm-sized Camcorder W/ 60x Optical... User manual

Sony

Sony DCR-SX41/L - Palm-sized Camcorder W/ 60x Optical... User manual

Sony HDR-CX110 - High Definition Flash Memory Handycam... Guide

Sony

Sony HDR-CX110 - High Definition Flash Memory Handycam... Guide

Sony Handycam DCR-TRV380 User manual

Sony

Sony Handycam DCR-TRV380 User manual

Sony PXW-Z190T User manual

Sony

Sony PXW-Z190T User manual

Sony HDR-XR1 00 User manual

Sony

Sony HDR-XR1 00 User manual

Sony Handycam DCR-PC6E User manual

Sony

Sony Handycam DCR-PC6E User manual

Sony DSR-370K1 User manual

Sony

Sony DSR-370K1 User manual

Sony super motion hdc4300 User manual

Sony

Sony super motion hdc4300 User manual

Sony DVCAM DSR-PD100AP User manual

Sony

Sony DVCAM DSR-PD100AP User manual

Sony Handycam DCR-SR62 User manual

Sony

Sony Handycam DCR-SR62 User manual

Sony PXW-Z150 XDCAM Use and care manual

Sony

Sony PXW-Z150 XDCAM Use and care manual

Sony Hyper HAD SSC-CX34 User manual

Sony

Sony Hyper HAD SSC-CX34 User manual

Sony CineAlta HDCAM HDW-F900R User manual

Sony

Sony CineAlta HDCAM HDW-F900R User manual

Sony HDR-CX190 User manual

Sony

Sony HDR-CX190 User manual

Popular Camcorder manuals by other brands

Vivitar DVR 830XHD owner's manual

Vivitar

Vivitar DVR 830XHD owner's manual

Panasonic HX-WA20PP Service manual

Panasonic

Panasonic HX-WA20PP Service manual

Canon FS1 instruction manual

Canon

Canon FS1 instruction manual

Sharp VL-H400S Operation manual

Sharp

Sharp VL-H400S Operation manual

Panasonic AJ-D900WAP operating instructions

Panasonic

Panasonic AJ-D900WAP operating instructions

Samsung VP-D6550 Owner's instruction book

Samsung

Samsung VP-D6550 Owner's instruction book

Naxa NDC-402 instruction manual

Naxa

Naxa NDC-402 instruction manual

LG L320-BN owner's manual

LG

LG L320-BN owner's manual

Vivitar DVR 865HD user manual

Vivitar

Vivitar DVR 865HD user manual

Toshiba CAMILEO Z100 user guide

Toshiba

Toshiba CAMILEO Z100 user guide

Panasonic NV-VS40B operating instructions

Panasonic

Panasonic NV-VS40B operating instructions

Canon RC 260 instructions

Canon

Canon RC 260 instructions

Brinno TimeLapse TLC200 user manual

Brinno

Brinno TimeLapse TLC200 user manual

JVC GR-SXM68AC Schematic diagram

JVC

JVC GR-SXM68AC Schematic diagram

MYDLINK DCS-6100LH Quick installation guide

MYDLINK

MYDLINK DCS-6100LH Quick installation guide

SECURECOM V-5014B installation guide

SECURECOM

SECURECOM V-5014B installation guide

JVC AA-V15EG instruction manual

JVC

JVC AA-V15EG instruction manual

Canon LEGRIA HV40 instruction manual

Canon

Canon LEGRIA HV40 instruction manual

manuals.online logo
manuals.online logoBrands
  • About & Mission
  • Contact us
  • Privacy Policy
  • Terms and Conditions

Copyright 2025 Manuals.Online. All Rights Reserved.

MICROFILM
SERVICE MANUAL
US Model
Canadian Model
DCR-PC7
AEP Model
UK Model
E Model
DCR-PC7E
Tourist Model
DCR-PC7/PC7E
For MECHANISM ADJUSTMENTS, refer to the
“DV MECHANICAL ADJUSTMENT MANUAL I”
(9-973-815-11).
RMT-806/807
Photo: DCR-PC7
: RMT-808
DIGITAL VIDEO CAMERA RECORDER
SPECIFICATIONS
DCR-PC7/PC7E
D MECHANISM
• Tourist model of DCR-PC7 is different from US model of DCR-
PC7 only in the accessory and packing materials.
• Tourist model of DCR-PC7E is different from E model of DCR-
PC7E only in the accessory and packing materials.
— Continued on next page —
— 2 —
ATTENTION AU COMPOSANT AYANT RAPPORT
À LA SÉCURITÉ!!
LES COMPOSANTS IDENTIFIÉS PAR UNE MARQUE !SUR
LES DIAGRAMMES SCHÉMATIQUES ET LA LISTE DES
PIÈCES SONT CRITIQUES POUR LA SÉCURITÉ DE
FONCTIONNEMENT. NE REMPLACER CES COMPOSANTS
QUE PAR DES PIÈCES SONY DONT LES NUMÉROS SONT
DONNÉS DANS CE MANUEL OU DANS LES SUPPLÉMENTS
PUBLIÉS PAR SONY.
SAFETY-RELATED COMPONENT WARNING !!
COMPONENTS IDENTIFIED BY MARK !OR DOTTED LINE
WITH MARK !ON THE SCHEMATIC DIAGRAMS AND IN THE
PARTS LIST ARE CRITICAL TO SAFE OPERATION. REPLACE
THESE COMPONENTS WITH SONY PARTS WHOSE PART
NUMBERS APPEAR AS SHOWN IN THIS MANUAL OR IN SUP-
PLEMENTS PUBLISHED BY SONY.
1. Check the area of your repair for unsoldered or poorly-soldered
connections. Check the entire board surface for solder splashes
and bridges.
2. Check the interboard wiring to ensure that no wires are
“pinched” or contact high-wattage resistors.
3. Look for unauthorized replacement parts, particularly
transistors, that were installed during a previous repair. Point
them out to the customer and recommend their replacement.
4. Look for parts which, though functioning, show obvious signs
of deterioration. Point them out to the customer and
recommend their replacement.
5. Check the B+ voltage to see it is at the values specified.
6. Flexible Circuit board Repairing
• Keep the temperature of the soldering iron around 270°C
during repairing.
• Do not touch the soldering iron on the same conductor of
the circuit board (within 3 times).
• Be careful not to apply force on the conductor when
soldering or unsoldering.
SAFETY CHECK-OUT
After correcting the original service problem, perform the following
safety checks before releasing the set to the customer:
— 3 —
SERVICE NOTE
1Ejecting with the cabinet (L) assembly removed
• Refer to “2. DISASSEMBLY”, and supply power with the
cabinet (L) assembly removed (however leave the flexible board
connecting the cabinet (L) assembly and main unit connected).
• Ejecting:
Operate the CS bracket assembly, open the cassette lid, turn
OFF the CC DOWN SW, and press the Eject button again.
• Loading:
Close the cassette lid.
(Turn ON the CC DOWN SW)
2Handling the VC. MR board
Never heat the VC and MR boards with hot air. (Malfunctions
may result.)
Also remove after dehumidifying.
3Special precautions on disconnection of connector
attached to the flexible board
• Apply force in the arrow direction and disconnect.
• Do not apply force in the direction as this will cause the solder
(of the pin) to float easily.
• When touching the pins with the solder iron, do not touch other
parts. (deformation may occur.)
• Ensure no folding lines are formed on the flexible board.
(This will cause the internal copper film to cut easily.)
Slide the CS lock plate in the arrow
direction, and open the cassette lid.
CC DOWN SW
CS bracket assembly
Connect to the main unit.
OFF ON
CC DOWN SW
Cassette lid
Connector Flexible boar
d
*
*
*
2-1
SECTION 2
DISASSEMBLY
2-1. REMOVAL OF CABINET (L) ASSEMBLY
DCR-PC7/PC7P
1
Special head screw (M2.6)
7
Screw (M1.7 x 2.5)
9
Screw (M1.7 x 2.5)
!º
Two screws (M1.7 x 2.5)
!¡
Cabinet (L) assembly
2
Grip belt
3
Two screws (K2 x 4)
6
Open the grip cover.
4
Accessory shoe
5
Accessory plate
!™
FZ4800 control switch block
CN6103,5P
MR-36 board
8
Screw
(M1.7 x 2.5)
2-2. REMOVAL OF FZ4800 CONTROL SWITCH BLOCK
2
Two screws (M1.7 x 2.5)
4
Two screws (M1.7 x 2.5)
6
Three screws (M1.7 x 2.5)
8
Screw (M1.4 x 1.6)
9
CC DOWN SW (FZ4800)
3
Remove the two claws, and
remove the cassette lid.
7
FZ4800 control switch block
Note : Be careful not to damege the flexible board.
5
Cassette lid bracket assembly and CS bracket assembly.
Note : Be careful not to damage the flexible board
of the CC DOWN SW.
Two claws.
1
Slide the CS lock plate in
the arrow direction, and
open the cassette lid.
2-2
2-3. REMOVAL OF MECHANISM DECK
2
Board-to-board connector 80P
CN6101, MR-36 board
CN6250, CC-97 board
1
Board-to-board connector 30P
CN6102, MR-36 board
CN3900, DD-91 board
3ç
Two step screws (M2)
4
Two step screws (M2)
5
Mechanism deck
MR-36 board
2-4. REMOVAL OF ZOOM LENS, EVF, VK4800 CONTROL SWITCH BLOCK
8
Board-to-board connector 50P
CN100, CD-159 board
CN200, VC-183 board
3
Board-to-board connector 20P
CN4400, VF-106 board
CN1000, VC-183 board
4
Screw (M1.7 x 2.5)
5
VC shield plate
2
EVF assembly
1
Screw (M1.7 x 2.5)
!º
Two screws (M1.7 x 2.5)
9
Borad-to-board connector 20P
CN2300, VC-183 board
!¡
VK shaft holder
!™
VK4800 control switch block
6
Two screws (M1.7 x 4)
7
Zoom lens
(VCL-4010VA)
CD-159 board
VF-106 board
2-3
2-5. REMOVAL OF VC-183 BOARD
3
Board-to-board connector 60P
CN6200, VC-183 board
CN3700, DD-91 board
8
Two screws (M1.7 x 2.5)
1
Two screws (M1.7 x 2.5)
2
Battery plate
!™
Two screws
(M1.7 x 2.5)
!¡
Two screws
(M1.7 x 2.5)
7
Connector
CN4701, 2P
4
Connector
CN4700, 4P
5
Two connectors
CN1001, 6P
CN1002, 11P
6
ME4800 control switch block
CN2301, 5P
!º
Remove the DV terminal cover
in the arrow
B
direction.
9
Remove the cabinet bottom assembly
in the arrow
A
direction.
Be careful not to damege the flexible
board of the DD-91 board.
B
A
C
!£
Remove the VC-183 board in the arrow
C
direction.
When assembling, pay attention to the
positioning of the harness. See Fig. 1.
Pin
Position the harness as
shown in the figure.
Two zoom lens attaching
positioning pins.
The harness does not ride onto the
positioning pin.
CN4700
CN1002
CN2301
CN4701
CN1001
Fig.1 Arranging the Harness of VC-183 Board
2-4
2-6. REMOVAL OF DD-91 BOARD
Note : Be careful not to damage the flexible board.
Cabinet bottom assembly
DD-91 board
(Video terminal)
1
Three screws (M2 x 6)
3
Two screws (M1.7 x 2.5)
4
Remove the battery terminal board
in the arrow direction.
2
DD-91 board
(S terminal, 26-pin multi connector)
!º
Screw (M1.7 x 2.5)
1
Open the liquid crystal panel
in the arrow directioen.
2
Three screws (M1.7 x 4)
3
LCD case (Inner)
5
PD ground plate
4
Screw (M1.7 x 2.5)
!¡
PD-71 board
!™
Cold cathode fluorescent tube with
conductive light plate.
9
Liquid crystal display module
(LQ3FN31)
6
FP-484 flexible boar
d
8
Flexible board
CN5801, 24P
7
Two connectors
CN5600, 6P
CN5601, 11P
2-7. REMOVAL OF PD-71 BOARD, LIQUID CRYSTAL DISPLAY MODULE
2-5
2-8. SERVICE POSITION-1 (MAINLY VIDEO/AUDIO SYSTEM CHECKSAND ADJUSTMENTS)
CPC-6 terminal board
(J-6082-371-A)
CPC-6 : 26P multi connector
Flexible board (CPC-6) for pulling out CPC terminal
(J-6082-370-A)
VC-183 : CN6202
I/O board 1
(J-6082-372-A)
DD-91 : 26P multi connector
1
Remove each board according to “DISASSEMBLY”.
2
Connect the specified tool as shown in the figure.
Take note that connectors can be connected in the opposite
direction depending on their shapes.
MR-36 board
Mechanism deck
Zoom lens
Box or table.
CD-159 board
VC-183 board
DD-91 board
VK4800 control switch block
2-9. SERVICE POSITION-2 (MAINLY CAMERA SYSTEM CHECKS OR ADJUSTMENTS)
1
Remove each board according to “DISASSEMBLY”.
2
Connect the specified tool as shown in the figure.
Take note that connectors can be connected in the opposite
direction depending on their shapes.
DD-91 board
VC-183 board
VK4800 control switch block
FZ4800 control switch block
MR-36 board
Mechanism deck
I/O board 1
(J-6082-372-A)
DD-91 : 26P multi connector
Flexible board (CPC-6) for pulling out CPC terminal
(J-6082-370-A)
VC-183 : CN6202
CPC-6 terminal board
(J-6082-371-A)
CPC-6 : 26P multi connecto
r
MR-36 : CN3100
˜
Capstan motor flexible board
extension cord (18P)
(J-6082-374-A)
2-6
2-10. INTERNAL VIEWS
Zoom lens
(VCL-4010VA)
1-547-966-11
M903
LM motor
assembly (Loading)
A-7026-007-A
M901
Drum assembly
(DEH-07A-R)
A-7044-007-A
M902
Capstan motor
8-835-524-01
Pinch roller
S reel table
assembly
X-3748-614-2
T reel table
assembly
X-3748-615-2
M904
Focus motor assembly
3-709-159-01
M905
Zoom motor
assembly
3-709-158-01
2-7
CD-159
(CCD Imager • Steady Shot Sensor)
PD-71
(RGB Decoder)
MR-36
(REC/PB Amp, Servo
)
DD-91
(Power)
VF-106
(Color EVF)
VC-183
Camera, IN/OUT, Blocking, ECC • TBC • CHCD,Audio Processor,
Clock Synchronize Processor, DV IN/OUT, Mode Control, Audio,
Audio Control
CC-97
(Connector
)
2-11. CIRCUIT BOARDS LOCATION
E