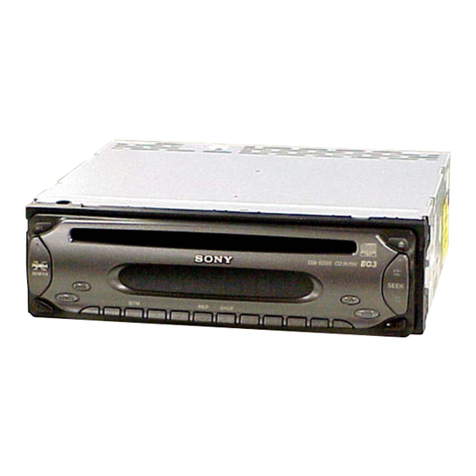
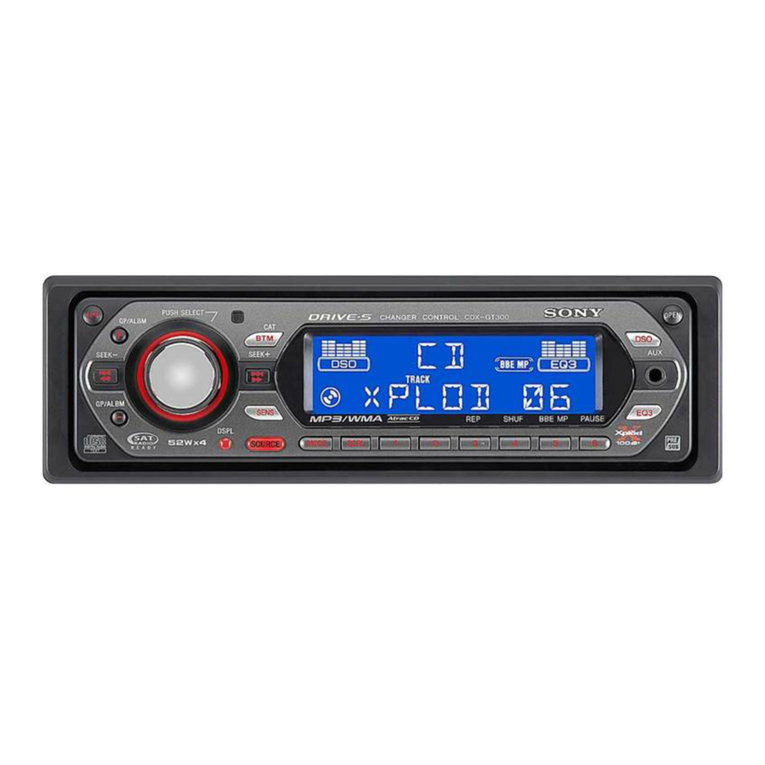
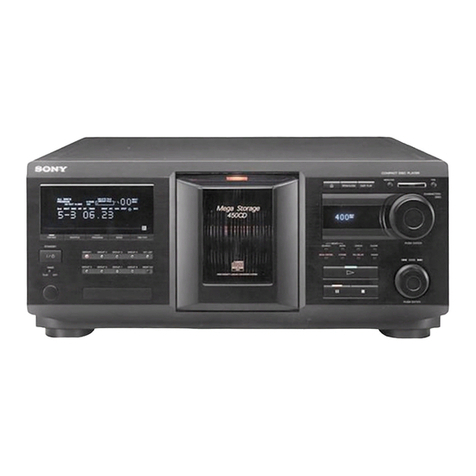
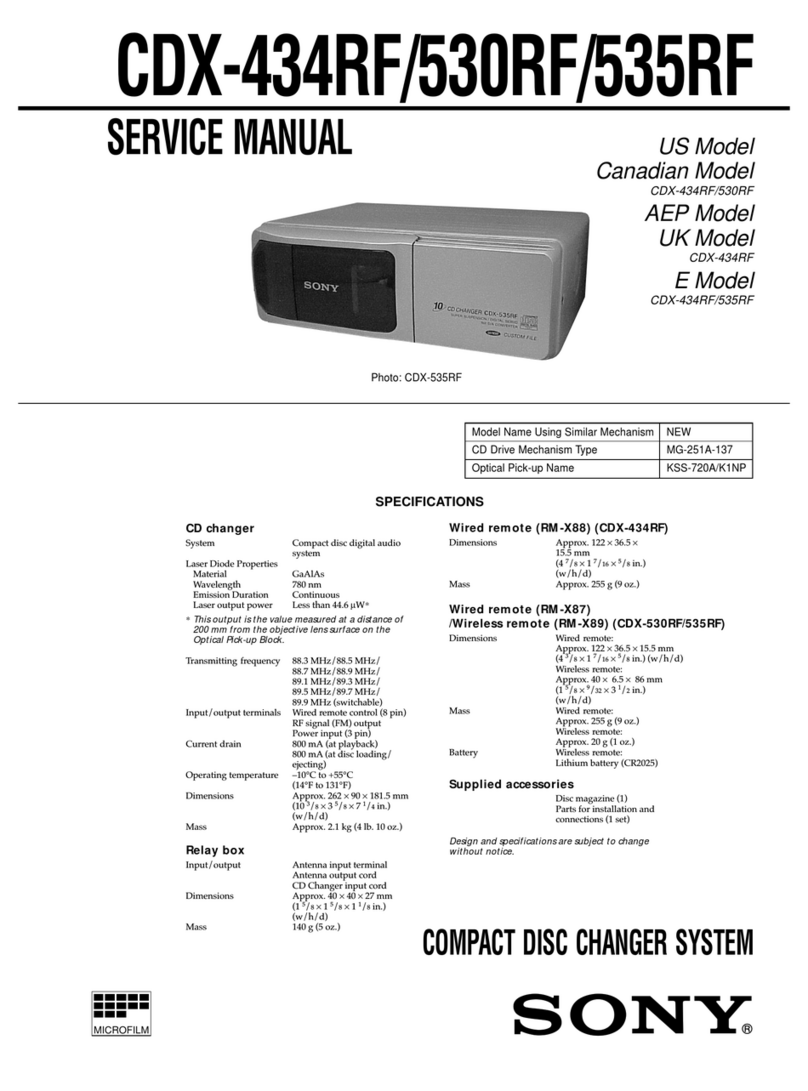
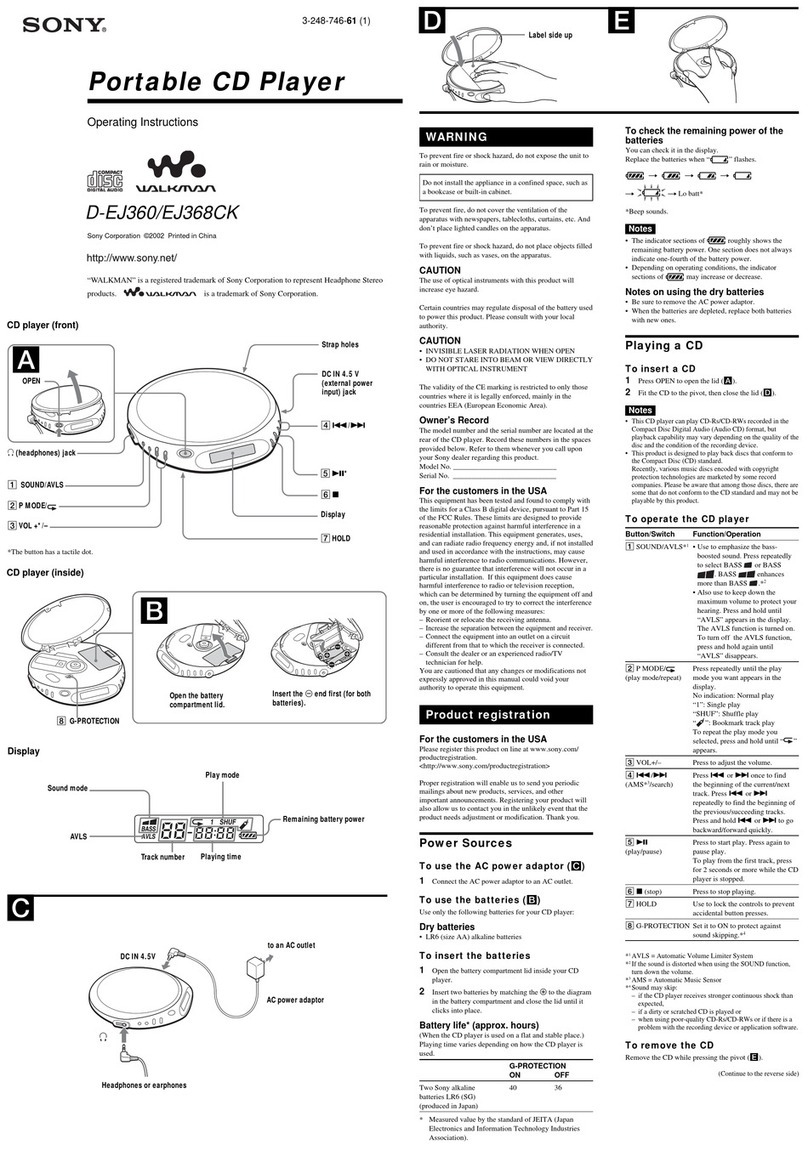
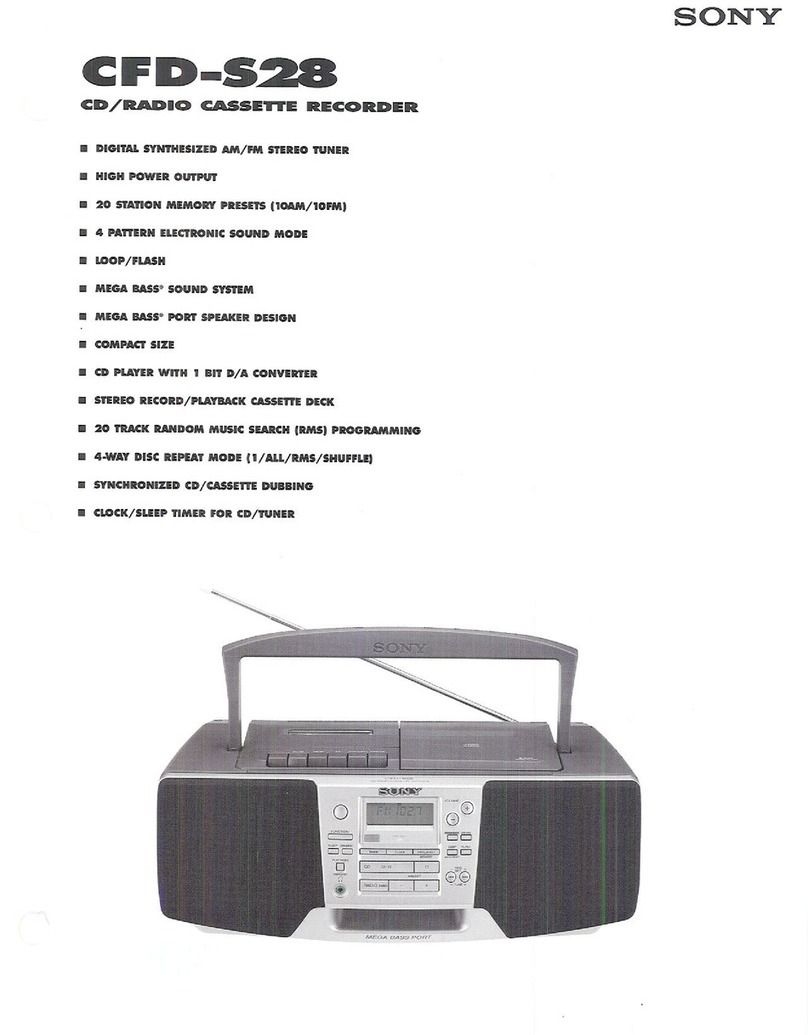
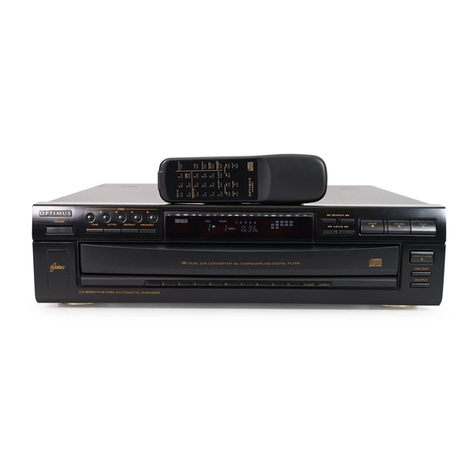
Sony KDX-565MXRF User manual

SONX
About MP3 files i\ propos des fichiers MP3
Compact Disc
Changer System
Operating Instructions
Mode d’emploi
Specifications
CD changer KDX-565MXRF) Wired remote (RM-X83RF)
s,e”, C*mqhactdi,wdigitd .,dio iWireless remote (RM-X84RF)
Notes on discs

For the customers in the USA
WARNING
Specifications
T~l&ommande $Ifil (RM-X83RF)I
t&commande saris fil (RM-X64RF)

Inserting a disc Insertion d’un disque
If the disc magazine does not lock properly
I‘nke out the dix ma~dAne. prlew 6, and re-mrrrt it
With the rut-away portion of the
tray facing you. insert the right
corner of the tray in the slot, then
push in the left corner until it clicks.
Note
Notes on handling discs Remarquessur la manipulation des disques
l
Handle the disc by its edge, and do not touch the unlabled surface. (fig. &)
l
Do not stick paper or tape on the disc. (fig. @)
l
Keep your discs in their casesor disc magazines when not in use.
Do not expose the discs
to
direct sunlight or heat sources such es hot air-ducts. Do not leave the
discs in s cer parked in direct sunlight where there can be a considerable rise in temperature
inside the car. (fig. c$
l
Before playing, clean the discs with an optional cleaning cloth. Wipe each disc in the direction of
the arrows. (fig. !a)
Do noI use.solvenl~such a, hewine, thinner, comnwxialI~ nvailalblecleaner,0r Wti%tatw+va? mfm&d
fur ‘m.l,og dsc5.
l
Discswith special shapes (heart-shaped discs, octagonal discs etc.) cannot be played on this unit.
Attempting to do so msy damage the unit. Do not use such discs.
Lh dir*(ue sale ou dlfectuem
pcut prowqurr drs prrte< dr son j la Iecturc. Manipuler ,edisqw comme
sui#
porn ohtwir un wn optim.~l.
* Saistsseztes disques par ks bards et n’en touchez jamais la surface. (fig. &j)
l
Ne collez pas de papier ni de bande adhesive sur le dtsque. (fig. ai,
* Conserver vos disques dans leurs boitiers ou des pochettes de rangement lorsqu’ils ne soot par
utilis&.
N’exposez pas las disques au reyonnemsnt direct du soleit ni a des sources de chsleur comme des
conduits d’air chaud. Ne laissez per tes disques dans one voiture parqu& en plein soleit 00 ta
temp&ature int&ieure de l’habitable risque d’augmenter conrid6rablement. (fig. m
l
Avant la lecture, essuyer Ies disques avec un chiffon de nettoyage optionnel. Essuyer chaque
disque dans le sens des fl&ches. (fig. W)
Nr pas utdiwr de ~,vanb tzls que dr ,a lwwine, du Jiluant. dw prorluih Jr netwyage wndus
dnns IP
C~~UTKTCI’MI da vaporis.hurs mti-atabques desh& BUX diqtws andtogiquea.
l
II n’est pas possible d’utiliset les disques de former sp&iales (en forme de xeur ou octogonaux,
etc.)
avec
cet
appareit.
Vow
risquez
d’endommagsr
I’appareil.
N’essayez
iamais
de
lire
ces
disques.

If the disc magazine does not lock properly
Take out the disc mag.lrinc, pxw 6. and re-inicrt il.
Sivow ne pouvez pas fermer le chargeur de disques
i+‘?t,rw It!charge**, appuyez sur i. et rmttr”dd5e7-le.
tray facing you. insert the right L’encoche do plateau &ant face 6
vows, introduisez I’angk droit du
plateau dens la fate et poussez
ensuite SW I’angle gauche jusqul ce
qu’il
s’encliquatte.
I I
l
Handle the disc by its edge, and do not touch the u&bled surface. (fig. fl;I,
l
Do not stick paper or tape on the disc. (fig. ‘@
+Keep your discs in their <.asesor disc magazines when not in use.
Do not exoose the discs to direct sunlioht or heat sources such es hot air-ducts. Do not leave the
discs in a br parked in direct sunlight &here there ceanbe a considerable rise in temperature
inside the cer. (fig. c)
l
Refore playing, cl$en the discs with an optional cleaning cloth. Wipe each disc in the direction of
the arrows. (fig. a)
Do not use sol~enh LUCYASbewine. Ihiruwr. c~~~unerc~all~ available ~w~PI., or ~v~l~~t.~l~~spra inLwdcd
for analog disrx.
l
Discswith special shapes (heart-shaped discs, octagonal discs etc.) cannot be played on this unit.
Attempting to do so may damage the unit. Do not use such discs.
Un dk~~ue de ou deiectwux pwt provoqwr de7 perw+ de wn d 1.1leclure. Mnnipuler lr dwp wnme
suit pour obtmir on tim optimal
Remarquessur la manipulation des disques
l
Saisisser les disques par les bards et n’en touchez jam&s la surface. (fig. iii)
* Ne coliez pas de papier ni de bande adh&sive sur le disqua. (fig. m)
* Conservez vos disques dans kurs boitiers “u des pochettes de rangement lorsqu’ils ne soot pas
UtilisC.
N’exposer pas les disques au rayonnement direct du soleil ni Bdes sources de chaleur comme des
conduits d’air chaud. Ne laissez pas les disques dans una voiture parqu&e en plein soleil ot la
temp&eture int&ieure de I’habitable risque d’augmenter consid&ablement. (fig. ai,
-Avant la lecture. essuyer les disques evec on chiffon de nettoyage optionnel. Essuyer chaque
disque dsns le sons des flirches. (fig. bi)
Ne pa,
utiliaer
de solvmb telsqw dv la beruinc,
du dilusnt, des pr”llrlits de nmoyage lerl‘lllb dms le
commerce ou des vaporisatews anti-sttatiqws destin& nux disqwa analo#pes.
* II “‘art pas possible d’utiliser les dirques de formes spBciales(en forme de caeor “u “ctogonaux,
etc.) avec cet appareil. Vous risque2 d’endommager I’appareil. N’essayez jam&s de tire ces disques.
Remarques SW les disques
Notes on CD-R discs
* You can play CD-RI/CD-RWs (recordable CMrewritable CDs)on this unit (fig. Hii,.
l
Some CD-Us(depending on the equipment used for its recording or the condition of the disc) may
not play on this unit.
l
You Cannot play a CD-Rthat is not finalized*.
l
A CD-R/CD-RWto which a session can be added can be played.
.A process“ecessaryfor arecordw’ CD-Rdir* ro beplayedon r/E audio CDplayer.
Remarques SW les disques CD-R
* Cet ap areil permet la lecture des CD-R(CD enregistrables) et des CD-RW(CD r6inscriptibles)
(fig. &.
* CeMins CD-R(en fonction des conditions de IYquipement d’enregistrement “u du disque)
risquent de ne per 4tre Ius avec <et apparel
l
Vous ne pauvez per Ike de disques CD-Rnon finalis&*.
l
Un CD-R“u CD-RWauquel il est possible d’ajouter one session peut &re I”.
” U” p,o”?rr”s “ecessdlredla fect(lredcr rhrquerCD-Re”rcglrbCr I”, ,eIcctwr L CDa”dro

Operation Fonctionnement
Precautions
listening to a CD
t Turn on the FM t”ner of yo”r car audio.
Lecture d’un CD
1 AJW~W;~~
syntoniseur FM de votre
2 Accordez la frCquence de transmission*
s6lectionn6e au moyan du syntoniseur FM
de votre autoradio.
2 Tune in the selected transmitting frequency*
with the FM tuner of your car audio.
* Thefmpmy or theunrt,I ret to88.3MHZat the
fd<fCW~.
CDplaybbackShrh.
4
Adjust the volume with the volume control
on your tar audio.
A” “VAm&s play front theb+,niig.
Stopping CD play
press GCQ. Adjusting the bass cww
IMglage de la courbe des graves
Playing tracks in random order
-Shuffle Play (Only for the wireless remote)
YOUCd”s&e
.SHUI+,L”M ( #IF@ )’ L”plny ‘he tracksm the
Currrnt alb”ln in F.3”d”“l o&I..
.SHUF-lJlSC ( SW@, ...-toplay thetmcb m the
current diu’ in random order.
*WUFCHGR (NIJFO f - to play all Swdicr ih
Gmd”l” ordw.
During playback. press C$B9 repeatedly
until the desired setting appears in the
display.
Lecture de plages dans un ordre
quelconque
-Lecture akatoire (XXXX XXXXXXXXXXXXX)
Encows de lecture. appuyez plusieurs fois
S”, @gE> jusqu’a ce que le r4glage
souhaitb apparaisse dans la fen&e
d’affichage.
3 Pressthe AMSIENTERdial for two seconds
Using on the wireless remote
1
Press&@:r@I for two seconds until
frequency appears.
2
PressQ or 0 repeatedly to select the
frequency.
3
Press (@im] for two seconds.
During playback, press <C%I’I repeatedly
until the desired setting appears in the
chdnge the lewi it nwevary.
1
Pressthe AMSIENTERdial for two seconds
until frequency appears.
2 Pressthe AMSKNTER dial momentarily.
\
I
FI’FI
7
1
~niti.t.c.++tinn
Display items
(Only for the wireless remote)
,‘IC%Cd@J to dect thefollowmg item<.

Playing tracks in random order
-Shuffle Play (Only for the wireless remote)
YOU0,” dwt:
During playback, press ;sHWUF’:Irepeatedly
until the desired setting appears in the
display.
Playing tracks repeatedly
- Repeat Play (Only for the wireless remote) 1 Press:E?ITER?for two seconds until
frequency appears.
2
PressQ or Q repeatedly to select the
frequency.
3
Pressf.mb for two seconds.
During playback. press &jr) repeatedly
until the desired setting appears in the
display.
Changing the output level
, oucanYAK, theoutp,!, Ic\B, frr>mthe ,u,,t
KM”mally,hPtent I, usc”ziat ,hs Ill,*,*, Olltplll kve,:
ciwnp ,hPlevel,I I,L~<i’~>dll
1 Pressthe AMSIENTER dial for two seconds
until frequency appear*.
2 Pressthe AMSIENTERdial momentarily.
\LEI’E:] Initial setting
3 Rotate the AMWENTERdial repeatedly to
select the output level.
TOincreasethe O”qJutlevel
‘wt 1 ImEl 5 1
TOdeweasethe 0”fP”f k”el
h(l .\;EI’E;I)
4 Pressthe AMSIENTERdial for two seconds.
Using on the wireless remote
t Press C--i for two seconds.
2
Press(w: again momentarily.
3
PressQ or Q to select the output level.
4
Press @iif> for two seconds.
Display items
(Only for the wireless remote)
Prf.srCBsiii) k, .*Lcet*haf”lhwt”g ih.,,,E
MS”ALB”W number
2 xuxxxxxxxuwuxxxxxxxxxxxxxxxxxxx.
\m R6glage initial
Rubriques d’affichage
- (xxxxxxxxa xxxxxxxxxxxxxxxxxxxx)
xx*rx*rx*\(DSPL!r*\\x*\r*~x*rx*,rx,r~,~~~,
NwnerooIs”*LB”M~’
3 Xunxx-u.
Pc.“rdimin”erk niveauderonie
4 xxxxx-xxxxxxxxuuwrxxx
Utilization de la t6lOcommande saris fil
1 Appuyez sw ;IKTER: pendant dew
seconder.
Kubriqw .dbchrhlv,
. Numerode ptagenempr de ,ect”re&m”l&
. ,it,e d” diro”e-*,Nom deI’ardste”’

Location and function of controls Nomenclature
1
Wireless remote (RM-X~ARF)
TClCcommande saw fit (RM-XR4RF)
Wired remote (RM-X83RF)
T&5commande i fil (RM-X83RF)
w;A$ (Automatic Music Se”sor)lENTER
h hhz receptor for the wireless
h LIST button
m HI (play/pause) button
I, pre.s@ddWi,l~ CL,pbyback, the<‘II WLU,mre.
I, prwseed<,@%u,CD plnvbwk WI11continue.
FOFF button
!&Ei.zDlil (disc number/album number)
ETRACK (track number) indication
k3 MIN (minute) indication
ii: D-BASS indication
:B REP(repeat play) indication
h SHUF (ihuffie play) indication
F-f+ buttons
i@DSPUSCRL (indication change/name
scroll) button
3 Touche D-BASS
4 Indication REP(rOp6tition de la lecture)
J&indication SHUF (lecture aliatoire)
F Touches -/+
@ Touche DSPIJSCRL (xxu~xxxx/xxu~x
XXXXXXUXX)
ti Touches ALBM -I+ (~~xxx~x~x~xxxxx)
x)Ix*~x*Ix*,~\x*xx~~~~~~~~~~~~~,~~
‘i8 Touches AMSIMANU
automatique de Id&ecteur
mur
manuelle) que/recherche
@ Touchs REP(lecture rip&%)
@ache ENTER
alouches DISC +I-
Blouche SHUF (lecture al&toire)
@AMSnvtaNU (Automatic Music Sensor/
manual search) buttons
g REP(repeat play) button
YQENTER button
&DISC +I- buttons
;Z’&SllUF(shuffle play) button
@D-BASS button
@ 10 TRACK +I- buttons
Shps 1”trxkr by each,XP\>
Using on the wireless remote
PressAMS,l”i‘ZiiU 44 w Irn H to SkipiSdPCtat&d
Manual search function (Only for the wireless
remote)
Fonction de 4ection de dirque
%4‘dK,
2 Rotate the AMVENTER
dial to select a desired disc.
3 Pressthe AMVENTER dial to start playback.

SONY.
3-241-727-11 (I)
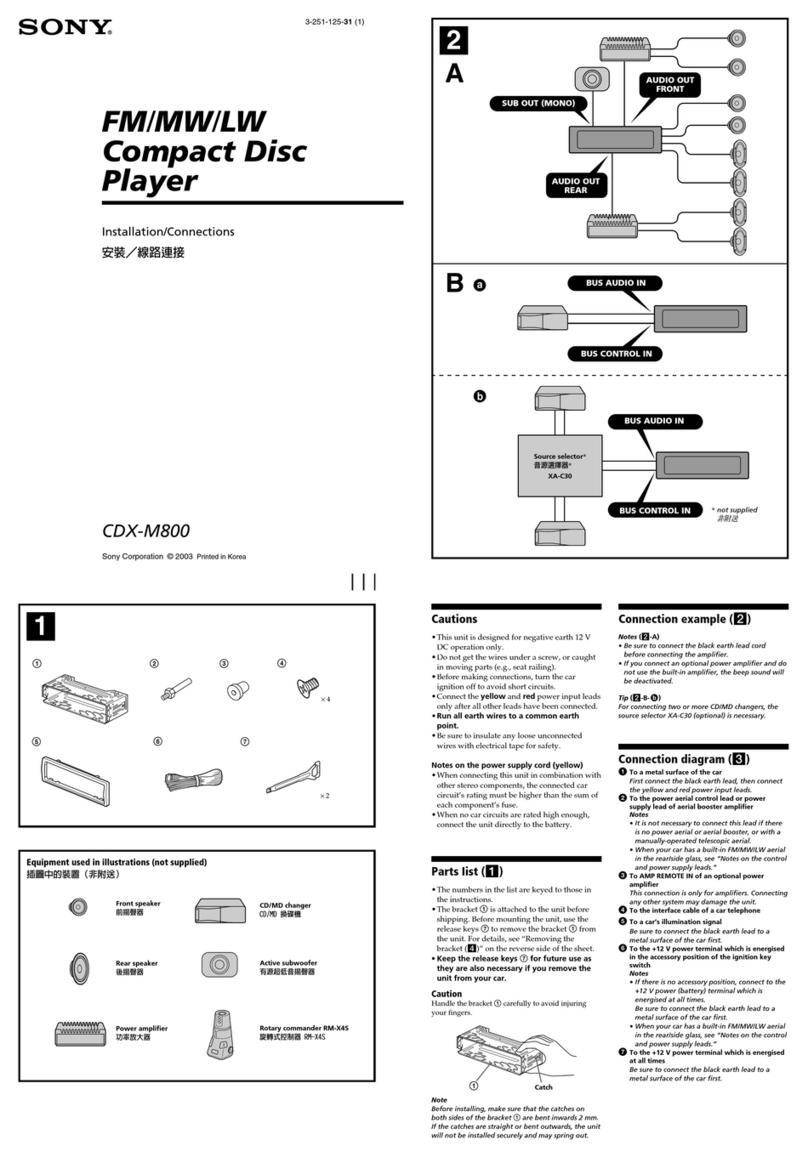
Compact Disc
Changer System
Installation/Connections
Installation/Connexions
CDX-565MXRF
TClCcommande A fil

Installation Installation
I
1
----’
2
Vertical installation Installation verticale
2
0
Suspended installation Installation suspendue
2
Inclined installation installation inclinbe
After installing the unit. align the dials with one of the marks so the arrow comes as close to a
vertical position as possible. Aprer avoir install6 I’appareil. alignez les disquas sur I’un des rep&es afin que la fl&he soit aussi
proche que possible de la position verticale.

Connections
Caution
Connexions
l Rassemblez tow ler filr de te,,e en un point
Connection diaqram
1
i z
iReletbvtton
iTo”Chede,midaliratio”j
i...-------.. ......“J Schkma de connexkn
from the carantenna’
Relay box
I I
Boitie, de r&is
0
Speakersystem
Systbmede
haut-parlaws
Branrhezd’abwd lefil demassenoi, et, ensuite.ler fib
d’entreed’alime”tatio” jauneet rouge.
Raccordezd’abwd lefil ddmarre noi,.
CDdmnger
Change”, deCD
Fuse replacement Remplacement du fusible

Wired remote (RM.X83RFjnCl~commande Bfil (RM-X83RFj
88.3MHZ
t Press the AMS/ENlER dial for two
seconds until frequency appears.
2 Rotate the AMyENTER dial repeatedly to
select the frequency.
Eachhme you rtltalc the A?vE/fNTER di~~l.
the frqucncie chmge .li f0llovs:
Kight :n8.3MHz -a X85Ml*- 88.7Ml LL
-+88.9MllZ--r x9., M1fz-
89.3MHr --. 89.5MHz --. R9.7MHr
-.. R9.9MHz -+ 88.3MHz
Lef, :88.3 MHL -+ 89.9MHz --. 89.7MHz
-4 89.5MHZ --. xx? MI11 --+
Changing the output level
You cans&ct the output level from the unit.
Nurmnlly the ur$t is used dt the initial output
level; change the level if n-w.
1 Press the AMSfENTER dial for two
seco”ds until freqwwy .ppeen.
2 Press the AMUENTER dial momentarily.
3 Rot&e the A&OS/ENTERdial repeetedly to
select the output level.
I I
To decreare the output level
c i
Changement de la frequence de
transmission
Pourdiminuer le niveau de sortie
-:i

Disc select function
1 Presscm:.
5ekaed
2 Rotate the AMSIENTERdial to select a desired disc.
3 Pressthe AMSKNTER dial to start playback.
Installing the battery
\ + rick up


This manual suits for next models
2
Table of contents
Other Sony CD Player manuals

Sony
Sony CDX-805 User manual

Sony
Sony CDX-GT980UI User manual

Sony
Sony CFD-370 User manual

Sony
Sony D-SJ303 User manual

Sony
Sony CDP-XE400 - Compact Disc Player User manual

Sony
Sony CD Walkman D-EJ885 User manual

Sony
Sony D-140 User manual

Sony
Sony XR3F-19B160 User manual

Sony
Sony MDP-550 User manual

Sony
Sony XR3F-19B160 User manual

Sony
Sony CDX-GT350 User manual

Sony
Sony HTC-D159 User manual

Sony
Sony XE270 User manual

Sony
Sony XDCAM PDW-V1 User manual

Sony
Sony CFD-E90L User manual

Sony
Sony CDX-GT572 User manual

Sony
Sony CFD-646 User manual

Sony
Sony CDX-R3350 User manual

Sony
Sony D-MJ95 Primary User manual

Sony
Sony Walkman D-EJ001 User manual