SOUSVIDE ART Mini Sous Vide Cooker User manual


2
Safety Precautions
Features of Sous Vide Cooker
Control Panel and Operation
Cooking Menus Overview
Cleaning and Maintenance
Troubleshooting
P 3 - 6
P 7
P 8 –11
P 11 - 14
P 14
P 14 - 15

3
Safety Precautions
Please read these instructions carefully and retain for future reference.
1. Do not touch hot surfaces. Use handles or knobs.
2. To protect against electric shock do not immerse the cord, plugs in water or
other liquid.
3. Close supervision is necessary when the appliance is used by or near children.
4. Unplug from an outlet when not in use and before cleaning. Allow cooling
before putting on or taking off parts, and before cleaning the appliance.
5. Do not operate the appliance with a damaged cord or plug or after the
appliance malfunctions, or has been damaged in any manner.
The use of accessory attachments not recommended by the appliance
manufacturer may cause injuries.
6. Do not use outdoors.
7. Do not let the cord hang over the edge of a table or counter, or touch hot
surfaces.
8. Do not place on or near a hot gas or electric burner, or in a heated oven.
9. Extreme caution must be used when moving the appliance containing hot oil
or other hot liquids.
10. Do not use the appliance for other than intended use.
11. To disconnect, turn any control to “off”, then remove the plug from a wall
outlet.
12. Intended for countertop use only.
13. WARNING: Spilled food can cause serious burns. Keep the appliance and
cord away from children. Never drape the cord over the edge of a counter,
never use the outlet below the counter, and never use with an extension cord.

4
14. A short power-supply cord is used to reduce the risk resulting from it being
grabbed by children, becoming entangled in, or tripping over a longer cord.
15. Household use only.
•Cleaning and user maintenance shall not be made by children
•Do not operate the unit on an inclined surface
•Do not move or cover the unit whilst in operation
•Use your unit well away from walls and curtains and don’t use in confined
spaces.
•Do not touch any metal surfaces of the unit while it is in use as they will be
hot.
•Use handles and oven mitts to move the unit, the cooking pan, and the lid
when hot. Be careful when lifting the unit after cooking. Always lift the unit
away from you as the unit is hot and can result in serious burns.
Never place your face over the unit.
•Do not operate the unit without food or liquid in the cooking vessel.
•Unplug the unit when not in use and before cleaning. Allow the unit to cool
before putting on or taking off parts to clean.
•Do not use the unit on a stovetop, inside a microwave oven or inside an oven
•Read carefully and save all the instructions provided with the appliance.
•Always turn the power off at the power outlet before you insert or remove a
plug. Remove by grasping the plug - do not pull on the cord.
•Turn the power off and remove the plug when the appliance is not in use and
before cleaning.
•Do not use your appliance with an extension cord unless this cord has been
checked and tested by a qualified technician or service person.
•Always use your appliance from a power outlet of the voltage (A.C. only)
marked on the appliance.

5
•This appliance is not intended for use by persons (including children) with
reduced physical, sensory or mental capabilities, or lack of experience and
knowledge unless they have been given supervision or instruction concerning
the use of the appliance by a person responsible for their safety.
•Children should be supervised to ensure that they do not play with the
appliance.
•The temperature of the accessible surfaces may be high when the appliance
is operating.
•Never leave the appliance unattended while in use.
•Do not use the appliance for any purpose other than its intended use.
•Do not place the appliance on or near a hot gas flame, electric element or on
a heated oven. Do not place on top of any other appliance.
•Do not let the power cord of the appliance hang over the edge of a table or
bench top or touch any hot surface.
•Do not operate any electrical appliance with a damaged cord or after the
appliance has been damaged in any manner.
•The appliance is not intended to be operated by means of an external timer
or separate remote control system.
- Do not immerse beyond the max marking. The plastic part of the appliance
must not be immersed.
- The appliance is used to cook food only. Do not misuse the appliance.
- The heating element surface is subject to residual heat after use. Do not touch
the metal surface.
- Food should be sealed in an airtight plastic bag before using.
- Time and temperature are critical in the cooking process because some
bacteria can grow in food in the absence of oxygen and produce toxins. Closely
follow the recipes.

6
- If the food is not consumed within 4 hours after sous vide cooking, it is
beneficial to cook until the food is pasteurized.
- The appliance can be used by persons with reduced physical, sensory or
mental capabilities or lack of experience and knowledge if they have been given
supervision or instruction concerning the use of the appliance in a safe way and
understand the hazards involved.
- Children shall not play with the appliance.
- If the supply cord is damaged, it must be replaced by the manufacturer, its
service agent or similarly qualified persons in order to avoid a hazard.
SAVE THESE INSTRUCTIONS!

7
Features of Sous Vide Cooker
Sous Vide has been a popular cooking method in restaurants for several years.
Sous Vide is a French term which means ‘under vacuum’ and describes food
placed in vacuum sealed pouches and cooked in a water oven. Food slowly
cooks at precise low temperatures over a long period of time to achieve
succulent, superb tasting meals. Sealing foods inside pouches allows it to cook
in its own juices in addition to any marinades, seasonings, etc. you wish to add.
Vitamins, minerals, and juices are retained within the food and natural flavors
are intensified. This allows the food to be healthier, more tender and
flavorsome. Meats cooked in sous vide tend to be more tender, tougher and
mostly cheaper yet flavor filled cuts of meats such as chuck steak can be used.
As Sous Vide cooking requires foods and meats to be sealed individually, yet
cooked at the same time; it is perfect for families and entertaining when there
are people with varied tastes and nutritional requirements.
It is difficult to overcook using the Sous Vide method, although textures can
change slightly. As it's difficult to overcook, it allows food to be cooked ahead
of time, perfect for family meals and entertaining.

8
Control Panel and Operation
Warning
Refill probably evaporated during use water, so that water is filled into the
cooking vessel up to Man-marking and lower than Max-marking. Otherwise,
the device could be damaged.
Control Panel
Main Body
Pot Holding Clamp
S/S Element Cover
Water Flow Channels

9
Buttons Description:
Start/Stop Button :Activation of the device and start of the
heating/cooking process. Cancelation of the heating/cooking process.
Temperature / Time button : Press it to start temperature/Time settings.
Press this button and hold for 3 seconds to change the temperature display to
Celsius degree (The default display is the Fahrenheit degree).
Power button : Press it to power on/off.
Adjusting button & :For plus and minus the Temperature and time
settings.
In temperature setting, press the button 1 time and the temperature adjusted
with 1℉(0.1 ℃), Press and hold down for rapid increase/decrease.
In time setting, press the button 1 time and time adjusted as below:
00:10 –2:00 in 1-minute steps
2:00 –72:00 in 10-minutes steps
Press and hold down for rapid increase/decrease.
Setting Range
Default setting: Temperature: 133°F Time: 04:00
Temperature setting rage:68-194°F
Temperature Display
Decrease button
Time Display
Power button
Temperature/Time
Button
Increase button
Start/Stop Button

10
Time setting range:10min~72hours
Operation
The Mini Sous Vide Cooker is a household appliance, it is applied to
temperature range 68-194°F (20-90°C) with water capacity 6-12L, 68-168°F
(20-75℃) for 12-16L.
It is recommended to cover the container during cooking to avoid evaporation
for temperature range above 75℃for 12-16L.
The Mini Sous Vide Cooker must work together with the cooking vessel
container with suggested capacity in 6 –16L, the shape of the cooking vessel is
most commonly used in a household kitchen.
How to set up Mini Sous Vide Cooker?
1. Plug the unit, then plug the appliance in and the display lights up, the user
will also hear a beep sound.
The display shows the default time 04:00 and temperature 133 °F.
2. Press Temperature/Time button , the temperature display flashes, and
the user can press or button to adjust the desired temperature.
3. After finishing temperature setting, press Temperature/Time button
again, the time display flashes and the user can press or button to adjust
the desired cooking time.
4. After finishing time and temperature setting, press button and the
circulator will start working. There is a pre-heat process before the set time
reached, the display shows real temperature during the pre-heat process and
no time display, four dashes “----" flash instead. When the set temperature
reaches, the circulator beeps 3 times, place the vacuumed food into the
cooking vessel. Time starts counting down.

11
5. When the user wants to reset, press button, the set temperature flashes,
the user can repeat step 2, 3 and 4 for new setting time and temperature
cooking.
6. When the user wants to stop, press button, and the display shows
default time and temperature and stops working, the user can repeat step 2, 3
and 4 for new cooking.
7. The device will beep 3 times, once count downtime is over and the display
shows “End”. The user can press button to operate the unit, and the display
shows default time and temperature. The user can repeat step 2, 3 and 4 for new
cooking.
Please note, Power button is only available when the machine is on stop
working status for power on/off function.
Cooking Menus Overview
Temperatures. The Mini Sous Vide Cooker has a 68-194°F temperature range,
with 1°F increment selection. Different temperatures are required for different
types of food and for different degrees of doneness.
Time. The cooking time depends on the thickness of the food, rather than the
weight of the food. The default cooking time is 04:00 hours. Time can be set
from 10 minutes to 72 hours.
Ideal Foods for Sous Vide Cooking.
Meats are ideal to cook using the Sous Vide method as they are more tender,
succulent and flavor filled.
Red meats - Lamb, beef, and pork.
Poultry - Chicken, turkey, duck.
Fish and Seafood - Fish, lobster tails, scallops.

12
Vegetables - Root Vegetables. Potato, carrot, parsnip, beets, turnips.
Vegetables - Tender Vegetables. Peas, asparagus, corn, broccoli, cauliflower,
eggplant, onions, squash.
Fruit - Firm Fruits. Apple, pear.
Fruit - Tender Fruits. Mango, plum, apricot, peach, nectarine, papaya,
strawberry.
Steps to Sous Vide cooking
Step 1. Seasoning your food
To enhance the flavor of your food, you may wish to marinade or add spices,
herbs, butter or oil to your vacuum pouch prior to sealing.
Step 2. Vacuum sealing your food
Sous vide cooking requires food to be vacuum sealed inside pouches to remove
air and moisture excess, so the natural taste and nutritional quality of the food
are preserved. Vacuum sealing also assists in opening the pores in food such as
meat, poultry, and seafood so that marinades and seasonings could be more
readily absorbed for highlighted flavor.
Oxygen and moisture in air cause food to degrade and lose flavor, texture and
nutritional value. Commercial quality vacuum systems remove air and moisture
before sealing items airtight to create a commercial quality vacuum.
Step 3. Cooking your food
When the water temperature has been reached in the sous vide, place the
pouches carefully in the water. Ensure the pouches are fully submerged in the
water, and that the water can easily circulate around the pouches for even
cooking.
Step 4. Searing your food
When sous vide cooking is completed, you may wish to finish off by searing to
improve the appearance and flavor of the food. This is particularly suited to

13
meats. Remove the food from the pouch. Quickly sear meat in a hot pan. This
will caramelize the fats and proteins for extra flavor.
Food Preparation
-lf food items to be used for cooking using Sous Vide method should be of the
highest quality in freshness.
- Ensure that all meat, seafood, poultry, and game have been stored at below
5°C before preparation begins. Using a digital food thermometer to check the
temperature is recommended.
- Make sure that the food pouches are clean and have not been contaminated
by dirt or other food contaminants.
- Use detergent and warm water, or a sanitizing solution to wash the food
preparation area.
- Separate the raw ingredient preparation area from the finished product area
- Wash hands well before commencing any food preparation.
- Prepare foods to the recommended thickness according to Sous Vide
Temperature and Time Guide from SOUSVIDE ART™ Cookbook. Smaller cuts of
meat will cook more quickly.
Cooking
- Use Sous Vide Temperature and Time Guide for cooking times and
temperatures.
- Ensure that the cooking pouch is completely sealed before cooking
commences.
- Ensure that the cooking pouch is still completely sealed when cooking has
finished.

14
Storage
If the food is not going to be consumed immediately, plunge the pouch
containing the food into iced water to reduce temperature quickly. Refrigerate
until required.
Clean and Maintenance
-Limescale:
Please, fill 50% water + 50% vinegar and reach Max marking of S/S body, then
set as 104℉and working 1H for cleaning.
- Oil marks.
Please, add washing-up liquid in water and reach Max marking of S/S body,
then set as 104℉and working 1H for cleaning.
Trouble Shooting
If you have any issues with your machine, check to see if these
troubleshooting instructions solve the issue.
Error code E1:
When the water level is lower than the MIN mark on the circulator, the lower
water sensor will be activated and stop working. All symbols went out and only
display the error code E1. Turn off and add sufficient water, the circulator will
resume working.
Error code E2:
The anti-dry sensor is in open loop which is caused by the loose connection
wire.The circulator will stop. Error code E2 will be featured on the display. Ple
ase, contact Customer Service team.
15
Error code E3:
The anti-dry sensor shorts out as it got broken.
The circulator will stop. Error code E3 will be featured on the display.
Please, contact Customer Service team.
Error code E4:
When the water level is lower than the MIN mark or the circulator is not
immersed in the water, and the water shortage sensor is failed to be activated,
the dry boil sensor will be activated and stop working. All symbols went out
and only display the error code E4. Till the circulator heater cool down, the
circulator will resume to working.
Error code E5:
The temperature sensor is in open loop which is caused by the loose
connection wire.
The circulator will stop. Error code E5 will be featured on the display.
Please, contact Customer Service team.
Error code E6:
Temperature sensor shorts out as it got broken.
The circulator will stop. Error code E6 will be featured on the display. Please, c
ontact Customer Service team.
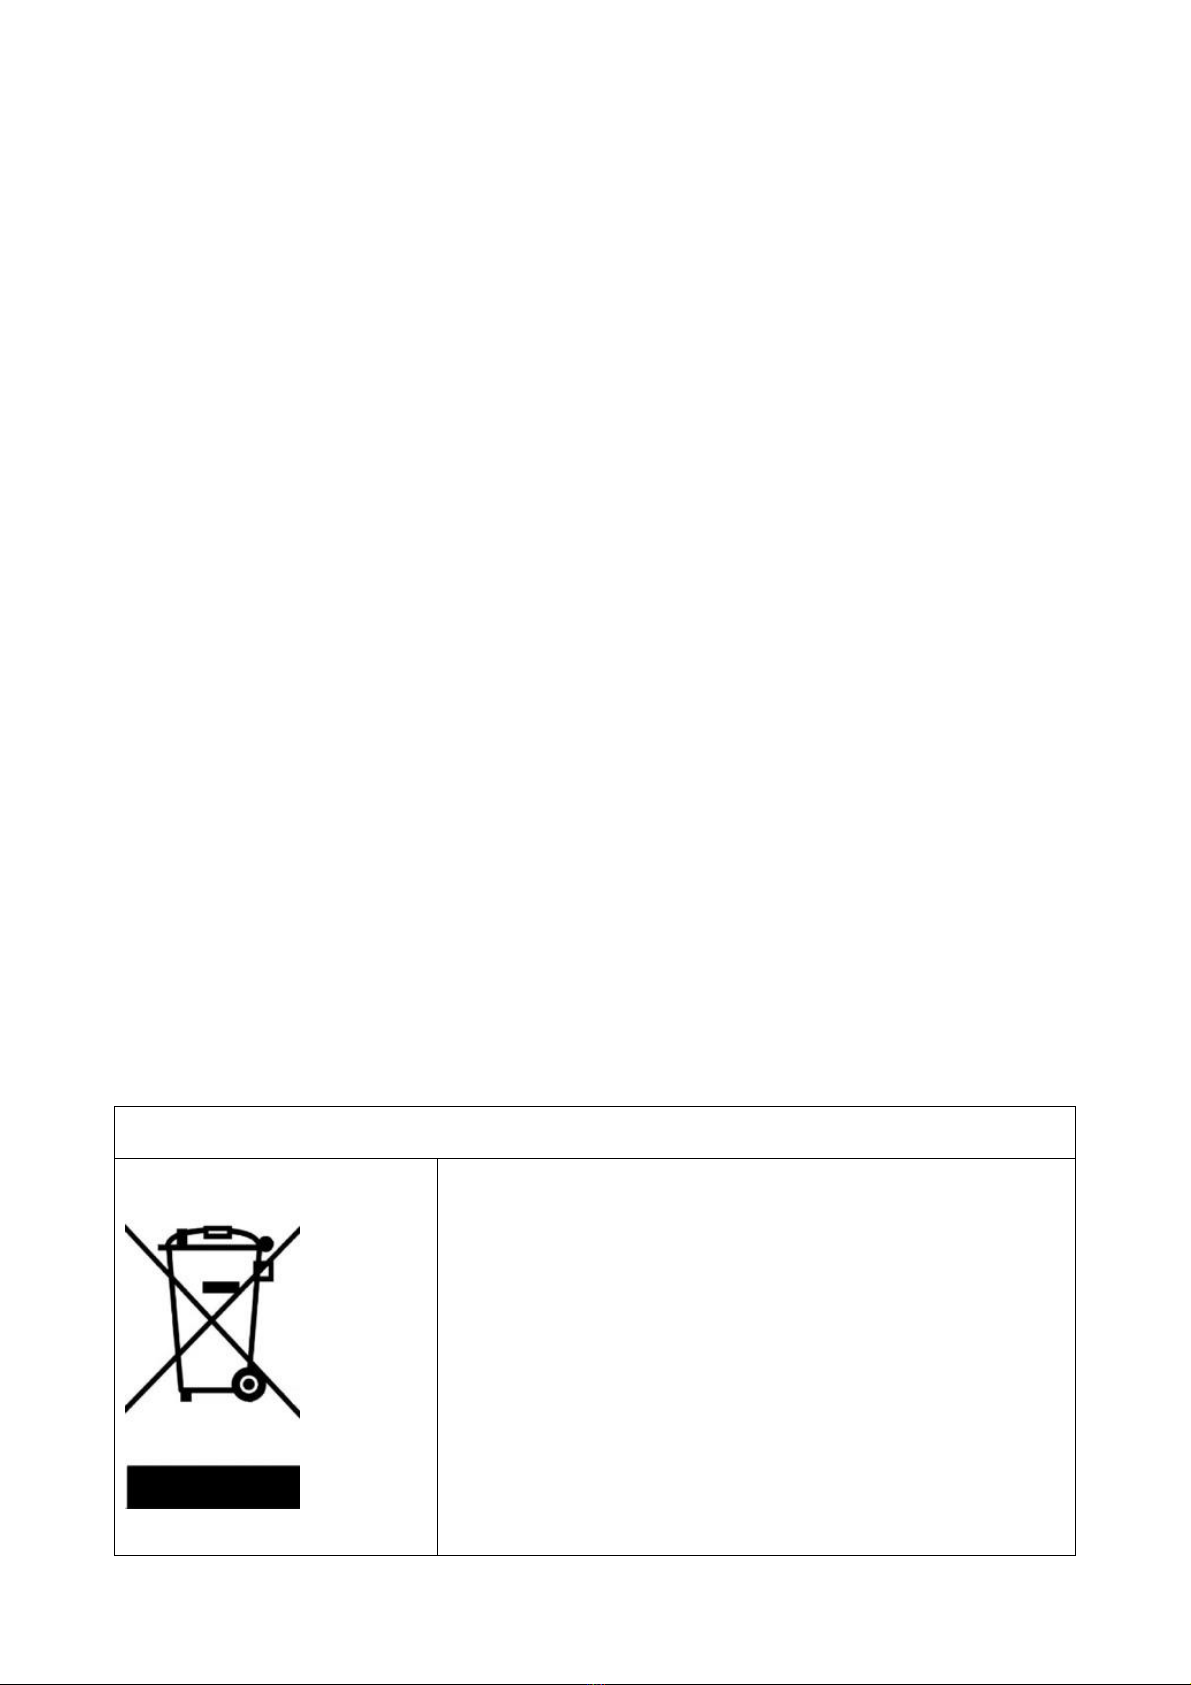
Correct Disposal of this product
This marking indicates that this product should not be
disposed of with other household wastes throughout the
EU. To prevent possible harm to the environment or
human health from uncontrolled waste disposal, recycle it
responsibly to promote the sustainable reuse of material
resources. To return your used device, please use the
return and collection systems or contact the retailer
where the product was purchased. They can take this
product for environmentally safe recycling.

16
Table of contents
Popular Cooker manuals by other brands


Lebensstil Kollektion
Lebensstil Kollektion LKPI-3121P instruction manual

Westinghouse
Westinghouse WFE517 user manual

Parkinson Cowan
Parkinson Cowan Lyric 55G Owner's handbook

Parkinson Cowan
Parkinson Cowan SIM 557 OPERATING AND INSTALLATION Manual

Parkinson Cowan
Parkinson Cowan SIG 555 Operating and installation instructions

BIELMEIER
BIELMEIER BHG 411 Instructions for use

Bosch
Bosch HXS59AI.0Q User manual and installation instructions

Midea
Midea MFS90ISS instructions

Johnson
Johnson Vulcano Instructions for use

Mercury
Mercury 1000 Dual Fuel User's guide & installation instructions

Siemens
Siemens HX8P3AE50M User manual and installation instructions

Beko
Beko DC3521 Installation & operating instructions and cooking guidance