manuals.online logo
Brands
  1. Home
  2. •
  3. Brands
  4. •
  5. Speakman
  6. •
  7. Kitchen & Bath Fixture
  8. •
  9. Speakman SB-1003 User manual

Speakman SB-1003 User manual

This manual suits for next models

1

Other Speakman Kitchen & Bath Fixture manuals
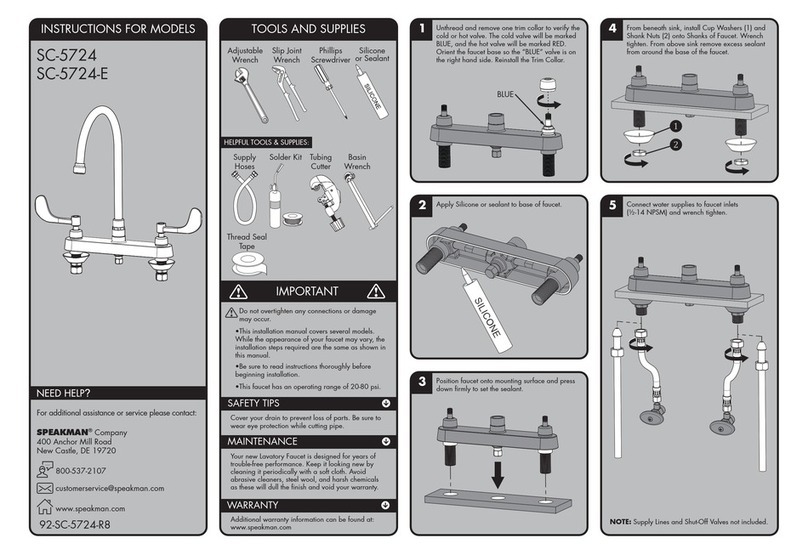
Speakman SC-5724 User manual

Speakman

Speakman SC-5724 User manual

Speakman CPT-11400-P User manual

Speakman

Speakman CPT-11400-P User manual

Speakman SC-3084-LD User manual

Speakman

Speakman SC-3084-LD User manual

Speakman Commander SC-3049 Guide

Speakman

Speakman Commander SC-3049 Guide

Speakman EYESAVER SEF-18100 User manual

Speakman

Speakman EYESAVER SEF-18100 User manual

Speakman Lura SBS-2542 User manual

Speakman

Speakman Lura SBS-2542 User manual

Speakman EYESAVER SEF-18100 User manual
Speakman

Speakman EYESAVER SEF-18100 User manual

Speakman S-3471 User manual

Speakman

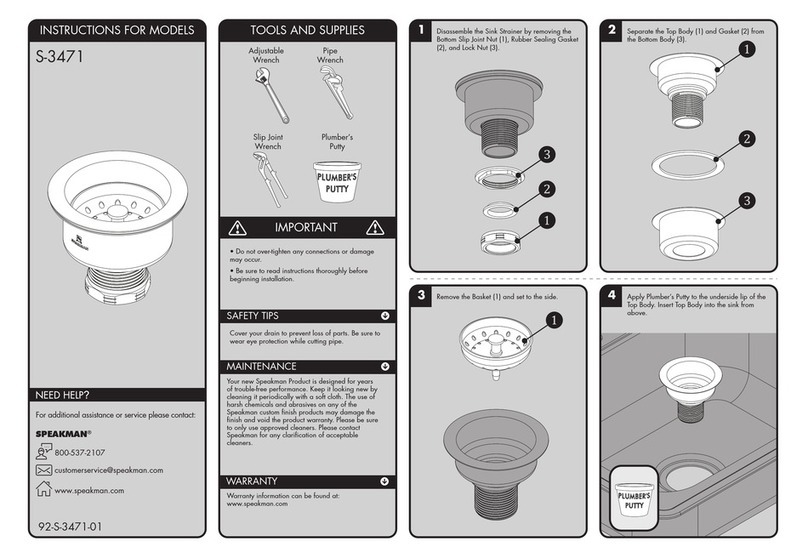
Speakman S-3471 User manual

Speakman S-1495-AF User manual

Speakman

Speakman S-1495-AF User manual

Speakman SBS-1043 User manual

Speakman

Speakman SBS-1043 User manual

Speakman SBS-2142 User manual

Speakman

Speakman SBS-2142 User manual

Speakman SB-3241 User manual

Speakman

Speakman SB-3241 User manual

Speakman SA-2703 User manual

Speakman

Speakman SA-2703 User manual

Popular Kitchen & Bath Fixture manuals by other brands

VIGO Matte Stone VG04001 manual

VIGO

VIGO Matte Stone VG04001 manual

Hans Grohe Zenio Metro 31811000 manual

Hans Grohe

Hans Grohe Zenio Metro 31811000 manual

Kohler Contra 26448T-4 installation instructions

Kohler

Kohler Contra 26448T-4 installation instructions

Hans Grohe Croma Select S 180 Showerpipe EcoSmart... Instructions for use and assembly instructions

Hans Grohe

Hans Grohe Croma Select S 180 Showerpipe EcoSmart... Instructions for use and assembly instructions

Wickes MONO SINK MIXER instruction manual

Wickes

Wickes MONO SINK MIXER instruction manual

Grohe ALLURE manual

Grohe

Grohe ALLURE manual

Oliveri Munich MU7063C installation instructions

Oliveri

Oliveri Munich MU7063C installation instructions

Graff PHASE E-6659-LM45W Instructions for assembly and use

Graff

Graff PHASE E-6659-LM45W Instructions for assembly and use

Lefroy Brooks ZU X1-2030 Installation, operating,  & maintenance instructions

Lefroy Brooks

Lefroy Brooks ZU X1-2030 Installation, operating, & maintenance instructions

Moen Show House TS514 Series installation guide

Moen

Moen Show House TS514 Series installation guide

Spectrum Brands Pfister F-WK1-1 manual

Spectrum Brands

Spectrum Brands Pfister F-WK1-1 manual

Moen Chateau 4904 instruction sheet

Moen

Moen Chateau 4904 instruction sheet

Kalia KONTOUR BF1288 Installation instructions / warranty

Kalia

Kalia KONTOUR BF1288 Installation instructions / warranty

Hans Grohe Axor Starck 10133 Series Installation instructions / warranty

Hans Grohe

Hans Grohe Axor Starck 10133 Series Installation instructions / warranty

DOCOL 016115 Series installation guide

DOCOL

DOCOL 016115 Series installation guide

Perrin & Rowe Mimas 4841 Installation & user guide

Perrin & Rowe

Perrin & Rowe Mimas 4841 Installation & user guide

Rohl Perrin & Rowe Georgian Bathroom U.3712LS Installation & user guide

Rohl

Rohl Perrin & Rowe Georgian Bathroom U.3712LS Installation & user guide

baliv KI-5070 manual

baliv

baliv KI-5070 manual

manuals.online logo
manuals.online logoBrands
  • About & Mission
  • Contact us
  • Privacy Policy
  • Terms and Conditions

Copyright 2025 Manuals.Online. All Rights Reserved.

INSTRUCTIONS FOR MODELS
92-SB-1003-R2
For additional assistance or service please contact:
SPEAKMAN®Company
400 Anchor Mill Road
New Castle, DE 19720
800-537-2107
customerser[email protected]
www.speakman.com
SB-1003
SB-1003-E
HELPFUL TOOLS & SUPPLIES:
TOOLS AND SUPPLIES
Phillips
Screwdriver
Adjustable
Wrench
10mm
Wrench
Safety
Glasses
Plumber’s
Putty
Additional warranty information can be found at:
www.speakman.com
WARRANTY
MAINTENANCE
Cover your drain to prevent loss of parts. Be sure to
wear eye protection while cutting pipe.
SAFETY TIPS
IMPORTANT
• Be sure to read instructions thoroughly before
beginning installation.
• Do not over-tighten any connections or damage
may occur.
• This faucet has an operating range of 20-80 psi.
Your new Speakman Product is designed for years of
trouble-free performance. Keep it looking new by
cleaning it periodically with a soft cloth. The use of harsh
chemicals and abrasives may damage the finish and
void the product warranty. Please be sure to only use
approved cleaners. Please contact Speakman for any
clarification of acceptable cleaners.
1Insert Lift Rod thru hole at rear of Faucet.
2Thread Mounting Studs into base of Faucet.
Tighten with Phillips Screwdriver.
3Place Rubber Gasket over Hoses and align to
base of Faucet.
4Place Hoses, one at a time, thru hole in
mounting surface. Lower Faucet into position.
5From below, install Rubber Washer (1), Metal
Washer (2), and secure with Mounting Nuts (3).
Align Faucet to desired position and wrench
tighten Mounting Nuts (3).
OR
6Make connections to water supplies. The inlet
threads of the faucet are 9/16”-24 UNF and will
accept a 3/8” Compression Fitting. Wrench
Tighten.
Accepts a 3/8”
Compression
Fitting
SUPPLY STOPS NOT INCLUDED
7Remove Stopper (1), Flange Nut (2), and Flange
Washer (3) from Drain Assembly.
8From beneath, insert Drain Assembly thru drain
hole in sink. Attach supplied Flange Washer (1)
or plumber’s putty to the underside of the Flange
(2). Secure Flange (2) to the Drain Assembly.
Align the Drain Assembly as shown below.
Align towards faucet.
9From beneath, secure Rubber Washer (1), Plastic
Washer (2), and Mounting Nut (3). Wrench
tighten.
10 Remove Pivot Nut (1), from Drain Assembly.
Install Outer Pivot Washer (2), and Pivot Rod (3).
Ensure that Inner Pivot Washer (4) is retained in
Drain Assembly. Insert Pivot Rod into Drain
Assembly and install Stopper (6) as non-remov-
able. Secure Pivot Rod to Drain Assembly by
tightening Pivot Nut (1).
11 Place one end of Spring Clip (1), on Pivot Rod
(2). Insert Pivot Rod (2) thru a hole in the Lift Rod
Strap (3). Secure with Spring Clip (1).
12 Place Drain into the open position by pressing
downward on the Pivot Rod (1). Insert Lift Rod
(2) into Strap (3). Adjust height of Lift Rod (2),
and tighten Thumb Screw (4).
13 Turn on water supplies. Activate faucet and flush
both HOT and COLD water for 1 minute.
14 Turn OFF faucet and install Aerator. Secure with
Adjustable Wrench. Do not over-tighten.
SB-1003 REPAIR PARTS
ITEM NO. PART NO. DESCRIPTION
RPG05-0986 CARTRIDGE AND RETAINING NUT
RPG05-0990 1.5 GPM AERATOR ASSEMBLY
RPG04-0430 LEVER HANDLE, SCREW, AND INDEX
RPG05-0988 MOUNTING HARDWARE GROUP
RPG63-0102 20” LONG HOSES (2)
1.2 GPM AERATOR ASSEMBLY
RPG05-40129
SB-1003 ROUGH-IN DIAGRAM
ALL DIMENSIONS ARE IN INCHES (MILLIMETERS) UNLESS
OTHERWISE SPECIFIED. DIMENSIONS SUBJECT TO
CHANGE WITHOUT NOTICE.
13
4
"
45mm
23
16
"
55mm
1-3/8"
[35mm]
MAXIMUM DECK
THICKNESS
3/8 COMPRESSION FITTINGS
(9/16-24 UNEF THREAD)
513
16
"
147mm
4"
102mm
1-1/4"
[32mm]
MINIMUM
HOLE DIAMTER