manuals.online logo
Brands
  1. Home
  2. •
  3. Brands
  4. •
  5. Speakman
  6. •
  7. Kitchen & Bath Fixture
  8. •
  9. Speakman SC-5724 User manual

Speakman SC-5724 User manual

This manual suits for next models

1

Other Speakman Kitchen & Bath Fixture manuals

Speakman S-1495-AF User manual

Speakman

Speakman S-1495-AF User manual

Speakman SB-1003 User manual

Speakman

Speakman SB-1003 User manual

Speakman Commander SC-3049 Guide

Speakman

Speakman Commander SC-3049 Guide
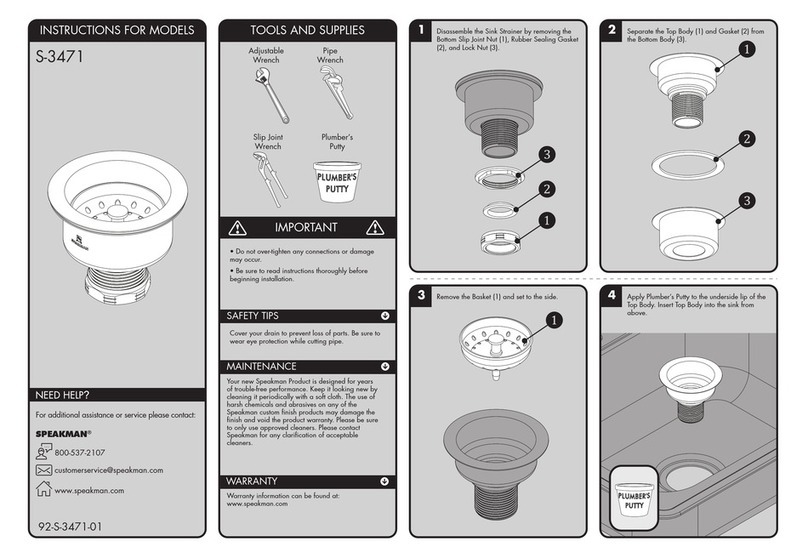
Speakman S-3471 User manual

Speakman

Speakman S-3471 User manual

Speakman EYESAVER SEF-18100 User manual

Speakman

Speakman EYESAVER SEF-18100 User manual

Speakman EYESAVER SEF-18100 User manual

Speakman

Speakman EYESAVER SEF-18100 User manual

Speakman SA-2703 User manual

Speakman

Speakman SA-2703 User manual

Speakman SBS-2142 User manual

Speakman

Speakman SBS-2142 User manual

Speakman SC-3084-LD User manual

Speakman

Speakman SC-3084-LD User manual

Speakman CPT-11400-P User manual

Speakman

Speakman CPT-11400-P User manual

Speakman SB-3241 User manual

Speakman

Speakman SB-3241 User manual

Speakman SBS-1043 User manual

Speakman

Speakman SBS-1043 User manual

Speakman Lura SBS-2542 User manual

Speakman

Speakman Lura SBS-2542 User manual

Popular Kitchen & Bath Fixture manuals by other brands

VIGO Matte Stone VG04001 manual

VIGO

VIGO Matte Stone VG04001 manual

Hans Grohe Zenio Metro 31811000 manual

Hans Grohe

Hans Grohe Zenio Metro 31811000 manual

Kohler Contra 26448T-4 installation instructions

Kohler

Kohler Contra 26448T-4 installation instructions

Hans Grohe Croma Select S 180 Showerpipe EcoSmart... Instructions for use and assembly instructions

Hans Grohe

Hans Grohe Croma Select S 180 Showerpipe EcoSmart... Instructions for use and assembly instructions

Wickes MONO SINK MIXER instruction manual

Wickes

Wickes MONO SINK MIXER instruction manual

Grohe ALLURE manual

Grohe

Grohe ALLURE manual

Oliveri Munich MU7063C installation instructions

Oliveri

Oliveri Munich MU7063C installation instructions

Graff PHASE E-6659-LM45W Instructions for assembly and use

Graff

Graff PHASE E-6659-LM45W Instructions for assembly and use

Lefroy Brooks ZU X1-2030 Installation, operating,  & maintenance instructions
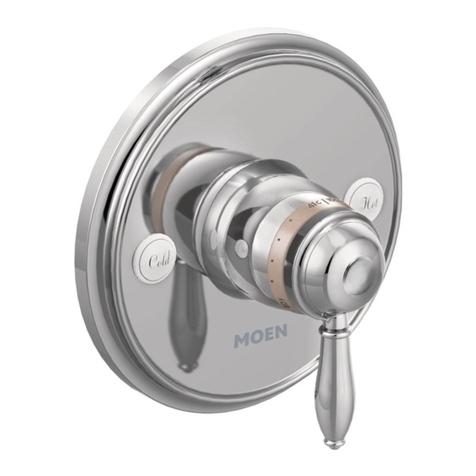
Lefroy Brooks

Lefroy Brooks ZU X1-2030 Installation, operating, & maintenance instructions

Moen Show House TS514 Series installation guide

Moen

Moen Show House TS514 Series installation guide

Spectrum Brands Pfister F-WK1-1 manual

Spectrum Brands

Spectrum Brands Pfister F-WK1-1 manual

Moen Chateau 4904 instruction sheet

Moen

Moen Chateau 4904 instruction sheet

Kalia KONTOUR BF1288 Installation instructions / warranty

Kalia

Kalia KONTOUR BF1288 Installation instructions / warranty

Hans Grohe Axor Starck 10133 Series Installation instructions / warranty

Hans Grohe

Hans Grohe Axor Starck 10133 Series Installation instructions / warranty

DOCOL 016115 Series installation guide

DOCOL

DOCOL 016115 Series installation guide

Perrin & Rowe Mimas 4841 Installation & user guide

Perrin & Rowe

Perrin & Rowe Mimas 4841 Installation & user guide

Rohl Perrin & Rowe Georgian Bathroom U.3712LS Installation & user guide

Rohl

Rohl Perrin & Rowe Georgian Bathroom U.3712LS Installation & user guide

baliv KI-5070 manual

baliv

baliv KI-5070 manual

manuals.online logo
manuals.online logoBrands
  • About & Mission
  • Contact us
  • Privacy Policy
  • Terms and Conditions

Copyright 2025 Manuals.Online. All Rights Reserved.

INSTRUCTIONS FOR MODELS
92-SC-5724-R8
For additional assistance or service please contact:
SPEAKMAN®Company
400 Anchor Mill Road
New Castle, DE 19720
800-537-2107
customerser[email protected]
www.speakman.com
SC-5724
SC-5724-E
TOOLS AND SUPPLIES
IMPORTANT
SAFETY TIPS
Cover your drain to prevent loss of parts. Be sure to
wear eye protection while cutting pipe.
MAINTENANCE
Your new Lavatory Faucet is designed for years of
trouble-free performance. Keep it looking new by
cleaning it periodically with a soft cloth. Avoid
abrasive cleaners, steel wool, and harsh chemicals
as these will dull the finish and void your warranty.
WARRANTY
Additional warranty information can be found at:
www.speakman.com
Adjustable
Wrench
Slip Joint
Wrench
Phillips
Screwdriver
Silicone
or Sealant
•Be sure to read instructions thoroughly before
beginning installation.
•This installation manual covers several models.
While the appearance of your faucet may vary, the
installation steps required are the same as shown in
this manual.
•This faucet has an operating range of 20-80 psi.
Do not overtighten any connections or damage
may occur.
Supply
Hoses
Tubing
Cutter
Solder Kit
Thread Seal
Tape
Basin
Wrench
HELPFUL TOOLS & SUPPLIES:
1Unthread and remove one trim collar to verify the
cold or hot valve. The cold valve will be marked
BLUE, and the hot valve will be marked RED.
Orient the faucet base so the “BLUE” valve is on
the right hand side. Reinstall the Trim Collar.
BLUE
2Apply Silicone or sealant to base of faucet.
3Position faucet onto mounting surface and press
down firmly to set the sealant.
4From beneath sink, install Cup Washers (1) and
Shank Nuts (2) onto Shanks of Faucet. Wrench
tighten. From above sink remove excess sealant
from around the base of the faucet.
5Connect water supplies to faucet inlets
(½-14 NPSM) and wrench tighten.
NOTE: Supply Lines and Shut-Off Valves not included.
6Install the Gooseneck Spout to the Faucet Body. If
you wish to have a non-swivel spout, place the
supplied lock washer (1) between the Gooseneck
Spout and the Faucet Body. Wrench tighten
Goosencck Spout Collar to Faucet Base.
Install for rigid
(non-swivel) feature
7Install the Trim Sleeves (1) over the spindles,
followed by the Handles (2), Lock Washers (3),
and secure with Handle Screws (4). Install Index
Buttons (5) into handles (Blue on right handle, Red
on left handle).
8Turn on water supplies and flush both COLD and
HOT cartridges for one minute, while checking for
leaks.
9Turn off COLD and HOT handles and install
supplied Spray Outlet with supplied Wrench.
SC-5724 REPAIR PARTS
ITEM NO. PART NO. DESCRIPTION
RPG05-0532-CA PERFECT VALVE GROUP (RED/HOT) WITH TRIM SLEEVE AND SCREW
RPG05-0533-CA PERFECT VALVE GROUP (BLUE/COLD) WITH TRIM SLEEVE AND SCREW
RPG04-0316-PC 4" WRIST BLADE HANDLE GROUP
RPG41-0285 RED, BLUE, AND WHITE INDEX BUTTONS WITH SCREWS AND LOCK WASHERS
G18-0217-CA 8" GOOSENECK SPOUT ASSEMBLY
RPG05-0837-PC 1.5 GPM AERATOR ASSEMBLY WITH WRENCH
RPG05-0851-PC 1.5 GPM LAMINAR FLOW OUTLET ASSEMBLY WITH WRENCH
RPG05-40005 1.2 GPM AERATOR ASSEMBLY WITH WRENCH
RPG05-40015 1.2 GPM LAMINAR FLOW OUTLET ASSEMBLY WITH WRENCH
SC-5724 ROUGH-IN DIAGRAM
DIMENSIONS SUBJECT TO CHANGE WITHOUT NOTICE.
2"
51mm
131
2
"
343mm
81
8
"
206mm
81
2
"
215mm
8"
203mm
10"
254mm
4"
102mm
43
8
"
113mm
1-1/16” DIA.
7/8” DIA.
11
4
"
38mm
11
4
"
35mm
2"
51mm
MIN. TO WALL
2"
51mm
MIN. TO LEDGE
LAVATORY ROUGH-IN
MIN MIN
½”-14 NPSM INLETS.
(SUPPLY LINES NOT INCLUDED)