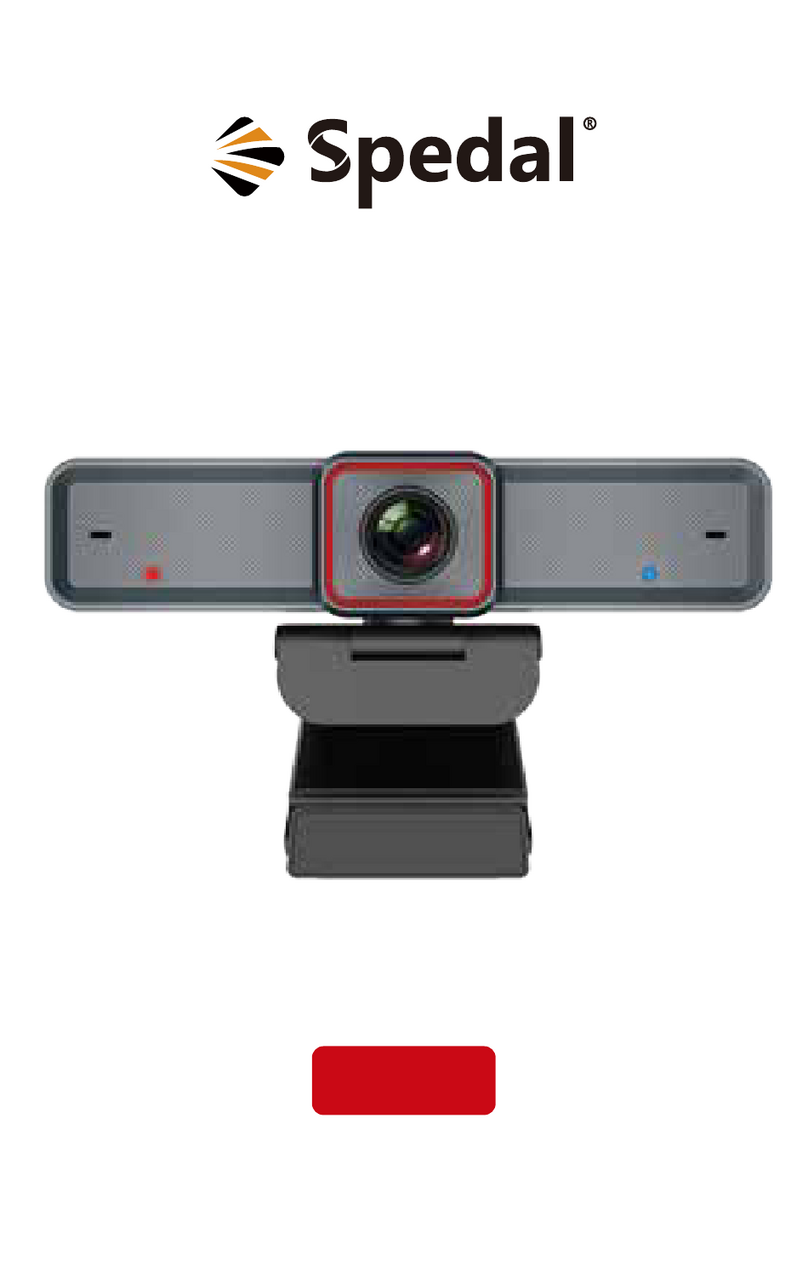
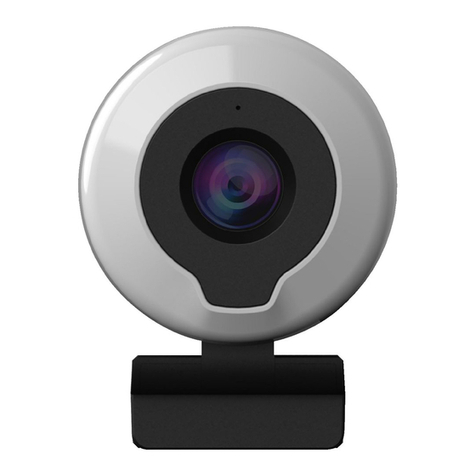
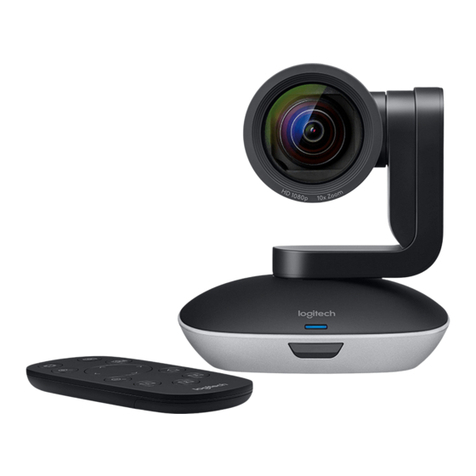
Spedal AF962 User manual

0
Spedal Webcam User Manual
Table of Contents
I. Precautions..............................................................................................................2
II. Download Softwares............................................................................................ 2
III. Start Using Webcam........................................................................................... 3
1. Camera installation............................................................................................................ 3
2. Camera settings for Windows system users......................................................................3
1) Installation.....................................................................................................................................3
2) Testing............................................................................................................................................3
3) Audio input (microphone) settings............................................................................................... 4
4) Audio output (speaker) settings....................................................................................................5
5) Camera video recording................................................................................................................ 6
3. Camera settings for Mac OS X system users......................................................................6
1) Installation.....................................................................................................................................6
2) Testing............................................................................................................................................7
3) Audio input (microphone) and output (speaker) settings............................................................ 7
4) Photo Booth video recording settings...........................................................................................8
5) Face Time video call settings.........................................................................................................8
4. Webcast.............................................................................................................................. 8
5. Focus adjustment (autofocus)........................................................................................... 9
6. Three-level beauty touch-light adjustment.......................................................................9
7. Five-level digital focal length............................................................................................. 9
8. Video recording................................................................................................................ 10
1) Windows system (Windows 10 for example)..............................................................................10
2) Mac OS X system (Mac OS X for example).................................................................................. 10
3) Amcap video recording software................................................................................................ 10
9. Background changing (Only for Windows system)......................................................... 12
10. Video playing.................................................................................................................. 13
IV. Frequently Asked Questions.......................................................................... 14
1. How to fix the camera?.................................................................................................... 14
2. Can the webcam microphone be turned off if I want to use my own one?.................. 14
3. Does it support background changing or game live streaming?.................................... 14

1
4. Is the Linux system compatible with an external camera?.............................................14
5. Is Mac system compatible with an external camera?.....................................................14
6. Can an external camera be used on TV?......................................................................... 14
V. Troubleshooting..................................................................................................15
1. The camera cannot be detected in the Windows system computer..............................15
2. The camera cannot be detected in the Mac system computer...................................... 15
3. Abnormal sound for Windows system computers..........................................................15
1) There is no sound from the microphone or the sound is interrupted........................................15
2) There is noise or echo in the microphone.................................................................................. 16
4. Abnormal sound for Mac system computers.................................................................. 16
VI. Abnormal Images.............................................................................................. 17
1. Abnormal images in the Windows system comuters......................................................17
1) Video freezing, smearing, and bad frames in local preview....................................................... 17
2) The video in H.264 encoding format can’t be displayed in local preview.................................. 17
3) The local preview image is white or black...................................................................................17
4) Video quality is abnormal, overexposed, too dark or off-color.................................................. 17
5) The image is geometrically distorted and deformed.................................................................. 17
6) The image has water ripples....................................................................................................... 17
7) The picture quality of a 1080P HD camera can only reach 720P or 640P...................................18
8) The image is blurred during a video call..................................................................................... 18
2. Abnormal images in the Mac system comuters.............................................................. 18
3. Abnormal images in browsers......................................................................................... 18
1) The Flash Player has been installed, but the webpage still cannot access the camera normally,
so that no image is displayed.......................................................................................................... 18
2) The video captured by the application is grainy or freezing....................................................... 18
VII. Other Abnormalities........................................................................................ 19
VIII. Product Maintenance..................................................................................... 19
IX. After-sales Service and Customer Support............................................... 19
Thank you for using our camera. Please read this manual carefully for user
guideline!

2
I. Precautions
1. Please do not touch the camera lens with your hands to avoid smudge that
may affect video quality. If the lens is contaminated accidentally, please clean it
gently with a wiping cloth. For stubborn stain, use a wiping cloth dipped in
alcohol.
2. Before use , please ensure that the camera and its support are firmly fixed in
case of falling.
3. The USB cable for the camera is 1.6 meters long. If it is not long enough,
please use a TYPE A USB 2.0 HUB extension cable. The total length of the
camera USB cable plus the HUB extension cable should be no more than 5
meters.
4. Do not use the lens against a single colour background, or a too bright or too
dark background, nor in the reflect light from a mirror.
5. Please keep the camera away from liquids, high temperature and strong
magnetic fields when it is in use.
II. Download Softwares
For Mac OS, Windows, Chrome OS and Android users, please download the
appropriate versions of FaceTime, Skype, Google Hangouts, Facebook,
Messenger, QQ and other video software, and then register an account and
add contacts. If you need to conduct multi-party video conferencing, please
download Skype for Busniess, Cisco (WebEX) , lifesize, intel, BlueJeans,
Vidyo, ZOOM, broadsoft and other video conferencing applications, and then
register as a paid member.

3
III. Start Using Webcam
1. Camera installation
①The camera can be put above a display screen, or placed on the desktop,
or used with a tripod.
②The camera can start working once it is connected to the device, which
means that there is no need to manually install drive programs as long as the
computer system is complete.
③When the camera is in use, please maintain the distance of 0.5m to 1m
between the lens and the object.
2. Camera settings for Windows system users
1) Installation
The USB Live Camera is compatible with most Windows operating systems
including Windows XP SP2, Windows 7, Windows 8, Windows 10 and others.
Therefore, the camera will be installed automatically when it is connected to
the computer.
2) Testing
①Right-click on "Start" and select "Device Manager".
②Pull down "Sound, Video and Game Controllers". If "USB Live Camera
Audio" is displayed, then the relevant installation is successful.
③Pull down "Audio Inputs and Outputs". If Microphone"USB Live Camera
Audio" is displayed, then the relevant installation is successful.
④Pull down "Cameras". If "USB Live Camera" is displayed, then the
relevant installation is successful.

4
3) Audio input (microphone) settings
①Right-click on the sound icon “ ” on the right side of the taskbar and
select "Open Sound Settings".
②In "Choose your Input Device" under "Input", select "麦克风 (USB Live
Camera Audio) ".
③Click on "Device Properties" under "Input", and click on "Additional
Device Properties" under "Related Settings".
④In the “Microphone Properties” settings panel that pops up, click on the
“Listen” tab and make sure that “Listen to this device” is unchecked.
⑤Click on the "Level" tab, adjust the volume to an appropriate level and
make sure that the sound icon is not displaying in a mute state.
⑥Click on the "Advanced " tab. For "Default Format", it is recom-mended
to select "CD quality" or above. For "Exclusive Mode", please make sure
that the two options of "Allow applications to take exclusive control of this
device" and "Give exclusive mode applications priority" are checked.

5
4) Audio output (speaker) settings
①Right-click on the sound icon on the right side of the taskbar and
select "Open Sound Settings".
②Select "High Definition Audio Devive" for the speaker in "Choose your
Output Device" under "Output".
③Click on "Device Properties" under "Output" and click on "Additional
Device Properties" under "Related Settings".
④In the “扬声器 Properties” settings panel that pops up, click on the “level”
tab, adjust the volume to an appropriate level and make sure that the sound
icon is not displaying in a mute state.
⑤Click on the "Enhancements" tab and ensure that the option of "Disable
all sound effects" is checked.
⑥Click on the "Advanced " tab. For "Defect Format", it is recommended
not to choose the sound quality that is similar to the microphone Hz. The
sound quality that is more than 24 bits and higher than 192000 Hz is
preferred.

6
5) Camera video recording
①Click on the "Start" menu and then click on the "Camera" program.
②In the video mode, click on the icon to start recording video.
③In the photo mode, click on the icon to shoot the current picture.
3. Camera settings for Mac OS X system users
1) Installation
The camera will be installed automatically when it is connected to the
computer.

7
2) Testing
①Click on the Apple "Menu" and then click on "About this Mac" to view
"System Report".
②Pull down "Hardware -USB-USB Device Tree", and if "USB Live Camera"
is displayed, then the relevant installation is successful.
3) Audio input (microphone) and output (speaker) settings
①On the "System Preferences" page, click on the sound icon to enter
the "Sound" settings page.
②Select "USB Live Camera Audio" in "Select a devices for sound input"
under "Input". Adjust the input volume to an appropriate level.
③Select the appropriate output device under "Output". Adjust the output
volume to an appropriate level, and make sure the "Mute" option is not
checked.

8
4) Photo Booth video recording settings
①Open Photo Booth.
②Click on the "Camera" menu.
③Select "USB Live Camera" as the system default camera.
5) Face Time video call settings
①Open Face Time.
②Click on the "Video" menu.
③Select "USB Live Camera" as the system default camera.
④Select "USB Live Camera Audio" as the system default microphone.
4. Webcast
The following browser versions are recommended: Google Chrome (32bit or
64bit PC version 65.0.3325.XXX or above) and Firefox (32bit or 64bit PC
version 59.0.2 or above) .

9
5. Focus adjustment (autofocus)
①Aim the lens at the reference object and wave your hand in front of the
camera. The camera will automatically focus to maximum clarity.
②In a backlit environment with a lot of stray light, or in a single colour
background, it is normal for the camera to have weaker autofocus performance
or fail to focus accurately. Adjusting the camera position or gently shaking the
camera will help focusing of the camera.
6. Three-level beauty touch-light adjustment
①Plug the camera USB into the computer port and launch relevant software
or APP.
②Touch the touch-light button on the front of the camera gently with your
finger.
③The brightness of the ring light on the camera has three levels in brightness:
low, medium and strong light.
7. Five-level digital focal length
①Plug the camera USB into the computer port and launch relevant software
or APP.
②Gently press the zoom control button (five levels in focal distance) on the

10
back of the camera with your finger.
③The camera video screen has five levels of distance.
※Digital zoom is supported only below 1080P (1080P not included)
Some software with fixed resolution also does not support digital zoom.
8. Video recording
1) Windows system (Windows 10 for example)
Left-Click on the "Camera" under "Start" - you can preview, record and test
the camera.
2) Mac OS X system (Mac OS X for example)
①Open the Photo Booth video recording application that comes with the
Mac Os system. Then you can start recording video, take pictures or test the
webcam.
②The three icon buttons at the bottom left are: "Take four consevutive
photos", "Take a photo" and "video recording".
③The middle icon is the shutter button in the photo mode, so press it to
start the countdown to take photos. In the video recording mode, press it to
start recording, and press it again to stop recording.
3) Amcap video recording software
To preview video/photo:
①Connect the camera to the computer, start the Amcap application, select
the "Devices" menu, check "USB Live Camera" as the recording video
device, and check "USB Live Camera Audio" as the recording audio device.

11
②Open "Options" and check "Preview" to preview the video.
③After taking photos and videos with Amcap, the "Capturevideo" and
"Capturephoto" folders will be automatically created.
④Click on "File" to open the video or photo folder.
⑤The Amcap application can be downloaded from the official website of
Spedal Technical Support: www.spedal.cc
To record video:
①Set the data stream format: connect the camera to the computer, start the
Amcap program and open the "Options" menu, click on "Video Capture
Pin..." to enter the "Data Stream Format" interface, adjust the output
resolution in "Output Size" and click on "OK" to save the settings.
②Set the video frame rate: Open the "Capture" menu, click on "Set Frame
Rate..." to enter the "Choose Frame Rate" interface and check "Use Frame
Rate". Type "30" f/sec in "Frame Rate" and click on "OK" to save the
settings.
③Open the "Capture" menu, click on "Set Time Limit..." to enter the
"Capture Time Limit" interface and check "Use Time Limit". Type duration in
the "Time Limit" and click on "OK" to save the settings.
④Record video: Open the "Capture" menu and check "Capture Audio".

12
Open the "Capture" menu and check "Start Capture" to start recording video.
Open the "Capture" menu and check "Stop Capture" to stop recording video.
To take photos:
①Set picture quality: connect the camera to the computer, open the Amcap
program, open the "Options" menu and click on "Video Capture Filter” to
enter the "Video Proc Amp" interface. Select the correct voltage frequency
according to the standards in your region.
②Take photos: connect the camera to the computer, open the Amcap
pro-gram, and click on "Photo" to take a picture.
9. Background changing (Only for Windows system)
①Log in to the official website of Personify (https://Personifyinc.Com/) and
register as a paid member.
②Download and install the Chromacam application.
③Set USB Live Camera as Chromacam camera device.
④Start live video recording and video real-time streaming push applications:

13
OBS, Mixer, Xsplit Gamecaster, Skype, Hangouts, Goto, Meet, BlueJeans,
WeBex, Zoom, etc.
⑤Set Chromacam as the virtual video device for the video application.
⑥Change the video background in the background setting interface of the
Chromacam application.
⑦Pay to upgrade the Chromacam PRO application, and the video
background can be changed when you are running game anchor programs of
Xsplit and MIXER (applicable to Windows 7 or more advanced versions) .
10. Video playing
After recording a video, you can use QuickTime, Media Player, Potplayer,
KMplayer, avplayer HD, VLC MediaPlayer, Plex, etc. for video playing.

14
IV. Frequently Asked Questions
1. How to fix the camera?
You can open the camera base part and fix it on the computer screen or lay it
flat on the table. There are screw holes at the bottom of the camera base,
which can be used with a camera support.
2. Can the webcam microphone be turned off if I want to use my own
one?
The camera microphone can be turned off separately. For Windows system,
select the speaker icon at the bottom right corner of the desktop - "Recording"
- "Devices" - "Recording" - right-click on "Disable". For Mac system, remove
the USB live camera "√" at the menu bar.
3. Does it support background changing or game live streaming?
Support from the game platform is required. For example, register as a VIP
paid member on the Xsplit game platform.
4. Is the Linux system compatible with an external camera?
Only if the Linux version support UVC drive-free protocol.
5. Is Mac system compatible with an external camera?
Mac OS 10.6 or more advanced versions are compatible.
6. Can an external camera be used on TV?
If the TV supports the UVC protocol and has OTG function, you can use the
external camera with it.

15
V. Troubleshooting
1. The camera cannot be detected in the Windows system computer
①Right-click on “Start” menu - "Device Manager" - "Sound, Video and Game
Controller" - right-click on "USB Live Camera Audio" - "Uninstall Device".
②Right-click on “Start” menu - "Device Manager" - "Audio Input and Output" -
Right-click on "USB Live Camera Audio" - "Uninstall Device".
③Right-click on “Start” menu - "Device Manager" - "Camera"- Right-click on
"USB Live Camera Audio" - "Uninstall Device".
④Remove the camera from the computer.
⑤Restart the computer.
⑥Connect the camera to the computer (Change the USB interface. For
desktop computers, do not plug into the front USB interface) .
⑦The computer reloading the camera - automatically installing the driver - the
Device Manager displaying "USB Live Camera".
2. The camera cannot be detected in the Mac system computer
①Remove the camera from the computer.
②Restart the computer.
③Connect the camera to the computer (change the USB interface) .
④Press and hold the following four keys at the same time before the screen
turns grey: Command+Option+P+R.
⑤The computer restarts, and you can hear the startup sound again.
⑥Release the four buttons at the same time.
⑦Mac system is upgraded to the latest version.
3. Abnormal sound for Windows system computers
1) There is no sound from the microphone or the sound is interrupted
①If the "MIC IN" port of the built-in sound card of the Windows system
computer is not connected to an external microphone, and when the "Stereo
Mixing" is turned on or set as the computer's default sound input device
(microphone) , the recording cannot be performed normally, and the opposite
party cannot hear us from the video, it is suggested to right-click on the
sound icon on the right side of the taskbar - "Open Sound Settings" -
"Sound" - "Input" - "Manage Sound Device" - "Input Device" - "Microphone" -
"Disable".

16
②When the playback device in use is not the headset, if you check
"Mornitor This Device", the microphone will interfere with the speaker
frequency to produce a whistling noise, it is suggested to right-click on the
sound icon on the right side of the taskbar - "Open Sound Settings" -
"Sound" - "Device Properties" - "Related Settings" - "Other Device
Properties" - "Mornitor" - Uncheck "Mornitor This Device" ".
③Turning on the "Automatically adjust microphone" option of video
applications such as Skype may cause sound interruption or unclear sound
during a voice call. It is suggested to click on “Settings” – “Audio and Video”
– “Audio” - Turn off “Automatically adjust microphone".
If none of the above steps can solve the "no sound from the microphone"
problem, please click on "Start” – “Recorder” – click on the microphone icon
to start recording and speak to the microphone. After recording, click on the
Play button. If there is still no sound, please contact the vendor.
2) There is noise or echo in the microphone
①Change the settings of "HD Audio Manager" for Windows 7: click on the
"Start" menu > "Control Panel" > "Hardware and Sound" > Open
"Realtek HD Audio Manager" > "Microphone" option > Turn off "Ffp" function
(the button turns gray) and the noise will be significantly reduced. Turning on
"Echo Cancellation" (the button turns blue) can reduce the echo of the PC
speaker when the microphone is in use.
②Change the settings of "HD Audio Manager" for Windows 8/10: click on
"Realtek HD Audio Manager" in the lower right corner of the desktop >
"Microphone" option > Turn on the "Noise Suppression" function (the button
turns blue) , and the noise will be significantly reduced. Turning on "Echo
Cancellation" (the button turns blue) will reduce echo effects.
③After the microphone is enabled, if there is a mobile phone on the call
nearby, the mobile phone's microphone will interfere with the system speaker,
which will produce a whistling noise. This is a normal phenomenon. At this
time, please keep the calling phone away from the speaker.
4. Abnormal sound for Mac system computers
The abnormal sound in Mac system comuters is caused by similar setting
errors of the above Windows system.

17
VI. Abnormal Images
1. Abnormal images in the Windows system comuters
1) Video freezing, smearing, and bad frames in local preview
It is recommended that the encoding format of the video preview software is
set as YUV or YUY2 format, and high-definition images cannot be
transmitted on the USB2.0 line. Please change to H.264 or MJPEG
encoding in video preview software such as Amcap.
2) The video in H.264 encoding format can’t be displayed in local
preview
①Computer systems generally do not have H.264 decoding, so please
download a video preview application that supports H.264 decoding.
②The video communication software will automatically switch between
H.264, MJPEG and other encoding formats according to the network
situation.
③Confirm whether your camera supports H.264 format.
3) The local preview image is white or black
①When the camera has H.264 encoding, but the computer system
generally does not have H.264 decoding, the software that does not support
H.264 decoding version will display a white or a black screen in a preview.
Therefore, please download a video preview application that supports H.264
decoding.
②The video preview function in the application is not turned on, or the
privacy function of the application prohibits access to the camera.
4) Video quality is abnormal, overexposed, too dark or off-color
①For different lighting environments, parameters such as brightness,
contrast, and gamma can be adjusted in the video properties of the video call
or video preview recording programs.
②Ensure that the lighting environment is not a monochromatic or a strong
lighting environment, such as walls, floors and other large areas in green,
blue, hard light and other non-standard lighting environments.
5) The image is geometrically distorted and deformed
Please confirm whether the video software is set to any special effect mode.
6) The image has water ripples
Please change the voltage frequency of the camera to be consistent with
the local voltage frequency (50HZ or 60HZ) .

18
7) The picture quality of a 1080P HD camera can only reach 720P or
640P
①The network broadband is congested and cannot support 1080P HD
transmission.
②The video communication application version does not support HD
1080P.
③The image quality of the communication software is set to 720P or 640P.
8) The image is blurred during a video call
①Congested network bandwidth cause poor video transmission, or the
bandwidth saving mode is selected ti reduce the quality of the video.
②The focus is not properly adjusted: For manual focusing, please rotate
the lens gently until the image is clear. For automatic focusing, please wave
your hand in front of the lens to automatically adjust the focus.
③Video communication application does not support H.264 compression,
nor support HD video calls.
2. Abnormal images in the Mac system comuters
The abnormal images in Mac system comuters are caused by similar setting
errors of the above Windows system.
3. Abnormal images in browsers
1) The Flash Player has been installed, but the webpage still cannot
access the camera normally, so that no image is displayed
①If the website you are visiting needs to use a webcam, please try another
browser.
②Close all of the other applications that may use the webcam, and access
the webcam through only one application that needs to use the webcam.
Only one application can access the webcam at a time.
③Change Flash settings: Please log in to Adobe's official website to view
"Solving Web Camera Problems | Windows | Flash Player" for setting
method.
2) The video captured by the application is grainy or freezing
It is probably because the version of the H.264 decoding library of the video
applications such as the live broadcast applications is too old, or the video
application has not issued a command to obtain the H.264 compressed
video stream. You can contact the seller to obtain a new firmware upgrade.

19
VII. Other Abnormalities
The device name can be displayed in the "System Report" of the Mac system
(indicating that the camera is functioning normally) , but the device cannot be
recognized in some APPs, such as Facetime, Hangouts, etc. It is probably
because some applications cannot switch the external camera in the Mac
system.
VIII. Product Maintenance
①Before use, please ensure that the camera and its support are firmly fixed
in case of falling.
②Keep away from liquid, high temperature and strong magnetic field.
③Avoid touching the lens. Use a cotton swab or cleaning cloth to clean it. If
there is any dirt that is difficult to remove, use a non-abrasive lens cleaner
instead of corrosive solutions.
IX. After-sales Service and Customer Support
We are committed to providing customers with professional advice and
satisfactory services. For more information about after-sales and customer
support, please visit our official website: www.spedal.cc
V21.4.13
Table of contents
Other Spedal Webcam manuals
Popular Webcam manuals by other brands

TRENDnet
TRENDnet TV-IP672WI datasheet
Honeywell
Honeywell iPCAM-WI2 Quick installation guide
Cisco
Cisco WVC200 - Wireless-G PTZ Internet Camera Administration guide
Logitech
Logitech 960-000343 - Quickcam E 1000 Web Camera user guide
Microsoft
Microsoft YFC-00001 Technical data sheet

HP
HP Premium Autofocus Notebook Webcam user guide
