Reahard & Associates RealCam Installation instructions

a
RealCam™
Installation & Operation
Instructions

THANK YOU
For Choosing RealCam™
RealCam™setup involves two main steps; installation of the camera and
installation of the RealCam software. These steps should take you less
than 15 minutes.
Instruction can also be found online at go-reahard.com/realcam3-
instructions.
Need assistance? Contact Reahard & Associates at 1.866.732.4273.

1
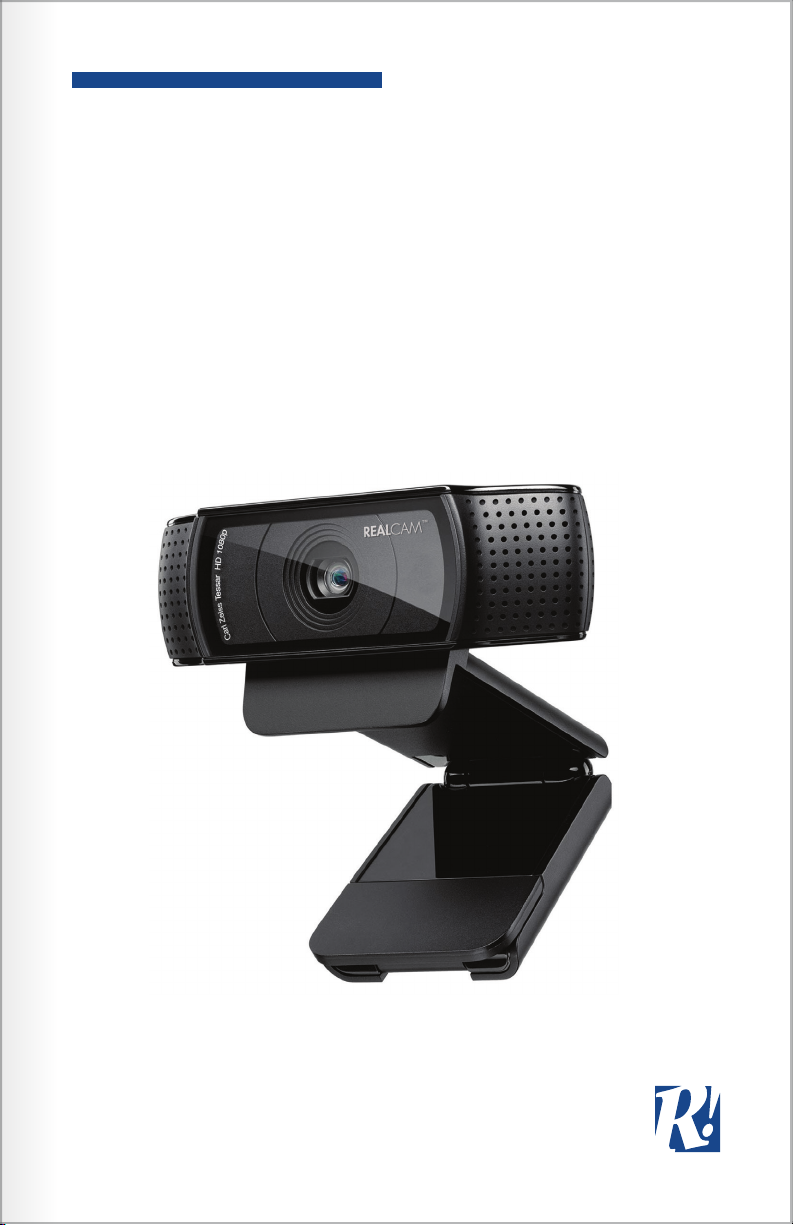
REALCAM INSTRUCTIONS
Contents
Camera Installation .......................................................................... 3
RealCam Software Installation............................................................ 4
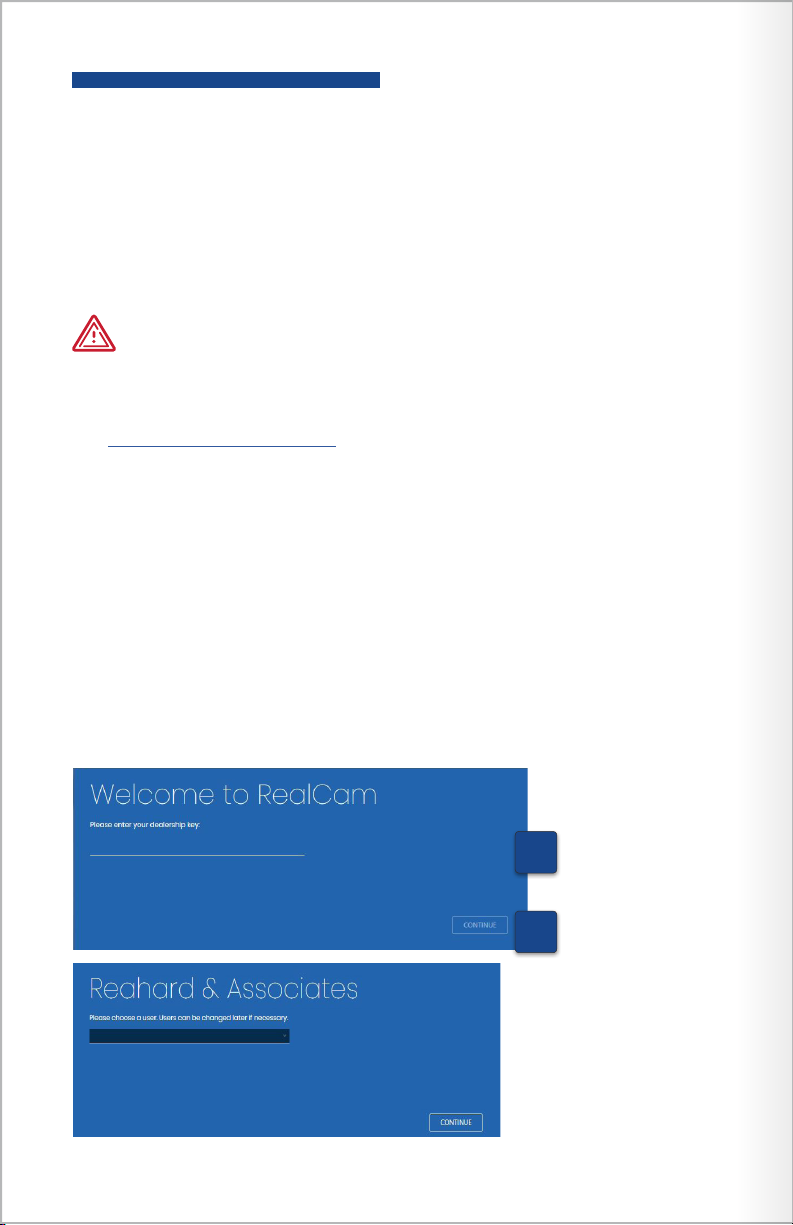
RealCam Settings ............................................................................. 5
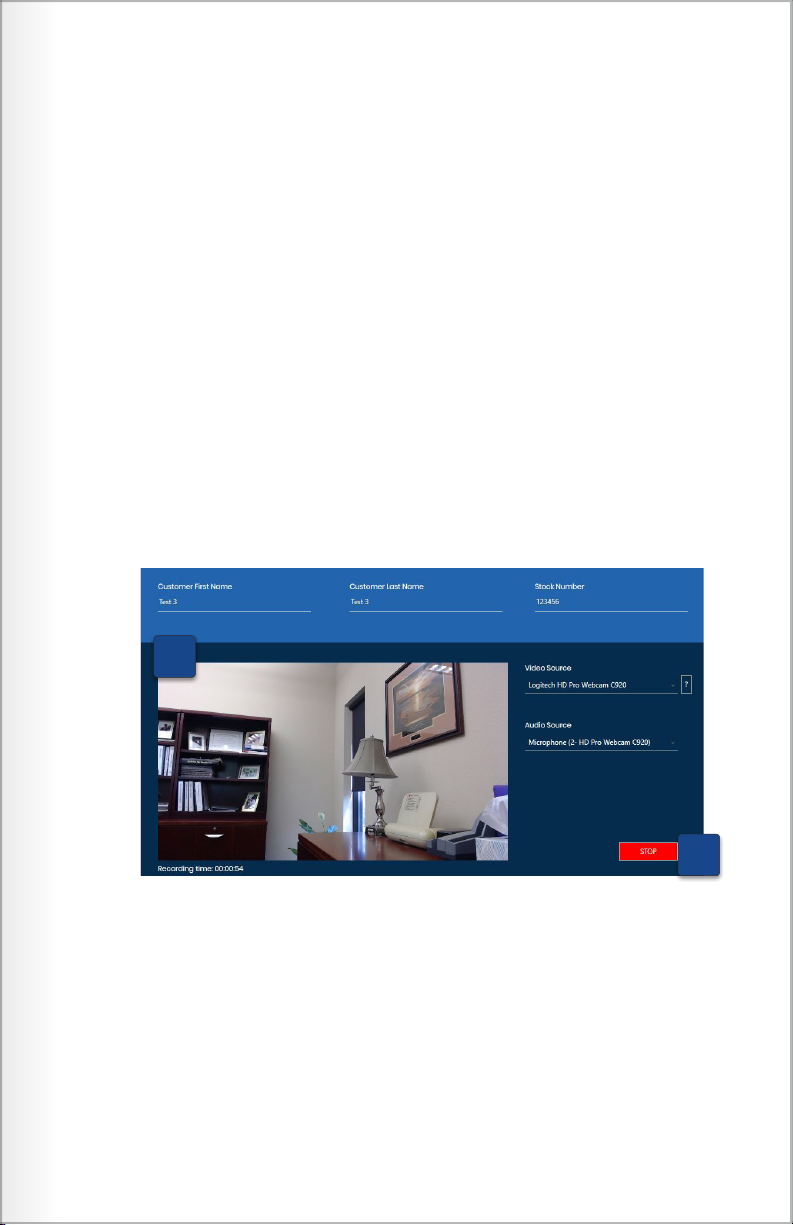
RealCam Operation .......................................................................... 6
Viewing Recorded Transactions .......................................................... 8
State by State Recording Laws............................................................ 9
System Requirements:
Recommended:
Operating System: Windows 10 (64 bit)
Processor: Intel Core i5, i7 or AMD FX with at least 3.0 GHz
Hard disk space: 20 GB
Display 1280-x 720
Required:
Memory: 4 GB
Graphics: DirectX 9 or later
Other software: .NET Framework 4.6.1 or higher;
Microsoft Visual VC++ 2010 SP1
1.0 Mbps internet connection
Available USB 2.0 port [3.0 preferred]
Windows compatible speakers
Minimum:
Operating System: Windows 7 or higher (64 bit)
Processor: Intel Pentium or AMD
Hard disk space: 10 GB
Display 800 x 600


3
STEP 1
Camera Installation
1. Determine mounting location for camera. Please follow the suggested
mounting specifications
• Camera should be mounted so as to provide a side view of both the
customer and the F&I manager. Do not mount the camera behind the
customer or F&I manager!
• Camera should be mounted near the ceiling for best viewing angle.
• Before mounting, ensure the USB cable will reach the computer.
• Camera should be mounted away from ventilation systems to prevent
any audio interference.
Mount the camera high, and at an angle which provides a side
view of both the customer and F&I manager.
2. Mount the camera at the location determined in step 1.
3. Safely run the camera wire to the computer and connect
the camera.

4
STEP 2
RealCam Software Installation
Make sure the camera has been installed before continuing with
step 2. Also make sure to be logged into your computer as the user
who will be using RealCam before software installation.
1. To download the RealCam installation software, go to
go-reahard.com/realcam3.
2. Open or run the downloaded file and follow any on-screen prompts to
install the RealCam software.
3. Please have Windows Defender or Firewall/Anti-virus programs
"allow" or "run" installation of RealCam 3.0.
4. Enter the Dealership Key that was emailed to you by
Reahard & Associates. If you were not provided registration key,
please call us at 1.866.732.4273.
5. Select ‘Continue’. Upon successful installation you will be prompted to
choose a user from the list.
Enter the registration
information that was
emailed to you.
5
4

5
STEP 3
RealCam Settings
1. To adjust record time, changes users, or get help, select the Settings
tool.
2. To change users, Verify your Dealership Key then select the
appropriate user from the User list.
3. The default record time is 45 minutes. You can adjust it to 30 or 60 in
the Global Settings.
4. Need further Help; click on the link or contact our office as instructed.
1
2
3
4

6
STEP 4
RealCam Operation
1. Open the RealCam software using the desktop shortcut.
2. Enter the ‘Customer Information’ and ‘Stock Number'. Be sure to
confirm your name is listed at the top "Hello, (your name)". If not you
will need to go to settings to select your name after verifying your
dealership.
3. For ‘Recording Information’, select "Logitech HD Pro Webcam C920”
or "LifeCam" from the ‘Video Source’ drop down list and “Microphone
HD Pro Webcam C920” or "LifeCam" from the ‘Audio Source’ drop
down list. Once selected this should default to these sources.
2
3
Ensure all settings are correct before recording your transaction.

7
4. Click the ‘Record’ button when you are ready.
If your video and audio settings are correct, the preview screen will
appear.
You can minimize as soon as you begin recording.
To maximize the screen, click on the RealCam icon in the tool bar.
5. Upon completion of the transaction, maximize the screen and stop
the recording by clicking the ’Stop’ button. The recording will be
automatically uploaded to a secure server for storage.
NOTE
Once the ‘Expected Length’ record time has expired, you will be prompted to
continue your recording. Choosing ‘Yes’ will continue your recording for 15
minutes. If you ignore the prompt, your recording will stop in 15 minutes.
Choosing ‘No’ will stop your recording immediately.
5
Ensure audio and video are being captured before
recording your transaction.
4

8
STEP 5
Viewing Recorded Transactions
1. To view recorded transactions go to go-reahard.com.
2. Log in to the website with the user name and password that was
emailed to you from Reahard & Associates. If you were not provided
login information, please call us at 1.866.732.4273.
3. Select ‘Videos’ from the blue menu bar. A list of your recorded
transactions will populate.
4. Click on the customer line of the transaction to begin playback.
Log in at go-reahard.com with your provided
user name and password
Just click on a transaction to view it.
2
4
3

9
STATE BY STATE
Recording Laws
States with One Party Consent Statutes
Alabama Indiana New Jersey South Carolina
Alaska Iowa New Mexico South Dakota
Arizona Kansas New York Tennessee
Arkansas Kentucky North Carolina Texas
Colorado Louisiana North Dakota Utah
Delaware Maine Ohio Virgina
D.C. Minnesota Oklahoma West Virginia
Georgia Mississippi Oregon Wisconsin
Hawaii Missouri Rhode Island Wyoming
Idaho Nebraska
Additional stipulations may apply. This content is provided for
informational purposes only, and it is recommended that you
have not less than annual consultations with your legal,
compliance or other applicable departments to assure current
statute requirements.

10
States with Multi-Party Consent Statutes
California
Two-party consent required (all parties to the conversation must
consent to its recording). A California court has held that the statute
applies to the use of hidden video cameras to record conversations,
as well.
Connecticut
Two-party consent required. Under Connecticut law, consent to the
recording should be in writing or recorded verbally (or a warning
that the discussion may be taped should be recorded).
Florida Two-party consent required. The safest course of action in Florida is
to secure the consent of all parties to the conversation.
Illinois
Two-party consent required. The safest course of action to ensure
compliance with Illinois law is to ensure that all parties to the
conversation have consented to the recording.
Maryland
Two-party consent required. Where notice is provided that a
conversation may be recorded, the actual consent by all parties to
such recording is not absolutely necessary.
Massachusetts All parties consent required.
Michigan All parties consent required.
Montana All parties consent required.
Nevada All parties consent required.
New Hampshire All parties consent required.
Pennsylvania All parties consent required.
Washington
Two-party consent required. This requirement may be satisfied
if “one party has announced to all other parties engaged in
the communication or conversation, in any reasonably effective
manner, that such communication or conversation is about to be
recorded or transmitted.” If the conversation is to be recorded, that
announcement must be recorded as well.
Vermont No specific statutes.
NOTE
If your state is a multi-party consent state, please contact us for a video notification
and consent form.
go-reahard.com

Reahard & Associates, Inc.
14203 May Road
Soddy Daisy, TN 37379
866.732.4273
Copyright © 2019
go-reahard.com
Other manuals for RealCam
1
Table of contents
Other Reahard & Associates Webcam manuals