Speedway 125-4F User manual

User's manua

Passed IS0900 I:2000 International Quality Series Verification
Passed China Compulsory Product (3C) Verification

Dear User:
Thanks very much for purchasing ISO-4F/125-4F motorcycle!
This manual gives you directions on how to operate ISO-4FI12S-4 F properly. how to drive
it
safely.
and how to service it. etc.
This product observes the Standards QIDH 001-2005.
For the sake of driving safely and comfortably. please read this manual carefully.
Enjoy your driving!
The specifications and instructions given in this manual are subject to change without prior notice.
2
3
Contents
I.Safe driving
I.Cautions
2.Rernolding thc Motorcycle
3.Clothing
4.Driving Metbods
II.Cornponents and Their Usage
I.Serial Number of the Motorcycle
2.M.in Switches
3.Handle lock
4.Meters
S.Ftlcl Valve
6..
Forand Near Light Switch
7.Start-up Button
S.Light Change Switch
9.Turning Light Switch
I a.Horn BULLon
III.Operating Instructions
I.Essentials of Starting-up and Cautions
2.Essentials of Driving on Slopes
3.Essentials of Starting to Move the Motorcycle and Cautions
4.Stopping Methods and Cautions

I V .Pre-driving Check-up, Adjustmentand Maintenance
I.Pre-driving Check-up
2.Chccking and Refilling Machine Oi I
3.Replacing Machine Oil
4.Checking and Refilling Fuel
5.Checking the Front Fork Turning Handlebar
6.Checking the Brakes ---- Any Length of Driving
7.Readjusting the Brakes
8.Chccking and Adjusting the Clutch Lever
9.Readjusting the Thr o
t t
lc Wire
I O.Readjusting the free travel distance oftbe Fuel Fuel Thr o
t
t
le Handlebar
l lAdjust ing the Idle Speed
I2.Cbecking and Readjusting the Driving Chain
I3.Checking the Front Light and the Rear LighliBraking Light
14.Chccking the Turning Lights and the Horn
15.Checking and Refilling tbe Electrolyte
I 6.Cleaning the Battery Terminals
I 7.Cbccking and Replacing the Fuse
I 8.Checking the Tyres
19.Cleaning the Filtering Net of the Air filter
20.Checking the Ignition Plug
I.Adhesivcncss ofihe Machine Oil of the engine and Its Selecting Reference
II.Common Troubles, Their Causes and Solutions
4

Appendix:
I.Regular Maintenance Checklist
2.Main Functions Parameter List
I.Safe driving
A pleasant mood and appropriate clothing arc key
elements to safe driving. For the sake of your
safety and the safety of others, please observe the
traffic regulations.
I.Cautions
o
Please wear a helmet.
o
Please observe the speed limit.
o
When the exhaust Sound-killing Tube gets
extremely hot, please park the motorcycle in a
place where no one wi ll touch it.
o
Please have the motorcycle regularly checked
and serviceed.
oThe maximum loading capacity of the rear cargo
rack is equal to or less than 10 kg.
2.Remolding tbe Motorcycle
Remolding the motorcycle will affect its structure
and functions. and therefore affect its performance,
increase its noise. and shorten its life span:
remolding the motorcycle is illegal. Please don't
remold the motorcycle.
3.Clothing
o
Please wear a helmet and fasten its band.
o
Please wear appropriate low-bee I shoes.
• Please hold both handlebars and never drive with
one hand.
o
Please don't wear wide sleeves or unbutton your
sleeves. because wide sleeves and unbuttoned
sleeves may be blown onto your handlebar and
endanger your driving. Therefore, please wear
narrow sleeves and button up your sleeves.
4.Driving Methods
o
Please relax yourself, especially your arms,
hands. waist, and feet. and keep an appropriate
sitting posture when driving, so that you will be
able
10
make appropriate reactions in case of
danger.
o
Your sitting posture when driving has a great
impact on your safety. When driving. please
always put your gravity
10
the center of the cushion.
If you sit towards the end of the motorcycle. the
pressure on the front tyres is reduced, rhe
handlebars may shake. and danger may be res ulrcd.
5
• When turning. slightly tilting your body inwards
makes it easy to turn:
If
you remain vertical when
turning, you may he in danger.
• Driving on a bumpy road, or a road with rubbles
and caves, or a road without pitch pavement. may
be dangerous, as the road surface is nOI
nat.
For
the sake of safety. iI'S advisab lc to slow down
t
he
motorcycle, hold the handlebars
t
ight
ly.
and relax
your shoulders. when driving on such a road.
Please don't make sudden braking or sudden turning.
• Sudden braking and sudden
turning
may turn
over the
motorcycle.
• Especially on rainy days and
wet floor.
sudden
braking and sudden
turning
may endanger
the
driver by turning over the motorcycle.
Special caution is required when driving
on
rainy
days.
• On rainy days and wet floor. u
iakcs
a longer
distance
10
SlOP the motorcycle when braking. so
please slow down before braking.
• Switch off the gear. make
i
n te rm
i
tt
ent braking.
and drive slowly when driving downhill.
6
r
J
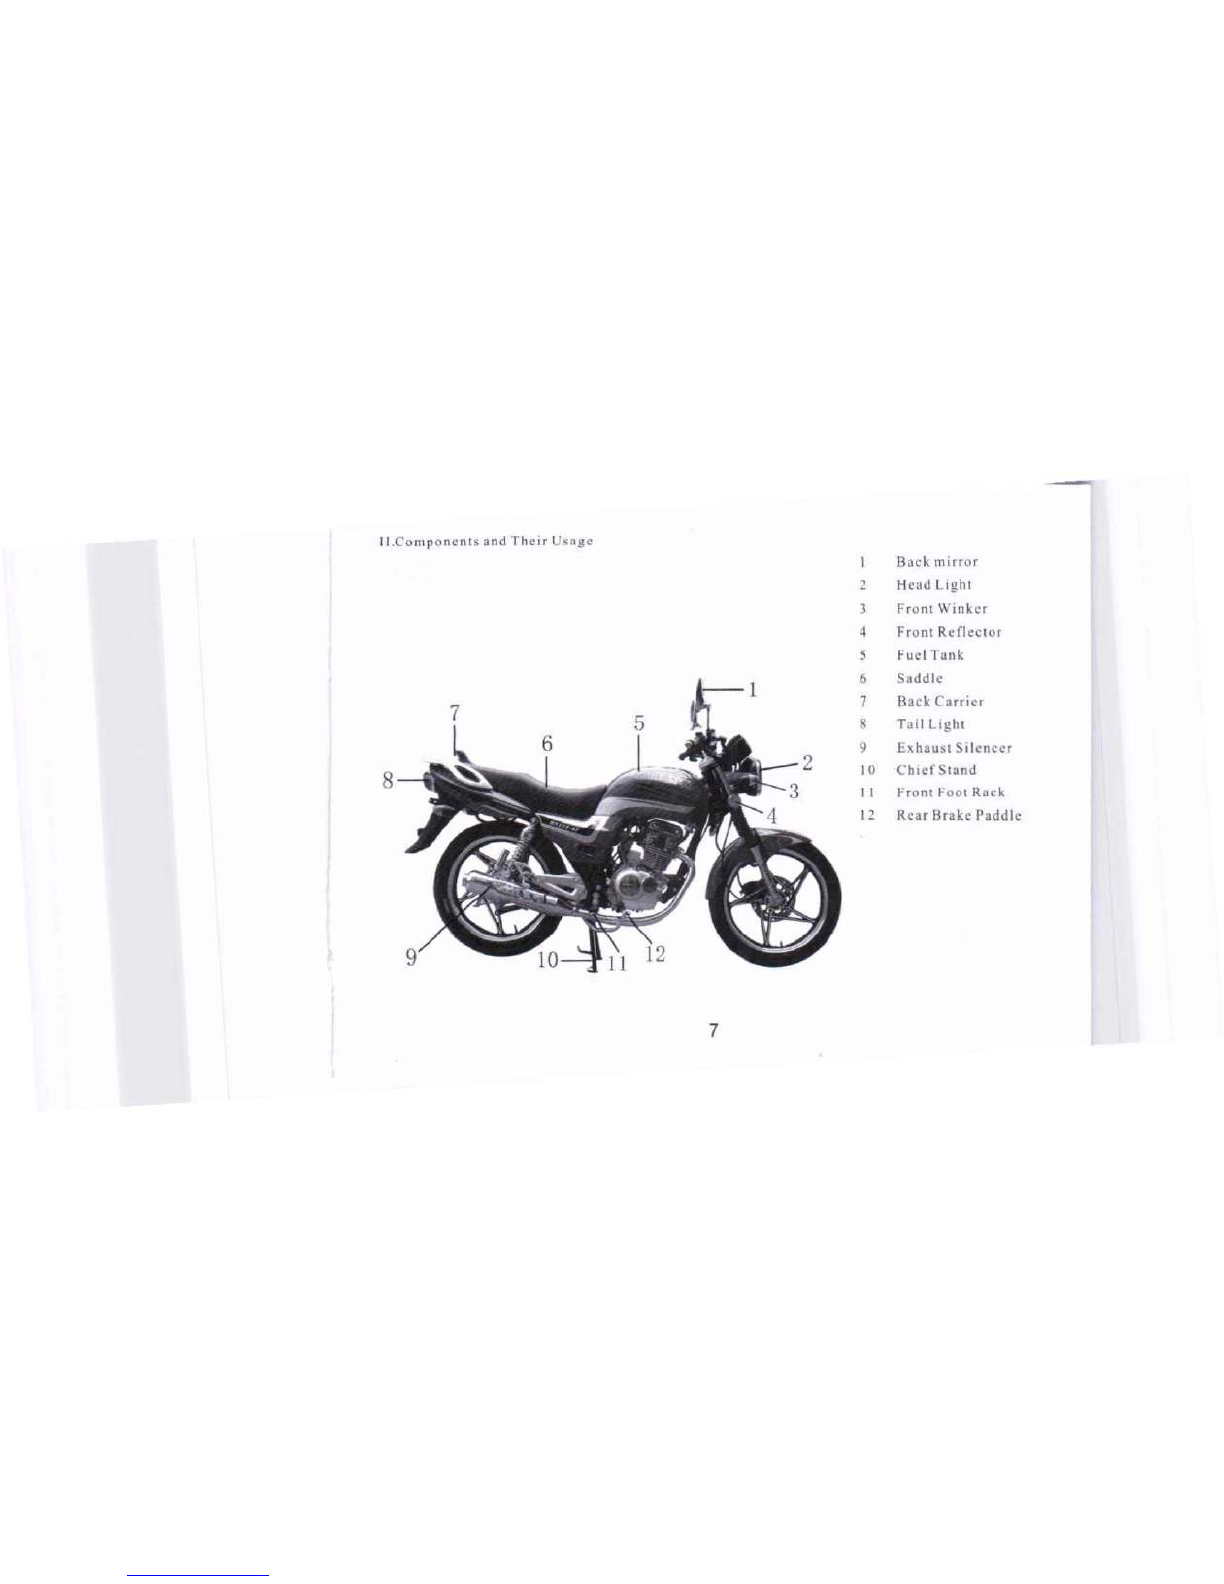
J.Components and Their Usage
Back mirror
2
Head Light
Front Winker
4
Front Reflector
5
Fuel Tank
6
Saddle
7
Back Carrier
8
Tail Light
9
Exhaust Silencer
810
Chief Stand
J
I
Front Foot Rack
12
Rear Brake Paddle
7

I.Serial Number
ofthe Mo iorc
yc le
TIi~
serial
nu
mb er of the frame
ic
engraved on the
right side of
(he
turning fork.
The serial number of the engine
is
engraved on the
left
of
the
The
nnme
plate of the motorcycle is engraved on
the front
of tile
turning fork.
Frame No: _
Engine No: _
2.Key Switch
The Key
Switch
is used
10
turn on or
off
the
power.
• When the Key Switch is in its
"OFF"
position.
the
power
IS
turned
off. and the engine won't start.
Then, tbe key can be taken out.
• When
the
Key
Switch is in its"ON" position. the
power is turned on. the engine starts, and this time
the
key
can't be taken our
Caution:
You should never turn off the Key Switch in
the course or driving. Turning
t
he Kcy Switch
to its "OFF" position when driving will
suddenly turn offlbe power and bring about
unexpected dangers. Tberefore, never turn
off the Key Switch until the motorcycle is
completely stopped.
I. Handle lock
In order to guard against
theft,
125-4F
IS
with
a handletcck o
u
the steering
stem
cornp.
Locking up operation is as
follows:
• Turn the steering handle 10 left fully
• Insert the main key into
the
handle lock
• Turn
the
key clockwise to lock
• Turn
i
he key counter-clockwise to unlock
Caution:
• In
order to guard against theft,
please
lock
the handle lock when park the motorcycle
• After lock up. please steer the handle to
iosure
whether
lock or not
• After
lock up, make sure to
take
our
the key
and bring it with you when leave the motorcycle
8
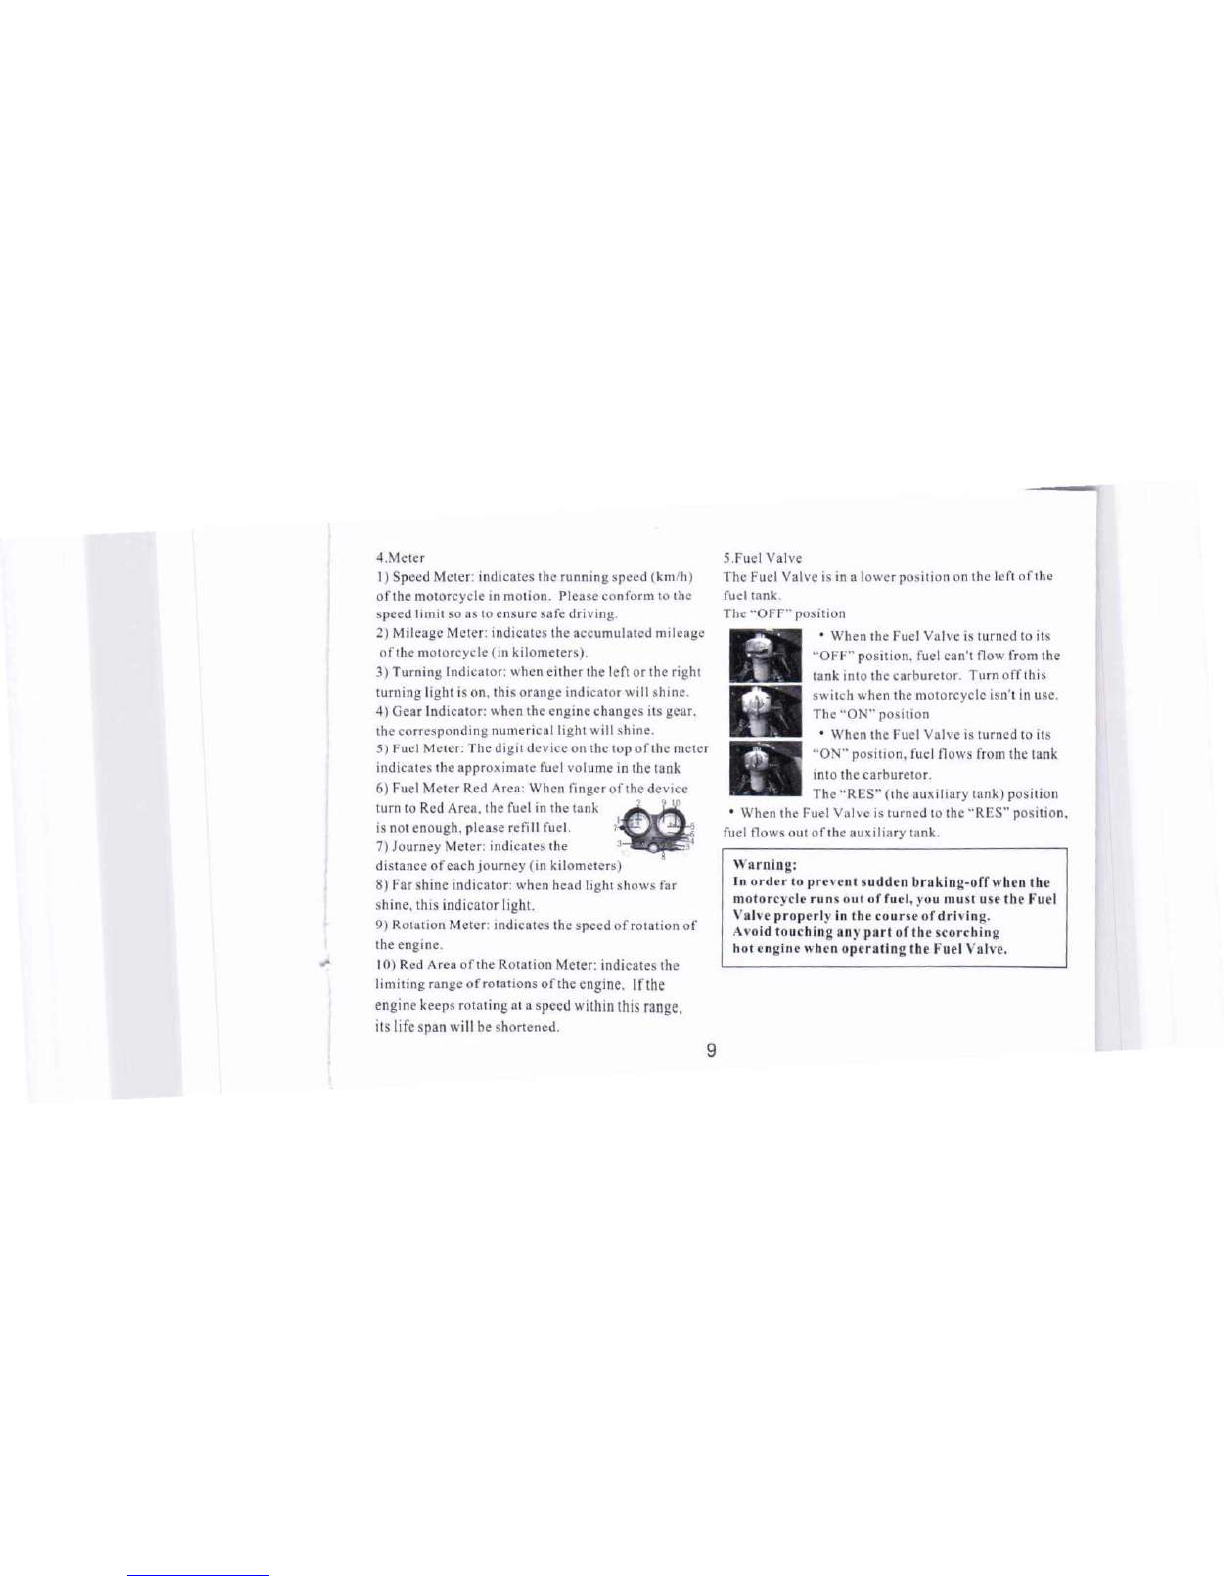
4.Meter
I)
Speed Meter: indicates the running speed (kill/h)
of the motorcycle in motion. Please conform to
the
speed timit so as to ensure safe driving.
2)
Mileage Meier: indicates the accumulated mileage
of
the motorcycle (in kilometers).
3)
Turning Indicator: when either
rhe
left or
the
right
turning light is on, this orange indicator will shine.
4) Gear Indicator: when the engine changes its gear.
the corresponding numerical light will shine.
5)
Fuel Meter: The digit device on the top of the meter
indicates the approximate fuel volume in the tank
6)
Fuel Meter Red Area: When finger of the device
turn to Red Area, the fuel in the tank ~tO
is
not
enough, please refiU fuel.
I. \
7)
Journey Meter: indicates the
3 3
distance ofeachjourncy (in kilometers)
8)
Far shine indicator: when head light shows far
shine, this indicator light.
9)
Rotation Meter: indicates the speed of rotation of
the engine.
J
0) Red Area of the Rotation Meter: indicates the
limiting range of rotations of the engine. lf the
engine keeps rotating at
It
speed within
tbis range,
its life span will be shortened.
5.Fuel Valve
The Fuel Valve is in a lower position on the left of the
fuel
tank.
The "OFF" position
• When the Fuel Valve is
turned (a
its
"OFF"
position,
fuel can't flow from the
tank into the carburetor. Turn off this
switch when the motorcycle isn't in use.
The "ON" position
• When the Fuel Valve is
turned
to its
"ON" position, fuel flows from the tank
into the carburetor.
The "RES" (the auxiliary tank) position
• When the Fuel Valve is turned
(0
the "RES" position.
fuel flows out of the auxiliary tank.
Warning:
In order to prevent sudden braking-off when
the
motorcycle runs out offucl, you must use tbe Fuel
Valve properly in the course of driving.
Avoid touching any part of the scorching
hot engine when operating the Fuel Valve.
9
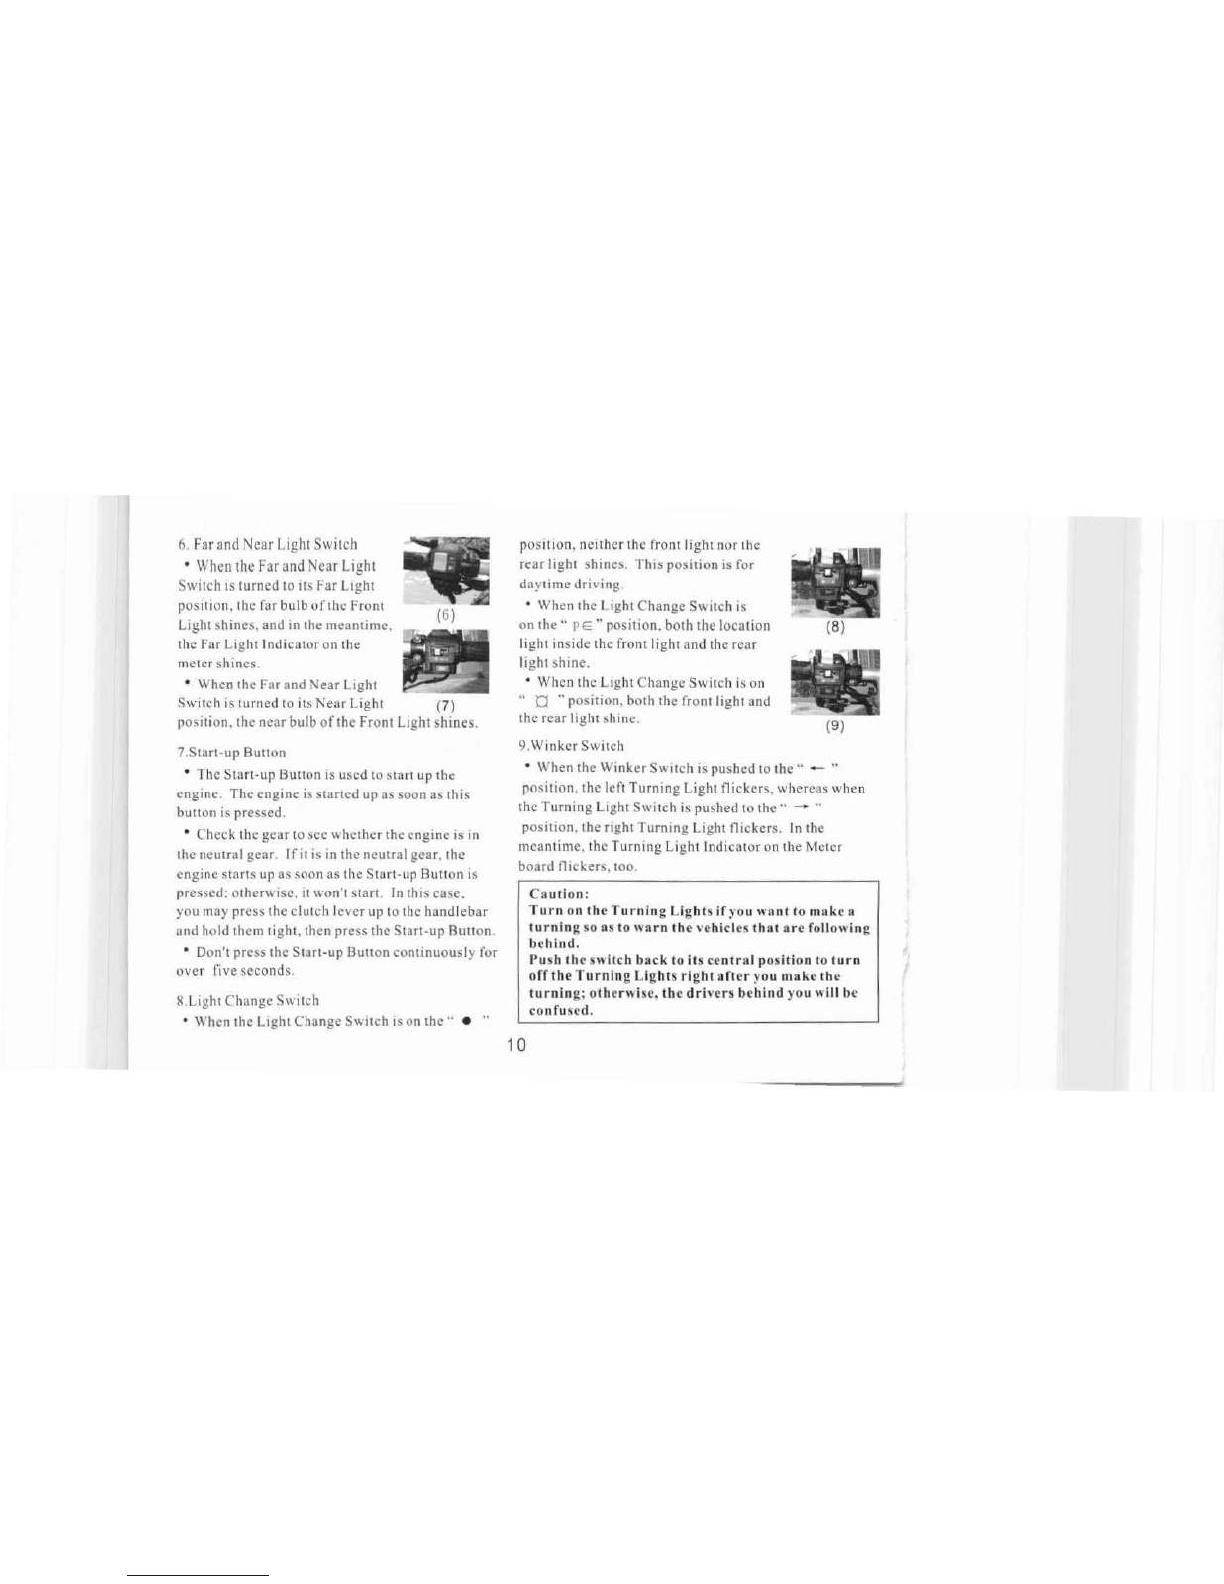
6. Far and Neal' Light Switch
o
When tile Far and Ncar Light
Switch is turned to its Far Light
position, the far bulb ofthe Front
Light shines, and in the meantime.
the Far Light Indicator on the
meter
shines.
o'When the Far and Near Light
Switch is turned to its Near Light (7)
position. the near bulb of the Front Light shines.
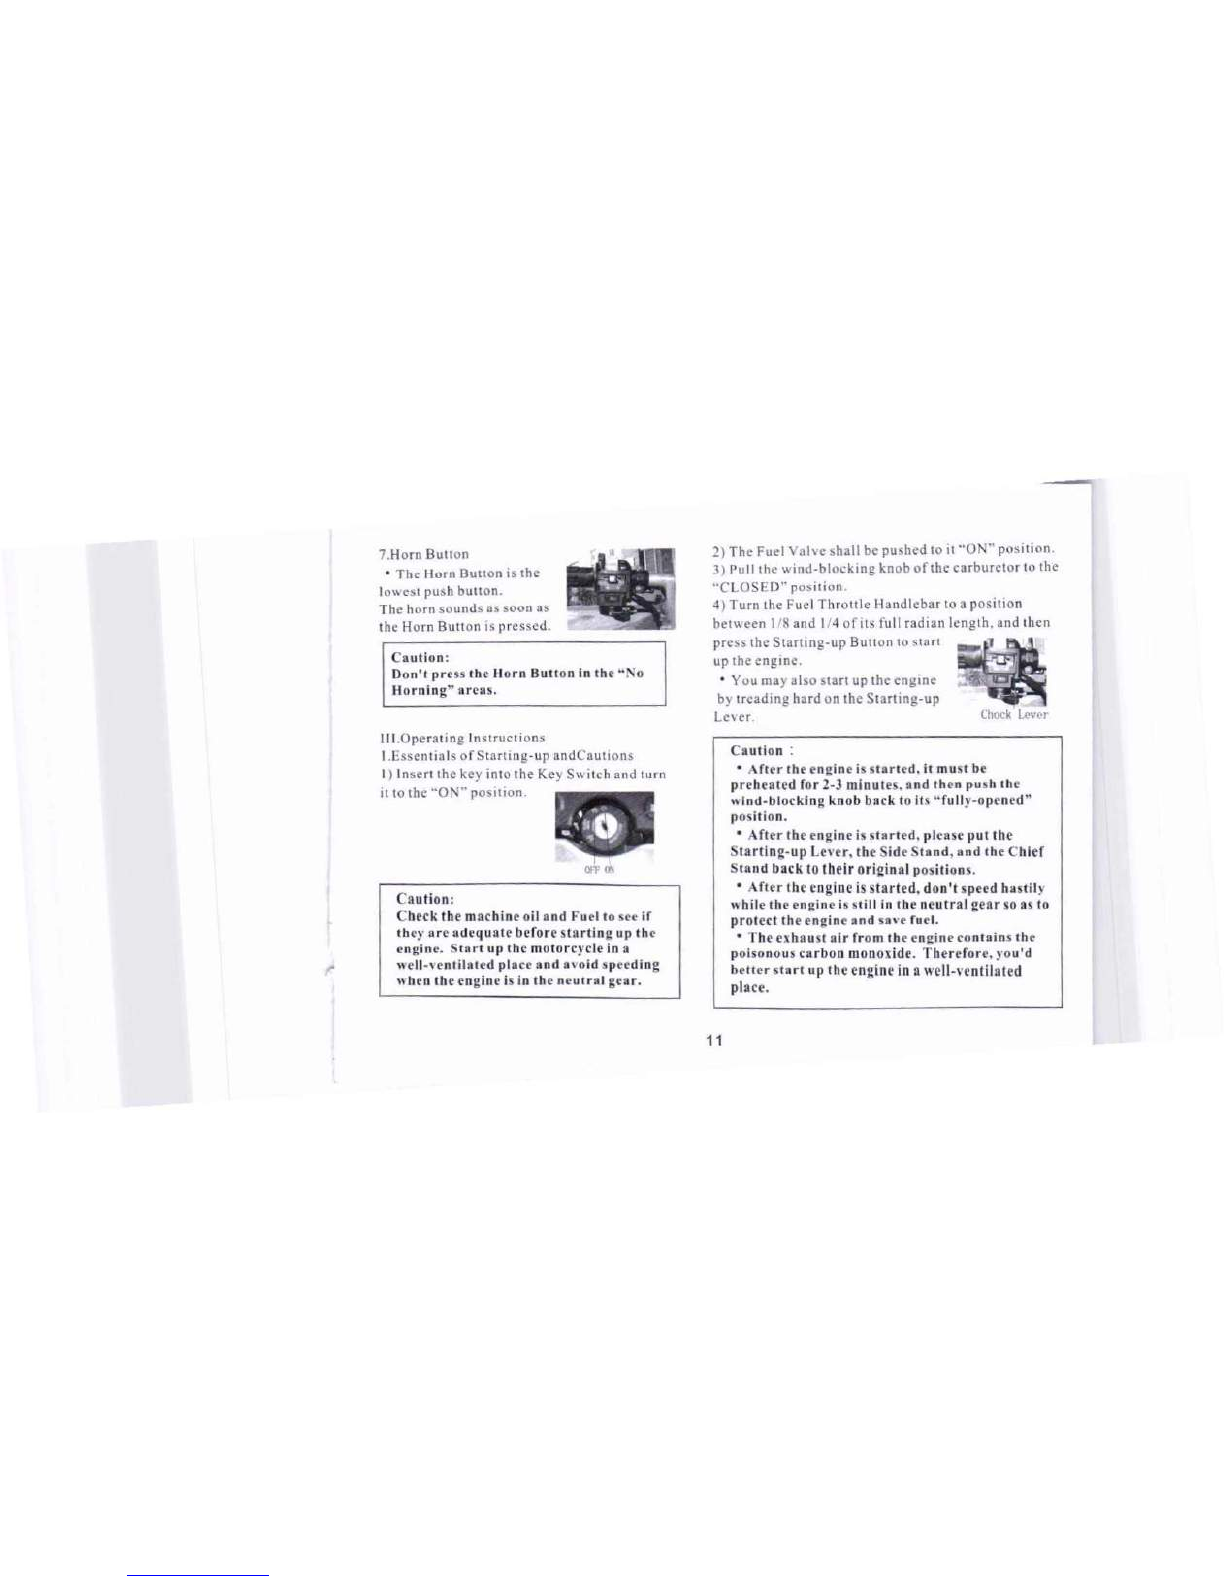
7.start-up Button
• The Start-up Buuon is used to stan up the
engine. The engine is started up as soon as this
button is pressed.
o
Check the gear to see whether the engine is in
the neutral gear. Ifit is in the neutral gear, the
engine starts up as soon as the Start-up Button is
pressed: otherwise.
it
won't
sian.
In this case,
you may press the clutch lever up to the handlebar
and hold them tight. then press the Start-lip Button.
o
Don't press the Start-up Button continuously for
over five seconds.
S.Light Change Switch
oWhen the Light Change Switch is on the" • "
position, neither the front light nor the
rear light shines. This position is for
daytime driving.
• When the Light Change Switch is
on the" p EO" position. both the location
light inside the front light and the rear
light shine.
• When the Light Change Switch is on
..0 ..
position, both the front light and
the rear light shine.
(8)
(9)
9.Winker Switch
• When the Winker Switch is pushed to the" - "
position. the left Turning Light nickers. whereas when
the Turning Light Switch is pushed to ihc " - ..
position. the right Turning Light nickers. In the
meantime. thc Turning Light Indicator on the Meter
board nickers, too.
Caution:
Turn on the Turning LIghts if you want to make a
turning so
8S
to warn the vehicles that are following
behind.
Push the switch back to its central position to turn
off tile TurnIng Lights right after you make tbe
turning; otherwise, the drivers behind you will be
confused.
10
7.Horn Dutton
• The Horn Button is the
lowest push button.
The born sounds as soon as
the Horn Button is pressed.
Caution:
Don't press the Horn
Button
in the"
0
Horning"
areas.
Il l.Operat ing Instructions
I.Essentials of Starling-up andCnutions
I) Insert the key into the Key Switch and turn
il to the "0 ., position.
Caution:
Check the machine oil and Fuel to see
if
tbey are adequate before starting up tbe
engine. St a r
t
up the mororcvcle in a
well-ventilated place and a,';'id speeding
when the engine is in the neutral gear.
2) The Fuel Valve shall be pushed to it "ON" position.
3) Pull the wind-blocking knob of the carburetor to the
"CLOSED" position.
4) Turn the Fuel Throttle Handlebar to
a
position
between
118
and
114
of its full radian length, and then
press the Starting-up Button to start 1
up the engine.
• You may also stan up the engine
by treading hard on the Starting-up
Lever. ChockLever
Caution
• After the engine is started,
it
must be
preheated for 2-3 minutes. and then push the
wind-blocking knob back to lIs "fully-opened~
posilion.
• After tbe engine is started, please put the
Starting-up Lever, the Side Stand, and the Chief
Stand back to their original positions.
• After the engine is started, don'! speed hastily
while the engine is still in the neutral gear so as 10
protect the engine and save fuel.
• The exhaust air from the engine contains the
poisonous carbon monoxide. Therefore, you'd
better start up the engine in a well-ventilated
place.
11

2.E.scntials
of
Driving on Slopes
I)
Driving uphill
• When driving up
a
gentle slope. you can
drive ill a high-speed gear; But on a steep slope
or when the motorcycle has a heavy load of
we iglu,
it
needs rath cr high driving power
10
help it climb up the steep slope: therefore.
it
should in the third. the second. or the first gear.
Before the engine gels into difficulty. you should
change to a lower gear so as
10
make the
motorcycle run smoothly.
2} Driving downhill
• When driving down a gentle slope, turn the
Fuel Throttle Handlebar to its "fully-Closed"
position (don't press the Clutch Lever). and
use the front brake or the rear brake whenever
necessary; And on a steep slope or when the
motorcycle has a heavy load of weigh
I,
you
should cbange to the third. the second. or the
firsl gcar accordingly. and also use the brakes
propcrly.
Cautions:
. When braking, use both the front brake
and the rear brake. otherwise,
t
he
motorcycle may be in danger.
3) Operation
of
the Gear Box
• The gear box
has five
gears and can be easily
operated
by
treading on the left foot paddle.
When
driving on a road with heavy tr
affic,
driving uphill or
making a turn. you should change
10
a lower gear
before rhe engine gets in difficulty. When driving
downhill, you should also use a lower gear so as to
stay at a safe speed and avoid braking too often.
• When changing the gear. you should press the
Clutch Lever down
10
the Handlebar. and tread on the
left foot paddle to adjust the gear. and then loosen your
grip of the Clutch Lever gradually .
• Don't tread forcefully on the Gear Paddle in order
nor ro damage the Gear System.
• In the course of driving, ifyou want
10
overtake the
vehicle in front. you may change
10
a higher gear and
speed up. For the speed range. please refer to the
following chart.
• I
f
the motorcyc le is running at a high speed. you
shouldn't make further speeding so as
10
keep
t
he
engine from rotating too fast. which affects the life
span
of the
engine .
,'l!;;J;o~;
the foot toe
12
,'l!;
r.i
i~i:
the foot heal

Possible Speed Range When Changing to a
Lower Gear
51hGear-
41h
Gear
uetcw 70 km/hr
4th Gear
3th Gear
Below 60 km/hr
31hGear-
21h
Gcur Below
SO
kmlhr
2Ih,G.'r -
l th
Gear
Belu\\
2Skm/hr
3,Esscntials of Starting to Move the Motorcycle
and Cautions
• Before driving. you should check both the
front brake and the rear brake to ensure that they
are working well, and check the tyres to make
sure that they have got adequate air pressure.
• Hold the Clutch Lever tight. and
I!-
then tread on the left g earpa ddle to .
change into the first gear.
• Turn the Fuel Throttle Handlebar
slowly and in the meantime let go of
the Clutch Lever gradually, and the
motorcycle will
start
to move.
Caution:
After-
the
cngrne
is started
up
and
before
the motorcycle moves, you shuuld
never
turn the
Fuel Throttle Handlebar to
increase
the
rotation
speed.
• Before you move the motorcycle, you should turn
on the Turning Lights, make sure that there is no
vehicle coming up from behind. and then you may
start to move,
I)
Turn the Fuel Throttle Handlebar to regulate the
driving speed.
• Speeding up is to increase the speed of the
motorcycle. When driving on a slope, turn the Fuel
Throttle Handlebar slowly to regulate the rotation
speed of the engine and the speed of the motorcycle.
and change the gear accordingly.
• Slowing down is to reduce tbe speed oftbe
motorcycle. You may let go of the Fuel Throttle
Handlebar quickly to reduce the speed.
2) In order to maintain the performance and life span
of the new motorcycle, you should drive within a
certain speed limit, so as to make the parts of the
engine to grind in well.
• For a new motorcycle. within the first 1000
kilometers of mileage. the maximum
speed
should
be
no more than
SO kru/h:
• For a new motorcycle, within the first 1000
kilometers of mileage, you shouldn't make hasty
speeding when you start to move the motorcycle:
And you should keep the engine from rotating at
a
high speed continuously for a long time, Otherwise,
the life span of the engine will be shortened,
13

~
machine oil and clean the filter gauze.
• After replacing the engine or after a major
repair. you should also drive within a speed limit.
• The engine mUSI be preheated unti l ir rotates
steadily. and then you may start to move the
motorcycle. This helps to prolong the life span
ofthe
engine.
3) When braking you should brake both the front
• For a new motorcycle, after
it
runs for the first 300 kilometers
of mileage, you should replace its
and the rcar wheels.
• After releasing the Fuel Throt
t
le
Handlebar. you should brake the front
and the rear wheels simultaneously.
• You should press the brakes slowly
and gently in the beginning, and then
forcefully to stop the motorcycle. This
IS
the best way of braking.
Caution:
Braking only one wbeel may endanger the
motorcycle, making it tilt and fall. The
running speed orrue mororcyc!e must co nf'orm
to thcgcar
of the
engine.
Wh en
t
h e
motorcycle
runs at a higb speed, you should nOI chauge
it
into a lower gear or make a sudden braking.
4.Stopping Methods and Cautions
I) Wben approaching the place where you want to
stop the motorcycle,
• you should turn on the Turning Lights ahead of
time to warn the vehicles that are following behind,
and then slow up and pull off
at
the roadside.
• Turn off the Fuel Throttle Handlebar (the Fuel-
saving Handlebar) when stopping the motorcycle. and
in the meantime brake both the front and the rear
whee ls immediately.
• When braking, the Braking Light will shine to warn
the vehicles that arc following behind.
2) Safe Slopping
• Turn the Key Switch to its "OFF" position, the
engine will be turned off.
Caution:
You should never turn offthc Key Switch in the
course of dr iving. If yuu do. the power is suddenly
lurned offand unexpected dangers lind accidents
may be resulted in. Therefore, you can only turn
off the Key Switch after the motorcycle becomes
completely motionless.
14
3) After stopping the motorcycle. you may get
off from tbe left side, and push tbe motorcycle
to a flat ground and put up its Chief Stand to
park the motorcycle.
Don't park the motorcycle in a place to obstruct
the traffic.
• If
you park the motorcycle in a place that is
not flat, the motorcycle may fall.
• Hold the Turning Handlebar with your left
hand and the lower part of the back side of the
seat with your right hand.
• Use your right foot to put up the CbiefStand
steadily to park the motorcycle.
4) After parking the motorcycle, you should
lock up the Turning Handlebar and take out the
key so as to prevent theft.
IV.Pre-driving Check-up, Adjustment and
Maintenance
I.Pre-dri ving Check-up
• Form the habit of checking up the motorcycle
before driving.
• For the sake of safety, and in order to prevent
dangers and traffic accidents, you should make
pre-driving check-up. If you find anything wrong.
please take the motorcycle to tbe distributor or
maintenance center for service.
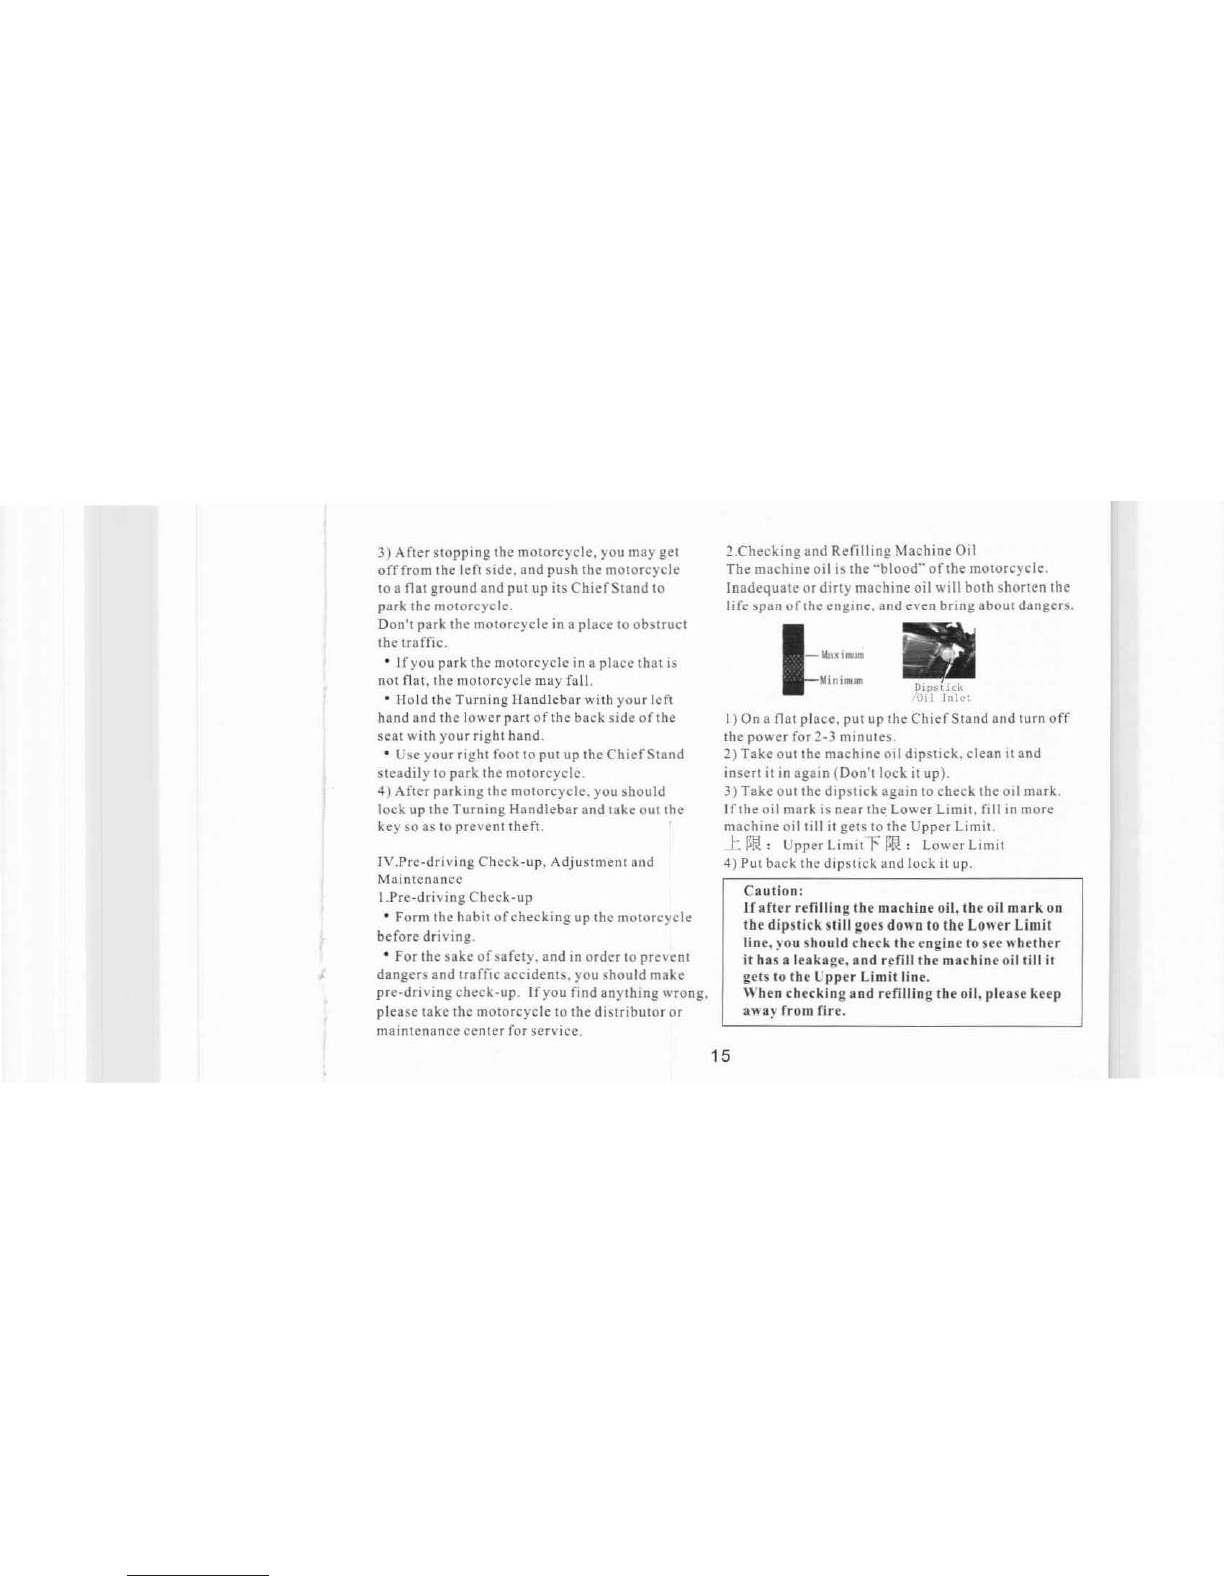
2.Cbecking and Refilling Machine Oil
Tbe machine oil is tbe "blood" of the motorcycle.
Inadequate or dirty machine oil will both shorten the
life span
of rhe
engine. and even bring about dangers.
1-lIsx;.....
I-Minimum
I) On a flat place, put up the Chief Stand and turn off
the power for 2-3 minutes.
2) Take out the machine oil dipstick. clean it and
insert
it
in again (Don't lock it up).
3) Take out the dipstick again to check the oil mark.
If the oil mark is near the Lower Limit. fill in more
machine oil till it gets to the Upper Limit.
I:.
~Il!:
Upper Limit
"F
JlN:
Lower Limit
4) Put back the dipstick and lock it up.
Caution:
If
after refilling the machine oil, the oil mark on
the dipstick still goes down to the Lower Limit
line, you should cbeck the engine to see whether
it bas a leakage. and refi] l the machine oil till it
gets to the Upper Limit line.
When checking and refilling the oil, please keep
away from fire.
15

3.Rcplacing Machine Oil
• l
ntcrva l of replacing machine oil: For a new
motorcycle or after
a
major maintenance, the
Iirst
replacement should be made after the first
300 kilometers of mileage: subse qucnt
ly
a new
replacement should be made after each 1000
kilometers of mileage.
• lf
the motorcycle often runs
on a macadam road or in
a
cold
area,
you should shorten the
interval of replacing the
machine oil.
• You should replace the machine oil when rhe
engine is preheated. Take out the dipstick and
unscrew the oil
outlet
boll to lei
out
the used oil.
• Screw up
the outlet
bolt again. and fill in fine
mac hinc
oil
u nt
i
l
it
gets
10
the Upper Limit line
of
the dipstick. The volume of the machine oil
is one liter.
• Lock up the dipstick. Start the engine and
check the oil outlet bolt to make sure il doesn't
"leak.
Point for atrention when refilling the machine oil:
• You should use good quallry machine oil.
• Don't let foreign substances or dust
get
in when
refilling the machine oil.
• Mixing up different brands of oil may affect the
performance of the engine.
• The total volume or the macbine oil tank is
1.0
liter. The machine oil in the tank should not go
beyond
the
inlet. When refilling machine
oil,
you
should immediately clean the oil on the lid and
aruund
the inlet.
• After refilling the machine oil. you should screw
up the dipstick to lock it.
4. Checking and Refilling Fuel
Check
rhe
fuel 10 see
ifthere
is enough fuel
in
the lank
for motorcycle to get io the dest inat ion,
• When
the
machine oil runs OUI, you
may
turn the
Fuel Valve to tbe "R" posuion to use the fuel in the
auxiliary tank. The reserved fuel in the Fuel cap
auxiliary tank is 2lilers. You should •
refill the lead less fuel with an octane ,
value of90 #or above immediately. ' ." .
• Please insert the key iruo the fuel tank lock and turn
clockwise. thenopen the fuel lank lid 10 add oil. After
refilling, please put the lid back and press il down for
tightening.
16
Caulion:
o
Vou must turn off the power when
ret1lling the fuel and keep away from fire.
o
You must put the fuel tank lid back and
tighten it up after refilling.
5.
Checking the Front Fork Turning Handlebar
For damage:
o
Check the Front Fork with your eyes to
see
if
it is damaged.
o
Turn the Turning Handlebars to see if the
Front Fork is curved and produces noise.
Lock-up of the Front Fork Axle:
o
Use a spanner or other tools to check the
Front Fork Axle to see whether its screw nuts
are tight.
o
Turn the Turning Handlebars
10
see
if
they
are tight and in balance.
• Check
the Turning Handlebars to see
whether they are pulled tight by the braking
cable.
o
ffyou find anything wrong, please take ihe
motorcycle to the distributor or special repair
shop for
maintenance
or
adjustment.
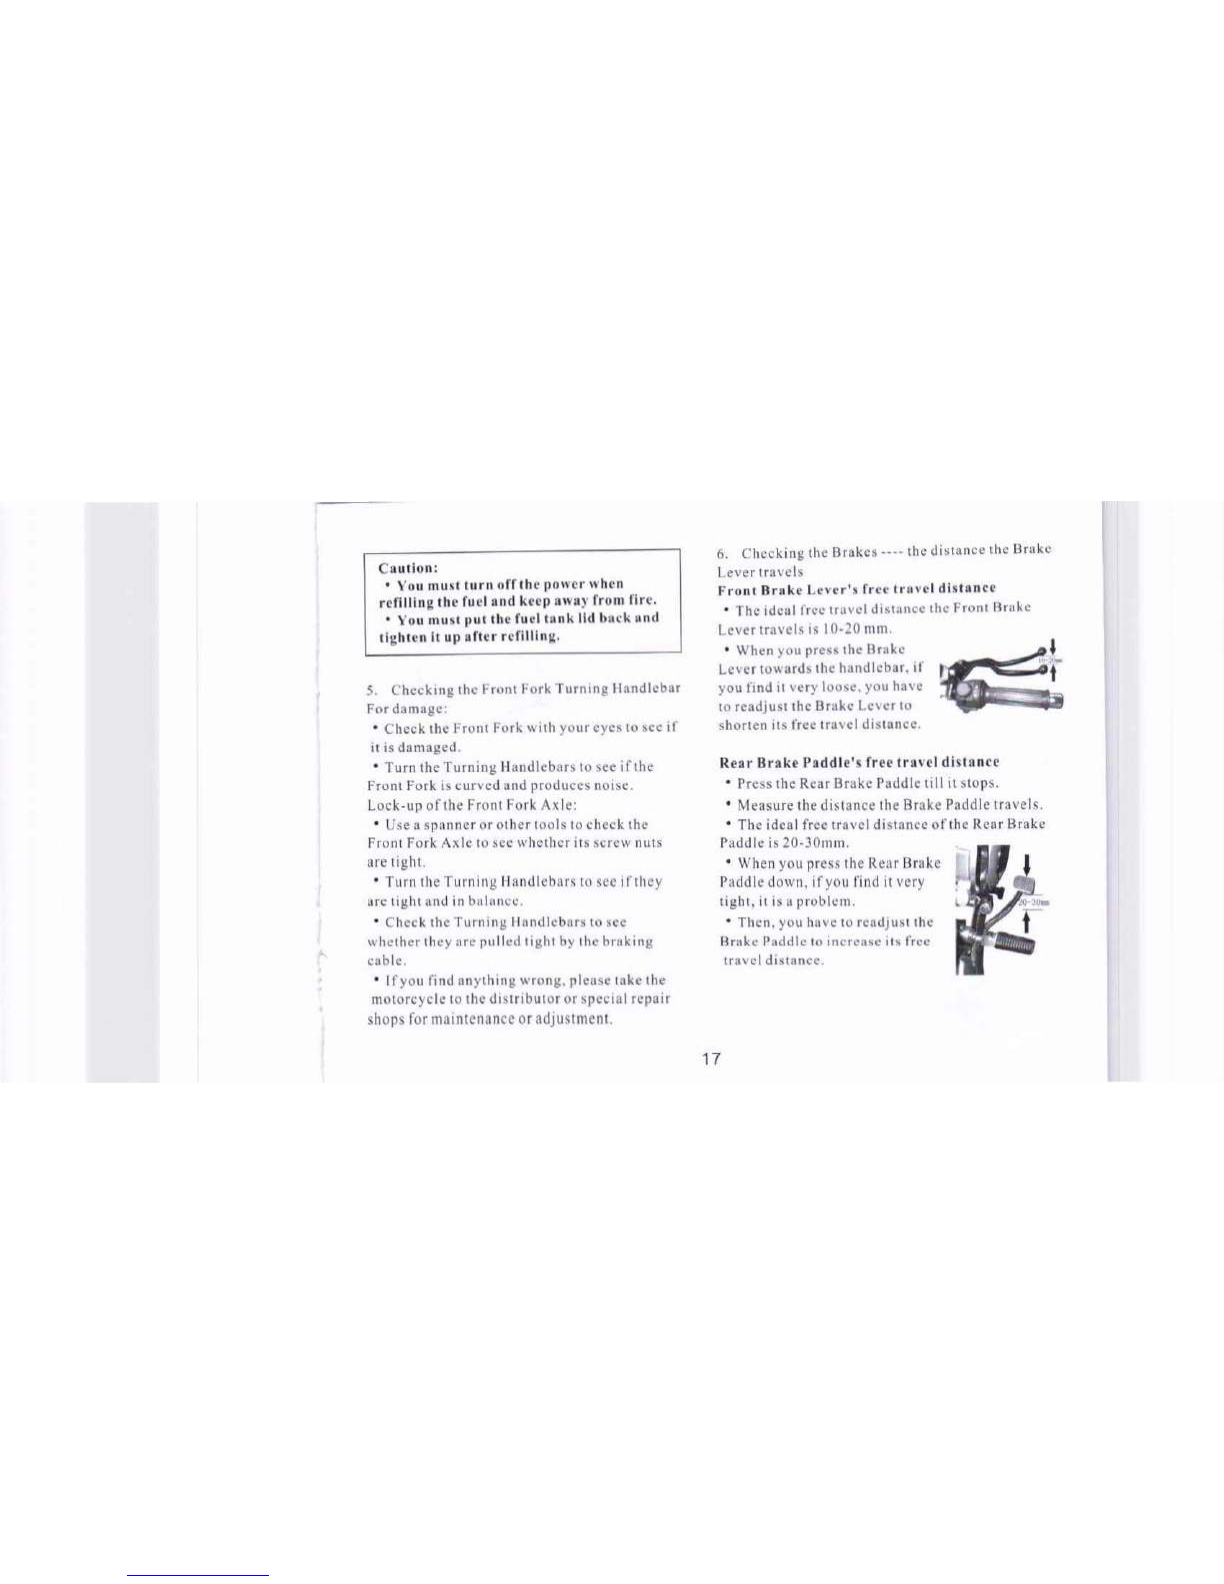
6. Checking the Brakes ---- the distance the Brake
Lever travels
Front Brake Lever's free
t
r ave l distance
o
The ideal free travel distance the Front Brake
Lever travels is
10-20
mm.
o
When you press the Brake
Lever towards the handlebar. if
you find it very loose. you have
to readjust the Brake Lever to
shorten its free travel distance.
Rear
Brake Paddle's free travel distance
o
Press the Rear Brake Paddle till it stops.
o
Measure the distance the Brake Paddle travels.
o
The ideal free travel distance
of
the Rear Brake
Paddle is 20-30mtn.
o
When
YOLI
press the Rear Brake
Paddledown,
if
you
find
it very
tight. it is
a
problem .
• Then, you have to readjust the
Brake Paddle to increase its free
travel distance.
17
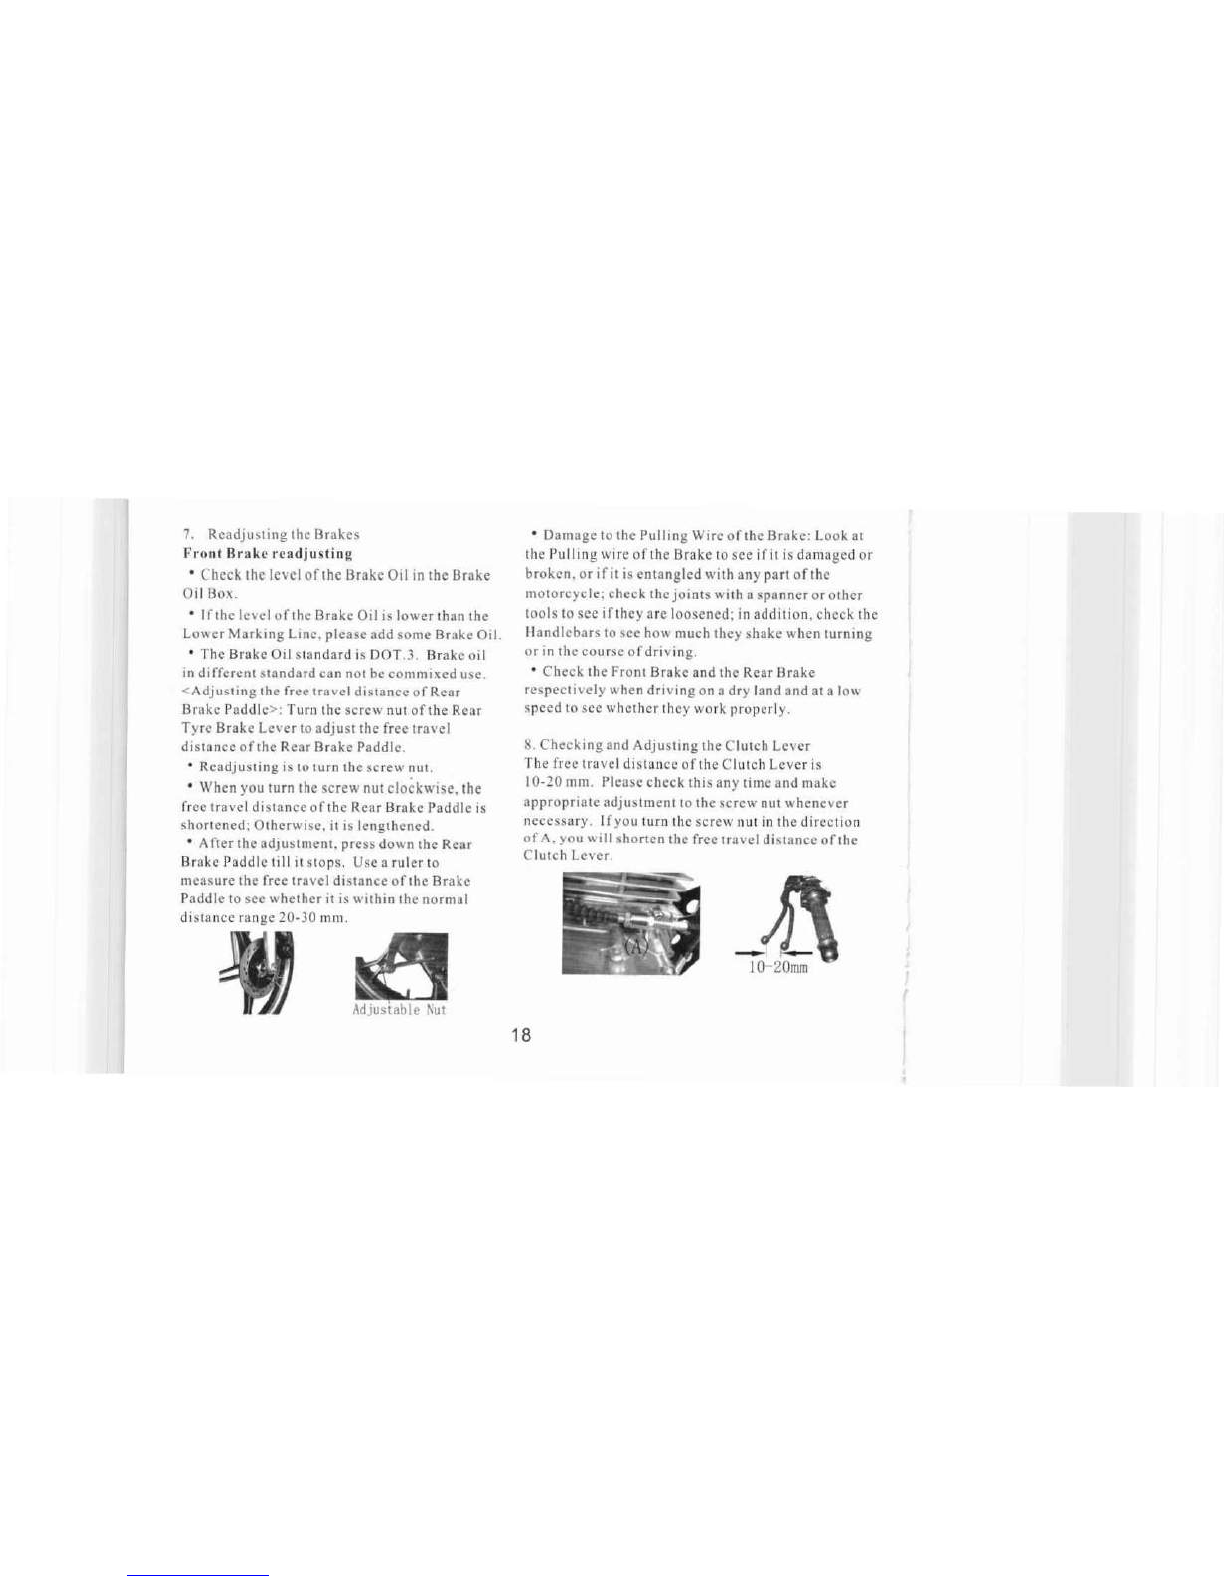
7. Readjusting ihe Brakes
Front Brake readjusting
• Check the level of the Brake Oil in the Brake
Oil Box.
• tfthe level of the Brake Oil is lower than the
Lower Marking Line. please add some Brake Oil.
• The Brake Oil standard is DOT.3. Brake oil
in different standard can not be commixed use.
<Adjusting the free travel distance of Rear
Brake Paddle>: Turn tbe screw nut ofthe Rear
Tyre Brake Lever to adjust the free travel
distance of the Rear Brake Paddle.
• Readjusting is to turn the screw nut.
• When you turn the screw nut clockwise. the
free travel distance of the Rear Brake Paddle is
shortened: Otherwise. it is lengthened.
• A fter the adjustment. press down the Rear
Brake Paddle till it stops. Use a ruler to
measure the free travel distance of the Brake
Paddle to see whether it is within the normal
distance range 20-30 mrn.
1M
• Damage
to
the Pulling Wire of the Brake: Look at
the Pulling wire of the Brake to see ifit is damaged or
broken. or
if
it
is entangled with any part ofthc
motorcycle; check the joints with a spanner or other
tools 10 see if they are loosened; in addition, check the
Handlebars to see how much they shake when turning
or in the course of driving.
• Check the Front Brake and the Rear Brake
respectively when driving on a dry land and at a low
speed 10 see whether they work properly.
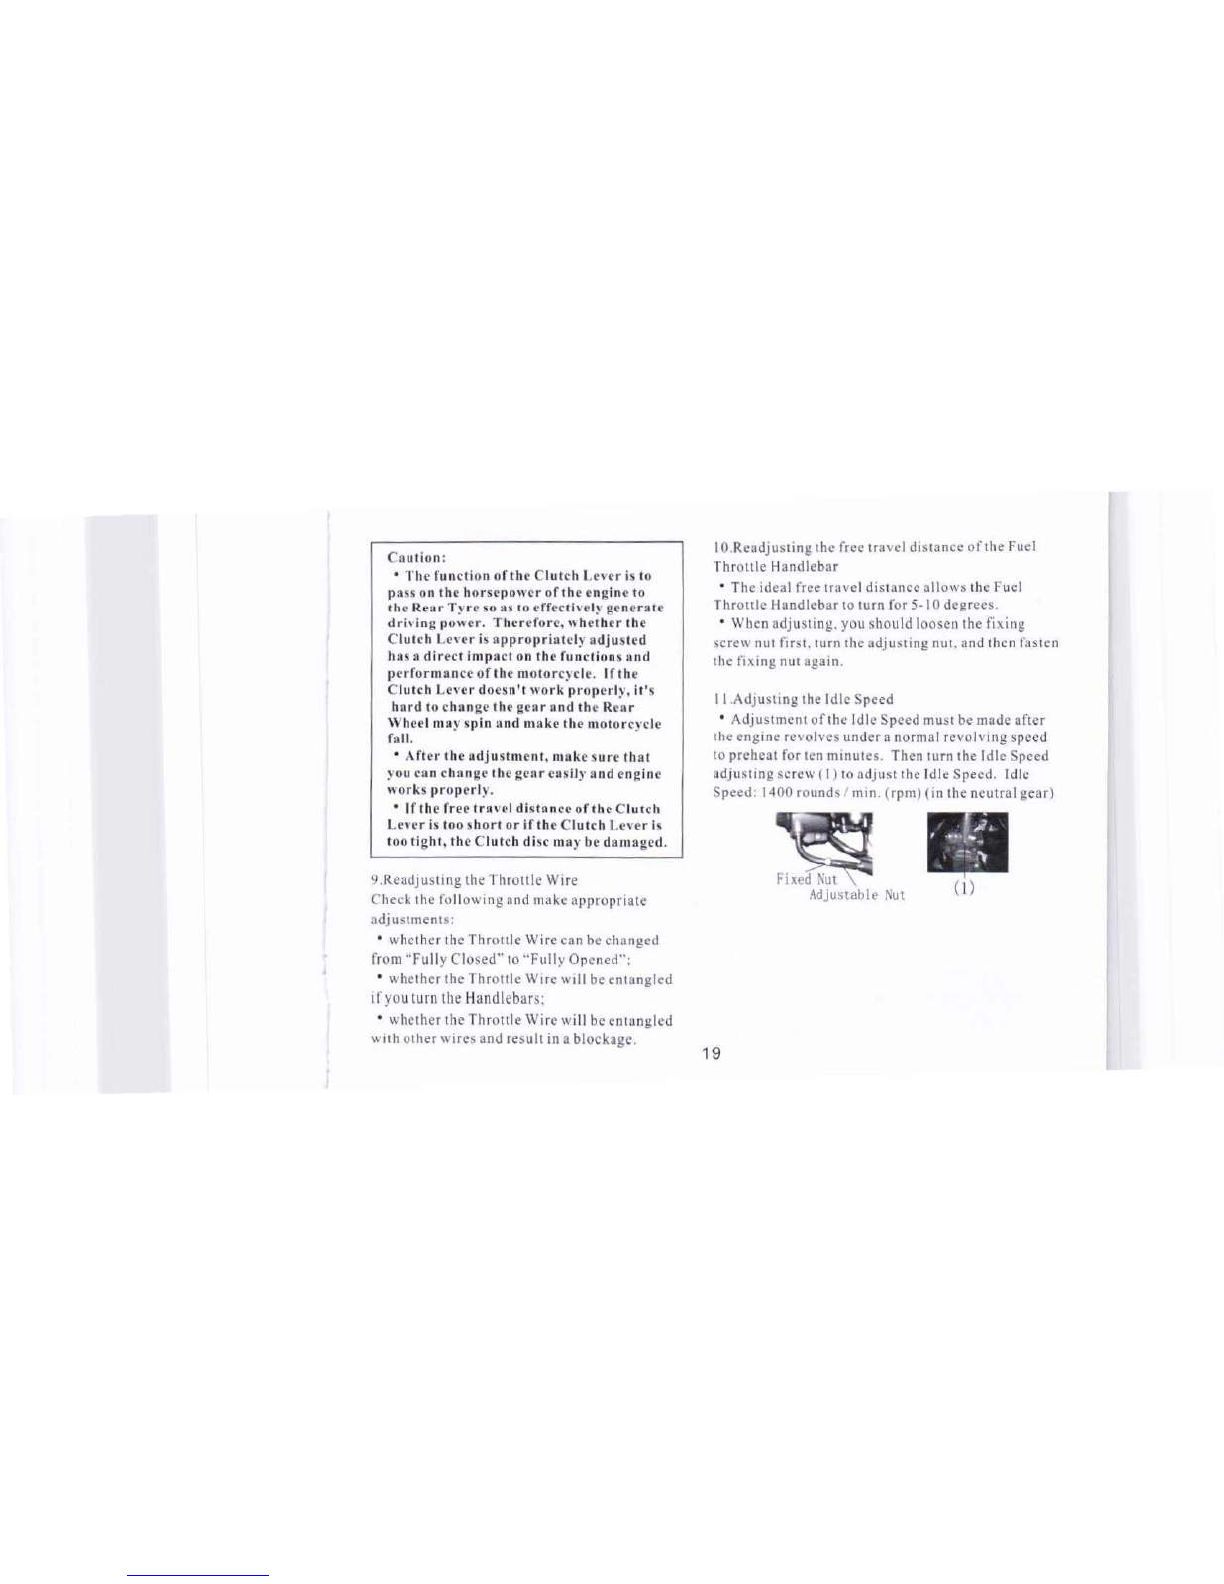
8. Checking and Adjusting the Clutch Lever
The free travel distance of the Clutch Lever is
10-20 mm. Please check this any time and make
appropriate adjusunent to the screw nut whenever
necessary. I
f
you turn the screw nut in the direction
of A. you will shorten the free travel distance of the
Clutch Lever.
_J\
18
Caution:
• The function or the Clutch Lever is to
pass on the horsepower of rne engine to
the Reu r
T'yr
eso as to effectively generate
driving powcr-. Therefore, whether the
Clutch Lever is appropriately adjusted
has
II
direct impact on the functions lind
performance of the motorcycle. If the
Clutch Lever doesn't work properly, it's
hard to Change the gear and the Rear
Wheel may spin and make the motorcycle
fall.
• After the adjustment, make sure that
you can cbange the gear easily and engine
works properly.
• If the free travel distnncc of tile Clutch
Lever is too short or iftbc Clutch Lever is
too tight, the Clutch disc may be damaged.
9.Readjusting the Throttle Wire
Check the following and make appropriate
adjustments:
• whether the Throttle Wire can be changed
from "Fully Closed" to "Fully Opened":
• whether the Throttle Wire will be entangled
if
you tum the
Handlebars:
• whether the Throttle Wire will be entangled
with other wires and result in a blockage.
IO.Readjusting the free travel distance of the Fuel
Throttle Handlebar
• The ideal free travel distance allows the Fuel
Throu le Handlebar to turn for 5-1 0 degrees.
• When adjusting, you should loosen the fixing
screw nut first. turn the adjusting nut. and then fasten
the fixing nut again.
II.Adjusting the Idle Speed
• Adjustment of the Idle Speed must be made after
the engine revolves under a normal revolving speed
to preheat for ten minutes. Then turn the Idle Speed
adjusting screw (I) to adjust the Idle Speed. Idle
Speed: 1400 rounds
I
min. (rpm) (in the neutral gear)
19
This manual suits for next models
1


