Failsafe
Failsafe positions are also set during binding. In the unlikely event that the radio link is lost during use,
the receiver will drive the servos to their preprogrammed failsafe positions (normally full brakes and
straight steering). If the receiver is turned on prior to turning on the transmitter, the receiver will enter
failsafe mode, driving the servos to their preset failsafe positions. When the transmitter is turned on,
normal control is resumed.
Tips on Using Spektrum 2.4GHz
Your DSM equipped 2.4GHz system is intuitive to operate, functioning nearly identically to FM
systems. Following are a few common questions from customers.
1. Q: Which do I turn on first, the transmitter or the receiver?
A: It doesn’t matter, if the receiver is turned on first, all channels will be driven to the failsafe
position set during binding. When the transmitter is then turned on, the transmitter scans the
2.4GHz band and acquires an open channel. Then the receiver that was previously bound
to the transmitter scans the band and finds the GUID (Globally Unique Identifier code) stored
during binding. The system then connects and operates normally. If the transmitter is turned on
first, the transmitter scans the 2.4GHz band and acquires an open channel. When the receiver
is turned on, the receiver scans the 2.4GHz band looking for the previously stored GUID. When
it locates the specific GUID code and confirms uncorrupted repeatable packet information, the
system connects and normal operation takes place. Typically this takes 2 to 6 seconds.
2. Q: Sometimes the system takes longer to connect and sometimes it doesn’t connect
at all. Why?
A: In order for the system to connect (after the receiver is bound) the receiver must receive a large
number of consecutive uninterrupted perfect packets from the transmitter. This process is
purposely critical of the environment ensuring that it’s safe to use when the system does connect.
If the transmitter is too close to the receiver (less than 4 ft) or if the transmitter is located near
metal objects (metal Tx case, the bed of a truck, the top of a metal work bench, etc.), connection
will take longer and in some cases connection will not occur as the system is receiving reflected
2.4GHz energy from itself and is interpreting this as unfriendly noise. Moving the system away
from metal objects or moving the transmitter away from the receiver and powering the system
again will cause a connection to occur. This only happens during the initial connection. Once
connected the system is locked in and should a loss of signal occur (failsafe) the system
connects immediately (4ms) when signal is regained.
3. Q: I’ve heard that the DSM system is less tolerant of low voltage. Is this correct?
A: The SR300 has an operational voltage range of 3.5 to 9.6 volts. With most systems this is not
a problem as in fact most servos cease to operate at around 3.8 volts. When using multiple
high-current draw servos with an inadequate battery/power source, heavy momentary loads can
cause the voltage to dip below this 3.5-volt threshold thus causing the entire system (servos and
receiver) to brown out. When the voltage drops below the low voltage threshold (3.5 volts), the
receiver must reboot.
4. Q: Sometimes my receiver loses its bind and won’t connect, requiring rebinding.
What happens if the bind is lost during use?
A: The receiver will never lose its bind unless it’s instructed to. It’s important to understand that
during the binding process the receiver not only learns the GUID (code) of the transmitter but
the transmitter learns and stores the type of receiver that it’s bound to.
If the system fails to connect, more than likely the transmitter is near conductive material
(transmitter case, truck bed, etc.) and the reflected 2.4GHz energy is preventing the system
from connecting. (See #2 above)
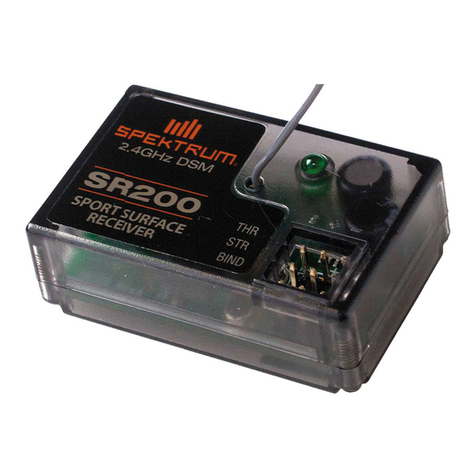
SR300 Instruction Manual
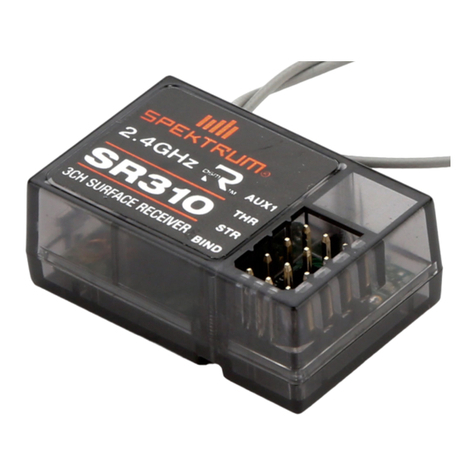
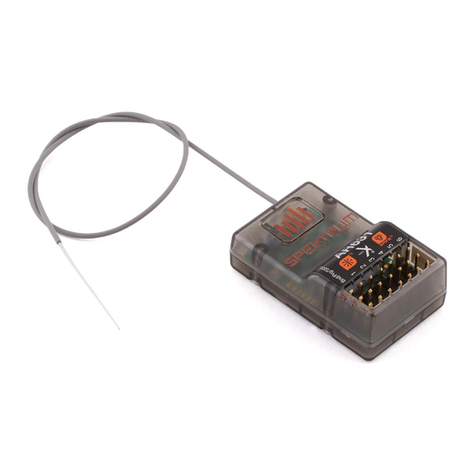
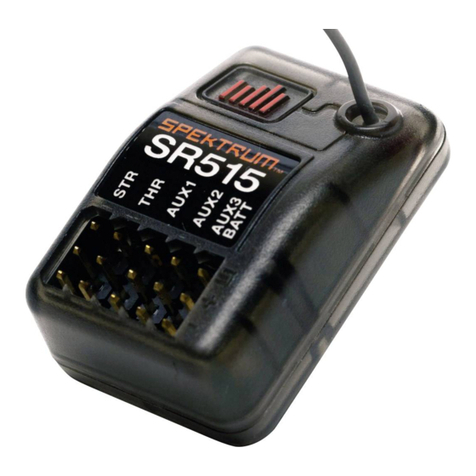
Spektrum’s SR300 3-channel DSM®Sport Surface receiver is compatible with all Spektrum surface
transmitters and operates in DSM mode.
Specifications
Type: DSM
Channels: 3
Band: 2.4GHz
Dimensions (LxWxH): 1.60 x 1.06 x .58 in (41 x 27 x 15mm)
Weight: .3 oz (9 g)
Voltage Range: 3.5–9.6V
Binding Receiver to Transmitter
In order to operate, the receiver must be bound to the transmitter. Binding is the process of teaching
the receiver the specific transmitter’s code called GUID (Globally Unique Identifier). When a receiver is
bound to a transmitter/model memory, the receiver will only respond to that specific transmitter/model
memory.
Binding
Note: The SR300 receiver utilizes the DSM protocol.
1. With the receiver off, insert the bind plug into the BIND port in the receiver.
2. Power the receiver through any port. If an ESC is being used, power on the ESC with the ESC lead
plugged in the throttle channel port. The green LED will flash continuously indicating that the receiver
is in bind mode.
3. With the steering wheel, throttle trigger and Aux channel (if applicable) in the desired preset failsafe
positions, initiate the bind process with your Spektrum transmitter which will also store the failsafe
positions. Please see the next section for more information about Failsafe.
4. The LED on the receiver should now be solid, indicating a successful bind has taken place.
5. Once the bind process is complete and before power is cycled on the receiver, remove the bind plug
and store it in a convenient place. Failure to remove the bind plug will result in the receiver going
back into bind mode.
Note:
The only time it is necessary to do a rebind is if different failsafe positions are desired e.g., servo travel
has been reversed after the initial bind, or if the receiver is to be bound to a different model memory.
Powering the
receiver with a
separate
receiver pack Powering the
receiver with an ESC
Bind Plug
Declaration of Conformity
(in accordance with ISO/IEC 17050-1)
No. HH2008111002
Product(s): SR300 Receiver
Item Number(s): SPMSR300
Equipment class: 1
The object of declaration described above is in conformity with the requirements of the
specifications listed below, following the provisions of the European R&TTE directive 1999/5/EC:
EN 301 489-1, 301 489-17 General EMC requirements for Radio equipment
Signed for and on behalf of:
Horizon Hobby, Inc.
Champaign, IL USA
Nov. 10, 2008
Steven A. Hall
Vice President
International Operations and Risk Management
Horizon Hobby, Inc.
Revised11/08 14301.1
LED
