Spring USA SM-360R User manual

Owner’s Manual
Induction Dot
Round, Hold-Only
Induction Range
Item #SM-360R
127 Ambassador Drive, Suite 147
Naperville, IL 60540-4079
P: 630-527-8600
F: 630-527-8677
springusa@springusa.com
www.springusa.com
The Evolution of Intelligent Design®
Aug 2020
The Evolution of Intelligent Design®

23
Function
Spring USA’s Induction Dot is a round induction range intended for
product holding. The range has been designed specifically to keep food
warm. Food must be at or above serving temperature before being
placed on the range.
Model # Voltage Phase Hertz Watts Amps Plug
SM-360R 110-120 160 360 3.0 NEMA 5-15P
Electrical Requirements:
NOTICE: The induction range only maintains temperature –it
does not cook or continue to cook food.
Installation
Inspect all parts of the induction range prior to installation and use. If
the unit is damaged, do not use. Contact a supplier for a replacement.
Ensure dedicated power is available at the installed location.
The induction range must be placed in a stand or surface mounted (by
others) in a heat resistant countertop (2” thick maximum) or base
cabinet with the control panel mounted on the front of that enclosure.
Daisy Chaining:
The Induction Dot has a built-in receptacle located in the back of the
unit that allows for daisy chaining. The maximum number of Induction
Dot units allowed for daisy chaining into one 15-amp/120-volt circuit is
4 units.
Before You Begin
To ensure safe operation, read the following instructions in their
entirety.
Warning is used to indicate the presence of a hazard that can cause
severe personal injury, death, or substantial property damage if the
warning is ignored.
Caution is used to indicate the presence of a hazard that will or can
cause minor personal injury or property damage if the caution is
ignored.
NOTICE
Notice is used to note information that is important but not
hazard-related.
To reduce risk of injury or damage to the equipment:
•Plug only into grounded electrical outlets matching the nameplate
rated voltage.
•Do not power the equipment with extension cords, power strips, or
multipurpose sockets.
•Equipment should only be used in a flat, level position.
•Do not obstruct or cover the equipment in any way when in use.
•Do not operate unattended.
•Do not leave an empty vessel on the equipment when in use.
•Closely supervise equipment operating in public areas and/or around
children.
•Do not operate if equipment has been damaged or is malfunctioning
in any way.
•Keep equipment and power cord away from open flames, electric
burners or excessive heat.
•Unplug equipment and let it cool before cleaning.
•Unplug when not in use.
ENGLISH

Operation
To operate the induction range, induction-ready vessels must be used.
•Glass serving vessels are not suited for use on the induction range.
•Vessels must have a flat base in order to make full contact with the
range. Vessels that are footed, or that have a raised ridge, are not
suited for the induction range.
•Vessels must have a base diameter greater than 4.7”.
Follow the below steps for operating the induction range:
1. Plug in the unit. Press the ON/OFF button.
2. Place the vessel on the induction range surface.
3. The LED lights above each setting will blink until a setting is pressed
4. Press the desired setting button. See the below chart for
temperature ranges.
45
NOTICE:
Spring USA induction servers and induction ranges are
designed to work together as a system. Optimal
performance is achieved by using Spring USA
components in conjunction with each other. Spring USA
cannot guarantee the performance of facsimile products
offered by other companies.
5. The LED lights will stop blinking and only the LED light above the
selected setting button will remain on.
6. The induction range will continue to warm until the set temperature
is reached. Once the temperature is reached, the range will
maintain that temperature.
7. To change settings, simply press the desired setting button.
8. To turn off the unit, press the ON/OFF button. No LED lights should
be illuminated.
NOTICE:
As a safety feature, if no induction ready vessel is placed
on the surface after 2.5 minutes, the unit will shut off.
Low Low-Med Med-High High
145-155°F 156-165°F 166-175°F 176-185°F
62-68°C 69-73°C 74-79°C 80-85°C
NOTICE:
Actual temperatures may vary due to several variables
such as ambient temperature in the immediate
surrounding area, content and volume of food, and
whether a cover is used.
Do not touch the top surface of the induction range
immediately after heating and removing a vessel. The
top surface may be hot due to heat transferred from the
vessel.
Maintenance
To clean the induction range, first ensure the unit has been turned off,
unplugged from the power source and has cooled before handling.
Wipe down the unit with a sponge or cloth with a mild dishwashing
liquid. Dry with a clean, soft cloth. Do not immerse the induction
range directly in water for cleaning –this will damage the unit.

Troubleshooting/Error Codes
7
6
Error Cause Solution
4 Flashing Lights
on Control
Panel
The induction range does
not sense an induction-
ready vessel on the surface.
Place an induction ready vessel
on the range.
Low & Low-
Med
Lights Flashing
The range has overheated
due to blocked ventilation
and has shut down.
Clear vents, let the range cool
and restart the range.
Low & Med-
High Lights
Flashing
Overheating protection has
been activated and the
range has shut down.
Remove vessel from the range,
let the range cool and restart the
range.
Low & High
Lights Flashing
The range is experiencing
temporary voltage
overload.
Remove vessel from the range,
let the range cool and restart the
range. Review dedicated power
requirements under Installation
in this manual.
Keep the induction range away from other ovens or stoves. If the
surrounding temperature is hot, the induction range may stop heating.
Service & Repair
Never attempt to service any part of The Induction Dot. Attempting to
service the unit on your own, or through an unauthorized repair facility,
automatically voids your warranty. Contact our Service Department at
630-527-8600. For service forms, visit the Spring USA website.
Warranty
Spring USA Induction Ranges offer a one-year, overnight exchange
warranty (continental US only), from the date of invoice, against
manufacturers defects. Visit the Spring USA website for more details.
FRANÇAIS
Avant que tu commences
Pour assurer un fonctionnement en toute sécurité, lisez les instructions
suivantes dans leur intégralité.
L'avertissement est utilisé pour indiquer la présence d'un danger
pouvant entraîner des blessures graves, la mort ou des dommages
matériels importants si l'avertissement est ignoré.
La prudence est utilisée pour indiquer la présence d'un danger qui
causera ou peut causer des blessures corporelles mineures ou des
dommages matériels si la précaution est ignorée.
REMARQUER
L'avis est utilisé pour noter des informations importantes mais non
lié au danger.
Pour réduire le risque de blessure ou d'endommagement de
l'équipement:
•Branchez uniquement dans des prises électriques reliées à la terre
correspondant à la tension nominale de la plaque signalétique.
•N'alimentez pas l'équipement avec des rallonges, des multiprises ou
des prises polyvalentes.
•L'équipement ne doit être utilisé que dans une position plate et de
niveau.
•Ne pas obstruer ou couvrir l'équipement de quelque manière que ce
soit lors de son utilisation.
•Ne pas utiliser sans surveillance.
•Ne laissez pas de récipient vide sur l'équipement lors de son
utilisation.
•Surveillez de près l'équipement fonctionnant dans les espaces
publics et / ou autour des enfants.
•Ne pas utiliser si l'équipement a été endommagé ou fonctionne mal
de quelque façon que ce soit.

9
8
•Gardez l'équipement et le cordon d'alimentation loin des flammes
nues, des brûleurs électriques ou de la chaleur excessive.
•Débranchez l'équipement et laissez-le refroidir avant de le nettoyer.
•Débranchez-le lorsqu'il n'est pas utilisé.
Fonction
L'induction Dot de Spring USA est une gamme à induction ronde
destinée au stockage de produits. La gamme a été spécialement conçue
pour garder les aliments au chaud. Les aliments doivent être à la
température de service ou au-dessus avant d'être placés sur la
cuisinière.
Article # Tension Phase Hertz Watt Amp Prise
SM-360R 110-120 160 360 3.0 NEMA 5-15P
Exigences électriques:
AVIS: La cuisinière à induction maintient uniquement la
température - elle ne cuit pas ou ne continue pas de cuire les
aliments.
Installation
Inspectez toutes les pièces de la cuisinière à induction avant
l'installation et l'utilisation. Si l'appareil est endommagé, ne l'utilisez
pas. Contactez un fournisseur pour un remplacement.
Assurez-vous qu'une alimentation dédiée est disponible à
l'emplacement d'installation.
Connexion en guirlande:
Le point d'induction a un réceptacle intégré situé à l'arrière de l'unité
qui permet la connexion en série. Le nombre maximum d'unités de
points d'induction autorisées pour la connexion en série dans un circuit
de 15 ampères / 120 volts est de 4 unités.
La cuisinière à induction doit être placée dans un support ou monté en
surface (par d'autres) dans un comptoir résistant à la chaleur (2 po
d'épaisseur maximum) ou une armoire de base avec le panneau de
commande monté à l'avant de cette armoire.
Opération
Pour faire fonctionner la cuisinière à induction, des récipients prêts
pour l'induction doivent être utilisés.
•Les récipients de service en verre ne sont pas adaptés à une
utilisation sur la cuisinière à induction.
•Les navires doivent avoir une base plate pour être en contact total
avec le champ de tir. Les navires à pieds ou à crête surélevée ne sont
pas adaptés à la plage d'induction.
•Les navires doivent avoir un diamètre de base supérieur à 4,7 po.
Suivez les étapes ci-dessous pour faire fonctionner la cuisinière à
induction:
1. Branchez l'appareil. Appuyez sur le bouton ON / OFF.
2. Placez le récipient sur la surface de la cuisinière à induction.
3. Les voyants LED au-dessus de chaque réglage clignotent jusqu'à ce
qu'un réglage soit appuyé
REMARQUER:
Les serveurs à induction et les cuisinières à induction de
Spring USA sont conçus pour fonctionner ensemble en
tant que système. Des performances optimales sont
obtenues en utilisant les composants Spring USA
conjointement. Spring USA ne peut garantir les
performances des produits de télécopie proposés par
d'autres sociétés.
REMARQUER:
Par mesure de sécurité, si aucun récipient prêt pour
l'induction n'est placé sur la surface après 2,5 minutes,
l'appareil s'arrête.

11
10
4. Appuyez sur le bouton de réglage souhaité. Voir le tableau ci-
dessous pour les plages de température.
5. Les voyants DEL cesseront de clignoter et seul le voyant DEL au-
dessus du bouton de réglage sélectionné restera allumé.
6. La cuisinière à induction continuera à se réchauffer jusqu'à ce que
la température réglée soit atteinte. Une fois la température
atteinte, la cuisinière maintiendra cette température.
7. Pour modifier les paramètres, appuyez simplement sur le bouton de
réglage souhaité.
8. Pour éteindre l'appareil, appuyez sur le bouton ON / OFF. Aucune
lumière LED ne doit être allumée.
Low Low-Med Med-High High
145-155°F 156-165°F 166-175°F 176-185°F
62-68°C 69-73°C 74-79°C 80-85°C
REMARQUER:
Les températures réelles peuvent varier en raison de
plusieurs variables telles que la température ambiante dans
la zone environnante immédiate, le contenu et le volume
des aliments, et si un couvercle est utilisé.
Ne touchez pas la surface supérieure de la cuisinière à
induction immédiatement après avoir chauffé et retiré
un récipient. La surface supérieure peut être chaude en
raison de la chaleur transférée du récipient.
Entretien
Pour nettoyer la cuisinière à induction, assurez-vous d'abord que
l'appareil a été éteint, débranché de la source d'alimentation et a
refroidi avant de le manipuler.
Essuyez l'appareil avec une éponge ou un chiffon imbibé d'un liquide
vaisselle doux. Sécher avec un chiffon doux et propre. Ne plongez pas la
cuisinière à induction directement dans l'eau pour le nettoyage - cela
endommagerait l'appareil.
Dépannage / Codes d'erreur
Garantie
Les cuisinières à induction Spring USA offrent une garantie d'échange
d'un an, pendant la nuit (États-Unis continentaux uniquement), à
compter de la date de facturation, contre les défauts de fabrication. Voir
SpringUSA.com pour plus de détails.
Gardez la cuisinière à induction éloignée des autres fours ou cuisinières. Si
la température ambiante est chaude, la plage d'induction peut arrêter de
chauffer.
Erreur Cause Solution
4 voyants
clignotants sur
le panneau de
commande
La plage d'induction ne
détecte pas de récipient
prêt pour l'induction à la
surface.
Placer un récipient prêt pour
l'induction sur la cuisinière.
Clignotement
des voyants bas
et bas
La cuisinière a surchauffé
en raison d'une ventilation
bloquée et s'est arrêtée.
Dégagez les évents, laissez la
cuisinière refroidir et redémarrez
la cuisinière.
Feux clignotants
faibles et
moyens
La protection contre la
surchauffe a été activée et
la cuisinière s'est arrêtée.
Retirez le récipient de la
cuisinière, laissez-la refroidir et
redémarrez la cuisinière.
Clignotants à
lumière faible et
élevée
La cuisinière subit une
surcharge de tension
temporaire.
Retirez le récipient de la
cuisinière, laissez-la refroidir et
redémarrez la cuisinière. Passez
en revue les exigences
d'alimentation dédiées.
Service et réparation
N'essayez jamais de réparer une partie quelconque du point d'induction.
Tenter de réparer l'unité par vous-même ou par le biais d'un centre de
réparation non autorisé annule automatiquement votre garantie.
Contactez notre service après-vente au 630-527-8600. Pour les
formulaires de service, visitez le site Web de Spring USA.
Table of contents
Languages:
Other Spring USA Range manuals
Popular Range manuals by other brands
GE
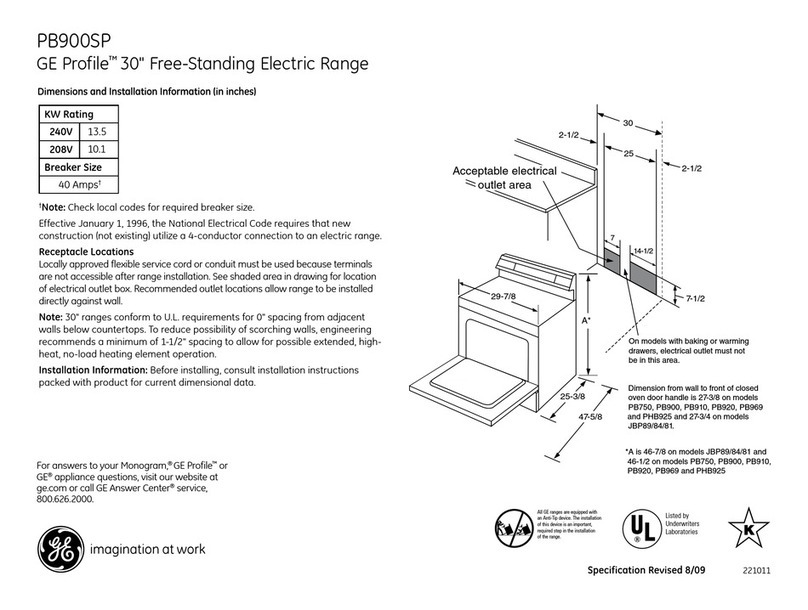
GE Profile PB900SPSS Dimensions and installation information
Frigidaire
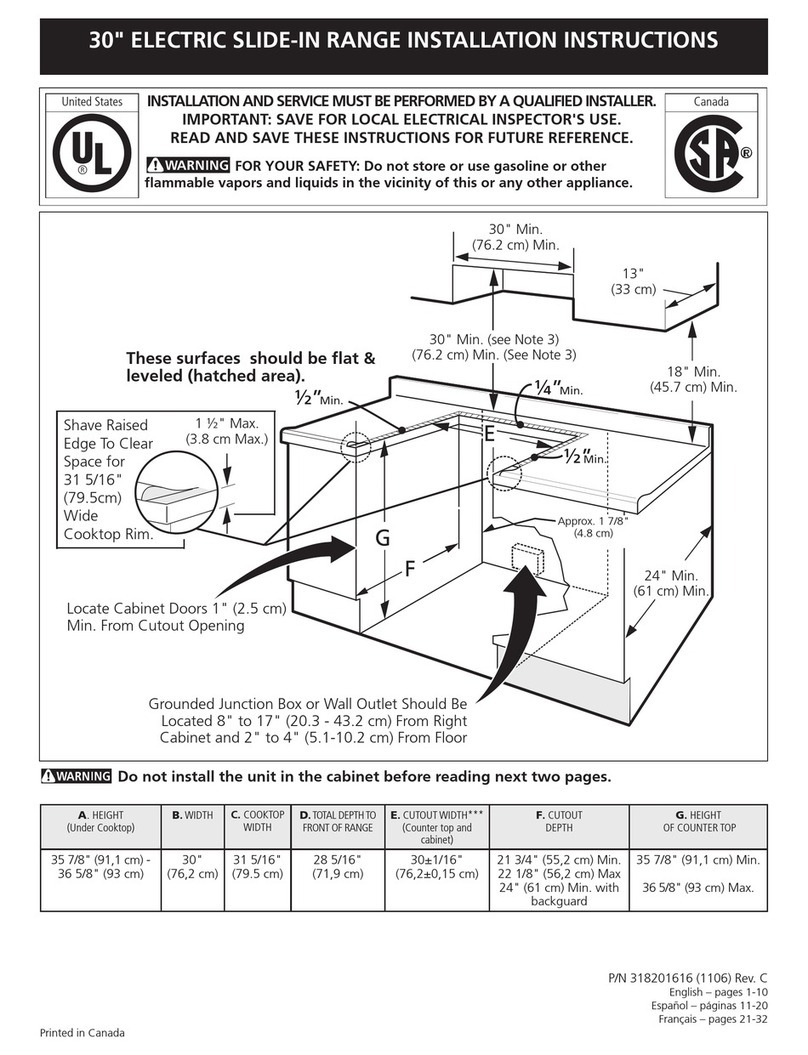
Frigidaire 318201616 installation instructions
GE
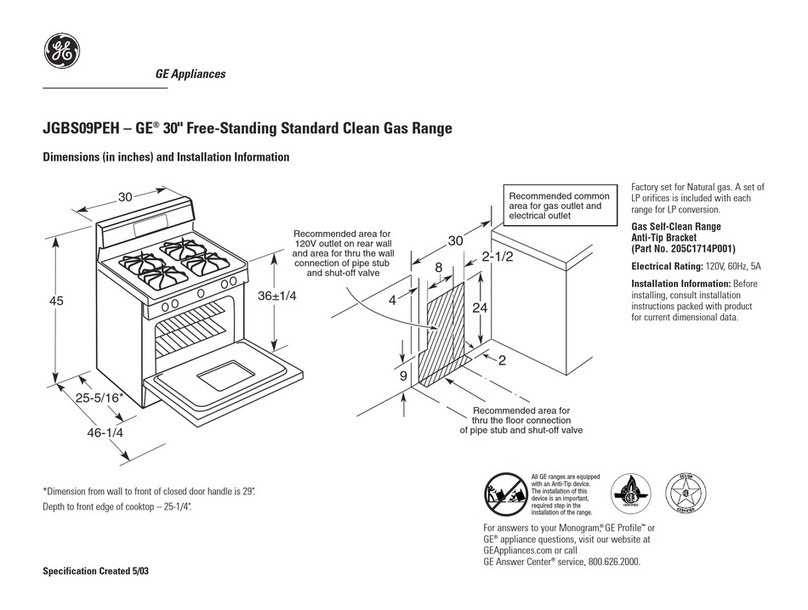
GE JGBS09PEHWW Dimensions and installation information
GE
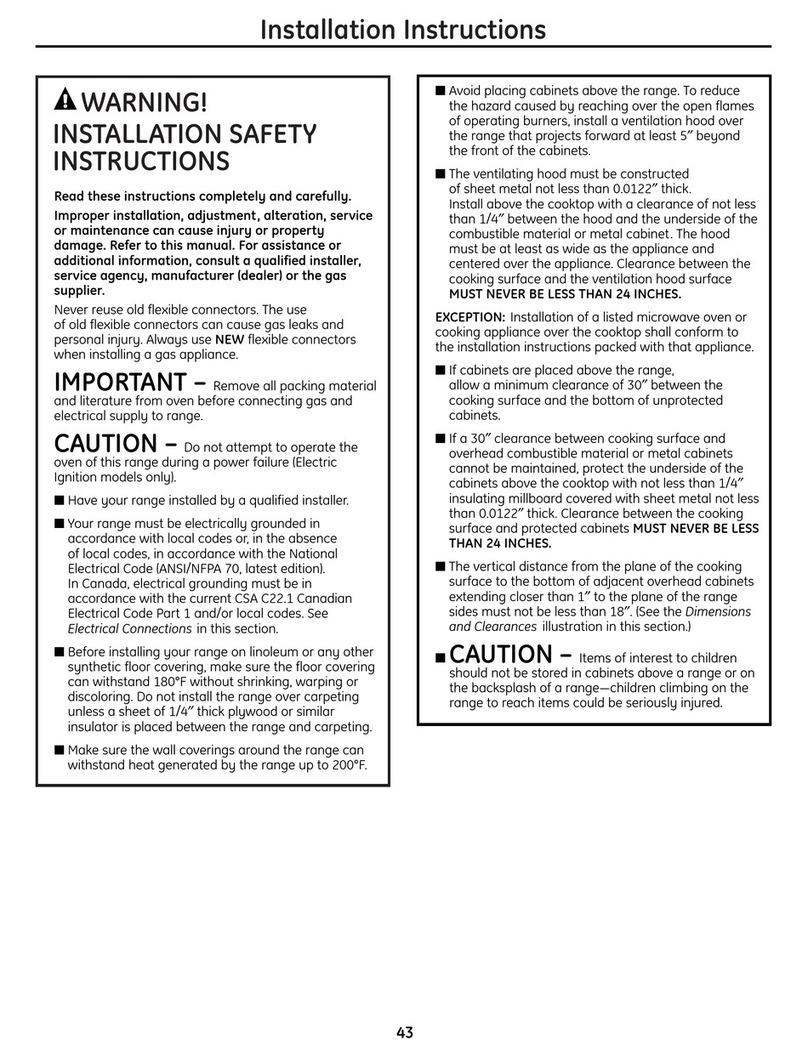
GE JGBP85 installation instructions
Lacanche
Lacanche Sully Installer manual
Frigidaire
Frigidaire FEFLM66ESC Service data sheet
