SRScales SRV411i Service manual

Model SRV411iSmall Animal Floor Scale
Service Manual
Part No. MANSRV411i_171114 Page 1 of 16
SInstruments, Inc., 600 Young Street, Tonawanda, NY 14150
Tel: 716-693-5977 Fax: 716-693-5854 URL: www.srscales.com
S
by S Instruments, Inc.
Operating and Service
Manual
SRV411i
Small Animal Floor Scale

Model SRV411iSmall Animal Floor Scale
Service Manual
Part No. MANSRV411i_171114 Page 2 of 16
SInstruments, Inc., 600 Young Street, Tonawanda, NY 14150
Tel: 716-693-5977 Fax: 716-693-5854 URL: www.srscales.com
TABLE OF CONTENTS
TABLE OF FIGURES......................................................................................................................2
PACKING CHECKLIST –MODEL SRV411i..............................................................................3
ASSEMBLY.......................................................................................................................................3
SYSTEM DESCRIPTION AND INTENDED USE.......................................................................4
MAINTENANCE AND CLEANING..............................................................................................5
STORAGE AND TRANSPORTATION ........................................................................................5
SPECIFICATIONS...........................................................................................................................6
BUTTON FUNCTIONS...................................................................................................................7
BASIC SYSTEM OPERATION......................................................................................................8
THEORY OF OPERATION ...........................................................................................................9
CALIBRATION..............................................................................................................................10
TROUBLESHOOTING.................................................................................................................14
DISPLAY MOUNTING TEMPLATE..........................................................................................15
TABLE OF FIGURES
Figure 1: SRV411iButton Label....................................................................................................7
Figure 2: Calibration Button ........................................................................................................10
Figure 3: Select and Toggle Button..............................................................................................10

Model SRV411iSmall Animal Floor Scale
Service Manual
Part No. MANSRV411i_171114 Page 3 of 16
SInstruments, Inc., 600 Young Street, Tonawanda, NY 14150
Tel: 716-693-5977 Fax: 716-693-5854 URL: www.srscales.com
PACKING CHECKLIST –Model SRV411i
Small Animal Floor Scale
ASSEMBLY
STEP 1: Unpack the scale system and check parts against the PACKING CHECKLIST. If
there are any missing or damaged parts, call the Service Hotline at: 1-800-654-6360.
STEP 2: Determine installation location for scale and display, keeping in mind the display cable
length is six (6) feet and the display power cord length is four (4) feet. The display may lay flat on
a desk or end table. If desired, provisions for wall mount have been incorporated, and can be
accomplished in the manner described below.
A. The display should be installed by qualified personnel. The mounting hardware provided
will cover most wall applications.
B. Determine a position on the wall comfortable to the user. Mark the location of the two
(2) mounting holes on the wall (holes are spaced 2.5” on center apart) using the template
provided on page 15.
C. Drill the two (2) pilot holes, no larger than ¼” diameter in the locations marked. Install
the two (2) self-drilling screw anchors.
D. Install the two (2) #8 x 1” flat head screws supplied, leaving approximately ¼”
projecting from the wall.
STEP 3: Place SRV411i scale system on a flat, hard floor surface. Ensure all four corners of
scale are in contact with the floor and scale does not rock.
NOTE: Scale should not be placed on carpet or uneven floor surfaces as this may interfere with
scale accuracy.
STEP 4: Connect the display cable to the scale, then connect the power cable to the display and
plug power adapter into wall.
DESCRIPTION
QUANTITY
SCALE BASE
1 ea.
SCALE DISPLAY
1 ea.
MOUNTING HARDWARE
1 ea.
AC WALL POWER ADAPTER (UL RECOGNIZED)
1 ea.
CERTIFICATE OF CALIBRATION
1 ea.
MANUAL
1 ea.

Model SRV411iSmall Animal Floor Scale
Service Manual
Part No. MANSRV411i_171114 Page 4 of 16
SInstruments, Inc., 600 Young Street, Tonawanda, NY 14150
Tel: 716-693-5977 Fax: 716-693-5854 URL: www.srscales.com
SYSTEM DESCRIPTION and INTENDED USE
SYSTEM DESCRIPTION
The SRV411iSmall Animal Floor Scale employs the latest in microprocessor and load cell
technology to provide accurate and repeatable weight data. Four (4) identically matched
transducers are strategically placed to ensure an accurate representation of the small animal’s
weight.
The small animal’s weight is displayed on a LCD screen. With a push of a button, weight data
may be viewed in either pounds or kilograms.
INTENDED USE
The SRV411iSmall Animal Floor Scale is a unique lightweight, low profile stand-on scale system
for weighing small animals weighing up to 440 pounds (200 kilograms)
DO NOT EXCEED
MAXIMUM WEIGHT LIMIT OF
440 LB / 200 KG
WARNING

Model SRV411iSmall Animal Floor Scale
Service Manual
Part No. MANSRV411i_171114 Page 5 of 16
SInstruments, Inc., 600 Young Street, Tonawanda, NY 14150
Tel: 716-693-5977 Fax: 716-693-5854 URL: www.srscales.com
MAINTENANCE and CLEANING
Exercise caution when cleaning the display window as it is made of clear polyester and can be scratched
by abrasive cleaners. Mild soap and water is recommended for general cleaning and disinfecting.
STORAGE and TRANSPORTATION
To maintain proper operation of this instrument, storage and transport conditions should not vary
outside the following conditions: Relative Humidity 0% to 85%, Ambient Temperature 14F to
122F (-10C to +50C).
DO NOT use pressurized water or steam. The
scale system contains microprocessor circuitry
and strain gauge sensors that may be adversely
affected by exposure to such an environment.
WARNING

Model SRV411iSmall Animal Floor Scale
Service Manual
Part No. MANSRV411i_171114 Page 6 of 16
SInstruments, Inc., 600 Young Street, Tonawanda, NY 14150
Tel: 716-693-5977 Fax: 716-693-5854 URL: www.srscales.com
SPECIFICATIONS
MAXIMUM WEIGHT
CAPACITY
440 lb (200 kg)
DIMENSIONS
Platform: 26.4 in x 18.3 in (67 cm x 47 cm)
DISPLAY TYPE
1” Digit LCD
DISPLAY RESOLUTION
+/- 0.1 lb (0.1 kg)
ACCURACY
0.1% +/- 1 digit of displayed resolution for calibrated range
AUTO ZERO
One button operation
AUTO WEIGH
Scale will automatically turn on and lock in on a stable
weight.
AUTO POWER DOWN
After 1 minute
AVERAGING
Automatic digital filter
POWER SUPPLY
AC Wall Power Supply (UL Recognized)
CALIBRATION
Calibration is traceable to NIST standards
OPERATING CONDITIONS
Normal operating conditions for this product:
Ambient Temperature Range: 68F to 85F (20C to 30C)
Relative Humidity Range: 0% to 85%
Avoid exposure to high-pressure water or steam.
TRANSPORATION AND
STORAGE
Storage conditions should not vary outside the following
conditions: Relative Humidity 0% to 85%, Ambient
Temperature 14F to 122F (-10C to +50C

Model SRV411iSmall Animal Floor Scale
Service Manual
Part No. MANSRV411i_171114 Page 7 of 16
SInstruments, Inc., 600 Young Street, Tonawanda, NY 14150
Tel: 716-693-5977 Fax: 716-693-5854 URL: www.srscales.com
BUTTON FUNCTIONS
Figure 1: SRV411iButton Label
ZERO / WEIGH
To zero scale press and hold the “Zero/Weigh” button until the display reads “ZERO”. Release
the “Zero/Weigh”button to display “0.0”. When the small animal is in position on the scale, the
weight will be displayed.
NOTE: When system is zeroed, the Hold/Recall memory is erased.
LB / KG MODE BUTTON
Press “lb/kg” button to switch weight display between pounds or kilograms.
HOLD/RECALL MODE BUTTON
Scale will automatically lock a stable weight that is greater than five pounds and “MEM” will be
displayed in the upper left of the display. To manually hold a weight reading at any time during
the weighing process, press the “Hold/Recall”button. To recall a weight in memory, press the
“Hold/Recall”button after the display has powered down or with less than five pounds on the
scale.
NOTE: When the scale is off, pressing any of the buttons will turn on the scale. Press and hold the
“Zero/Weigh” button to erase the last held weight from memory.

Model SRV411iSmall Animal Floor Scale
Service Manual
Part No. MANSRV411i_171114 Page 8 of 16
SInstruments, Inc., 600 Young Street, Tonawanda, NY 14150
Tel: 716-693-5977 Fax: 716-693-5854 URL: www.srscales.com
o
BASIC SYSTEM OPERATION
SMALL ANIMAL WEIGHING
STEP 1: Place scale on hard smooth floor surface to ensure accurate data.
NOTE: Avoid carpeting or uneven flooring surfaces.
STEP 2: The scale will automatically turn on when weight is detected and lock in on a stable
weight.
Alternatively, press the “Zero/Weigh” button and wait for the display to indicate
“ZERO”. Release the “Zero/Weigh” button and the display will read “0.0”. Position
the small animal on the platform. Weight will be displayed in a few seconds. A stable
weight will automatically be stored in memory.
STEP 3: To manually hold a weight reading at any time during the weighing process, press the
“Hold/Recall” button.
NOTE: When the scale is off, pressing any of the buttons will turn on the scale. Press
and hold the “Zero/Weigh” button to erase the last held weight from
memory. Only the last stabilized weight will be held in memory.
SCREEN DISPLAYED SYMBOLS
Scale is zeroed and stabilized
MEM Weight is locked in memory (next stable weight will override memory)
Applied weight load has stabilized

Model SRV411iSmall Animal Floor Scale
Service Manual
Part No. MANSRV411i_171114 Page 9 of 16
SInstruments, Inc., 600 Young Street, Tonawanda, NY 14150
Tel: 716-693-5977 Fax: 716-693-5854 URL: www.srscales.com
THEORY OF OPERATION
SR Instruments patient weighing systems are digital scales. Strain-gauge force cells convert the force
of an applied weight into an analog signal. This signal is amplified by an operational amplifier and
converted to a digital signal by analog to digital converter. The digital signal is transferred to a micro-
controller where it is filtered, converted to appropriate units, and displayed on a liquid crystal display.
Strain-gauge force cells each contain four strain gauges mounted in a full Whetstone-bridge
configuration. These bridges convert the physical movement of the force cell, due to the applied mass
on the system, into minute changes in electrical resistance. These changes in resistance produce a
voltage difference across the Whetstone-bridge, which is amplified by the operational amplifier.
The output of the operational amplifier is digitized by the analog to digital converter. The converter
integrates the analog signal onto the integrating capacitor over a short interval. The integrating
capacitor is then discharged at a rate proportional to the reference voltage applied to the converter. The
residual voltage on the integrating capacitor is then multiplied by a factor and again discharged at a
rate proportional to the reference voltage. The residual voltage from this discharge is again multiplied
by a factor and again discharged. The time taken to discharge the capacitor is proportional to the
voltage from the operational amplifier, which is proportional to the applied load on the force cells. The
time is stored as a binary number in the analog to digital converter and is transferred to the micro-
controller when the conversion is complete.
The micro-controller averages and filters the digital output of the analog to digital converter, subtracts
the value saved during the system zero operation and scales the filtered output, then displays the result
on the liquid crystal display. The micro-controller performs a rolling average of data for continuous
weigh and averages the data before locking in on the reading.

Model SRV411iSmall Animal Floor Scale
Service Manual
Part No. MANSRV411i_171114 Page 10 of 16
SInstruments, Inc., 600 Young Street, Tonawanda, NY 14150
Tel: 716-693-5977 Fax: 716-693-5854 URL: www.srscales.com
CALIBRATION
Figure 2: Calibration Button
Figure 3: Select and Toggle Button
CAUTION
The integrated circuits and semiconductors
on the printed circuit boards may be
damaged by electrostatic discharge (ESD).
Be sure to use proper handling precautions
at all times.
IMPORTANT
CALIBRATION CHECK: Qualified service personnel only should perform this
procedure. Load cells have no user serviceable components and should not be tampered
with for any reason. Re-calibration is generally not required, but should be verified
periodically to ensure accuracy. The recommendation for calibration check is at least
once every 12 months, or as individual maintenance policy requires.
SELECT
BUTTON
TOGGLE
BUTTON
CALIBRATION
BUTTON

Model SRV411iSmall Animal Floor Scale
Service Manual
Part No. MANSRV411i_171114 Page 11 of 16
SInstruments, Inc., 600 Young Street, Tonawanda, NY 14150
Tel: 716-693-5977 Fax: 716-693-5854 URL: www.srscales.com
Initial System Setup
When initially set up, calibration is factory set and re-calibration is not needed. The Local
Gravitational Acceleration may have to be re-set for the current geographical location for
improved accuracy. Automatic Shut Off is shipped with a factory default of 60 seconds. If a
longer period of time (up to 900 seconds) is desired, then it will need to be re-set. Both
procedures are found below.
Access System Setup
To access all settings below, break the Calibration Seal. Press the calibration button (Figure 2) using
the pointed-end of a pen or similar item. CAL mode is now active.
Refer to Figure 3. The Right Button allows you to toggle through the menus without saving any
parameters. The Left Button permits a menu item to be selected or a parameter saved.
NOTE: Ensure that nothing is in contact with the scale system during this procedure.
Remove hands from the system when noting the displayed calibration results.
Cal Menu
“data” Displays saved calibration and model information.
“unit” Set the available units; lb only, kg only, or selection of lb or kg with mode button.
“sec” Set Auto Power Down Timer between 15 and 900 seconds.
“grav” Set Gravitational Acceleration in m/s2
“Full” Applied calibrated mass at full scale.
“Half” Used with three point calibration curve. Applied calibrated mass at a second point
between zero and full scale, usually at half.
“zero” No calibrated weight applied.
“2 pt” Two-point calibration curve, zero and full scale.
“3 pt” Three-point calibration curve; zero, half and full scale.
“save” Saves the calibration data.
“quit” Quits without saving the calibration data.
Enter CAL Mode
To enter the CAL mode, press the calibration button (Figure 2) using the pointed-end of a
pen or similar item. Toggle through the menu with Right Button (Figure 3). Select or Save
data with the Left Button (Figure 3).

Model SRV411iSmall Animal Floor Scale
Service Manual
Part No. MANSRV411i_171114 Page 12 of 16
SInstruments, Inc., 600 Young Street, Tonawanda, NY 14150
Tel: 716-693-5977 Fax: 716-693-5854 URL: www.srscales.com
Set Auto Power Down Timer (Optional)
a) Select the Auto Power Down Timer from the CAL menu by pressing the Left
Button when the display shows “sec”.
b) The display will show four digits <0123>.
c) Set the desired time in seconds by selecting the first digit and toggle through the
digits using the Right Button until desired value is shown. Press the Left Button
and continue the same with the remaining digits. The value cannot be less than 15
nor greater than 900.
d) Press the Left Button to save or Right Button to toggle to "quit". Select "quit" by
pressing the Left Button to quit without saving changes.
e) Press the Left Button again to save and the display will show “SAV’d”.
Set the Gravitational Acceleration (Optional)
NOTE: Setting the local gravitational acceleration, “gLOC”, will not affect the
calibration. The local gravitational acceleration, “gLOC”, will become the
calibrated gravitational acceleration, “gCAL”only when it is recalibrated.
a) Select the Gravitational Acceleration from the CAL menu by pressing the Left
Button when the display shows “grav”.
b) The display will show only the four digits to the right of the decimal point
<9.XXXX>.
c) Set the local gravitational acceleration in m/s2by selecting the first digit and toggle
through the digits using the Right Button until desired value is shown. Press the
Left Button and continue the same with the remaining digits.
d) Press the Left Button to save or Right Button to toggle to "quit". Select "quit" by
pressing the Left Button to quit without saving changes.
e) Press the Left Button again to save and the display will show “SAV’d”.
Set the Full-Scale value
a) Select the Full-Scale from the CAL menu by pressing the Left Button when the
display shows “FULL”.
b) The display will show only the five digits <XXXX.X> with the thousand-place
flashing <1>. Select past to the next digit by pressing the Left Button.
c) Once in the hundreds-place, set the full scale value (maximum load) by toggling
using the Right Button through the digits until desired value is shown. Select the
desired value by pressing the Left Button and continue the same with the remaining
digits.
d) Press the Left Button to save or Right Button to toggle to "quit". Select "quit" by
pressing the Left Button to quit without saving changes.
e) Press the Left Button again to save and the display will show “SAV’d”.

Model SRV411iSmall Animal Floor Scale
Service Manual
Part No. MANSRV411i_171114 Page 13 of 16
SInstruments, Inc., 600 Young Street, Tonawanda, NY 14150
Tel: 716-693-5977 Fax: 716-693-5854 URL: www.srscales.com
Set the Half-Scale value
NOTE: The Half-Scale value is used only with the three-point calibration. It is a value
between zero and the Full Scale values. It is usually close to half of the Full
Scale value.
a) Select the Half-Scale from the CAL menu by pressing the Left Button when the
display shows “HALF”.
b) The display will show only the five digits <XXXX.X> with the thousand-place
flashing <1>. Select past to the next digit by pressing the Left Button.
c) Once in the hundreds-place, set the half scale value by toggling using the Right
Button through the digits until desired value is shown. Select the desired value by
pressing the Left Button and continue the same with the remaining digits.
d) Press the Left Button to save or Right Button to toggle to "quit". Select "quit" by
pressing the Left Button to quit without saving changes.
e) Press the Left Button again to save and the display will show “SAV’d”.
Calibrate using the Three-Point Calibration Curve; zero, half scale, and full scale.
NOTE: The scale can also be calibrated with a Two-point slope “2Pt”, although it will
not be as accurate.
a) Select Three-point calibration curve by pressing the Left Button when the display
shows “3Pt”.
b) Apply no load and ensure stability. Zero the scale by pressing the Left Button
when the display shows “zero”.
c) Display will show “HALF”, apply the predetermined half scale value on the scale
and press the Left Button.
d) Display will show “FULL”, apply the predetermined full scale value on the scale
and press the Left Button.
e) Display will show “SAVE”, press the Left Button to save, display will show
“SAV’d” or Right Button to toggle to "quit". Select "quit" by pressing the Left
Button to quit without saving changes.
f) Save the parameter changes while in the CAL mode by pressing the Left Button
when the display shows “SAVE”. To exit the CAL mode without saving the
changes press the Left Button when the display shows “quit”.
g) Press the calibration button (Figure 2) using the pointed-end of a pen or similar item.
h) Place a new calibration seal over the calibration button access hole.
NOTE: Calibrated weight displayed should be within tolerance as per specifications (see
“SPECIFICATIONS” page 6).
Model SRV411iSmall Animal Floor Scale
Service Manual
Part No. MANSRV411i_171114 Page 14 of 16
SInstruments, Inc., 600 Young Street, Tonawanda, NY 14150
Tel: 716-693-5977 Fax: 716-693-5854 URL: www.srscales.com
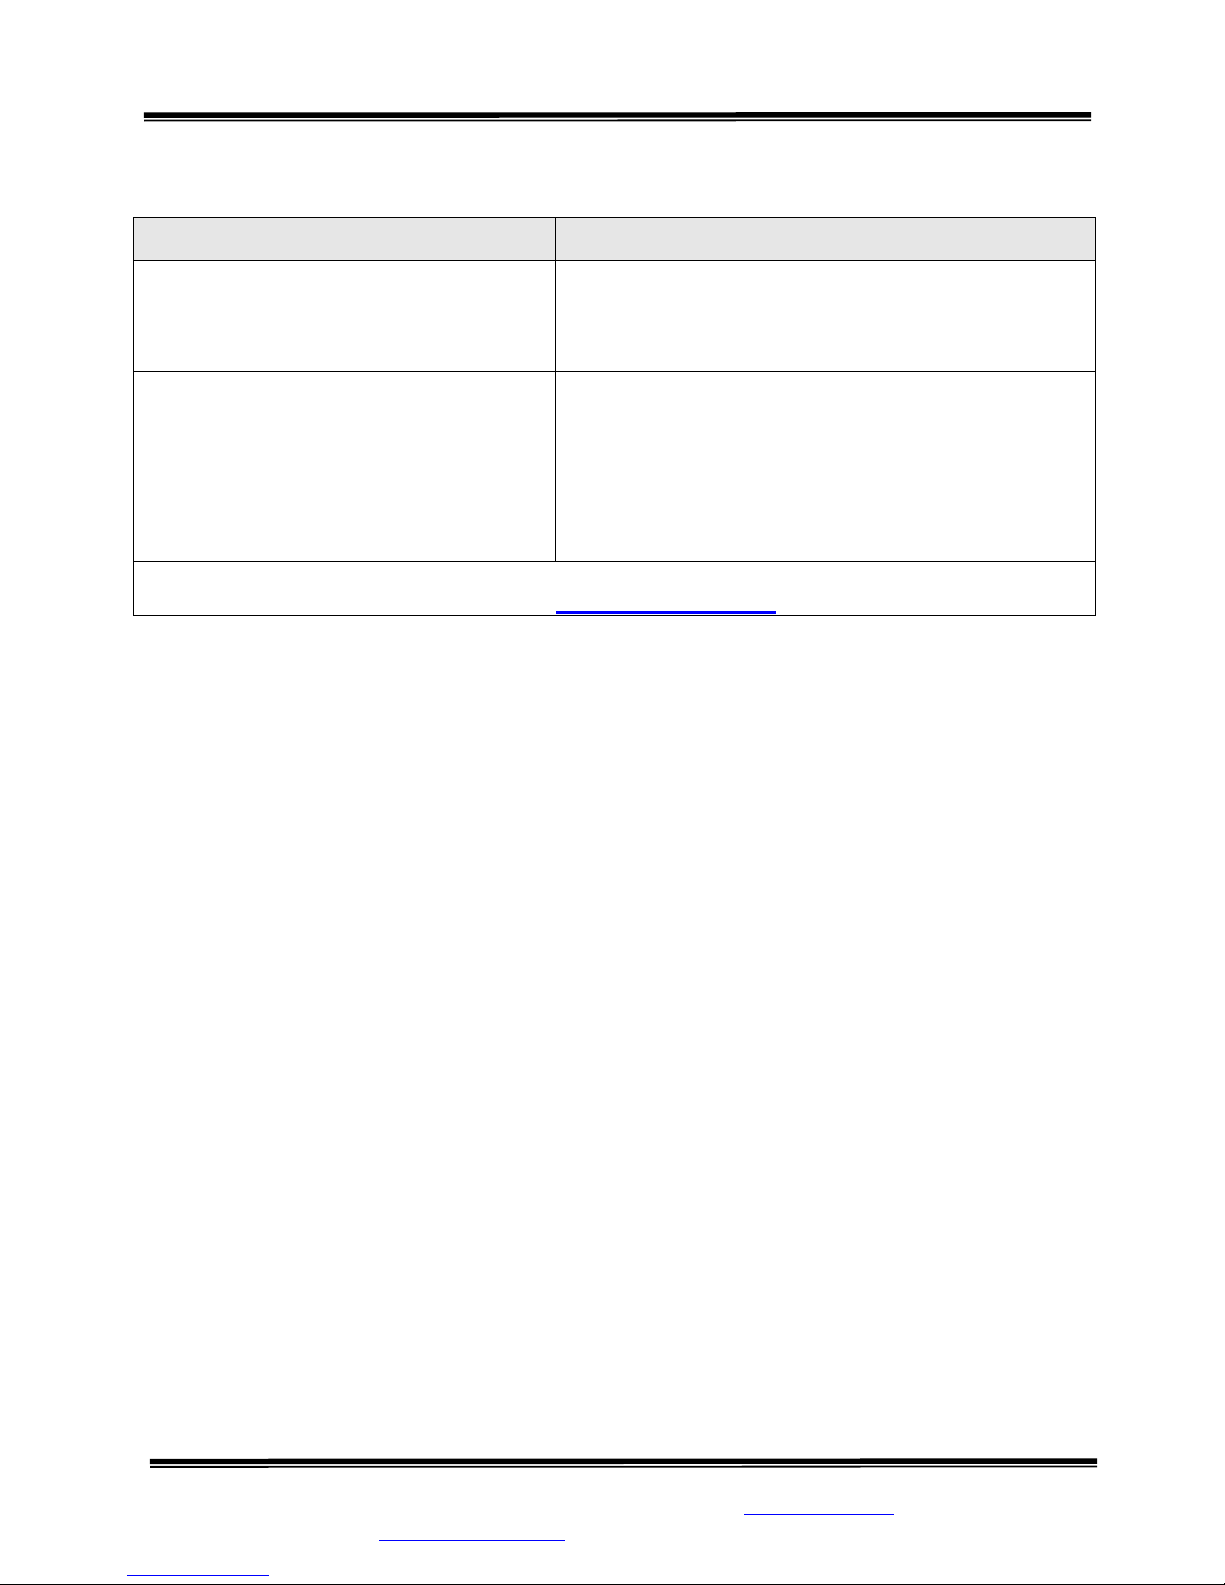
TROUBLESHOOTING
SYMPTOM
REASON/CORRECTIVE ACTION
Weight reading is much lower than
expected.
Check that the platform is clean underneath, stand on
each of the four corners to see if one corner is not
weighing correctly.
System fails to perform correctly.
Check power supply connections.
Make sure the scale is clear of any obstacles and that
nothing, including the vet, is touching the small
animal or scale.
Set scale on smooth, hard floor surface.
For additional information or assistance, telephone our Service Hotline: 1-800-654-6360
or e-mail: sri@srinstruments.com

Model SRV411iSmall Animal Floor Scale
Service Manual
Part No. MANSRV411i_171114 Page 15 of 16
SInstruments, Inc., 600 Young Street, Tonawanda, NY 14150
Tel: 716-693-5977 Fax: 716-693-5854 URL: www.srscales.com
DISPLAY MOUNTING TEMPLATE
Determine installation location for scale and display, keeping in mind the display cable length is
six (6) feet and the display power cord length is four (4) feet. The display may lay flat on a
desk or end table. If desired, provisions for wall mount have been incorporated, and can be
accomplished in the manner described below.
A. The display should be installed by qualified personnel. The mounting hardware provided
will cover most wall applications.
B. Determine a position on the wall comfortable to the user. Mark the location of the two (2)
mounting holes on the wall (holes are spaced 2.5” on center apart) using the template
provide below.
C. Drill the two (2) pilot holes, no larger than ¼” diameter in the locations marked. Install the
two (2) self-drilling screw anchors.
D. Install the two (2) #8 x 1” flat head screws supplied, leaving approximately ¼” projecting
from the wall.
2 ½”

Model SRV411iSmall Animal Floor Scale
Service Manual
Part No. MANSRV411i_171114 Page 16 of 16
SInstruments, Inc., 600 Young Street, Tonawanda, NY 14150
Tel: 716-693-5977 Fax: 716-693-5854 URL: www.srscales.com
S
By SInstruments, Inc.
Precision & Technology in
Perfect Balance
Table of contents
Popular Pet Care Product manuals by other brands

Zoovilla
Zoovilla TOY0151720110 manual

Trixie
Trixie TX2 Instructions for use

Made4.pet
Made4.pet BC-2 user manual

TigerTough
TigerTough Deluxe Clubhouse with Cat-IQ Busy Box Assembly instructions

LitterMaid
LitterMaid Kitty Kabana LME9000MW Use and care book

Carlson
Carlson Pro Pets Saloon Dog Door installation instructions

EYENIMAL
EYENIMAL INTELLIGENT PET BOWL user guide

Liberta
Liberta TURRET Assembly instructions

Lentek
Lentek IO-55 Instruction guide

WaterDog Adventure Gear
WaterDog Adventure Gear WAG Boarding Steps PM-6H owner's manual

Petsafe
Petsafe Classic In-Ground Fence PIG00-17441 Get started

LitterMaid
LitterMaid LM980 Use and care book


