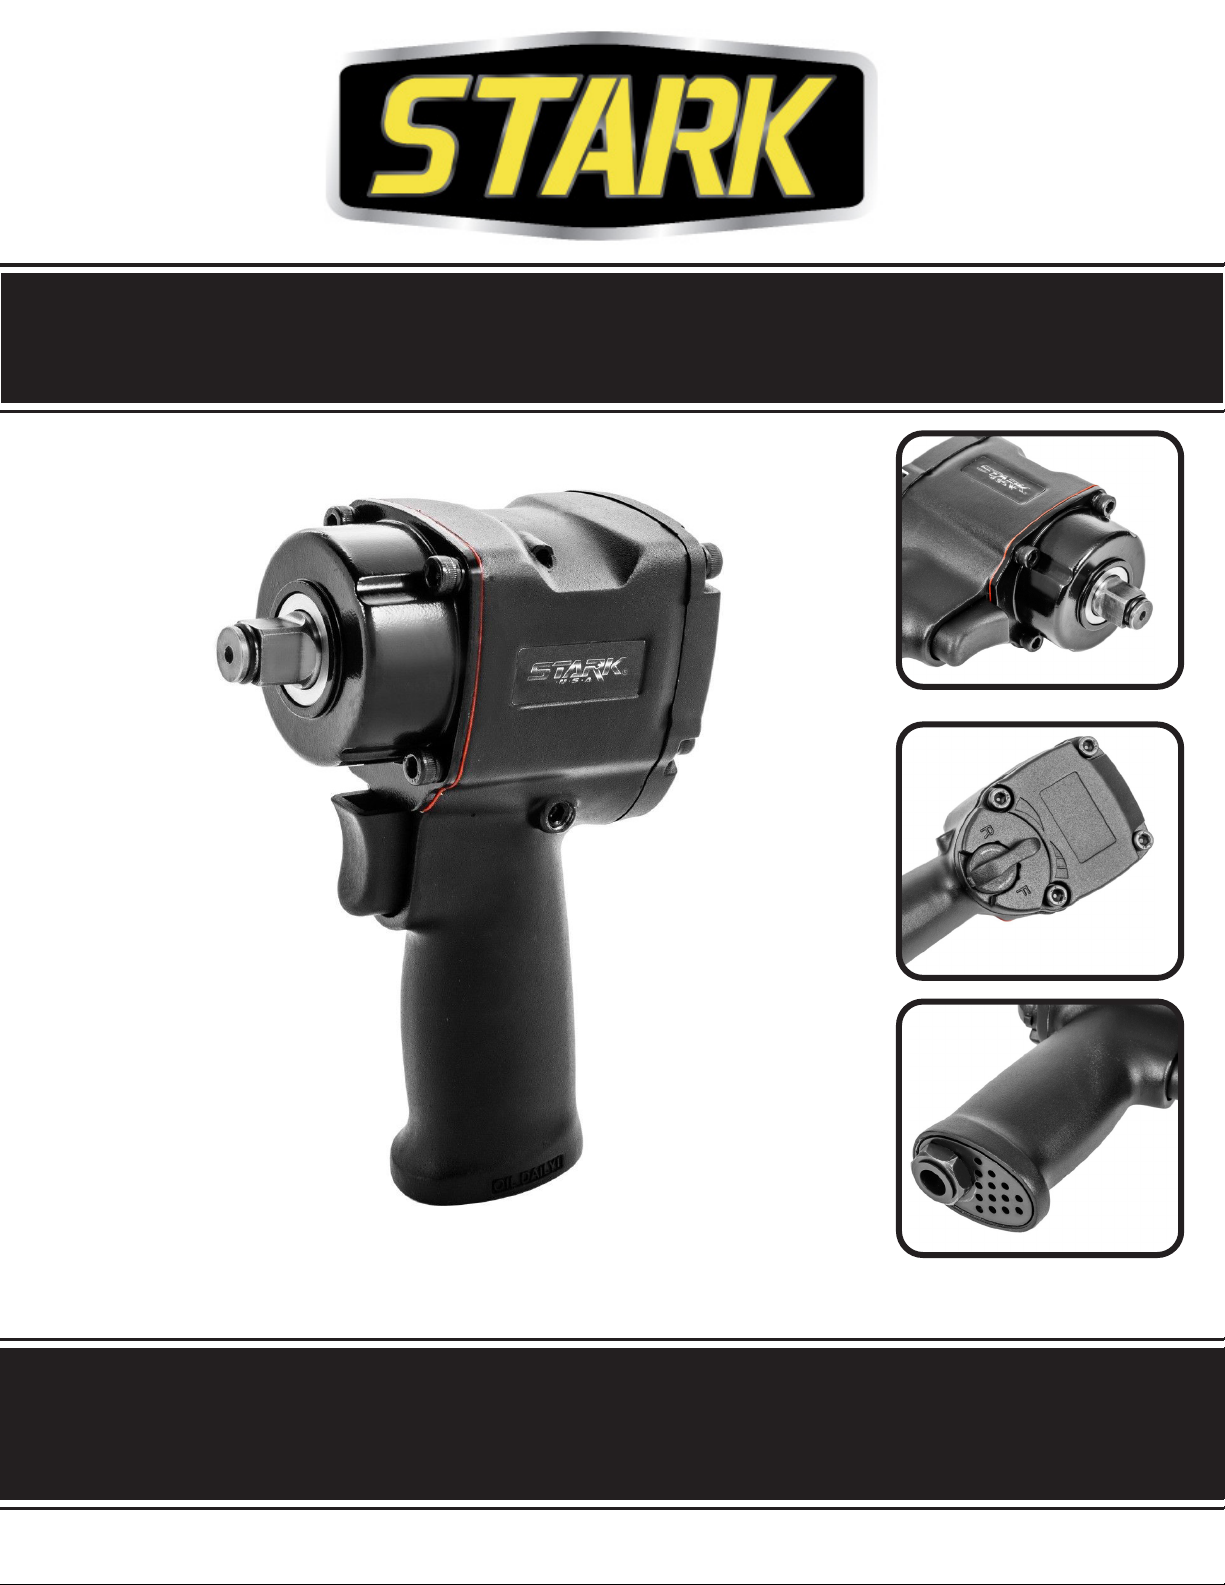
Stark 44421 Original instruction manual

OWNER’S MANUAL AND SAFETY INSTRUCTIONS
AIR IMPACT WRENCH
ITEM # 44421
SAVE THIS MANUAL. KEEP THIS MANUAL FOR SAFETY WARNINGS, PRECAUTIONS, ASSEMBLY,
OPERATION, INSPECTION, MAINTENANCE AND CLEANING PROCEDURES. WRITE THE PRODUCT’S
SERIAL NUMBER ON THE BACK OF THE MANUAL, OR THE MONTH AND YEAR OF PURCHASE IF
PRODUCT HAS NO SERIAL NUMBER
FOR QUESTIONS, PLEASE CALL CUSTOMER SERVICE: 909.628.4900

SAFETY WARNINGS
Read all safety warnings and instructions. Failure to follow the warnings and
instructions may result in injury and/or property damage. Save all warnings and
instructions for future reference.
The warning and safety instructions in this manual are not meant to cover all possible conditions and
situations that may occur. Common sense, caution and care must be exercised when operating or
cleaning tools and equipment. Always contact your dealer, distributor, service agent or manufacturer
about problems or conditions you do not understand before operating the product. Power tool means
two types of equipment: one with power cord and directly powered by external power supply and another
without power cord and powered by battery.
1
Keep children away from the work area. NEVER allow children to handle power tools.
DO NOT use a tool that is leaking air, has damaged or misssing parts, or that requires repairs. Before use,
verify that all screws are tightened.
NEVER attempt ro override the safety features of this tool.
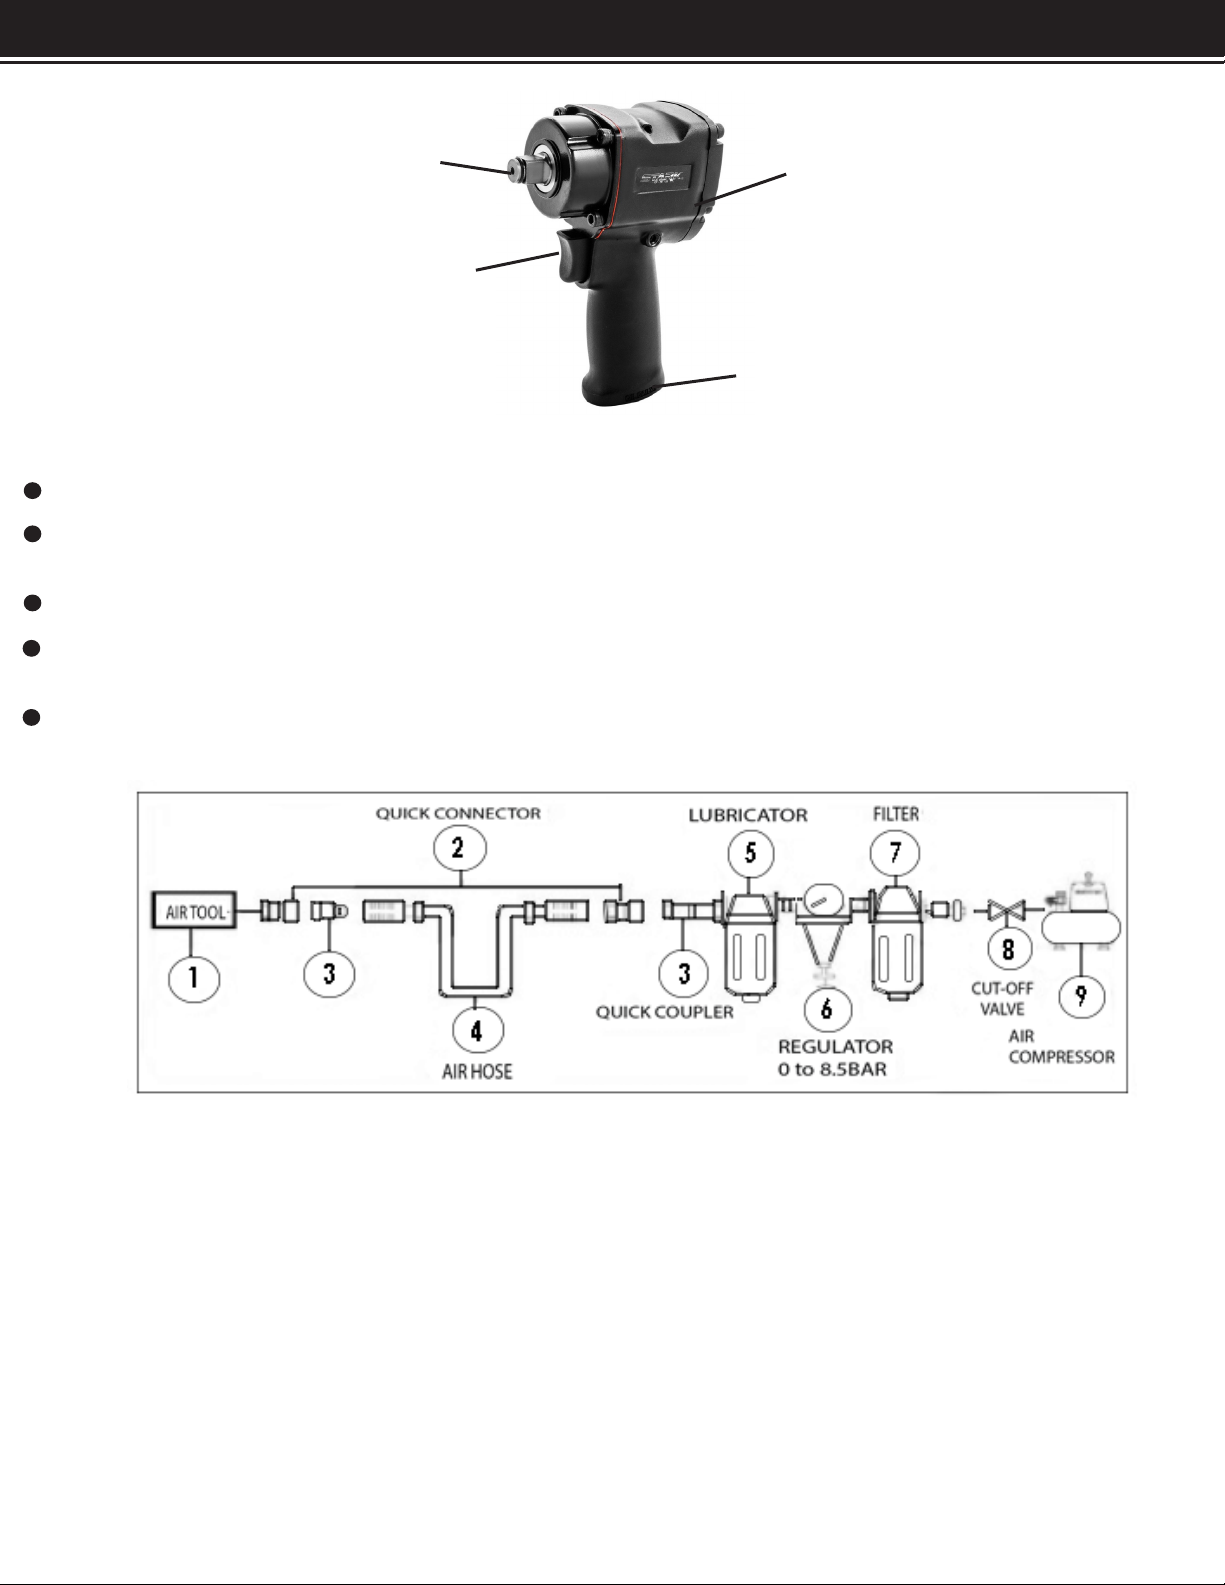
DO NOT use oxygen or any other combustible or bottled gas to power air powered tools. Failure to observe
this warning can cause an explosion and serious personal injury or even death. Use only the compressed air
to power air powered tools. Use a minimum od 25’ of hose to connect the tool to the compressor.
Risk of electric shock: Do not expose the tool to humid or wet environments. Store it indoors only.
Compressor must be grounded. Do not use any grounding adaptors.
Risk of personal injury: Do not direct compressed air from the air hose toward anyone.
Do not adjust the pressure switch of safety valve for any reason. They have been preset at the factory for this
compressor’s maximum pressure. Tampering with the pressure switch or safety valve may cause personal
injury or property damage.
Risk of burns: The pump and manifold generate high temperatures, in order to avoid burns or other injuries,
do not touch the pump, manifold, or transfer tube while the compressor is running. Allow all parts to cool
before handling or servicing.
Conrm the regulator is adjusted so that the compressor outlet pressure is set lower than the maximum
operating pressure of the tool. Before starting the compressor, pull the ring on the safety valve to make sure
it moves freely. Drain water from the tank after each use.
Do not weld or repair the tank. Relieve all pressure in the hose before removing or attaching accessories.
ALWAYS ensure the work piece is rmly secured, leaving both hands free to control the power tool.
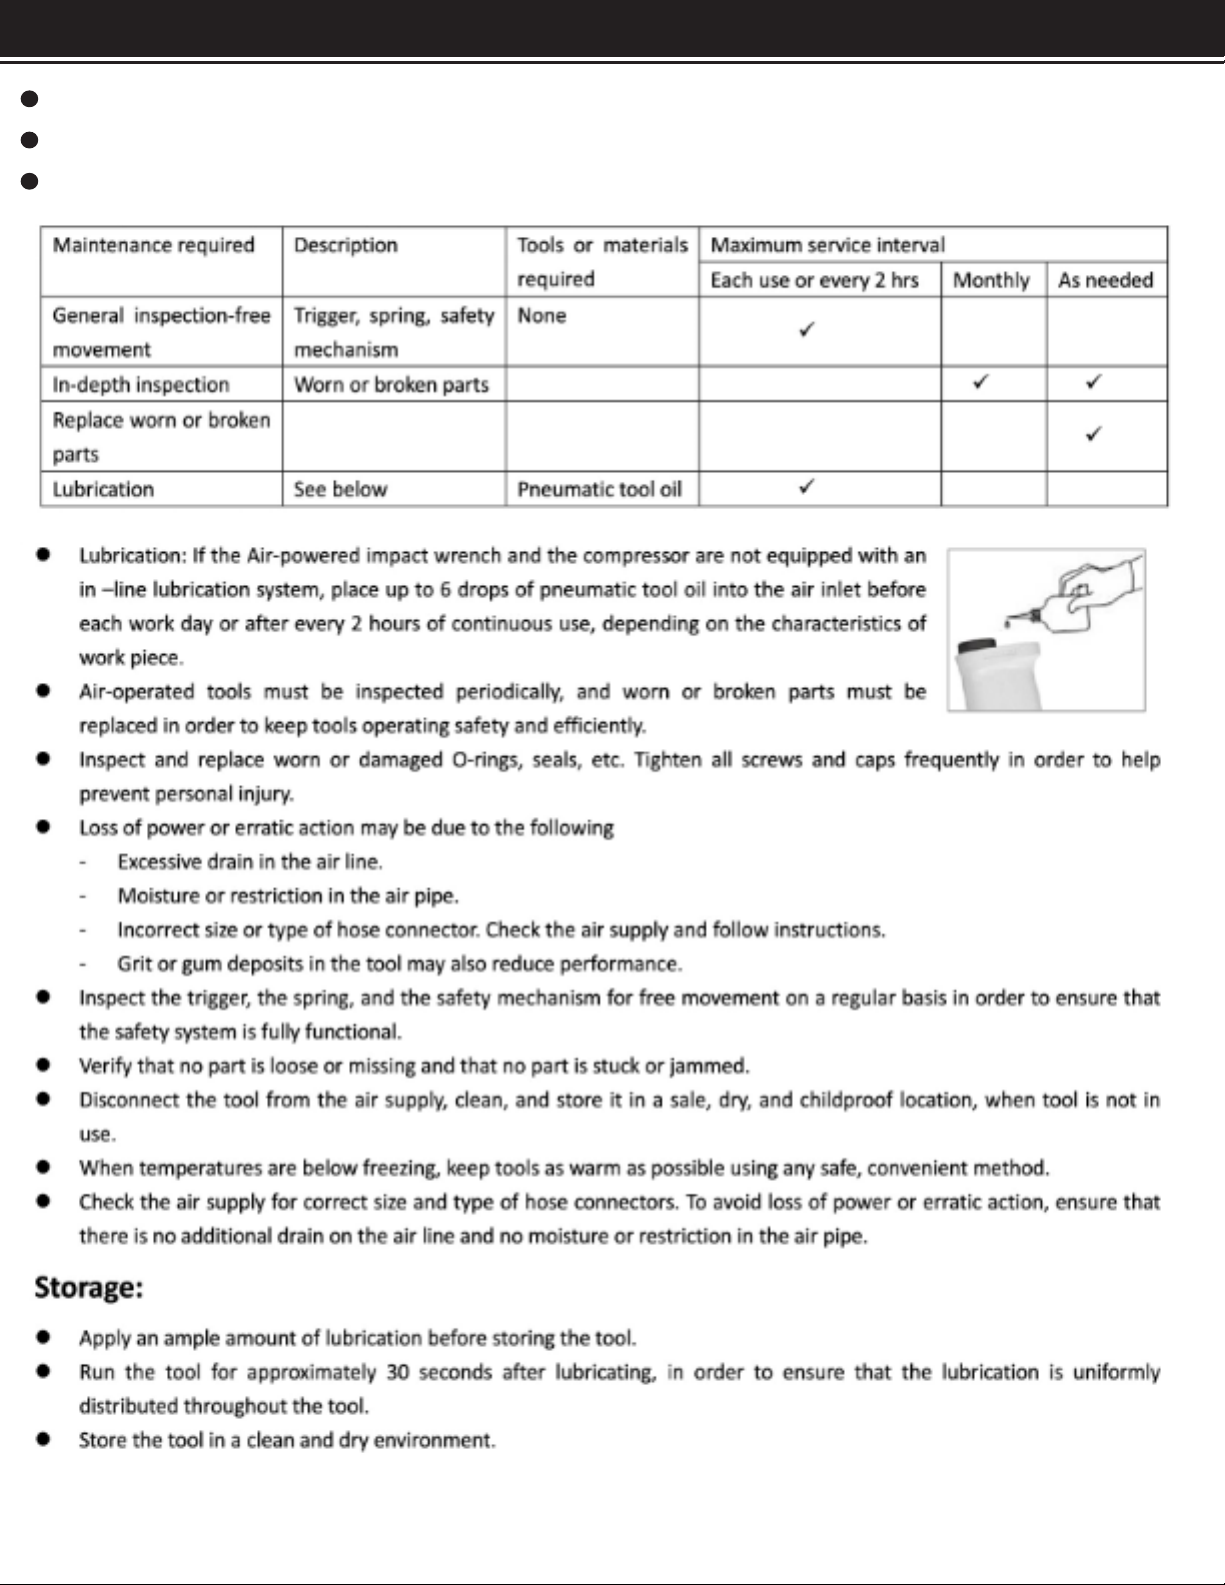
ALWAYS keep your air tool clean and lubricated. Daily lubrication is essential to avoid internal corrosion.
DO NOT overload the tool. Allow the tool to operate at its optimum speed for maximum eciency. Excessive
overload can cause the tool casing to split and may lead to excessive wear on moving parts.
Use only lightweight coil hoses for connecting the tool to the compressor coupling. Do not t quick change
couplings onto the tool. Vibration can lead to damage or failure of the coupling.
ALWAYS ensure the tool has stopperd before connecting it to the air supply.
Verify the grinding accessories that are used with this tool are rated at or above the tool’s speed rating
(8500RPM). Failure to properly match the accessory to the tool could result in serious injury.
Ensure the accessories are correctly and securely fastened before connecting the tool to air supply.
Locate the compressor in a well ventilated area. For cooling at a minimum of 12” away from the nearest wall.

SAFETY WARNINGS SAFETY WARNINGS
SAVE THESE WARNINGS.
1 2
Protect the air hose and power cord from damage and puncture. Inspect them for weak or worn spots and
replace them as necessary.
ALWAYS wear hearing protection when using the air compressor. Failure to do so may result in hearing loss.
Do not carry the compressor while it is running.
Do not operate the compressor on a rooftop or in an elevated position that may cause the unit to tip or fall.
Keep proper balance at all times when using the Impact Wrench.
Do not wear jewelery or loose clothing when operating the tool.
Inspect the tool consistently to ensure free movement of the trigger, safety mechanisms and springs.
Keep the work area well lit and clear of obstructions.
Handling and storing oil: Use with adequate ventilation. Avoid contact with eyes, skin and clothing. Avoid
breathing in. Store in a tightly closed container in a cool, dry area away from ammables.
Do not operate or store the tool in freezing temperatures.
Disconnect the tool from the air supply and turn o the compressor before changing accessories, performing
maintenance or when the tool is not in use. Failure to comply may result in injury and damages.
Use safety goggles and ear protection when operating the tool/compressor and verify that others in the work
area are also wearing safety equipment. Air powered tools are loud and the sound can cause hearing damage.
Verify that all the connections in the air supply system are sealed in order to prevent air from leaking. Failure
to comply will result in moderate injury or damage to the equipment.
Drain the compressor tank daily. Water in the air supply line will damage the tool.
Clean the air inlet and the lter weekly to avoid damage to the tool.
Do not use oxygen or any other combustible or bottled gas to power the tool.
Keep hose away from heat, oil and sharp edges. Check hose for wear and tear and ensure that all connections
are secure. Failure to comply could lead to serious injury.

TECHNICAL INFLORMATION
3
PARTS INFORMATION
OPERATION
DIRECTION OF
ROTATION KNOB
SQUARE DRIVE
HEAD
TRIGGER
AIR INLET
AIR SYSTEM
Always use a clean, dry, regulated, compressed air at 4 to 7bar (60 to 100PSI)
Do not exceeed the maximum and minimum pressure. Operating the tool at the wrong pressure. Operating
the tool at the wrong pressure (too low or too high) will cause excessive noise or rapid wear.
It is recommended that a lter-regulator-lubricator be used and be located as close to the tool as possible.
If a lter-regulator-lubricator is not installed, place up to 6 drops of pneumatic tool oil into the air inlet plug
before each use.
If a lter-regulator-lubricator is installed, keep the air lter clean. A dirty lter will reduce the air pressure to the
tool, which will cause reduction in power, eciency and general performance.
LOADING AND OPERATION
1. Plug in the compressor, turn it on and set the pressure regulator to 90PSI. Attach one end of the air hose to
the compressor and the other end of the air hose to the tool. Use plumber’s tape to avoid an air leak.
2. Place and lock the socket over the square drive of the air-powered impact wrench.
3. Place the socket over a nut to be removed or installed and press the trigger at the top of the handle to operate
to tool
4. For reverse rotation, press the speed control knob on the left side of the tool. For forward rotation, press the
speed control knob on the right side of the tool. Rotate the speed control knob on the left side of the tool during
reverse rotation to control the speed of the air ow as required. Rotate the speed control knob on the right side
of the tool during forward rotation to control the speed of the air ow as required.
5. After using the tool, disconnect the air hose from the tool.

TECHNICAL INFLORMATION MAINTENANCE
2
Disconnect the tool from the air supply before changing accessories or servicing.
Use only recommended and properly rated replacement parts.
Repairs must be performed by a qualied technician.

5
TROUBLESHOOTING
4

OF NOTE
5
PLEASE READ THE FOLLOWING CAREFULLY
THE MANUFACTURER AND/OR DISTRIBUTOR HAS PROVIDED THE PARTS LIST AND ASSEMBLY
DIAGRAM IN THIS MANUAL AS A REFERENCE TOOL ONLY. NEITHER THE MANUFACTURER OR
DISTRIBUTOR MAKES ANY REPRESENTATION OR WARRANTY OF ANY KIND TO THE BUYER THAT HE
OR SHE IS QUALIFIED TO MAKE ANY REPAIRS TO THE PRODUCT, OR THAT HE OR SHE IS QUALIFIED
TO REPLACE ANY PARTS OF THE PRODUCT. IN FACT, THE MANUFACTURER AND/OR DISTRIBUTOR
EXPRESSLY STATES THAT ALL REPAIRS AND PARTS REPLACEMENTS SHOULD BE UNDERTAKEN
BY CERTIFIED AND LICENSED TECHNICIANS, AND NOT BY THE BUYER. THE BUYER ASSUMES
ALL RISK AND LIABILITY ARISING OUT OF HIS OR HER REPAIRS TO THE ORIGINAL PRODUCT OR
REPLACEMENT PARTS THERETO, OR ARISING OUT OF HIS OR HER INSTALLATION OF REPLACEMENT
PARTS THERETO.
Record Product’s Serial Number Here:
Note: If product has no serial number, record month and year of purchase instead.
Note: Some parts are listed and shown for illustration purposes only and are not available
individually as replacement parts.
MADE IN CHINA
4
Table of contents