The amplifier can be turned-on automatically by, for example, your preamp/processor by
connecting a 12-volt trigger wire to TRIGGER IN. You can use TRIGGER OUT to connect a
“downstream” component such as another amplifier to also be turned-on automatically.
Connect the power cord to AC INPUT and plug the other end into a 120-volt wall socket.
Set the rocker switch to ON to power-on the amplifier.
Your AD4.320 can also serve as a 2-channel or 3-channel amplifier, delivering greater
power to 2, or to 3 channels. This is done by “bridging.” For 2-channel operation, first,
TURN OFF THE AMPLIFIER. Then, set both switches to BRIDGE.
Connect your inputs and outputs to 1 and 3 (INPUTS can be unbalanced RCA or balanced XLR;!
set toggle switches accordingly and use speaker wire for OUTPUTS). Twice the power will be
delivered to OUTPUTS 1 and 3. Only turn on the amp AFTER these changes are made.!
For 3-channel operation, first, TURN OFF THE AMPLIFIER. Then, set one switch (left one in this
example) to BRIDGE. Connect your inputs and outputs to 1, 2 and 3 (INPUTS can be unbalanced
RCA or balanced XLR; set toggle switches accordingly and use speaker wire for OUTPUTS). Twice
the power will be delivered to OUTPUT3. Only turn on the amp AFTER these changes are made.
Operation
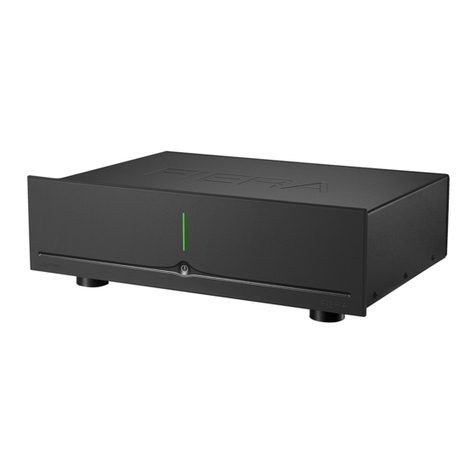
Vertical light on the front panel should be green. If it turns yellow, power-off, wait, then restart.


