StereoVision 3D VuCAM User manual

3D VuCAM™
User Manual, Rev 1.11
Firmware Version 0.98b
S ereoVision Imaging, Inc.
1
We are the Eyes of the World

In roduc ion
Thank you for purchasing he 3D VuCAM™.
3D VuCAM™ is the world’s first 3D/2D synchronized image
capturing digital binocular that can be easily handheld
portable and has HDTV resolution. Equipped with high
performance
optics
it
features
8
X
magnification
separate
performance
optics
it
features
8
X
magnification
separate
left and right eye focusing adjustment and adjustable
inter-ocular eyepieces for different face sizes.
The 3D VUCAM ™ incorporates automatic image focusing
and exposure – making it easy for new photographers to
consistently capture great 3D images. Professionals can
also take advantage of the fact that the two internal
cameras are controlled by one shutter button.
Furthermore the 3D VUCAM ™ is capable of saving RAW
as well as JPEGs.
The 3D images are now just a button click away. Check the
quick start and quick operational guide to begin.
Add another dimension to your photographs
with the 3D VuCAM™.
2

Table of Con en s
Checklist ……………………………………………………………………………4
Nomenclature …………………………………………………………………..5
Nomenclature …………………………………………………………………..6
Nomenclature …………………………………………………………………..7
Quick Start ……………………………………………………………………..…8
Quick Start ……………………………………………………………………..…8
Quick Operational Guide …………………………………………………..9
Menu Operations ………………………………………………………….... 10
File Format ……………………………………………………………………... 11
Display …………………………………………………………………………….. 12
Camera ……………………………………………………………………………. 13
Focus …………………………………………………………………………….... 14
Setup ………………………………................................................... 15
Tips on Stereo Photography ……………………………………………. 16
3D VuCAM™ Specifications ……………………………………………... 17
Software Specifications ………………………………………………..…. 18
Warranty Information ……………………………………………………… 19
Revision log ……………………………………………………………………… 20
Contact Info …………………………………………………………………….. 21
3

Check Lis
Before starting please check that all of the items listed
below have been included in your shipment.
3D VuCAM™
Compact Flash Card
4 NiMH AA Batteries
USB Cable*
USB Cable*
Battery Charger
Power Supply
RCA Cable
Neck Strap
Carrying Case
User Manual
Brochure
CD ROM
Anaglyph Glasses
* NOTE: Please use the USB cable provided only.
4

Nomencla ure
5

Nomencla ure
1Capture stereo images.
2- Turn ON: Press to turn on.
- Turn OFF: Press for 3 seconds.
- Go to startup screen from anywhere within the
menu.
menu.
3View images on flash card.
4To enter LCD menu or used whenever requested by the
interface.
5a. Left and right arrows to navigate in and out of
the menu interface.
b. Navigate between different images present on
the flash card in Display mode.
6a. Up and down arrows to navigate up and down
of the menu interface.
b. Navigate between left/center reticule/right
image of the one single image in Display
mode.
7Manual Focus Knob: Manually focus left eye to object
of interest. 6

Nomencla ure
8 Correct for any discrepancy between left and right
eye using right eye correction by rotating the rims
on the right eye.
9 Push both the eye-pieces from this position to adjust
for
inter
-
ocular
distance
(distance
between
the
eye)
.
for
inter
-
ocular
distance
(distance
between
the
eye)
.
10 Video Port. (optional)
11 High Speed USB 2.0.
12 3Vdc power input port.
13 2 AA batteries to be inserted as indicated on the
panel inside the battery holder.
14 Compact flash card slot. Goes in upside down like
shown in the picture on page 5.
7

Quick S ar
Put 2 charged AA batteries in the battery cage.
Adjust the eye pieces to compensate for the distance
between the eyes.
Place the object of interest within the reticule looking
through the 3D VuCAM™ and use the round focusing
knob to focus to the left eye.
Adjust
the
right
eye
focus
using
rims
on
the
right
eye
********************************
IMPORTANT: CALIBRATE BEFORE USE
********************************
Adjust
the
right
eye
focus
using
rims
on
the
right
eye
piece.
Turn ON the 3D VuCAM™ by pressing POWER button.
Set CALIBRATION by going to Focus->Calibrate AF
->press ENTER->press POWER to come to main screen-
>press SHUTTER.
It will take ~ 10 seconds for the system to calibrate.
Hold the 3D VuCAM™ steady pointing at what you are
focusing till you hear first beep. If there is a problem
simply repeat calibration
After second beep the 3D VuCAM™ is ready for the
next shot.
All the shots after this will be faster to process.
You can use up and down arrows to view the left
center and right image of the shot captured.
Thank you for purchasing the 3D VuCAM™.
8

Quick Opera ional Guide
Push/pull along the bottom of both the eye pieces to
adjust for inter-ocular distance (distance between the
eyes). See #9 on the diagram on page 5 and 7.
Use round focusing knob to focus to left eye.
Use rims on the right eye piece to correct the focus
for the right eye.
Use
ENTER
to
see
MENU
options
.
Use
ENTER
to
see
MENU
options
.
Use POWER as an Escape key to come out of MENU
any time.
Hold steady after shutter press: After pressing
SHUTTER button hold the 3D VuCAM™ steady till the
first beep sounds. 3D VuCAM™ will be ready for the
next shot after the second beep.
CALIBRATION: Every user needs to calibrate the Auto
Focus mechanism to their eyes each time the 3D
VuCAM™ change hands. See page 8 on how to do
that.
Too Dark/AE Failed/Too Bright: 3D VuCAM™ will not
capture an image if the scene is too dark or too bright
(rarely occurs). See page 13 on how to capture in
those conditions.
Triple Beep will sound on SHUTTER press if no
compact flash card is present.
9

Menu Opera ions
Press ENTER button to view the Main menu.
Use to navigate through the menu.
Press POWER button to come out the menu anytime.
Press POWER button to come out the menu anytime.
Press DISPLAY button to view images on the card.
–Use to navigate through images and to
view left center and right
images of the same shot.
–Press ENTER to delete any image.
–Press POWER to come out of display mode.
10

File Forma
Format 0: Captures only Jpeg.
1: Captures only Raw. VUR format. Needs
DCRAW program with the patch for VUR
conversion to convert to Adobe RAW
standard
or
TIFF
format
.
A
link
to
the
copy
of DCRAW can be found in the HELP tab of
SVI’s PC based download utility.
2: Captures both Raw and Jpeg.
Quality Set the quality parameter for Jpeg.
Default = 85. Higher quality factor would
mean lower compression and larger file size.
Small Crop 0: 2048 by 1536 image size captured.
1: 640 by 480 image size captured centered
at the center of the image.
11
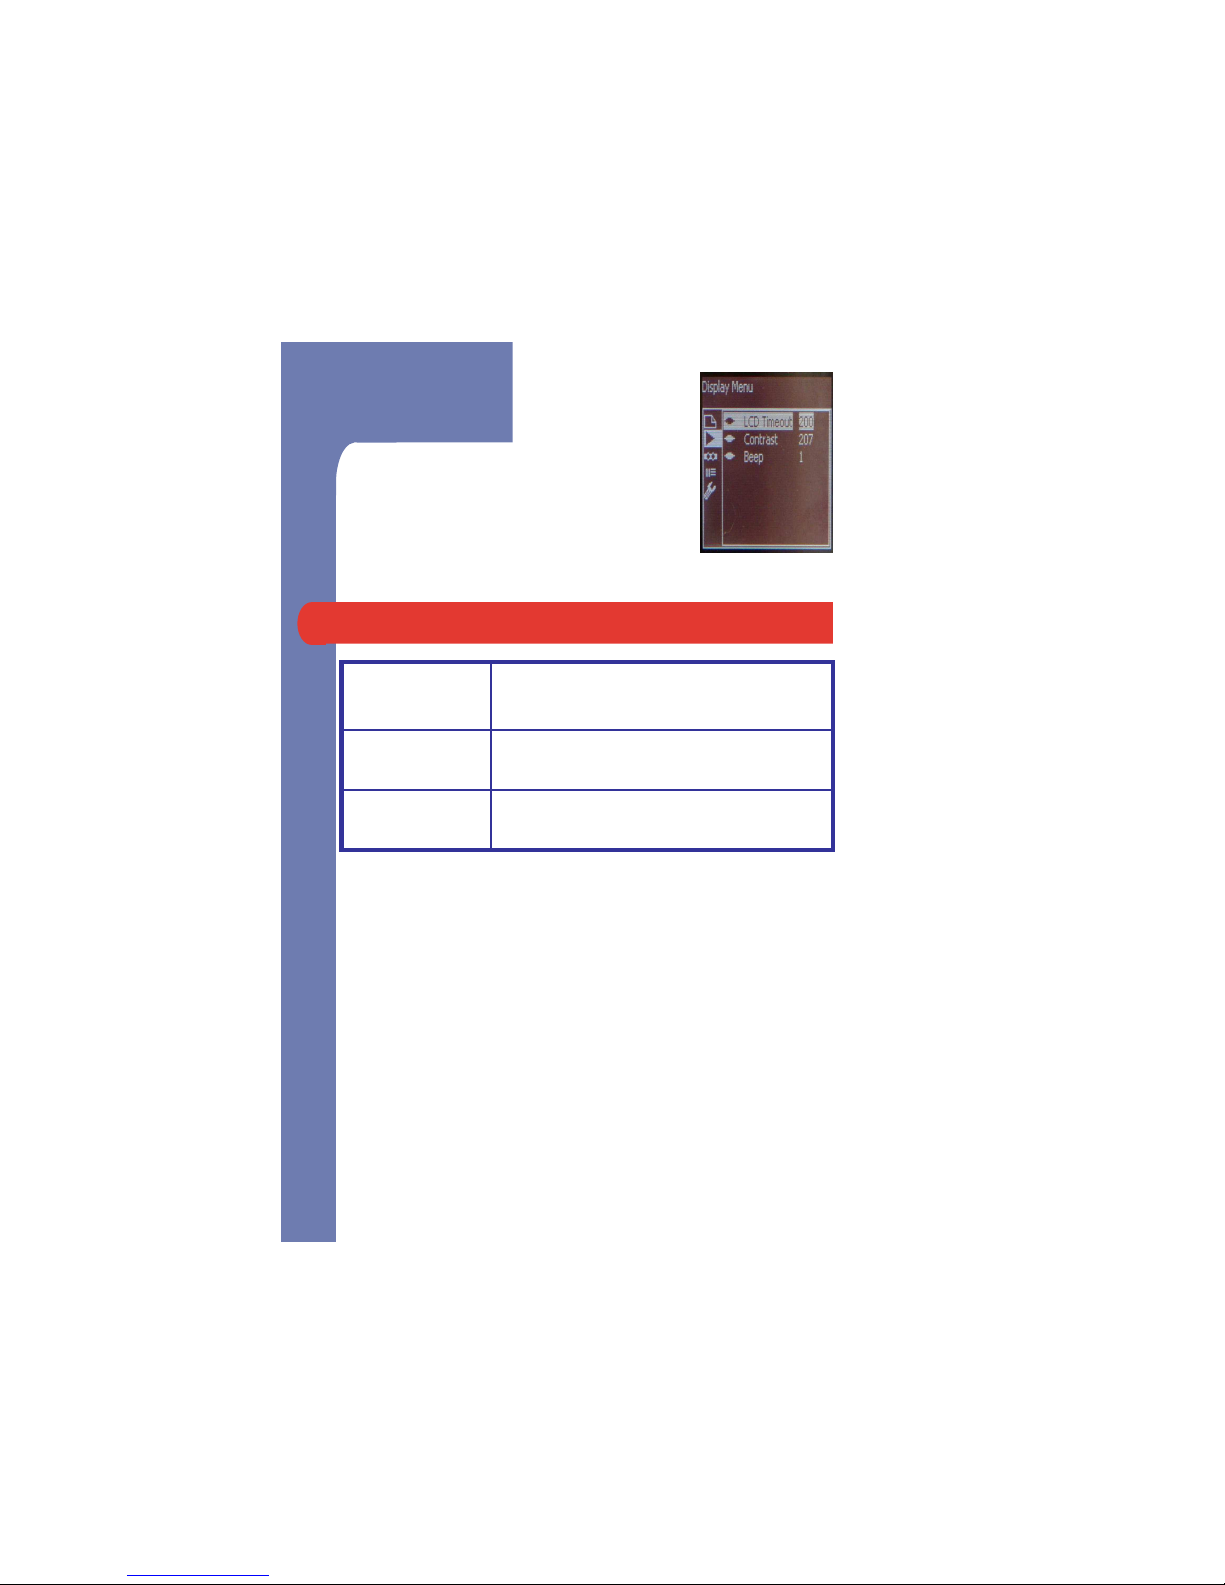
Display
LCD timeout Number of seconds after which the LCD
will become dim to save power.
Contrast Change the contrast of the LCD.
Beep Turn ON/OFF the beep sound on
pressing menu buttons.
12
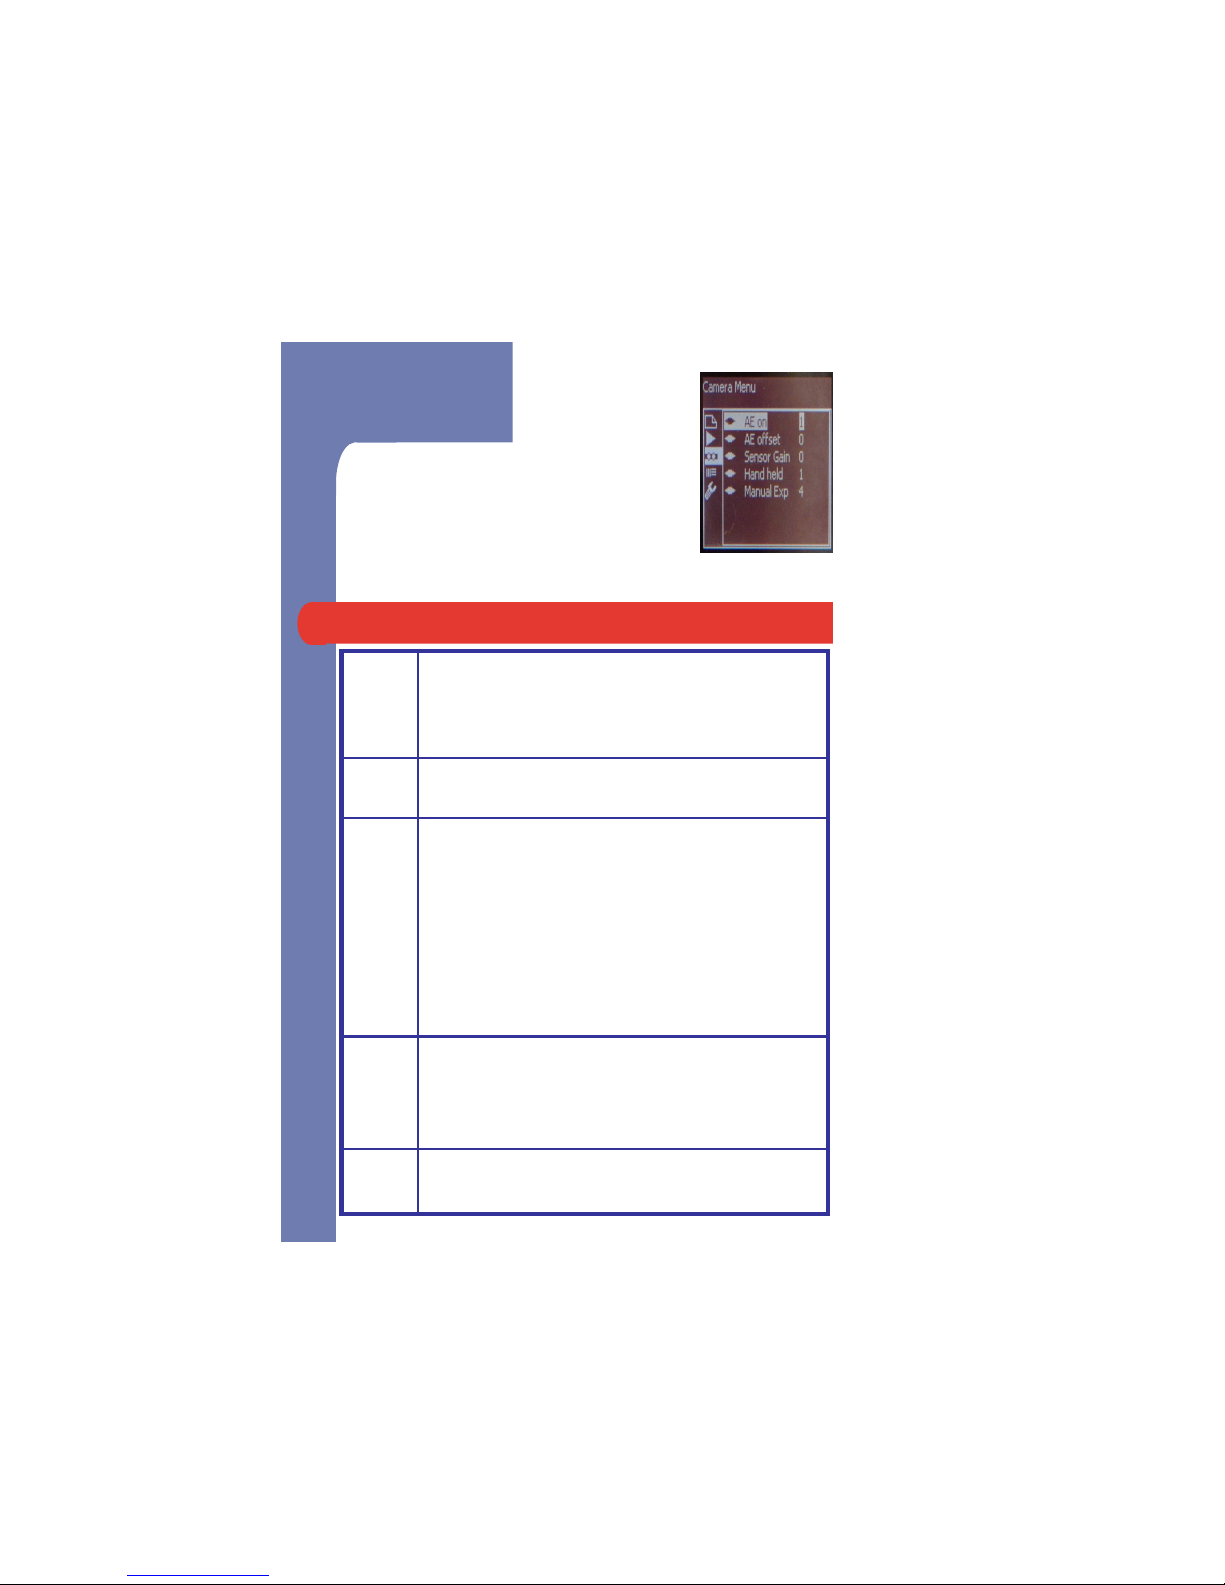
Camera
AE ON Auto Exposure.
1: ON
0: OFF manual exposure takes into effect.
AE
Offset
Increase or decrease brightness/shutter speed
in the image.
Offset
in the image.
Sensor
Gain
Increase or decrease brightness/shutter speed
in the image. 1 step is equivalent to 0.5EV steps.
(EV=Exposure Value)
Optimal is “4” when too cloudy/stadium and if
the 3D VUCAM™ says “Too Dark”.
If Gain set too high(7-10) then noise will come
in.
See AE offset for another option.
Hand
held
3D VUCAM™ will not take picture if “Too
Dark”. Use a Tripod and set handheld = 0.
See Sensor Gain and AE Offset if do not want
to use Tripod.
Manual
Exp
Set AE ON = 0 to use manual exposure. 1 step is
equivalent to 0.5EV steps.
13

Focus
AF Track Auto focusing range. Can be increased or
decreased depending upon how good the
user is at manual focus. Optimal is 5.
Increasing the range would mean longer time
to capture. See below for more info.
AF start pos Start of the range of AF travel.
AF start pos = User calibrated position – AF
track (after calibration).
AF end pos End of the range of AF travel.
AF end pos = User calibrated position + AF
track (after calibration).
Calibrate AF Calibrates auto focus for individual user’s
eye. One time setup necessary to do when-
ever3D VUCAM™ is used by a new user.
In Calibration mode the first shot will take a
long Auto Focus cycle. Hold the VuCAM
steady till you hear the first beep.
If images are not in focus repeat
CALIBRATION procedure.
14

Se up
Set Defaults All the user settings will be replaced by
factory defaults.
Update
Firmware
To change to a new software upgrade.
15

Tips on S ereo Pho ography
The whole object should be captured in the image
without clipping an object at the any side.
For greater 3D effect the images can be captured
along the longer seam of the object.
Try to capture more than one object in an image thus
providing
visual
relativity
of
distance
.
providing
visual
relativity
of
distance
.
The farther the object the more distance between
objects is better.
To have pop-out effect from the screen align the
farthest objects in the two images using the software.
To have a better pop-out effect the closest object
should be in focus.
Better color and contrast also increases 3D effect.
16

3D VuCAM™ Specifica ions
Magnification ( Fixed ) 8x
Objective Lens Size 40 mm
Optics BAK-4
Design Roof Prism
Focus System Auto & Manual
Field of View 6.5 °( 340 feet at 1000 yards)
Close Focus 15 Feet
Exit Pupil
4.5 mm
Exit Pupil
4.5 mm
Eye Relief 16 mm
Interocular Distance 3 inches
3-D Image Resolution 3.1 MegaPixel (2048x1536) per image
Shutter Response Time 12 seconds/stereo pair
Digital Outputs Flash Memory Card USB
Video Outputs (optional) RCA Connector (Analog )
Software Application PC based download utility
Image JPEG and RAW
Memory Card Removable Compact Flash Type II
Battery Type 2 AA NiMH rechargeable or 2 AA Alkaline
Batteries Life 40 Stereo Images (typical)
Temperature Range 0 °to 40°C
Dimensions ( L x W x H ) 6.2 x 6.4 x 2.8 inches
Weight < 2 lbs.
17

Sof ware Specifica ions
StereoVision Imaging’s software utility is provided in the
CD ROM that can be used to download the images from
the 3D VuCAM™. It will save the left/right/log/thumbnail
to the specific folder provided by the user. Please review
VuCAMDownloadUtilityReadme.txt file included in the CD
for further instructions and installation information.
Minimum System requirements for the software utility
are:
–800 MHz Pentium III
–512 MB RAM
–Windows OS:
XP SP2
Windows Vista
–Screen Resolution: 1024x768
–64-bit operating systems are not supported.
Stereo Viewing Software
StereoVision Imaging recommends the Stereo Photo
Maker for viewing 3D images. Latest version can be
downloaded from :
http://stereo.jpn.org/eng/stphmkr/index.html
18

Warran y Informa ion
TWO-YEAR LIMITED WARRANTY
Congratulations on purchasing your new StereoVision
Imaging 3D VuCAM™. This product is warranted to be free
of defects in materials and workmanship for two years
after the date of purchase. This warranty does not cover
damages
caused
by
misuse
improper
handling
damages
caused
by
misuse
improper
handling
installation or maintenance provided by someone other
than StereoVision Imaging’s Technical Support
Department. This warranty applies only to product
purchased in the United States and is valid only to the
original purchaser. This warranty is non-transferable.
In the event of a defect under this warranty we will at
our option repair or replace the product provided that
you return the product postage prepaid to StereoVision
Imaging Inc. 2400 N. Lincoln Avenue Altadena CA
91001. A check/money order in the amount of $15.00 to
cover the cost of inspection and handling must be
included. Please be sure to include your name telephone
number and mailing address along with an explanation of
the defect found. Note that product should be well
packed in a sturdy outside shipping carton to prevent
damage in transit with return postage prepaid. This
warranty gives you specific legal rights and you may have
other rights which vary from state to state. If you require
non-warranty repairs these will be provided at a
reasonable cost. 19

Revision Log
Revision version 1.11 Dated 7th August 2008.
–Added information regarding DCRAW conversion
tool to convert SVI’s VUR file format to readable
RAW on page 11 ( File Format).
Revision version 1.1 Dated 7th August 2008.
Corrected page numbering error on page 7
20
–
Corrected page numbering error on page 7
(Nomenclature) and 9 (Quick Operational Guide).
–Correction made to page 8 (Quick Start) related to
AF Calibration.
–Correction made to page 9 (Quick Operational
Guide) related to AF Calibration.


