Sterling Flotation Series User manual

OWNMAN SS REV 02/09

Assembly Instructions for 8" and 6.25" Fill Depth
Sterling Soft-Sided Flotation Bed Systems
1. Assemble the metal bed frame according to the separate bed frame manufacturer's
instructions and attach the headboard and footboard if necessary. A heavy duty
metal bed frame with center support is required. Place the bed frame
in the exact location you intend for the bed, making sure an electrical outlet is nearby
if a heater will be used.
2. Place the box foundation on the metal bed frame with the white law label at the head
of the frame. Install any dust rues you may have now.
3. Unzip and remove the quilted top panel from the cover border. Place the cover border on
top of the foundation, white law label at head of bed. Pull the corners of the border down
over the foundation corners. This will keep the cover border square and in place while you
set up and ll your mattress.
4. Assemble the foam cavity following the example drawing at the left. Place the longer
side rails on top of the bed at the sides and the shorter rails at the head and foot of the bed.
Square the sides with the foundation and insure there is equal spacing on all sides of
the cavity to the foundation. Pull the cover border up around the foam rails.
5. After you have assembled the foam perimeter, install your heater. Follow the heater
manufacturer’s instructions carefully for proper installation. This system has been designed
Run the electrical cord and temperature probe down through the holes provided in the white
bottom cloth of the cover border.
CAUTION: Do not plug the heater into a power source until the bed is completely
assembled and lled with water. Failure to follow this instruction will
invalidate your warranty and could cause damage to other components
of the bed or personal injury.
CAUTION: When you ll the water mattress later in the setup process, put enough water
in your mattress so that you cannot make the top sheet “bottom out”. Any
contact with the bottom of the bed when sitting or lying on the bed is considered
“bottoming out.” Bodily contact directly over the surface of the heater pad may
cause damage or personal injury.
CAUTION: We do not recommend the use of a waterbed to anyone who cannot
sense hot and cold or cannot move themselves without help.
to be used with a waterbed having a rigid support for the heater and water mattress.
Cover Border
Foam Perimeter Rails
in place
Cover Border
Folded down over
Foundation
Cover Border
Pulled Back up
For Dual Mattress only
- Beginning in 2007 Sterling softsided watermattresses were delivered with CONTOUR
safety liners unless a dealer specically requested the old style tted liner. As of 2008,
only contour liners were supplied by the factory. Both types of liner work well and are
interchangeable.
If a waterbed heater is being used, it must be installed before the safety liner and
watermattress are installed
We recommend the use of a heater to better prevent mildew in humid climates’and for
comfort. Follow the heater maker’s instruction.
Make sure the heater is unplugged 1
OWNMAN SS REV 02/09
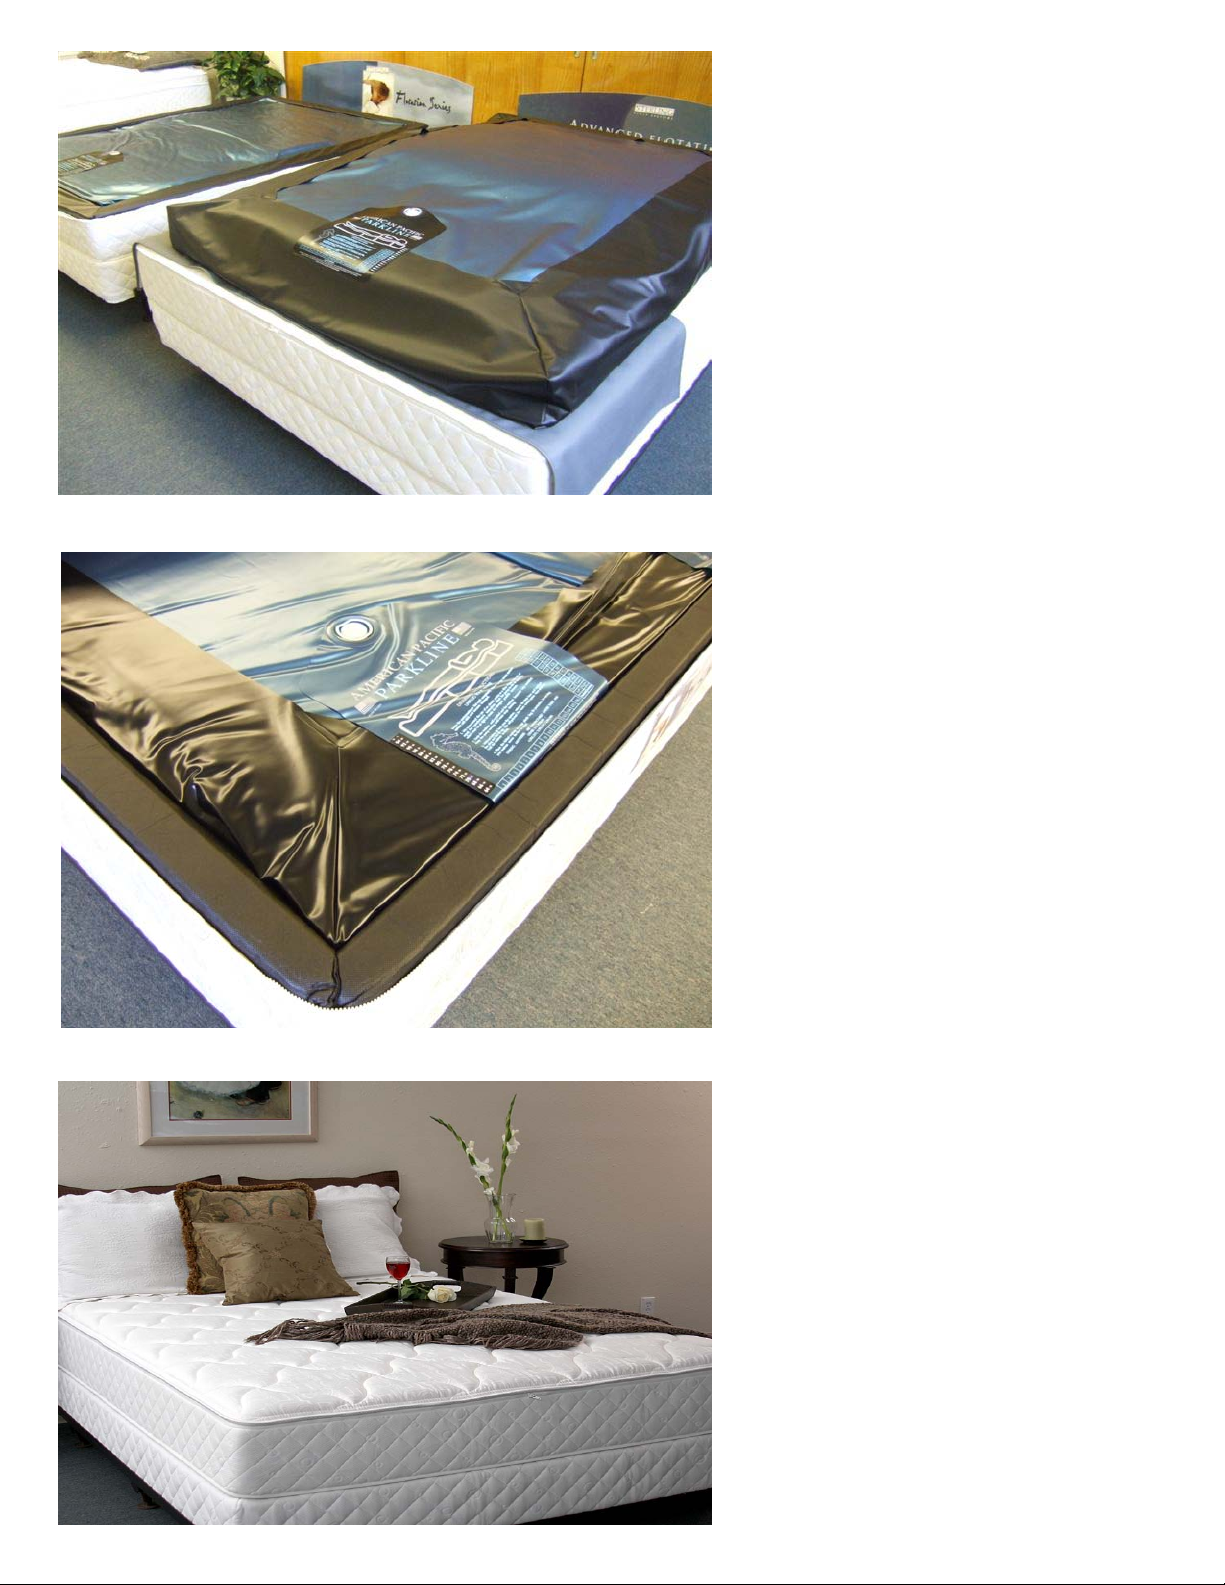
The far bed in the photo is a properly
installed watermattress with a FITTED
safety liner as used before 2007.
The bed in the forground shows an air
inated watermattress with Black
CONTOUR safety liner properly installed,
ready for placement inside the foam
perimeter.
Properly installed black CONTOUR safety
liner & watermattress in foam perimeter
Sterling Concierge Softside with zippered
cover installed.
2
OWNMAN SS REV 02/09
Installing the watermattress inside the contour safety liner.
The easy way to install and align your contour safety liner and watermattress assembly in the foam perimeter
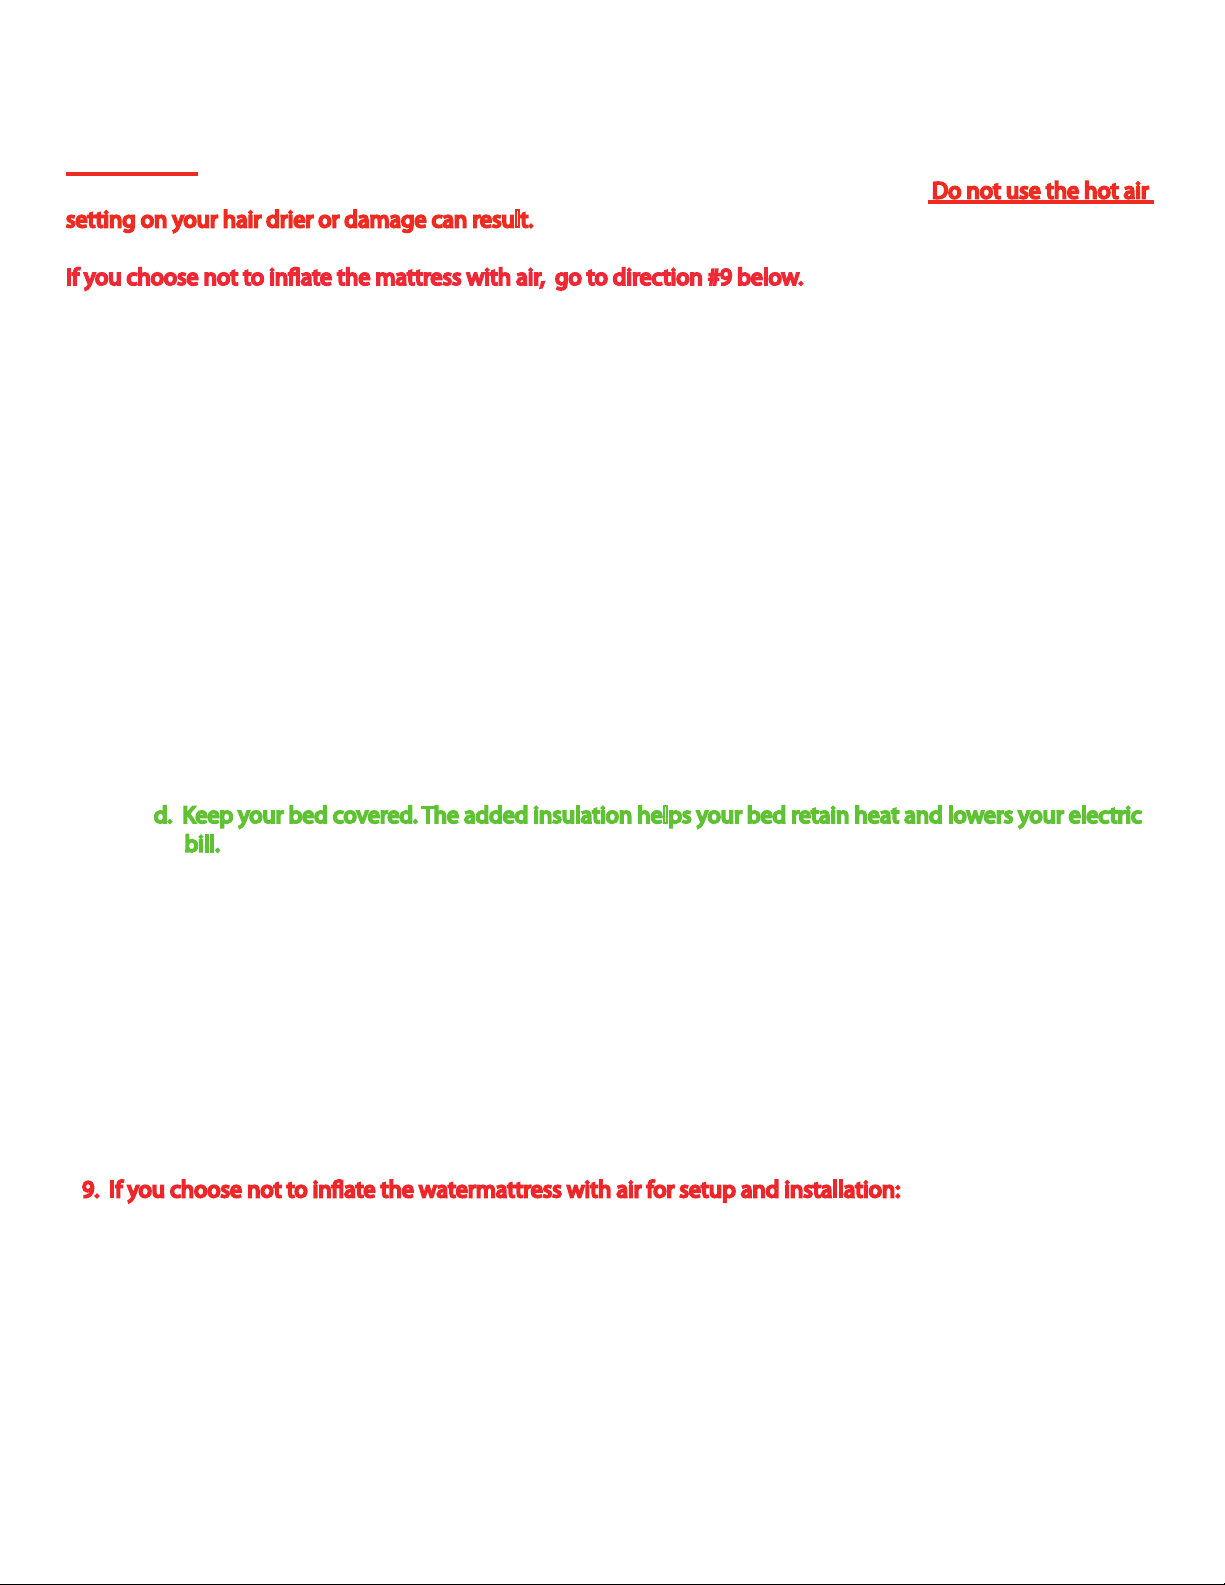
of your waterbed is to inate the watermattress with air until it unfolds all the wrinkles. Do not use the hot air
setting on your hair drier or damage can result. Then deate until the mattress resumes a rectangular shape
before installing the safety liner. Start by opening the mattress ll valve and inating with air. (see photos)
If you choose not to inate the mattress with air, go to direction #9 below.
1. Now install the inated mattress inside the contour safety liner (see photos on page 2)
2. Install the mattress & liner assembly inside the foam perimeter & adjust alignment by centering the
liner + watermattress assembly inside the foam perimeter head to foot and side to side.
3. Add 8oz of Sterling water conditioner and ll with warm water until the lled watermattress bladder is
level or below the top of the surrounding foam perimeter after air bubbles are removed. Do not over ll or
the safety liner will not be able to contain the entire contents should a leak occur. Proper lling is the
owners responsibility.
a. Treat with 8oz of Sterling water conditioner every 12 months for best results
4. Remove any remaining air and install the plug and cap.
5. Plug in and turn on the heater= set temperature at 88. Give the water several days to come up to
temperature. The heater light goes o when the set temperature is reached.
a. Make temperature adjustments up or down 2 degrees at a time allowing 3 days for the water
temperature to adjust before making additional changes.
b. Leave your heater on year round, the thermostat will not turn on unless the water temperature
drops. Keeping your watermattress slightly warm prevents condensation and mildew
c. If you do turn the temperature down in the summer, 80 degrees should be the lower limit.
d. Keep your bed covered. The added insulation helps your bed retain heat and lowers your electric
bill.
6. For the rst few weeks after setup you will need to repeat air bubble removal because most drinking
water is aerated to improve taste. As water is warmed, dissolved gasses are released with the increase in
molecular activity. This can go on for 6 months
a. how often you remove air depends on how much the air bubble noise bothers you. Use a broom
handle to sweep the bubble to the ll valve.
7. It takes the wave control system about a week to expand and work up to its potential after set
up. Wave reduction properties diminish slowly with years of use and is considered normal wear and tear.
8. Wave reduction material contribute to rmness and support, however water ll level is the key factor in
determining how well your waterbed supports your particular size & shape.
a. To adjust support, add or remove a few gallons of water at a time until the bed is just right for you.
9. If you choose not to inate the watermattress with air for setup and installation:
a. Spread the contour safety liner out at inside the foam cavity with the open side facing up.
b. Center the safety liner head to foot and side to side
c. Open the watermattress ll valve to let air into the mattress so it can be unfolded and so that
wrinkles can be removed. A 2nd person is needed to pull out the wrinkles.
d. Place the unfolded watermattress on top of the contour liner
e. Without changing the alignment, lift open each of the four safety liner corner pockets so the
watermattress corners can be placed inside the contour liner.
f. Now go back to instruction #3-#7 above.
10. Zip on the quilted mattress panel, pull the zipper out and up away from the foam perimeter to avoid
jamming the zipper.
3
OWNMAN SS REV 02/09

Removable Zippered Cover
Contour Safety Liner
Note: Install heating pad according to
heater manufacturer’s instructions.
Make sure the heater pad does not
cross the seam between foundations.
Side Rails
Head/Foot Rails and
Side Rails are interlocking
Zippered Cover Border
Box Foundation
9 leg Heavy Duty Metal
Bed Frame, Riser or Drawer
Pedestal
Water Mattress
Heater (Single or Dual)
4
OWNMAN SS REV 02/09
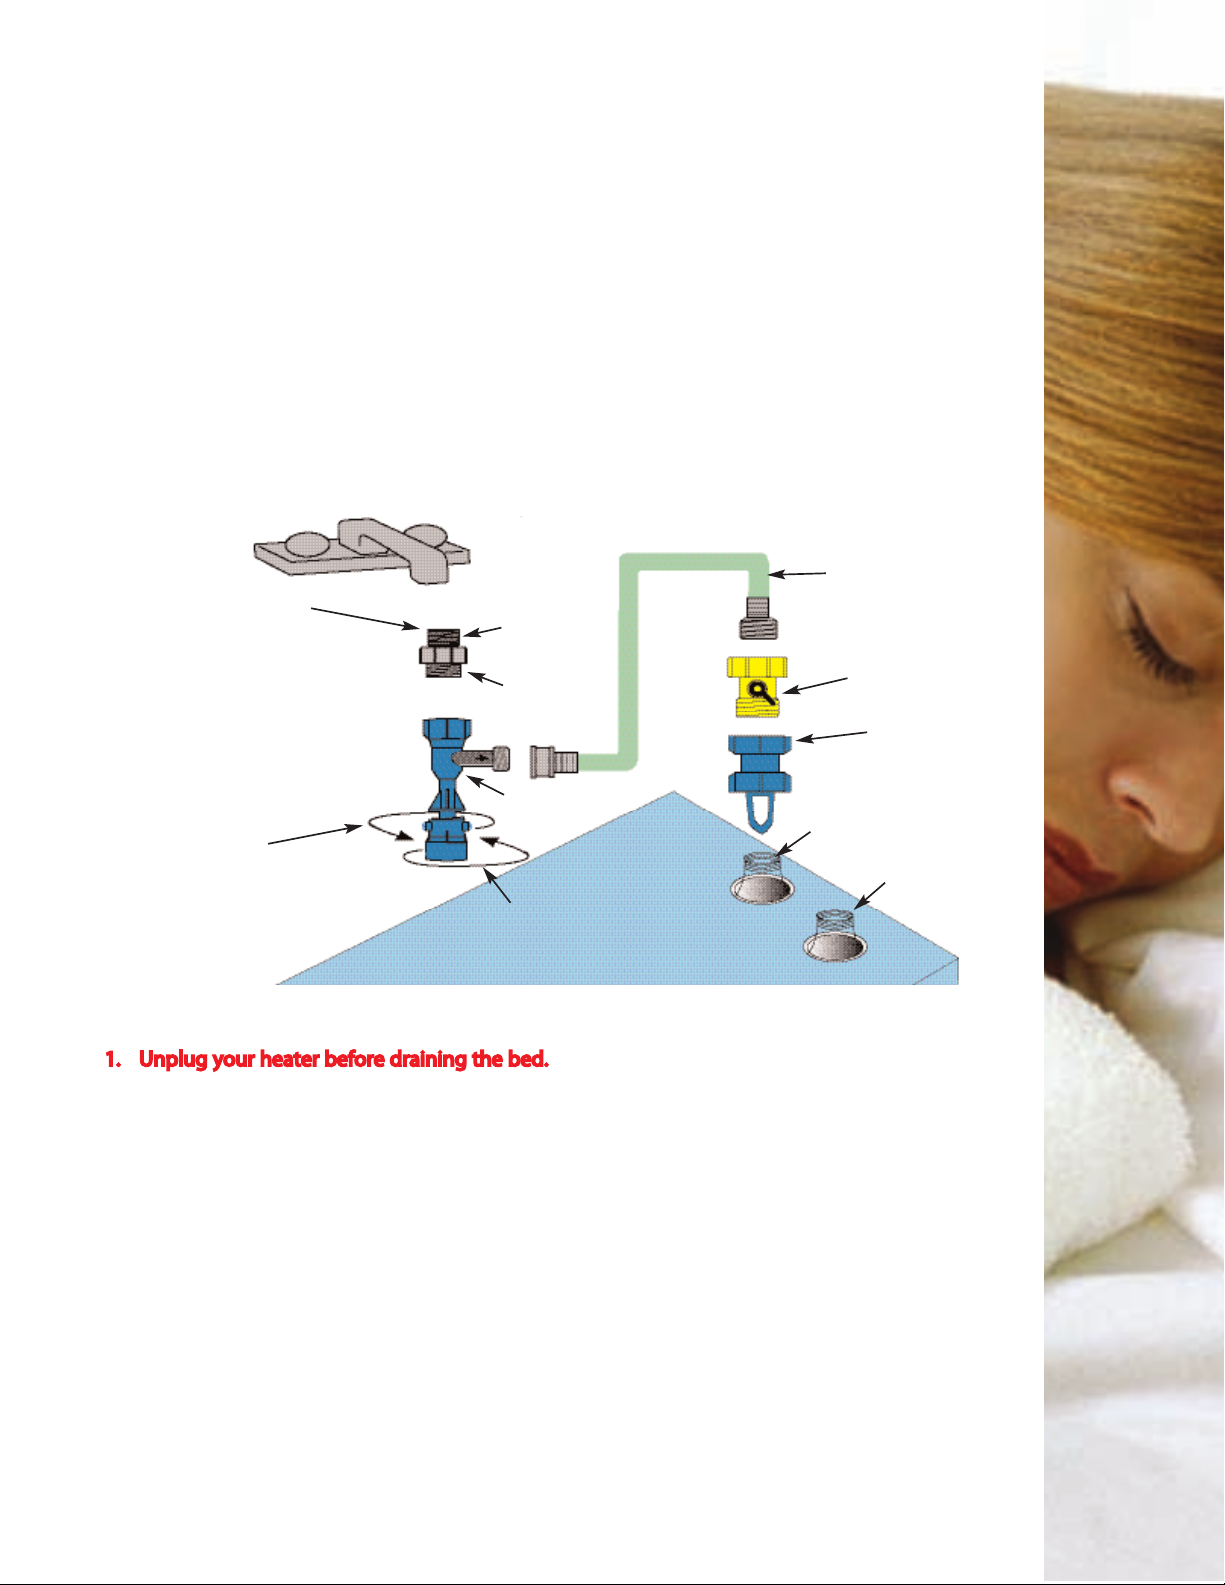
Filling and Draining Instructions
Draining your waterbed (Use an electric drain pump if possible)
1. Unplug your heater before draining the bed.
2. Leave water mattress at until completely drained or the wave control system will shift and
become damaged.
3. We recommend the use of an electric pump or a Venturi Siphon Pump available at your local
hardware store. Follow manufacturer’s instructions. Airtight connections from the drain valve to
the pump are needed to remove all the water possible.
4. Drain the mattress until water stops and the mattress becomes very wrinkled. Beds will drain to
within 15 pounds of dry weight with good airtight connections.
5. Allow some air back into the mattress, remove the drain hose, and replace the plug and the ll cap.
This will prevent the wave control system from shifting. Fold the mattress before removing from
the bed. If mattress is to be stored for an extended period, add a bottle of Sterling Water
Conditioner to the drained bed.
6. Do not drag your mattress across the oor or carpet, the friction can cause a hole in the folded
vinyl.
Two Piece Faucet Adapter
Note: Faucet adapter may be used
for both male or female thread
type faucets. Remove top
portion of faucet adapter for
male threaded faucets.
To Drain
Turn bottom of pump to
the left and pull down
To Fill
Turn bottom of pump to
the right and push up
Venturi Pump
Male Threads
Female Threads
Hose
(garden type)
Hose Shut-Off Valve
Hose Adapter
Threaded Flange
Water Mattress
Fill Valve
Air Vent Valve
(optional on some models)
Filling
Using an indoor faucet
Unscrew the air-screen from the faucet. Use the white double threaded faucet adapter to adapt the
threads of the faucet to the threads of the lling hose. Fill the mattress through valve #1. Valve #2 *
allows air to escape during lling. Add or drain water to personal preference. Adding water makes the
mattress rmer, draining makes it softer.
To eliminate air, remove the cap from valve #2 (air release valve optional). Extend the ll valve to its
full length and guide the air bubbles to the valve. Using a broom handle, slide the trapped air bubbles
across the top to the valve. Reapply the cap. Repeat the process again as necessary.
CAUTION: We do not recommend the use of a waterbed to anyone that cannot sense hot and
cold or cannot move themselves without help.
* Not all models have valve #2
5
OWNMAN SS REV 02/09

This warranty applies to defects in workmanship or materials for the original purchaser only. Sterling will repair
or replace, at its option, the parts found to be defective exclusive of transportation costs. The manufacturer
reserves the right to inspect the defective component prior to making a warranty determination. It is the owner’s
responsibility to return the defective component prepaid with proof of purchase.
Product replacement after the full portion of the warranty will cost the consumer 65% of retail price at time
of return.
If identical materials are not available at time of product service, Sterling reserves the right to substitute
materials of equal or better quality. Warranty does not apply to subsequent damages.
Wa rranty will apply only when your otation sleep system is used with:
•An approved, properly supported bed frame.
•An approved pin hole freesafety liner, constructed of at least eight (8) gauge or heavier vinyl, must be
installed so the liner reaches the top of the perimeter and is capable of holding the entire contents of the
water mattress.
•Sterling Water Conditioner or equivalent to preserve the interior of the vinyl mattress
•An approved and properly installed Flotation Sleep System Heater to control condensation and mildew.
For proper installation instructions, see the heater manufacturer's instructions.
Items not covered by warranty:
•The quilted cover is warranted for a period of 90 days from date of purchase.
• Body impressions.
•Customer abuse and improper care.
•Soiled, stained or burned bedding. Sanitation laws prohibit return of bedding that is not hygienically clean.
These items will not be accepted for repair or return regardless of any other claimed defects.
• Freight costs.
•Service charges to remove or install the bed.
•Subsequent damages.
Wa rranty Voided for Misuse
•This warranty is void in case of any damage to the mattress resulting from improper installation,
unauthorized repairs, improper accessories, or abuse.
Sterling Sleep Systems APPF, Inc. •7274 Lampson Avenue, Garden Grove, CA 92841
Phone (714) 891-3191 Fax (714) 891-6770 •www.sterlingsleep.com
Soft-Side 20 Year Limited, Prorated Warranty
Wa rranty Schedule
Prorated period
% of suggested retail at time of return
O WNMAN SS REV 02/09
“S” Class Mattress
Original Sterling Mattress
Parkline Mattress
3.5” Tubes
Foam Perimeter
Box Foundation
Quilted Mattress Top Panel
5 years
4 years
3 years
2 years
3 years
3 years
90 days
Limited Life Time
16 years
17 years
18 years
17 years
17 years
NONE
65%
65%
65%
65%
65%
65%
N/A
Soft-Side Mattress Full Coverage Cost to replace
6

Warranty Claim Form
Customer's Responsibilities
If damage to your mattress is due to seam failure or defective material, clearly mark the damaged area
with a marking pen. Drain the mattress completely and return it to your dealer. If your dealer recom-
mends factory service, send it freight prepaid to:
Sterling Sleep Systems, APPF, Inc., 7274 Lampson Ave., Garden Grove, California 92841
•Proof of Purchase
•Daytime Phone
•Cause of Failure
•Method of Payment
•Shipping Address
Call our factory Customer Service for instructions rst before returning your mattress.
Limitations and exclusions:
Any and all implied warranties are limited to the duration of the written warranty. All consequential
and incidental damages are specically excluded. Our warranty liability is limited to replacement of
defective product only.
1. Include a copy of your proof of purchase to establish ownership, date product was rst used.
2. Daytime Telephone Number - Where you can be reached if we have a question
3. Cause of Product Failure
Seam Leak Corner Leak Valve Leak Other
4. Credit Card - to prepay return freight
VISA MASTER CARD AMEX Card Number
Name as appears on Card
Expiration Date Signature
5. Name
Address - Where you want the replacement water bed sent. No P.O. boxes please.
piZetatSytiC
6. A complete copy of this form must be sent for warranty claim.
sserddA/emaNs'relaeDesahcruPfoetaD
Mattress Model
Size
Note: Shifting of wave control system is not covered by warranty.
If you have any questions please call Customer Service at (714) 891-3191, 8 AM – 5 PM PST,
7
OWNMAN SS REV 02/09
Table of contents
Popular Indoor Furnishing manuals by other brands

RTA
RTA LHM 3131 Assembly instructions

Modus Furniture
Modus Furniture C.KING Assembly instructions

Amart Furniture
Amart Furniture MORRISON 69015 Assembly instruction

Living & Co
Living & Co WHISTLER 4 DRAWER TALLBOY Assembly instructions

Triarch
Triarch 33236 Assembly instructions

swissflex
swissflex uni 14 95RF bridge operating instructions

Songmics
Songmics Vasagle LTV50 Assembly instructions

Living Spaces
Living Spaces ALLIE 6020 3SZ5 Assembly instructions

Griesser
Griesser A Assembly instructions

Graham Field
Graham Field CKD12F7T Motion Seating

Atlantic
Atlantic Component Stand 63535216 Assembly instructions

HOMEDEPOT
HOMEDEPOT StyleWell XMB2008 Use and care guide


