3
It’s Time To Sharpen when …
• The saw does not cut in a straight line.
• The cutters are not properly sharpened.
• The chain chatters and jumps - the depth gauge needs
adjustment.
• You are getting fine sawdust instead of wood chips.
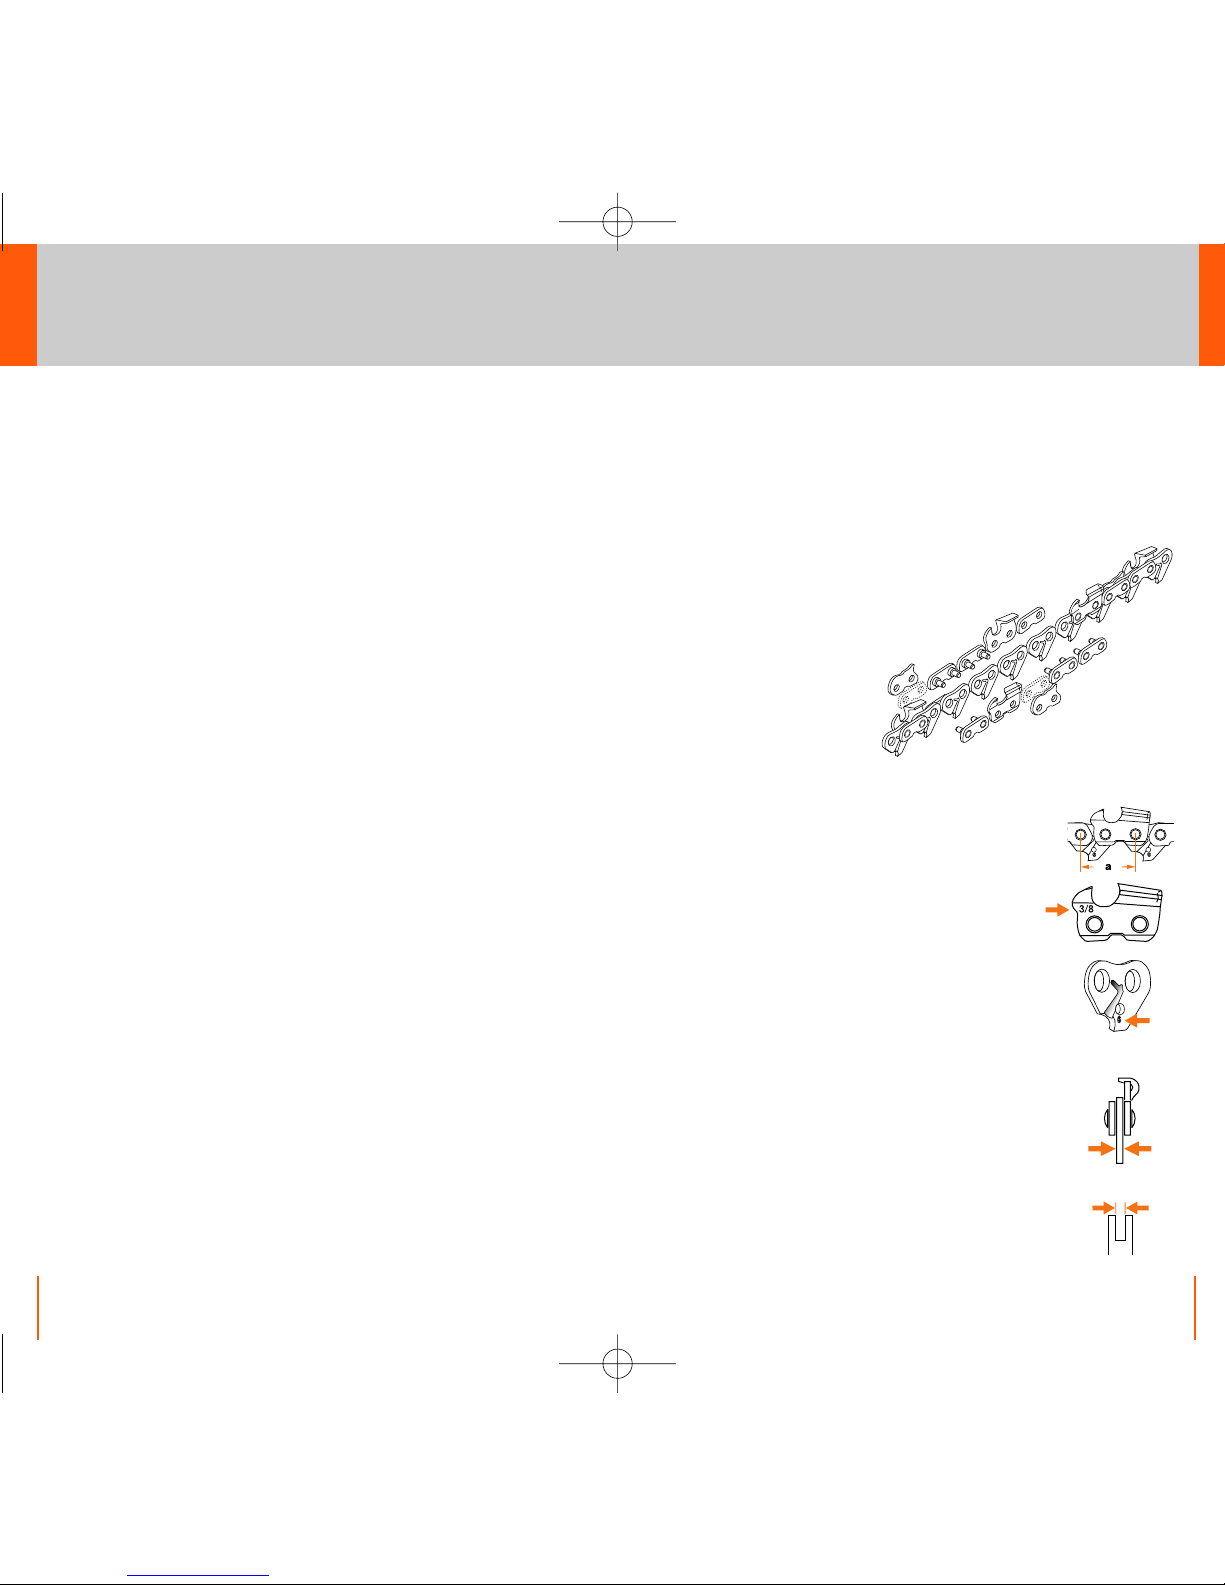
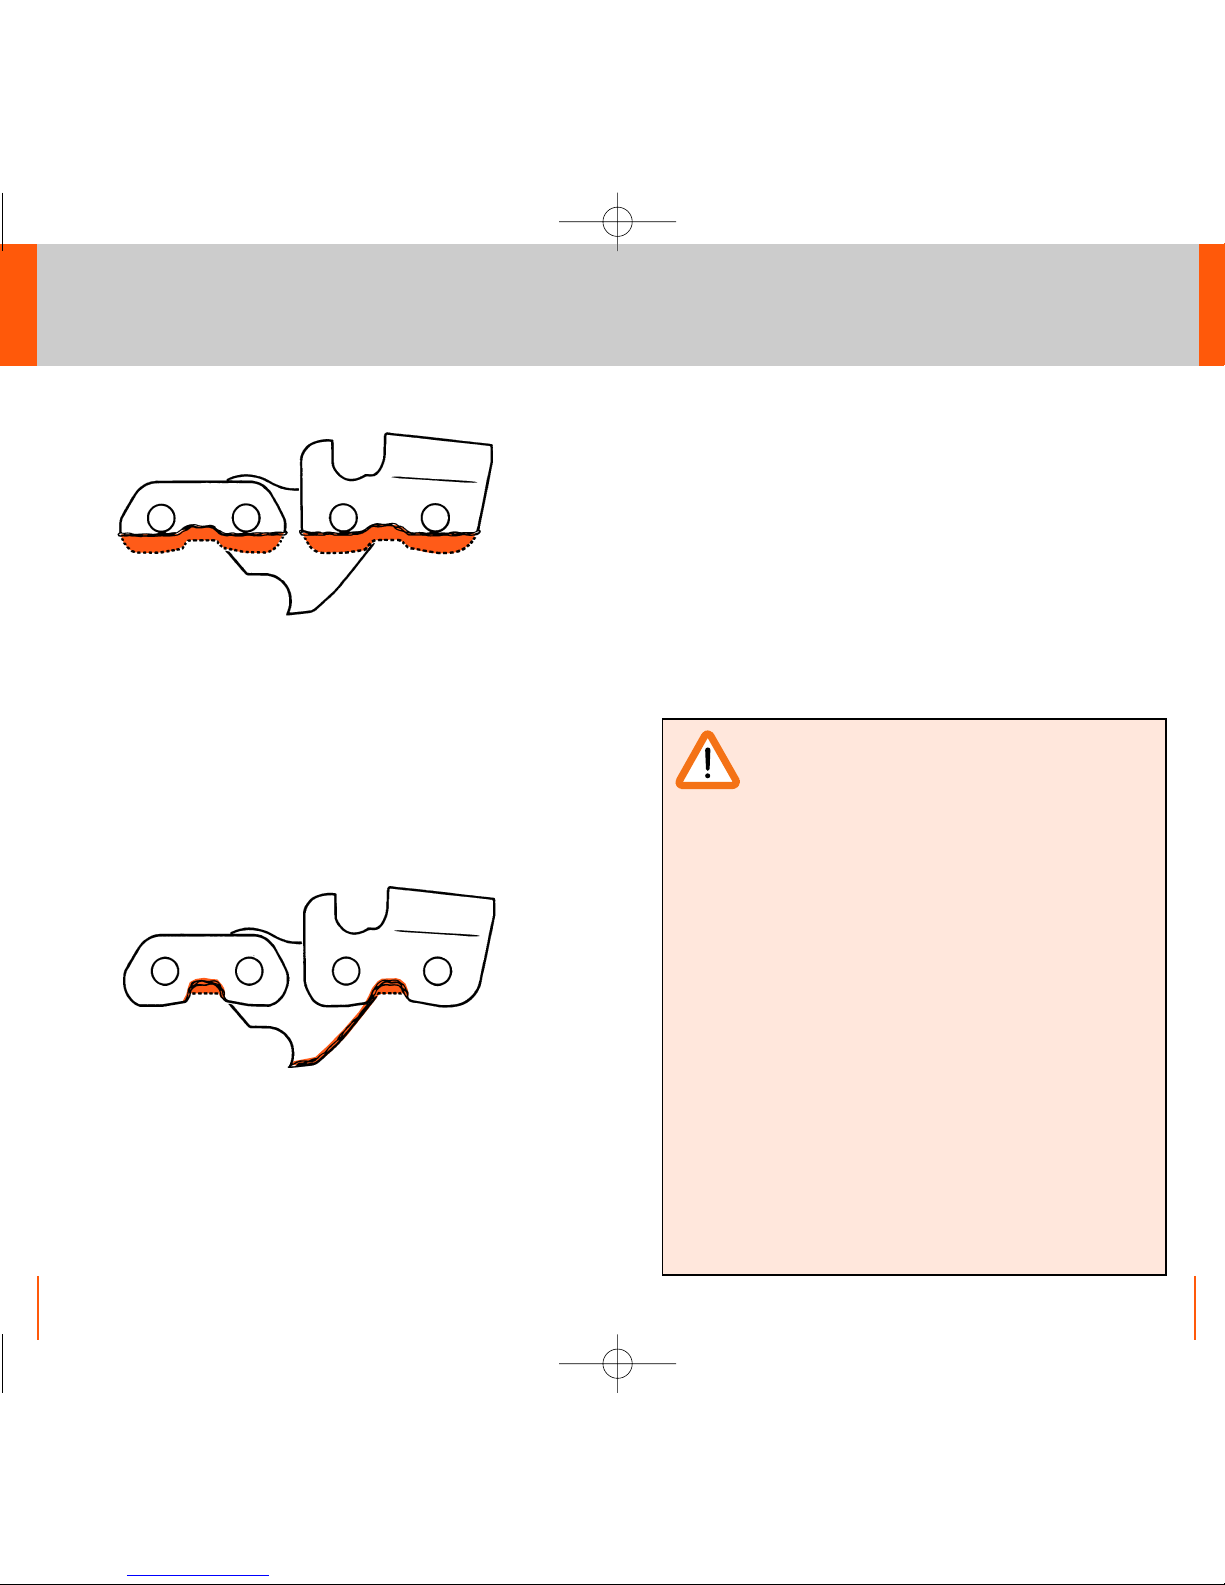
Construction of STIHL Saw Chain
STIHL saw chains are 3-link
chains and are always
assembled in the same
basic pattern. The
illustration shows the
component parts of
a typical chain.
The important characteristics which
define a chain are the chain pitch, drive
link gauge and chain length.
Pitch is the distance between the centers
of any three rivets and dividing the
measurement by two. The result is the
pitch in inches (e.g. 3/8”). The pitch size in
inches is stamped on each depth gauge.
Drive link gauge As the engine turns the
sprocket, it engages the drive links and
propels the chain. The drive link must
match the width of the guide bar groove
so that the chain exactly fits the bar. This
measurement is quoted in inches or
millimeters of the thickness of the bottom
of the drive link. There are chains with
drive link gauges of .043” (1.1 mm), .050”
(1.3 mm), .058” (1.5 mm) and .063” (1.6
mm). The last digit of the measurement in
millimeters is stamped on every drive link.
Pitch a/2
Drive link gauge
Bar groove width
2
The occurrence called “kickback” can cause serious
or fatal injuries. Always read your Owner’s Manual
carefully before using your saw. In the U.S.A., STIHL has
developed a color code system using green and yellow to
help you select a powerhead, bar and chain combination
that complies with the kickback requirements of ANSI
Standard B 175.1. Ask your STIHL dealer about safe
operating procedures and the advantages of the STIHL
Quickstop®chain brake, STIHL reduced kickback bars,
and STIHL low kickback saw chains.
In Canada, STIHL saw chain meets kickback
requirements of CSA Standard Z62.3 M1990 when tested
on a representative sample of chain saws.
Chain Care Rules
1. Avoid hitting dirt, rocks or any other abrasive material
while cutting.
2. Check the chain tension often. Never allow the chain
to sag. (See page 7).
3. Never force a dull chain to cut; it increases the risk of
injury and will damage the bar and chain.
4. Never install a new chain without replacing a worn
sprocket.
5.
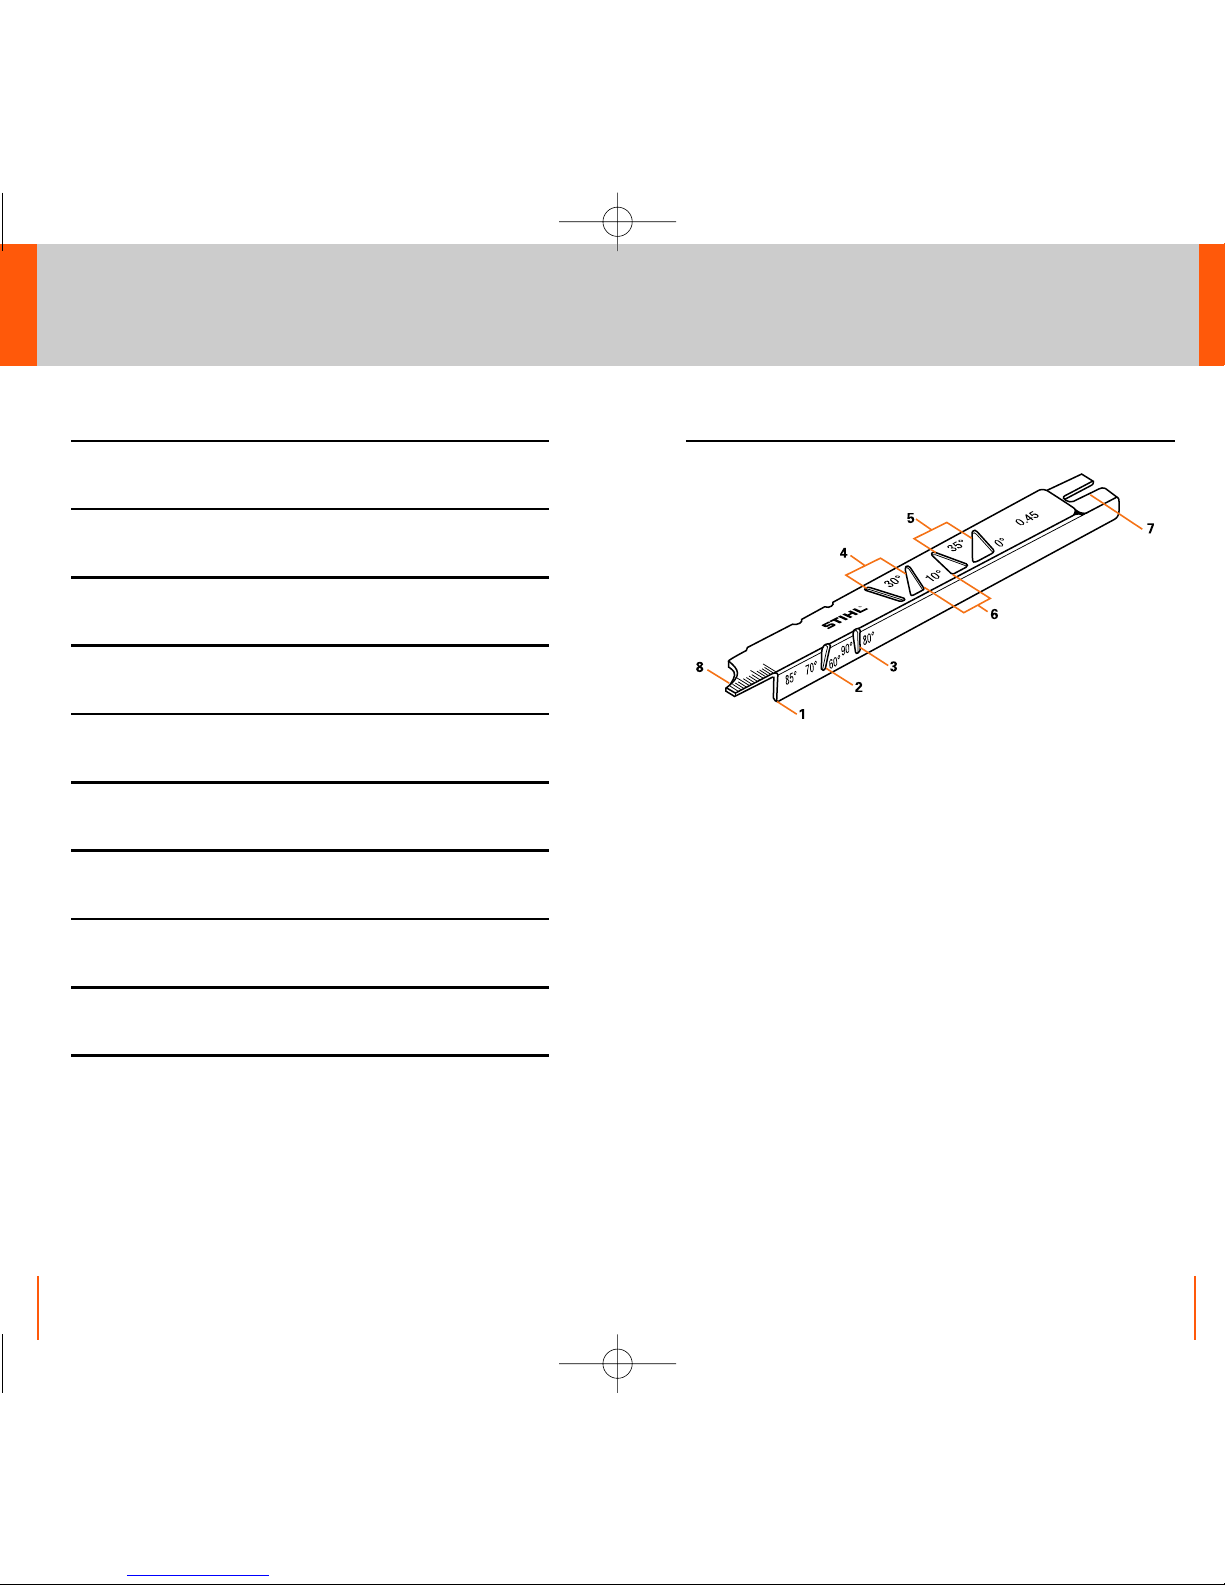
Always sharpen cutters to correct angles. (See pages 8-9).
6. Measure the depth gauges with every sharpening;
lower and re-profile as necessary. (See page 10).
7.
Check the entire chain often for visible wear or damage.
(See pages 13-16 for common wear problems).
8. Check the depth of the bar groove for proper drive
link clearance, examine the bar rails for even wear,
and clean bar groove.
9. Always wear gloves when handling chain.
10. Keep scabbard on the bar when the saw is not in use.
11. Make sure that your chain is always properly
lubricated. (See page 6).
Important Information