5
• MASTER SETTINGS
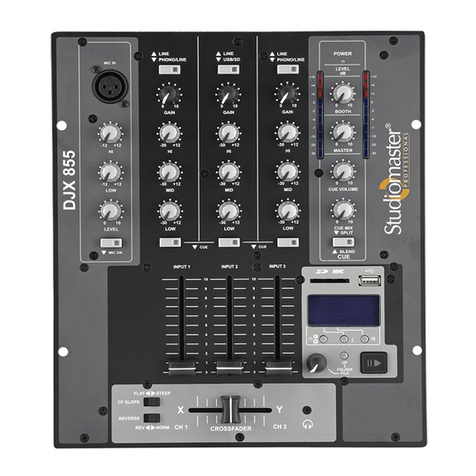
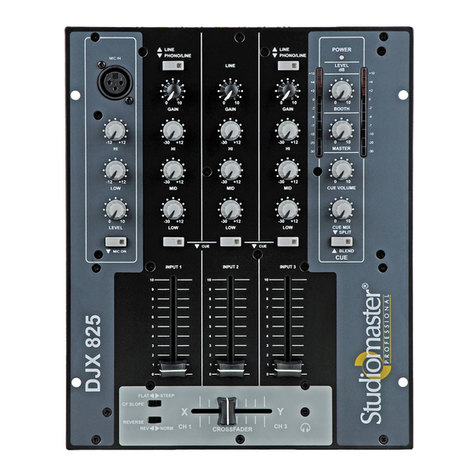
The MASTER control (14) is setting the total output level of the both channels & the microphone to the amplifier.
If you want to monitor the output level to the amplifier one the LED Bargraph, set the CUE/MASTER switch (11)
to MASTER. The RCA connectors for the connection to the amplifier (23) are located at the rear panel. They are
identified as MASTER.
• BOOTH SETTING
The BOOTH control (15) is setting the total output level of both channels & microphone going to BOOTH output
RCA connector (22).
• HEADPHONE SECTION
The headphone section is fitted with a 6.3mm stereo jack that is located on top (18) of the unit. The CUE SELECT
switch allows to choose if you wish to listen channel 1 or 2 or both via the headphone. The CUE LEVEL (17)
control sets the output level to the headphone. This control (16) determines the left / right split of the master
volume & the CUE volume. Example: If the control is completely set to the left, the master (right channel) & the
CUE (left channel) volume are both audible at the same time. If the control is set to the right, only the CUE signal
(both right and left channel) is audible.
• SWITCHING ON
Once the audio sources & the amplifier have been connected to the mixer, set all slider controls to the minimum.
Before switching on the unit, please check all controls and faders are at minimum position. Then switch on the
power of the mixer (21) and after that the amplifier.
• LINE/USB
The switch (26) is used to select either LINE or USB input for channel 1 & 2. (only for Playmix 300)
CROSS FADER CURVE selector (19) determines the curve deviation. Example : If this switch is set to the right, the
volume of both channels fades smoothly over when the crossfader is moved. If the switch is set to the left, the sound
fades immediately over to the other channel (this setting is ideal for scratching & cutting).
Replacement of the Crossfader
This control is used very frequently and needs replacement after some time. This is simple to do. Remove the two
small screws on the small panel of the control with a cross-headed screwdriver. Pull out the control & unplug the
connectors. Plug the connectors back to a new crossfader (this can only be done in one way). Insert the control
back into the mixer and fasten the two screws.
Some Basic Tips
1. Find Tempo/BPM of the song to be mixed.
2. Beat matching is the most important factor in mixing. Try to master this art. The most commonly used beat currently
is the 4/4 Structure.
3. Learn to mix with the up faders first and then proceed to the crossfader.
4. Use the CUE feature on the DJ mixer to listen to the next track before it is being introduced into the mix.
5. Make sure you listen to all new & old genres of music, as this may give you your next creative spark.
6. While using the USB flash drive in Playmix 300, make sure you know the order of songs. Additionally a print out
of the track list will help you tremendously.
7. Make sure that the Gain and EQ settings on both the channels match. This will help you get a great sounding mix.
8. With the Playmix 300 on your side, all you need is 2 Pen drives, a Pair of Active speaker & you are ready to go.
9. Make sure you learn all the features on your Studiomaster Professional DJ Series Mixer this will help you take your
Mix to another level.
10. Practice your set before any major gig.
11. Finally, Practice Practice Practice is the golden rule to get a great mix.
